11 12
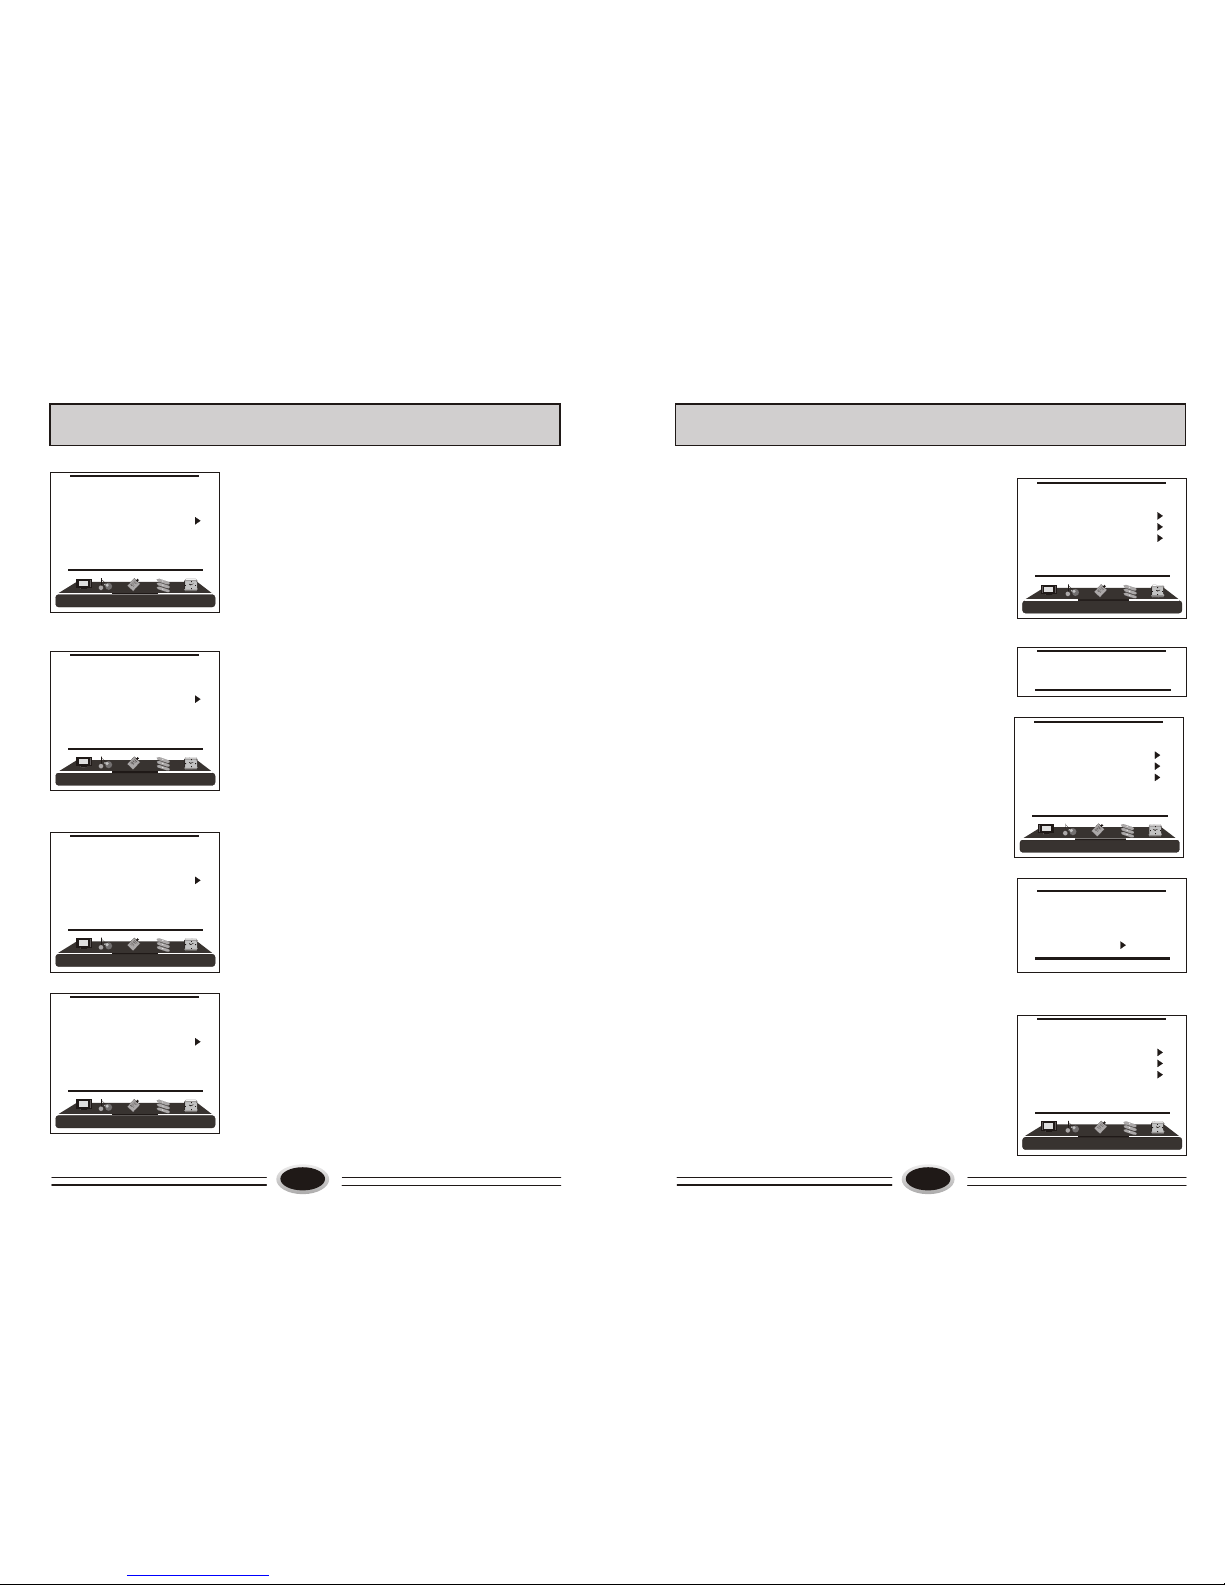
AUTO SEARCH
Using AUTO SEARCH can search all receiving
programs. We recommend using auto search to
search the program when you use this TV set for
the first time.
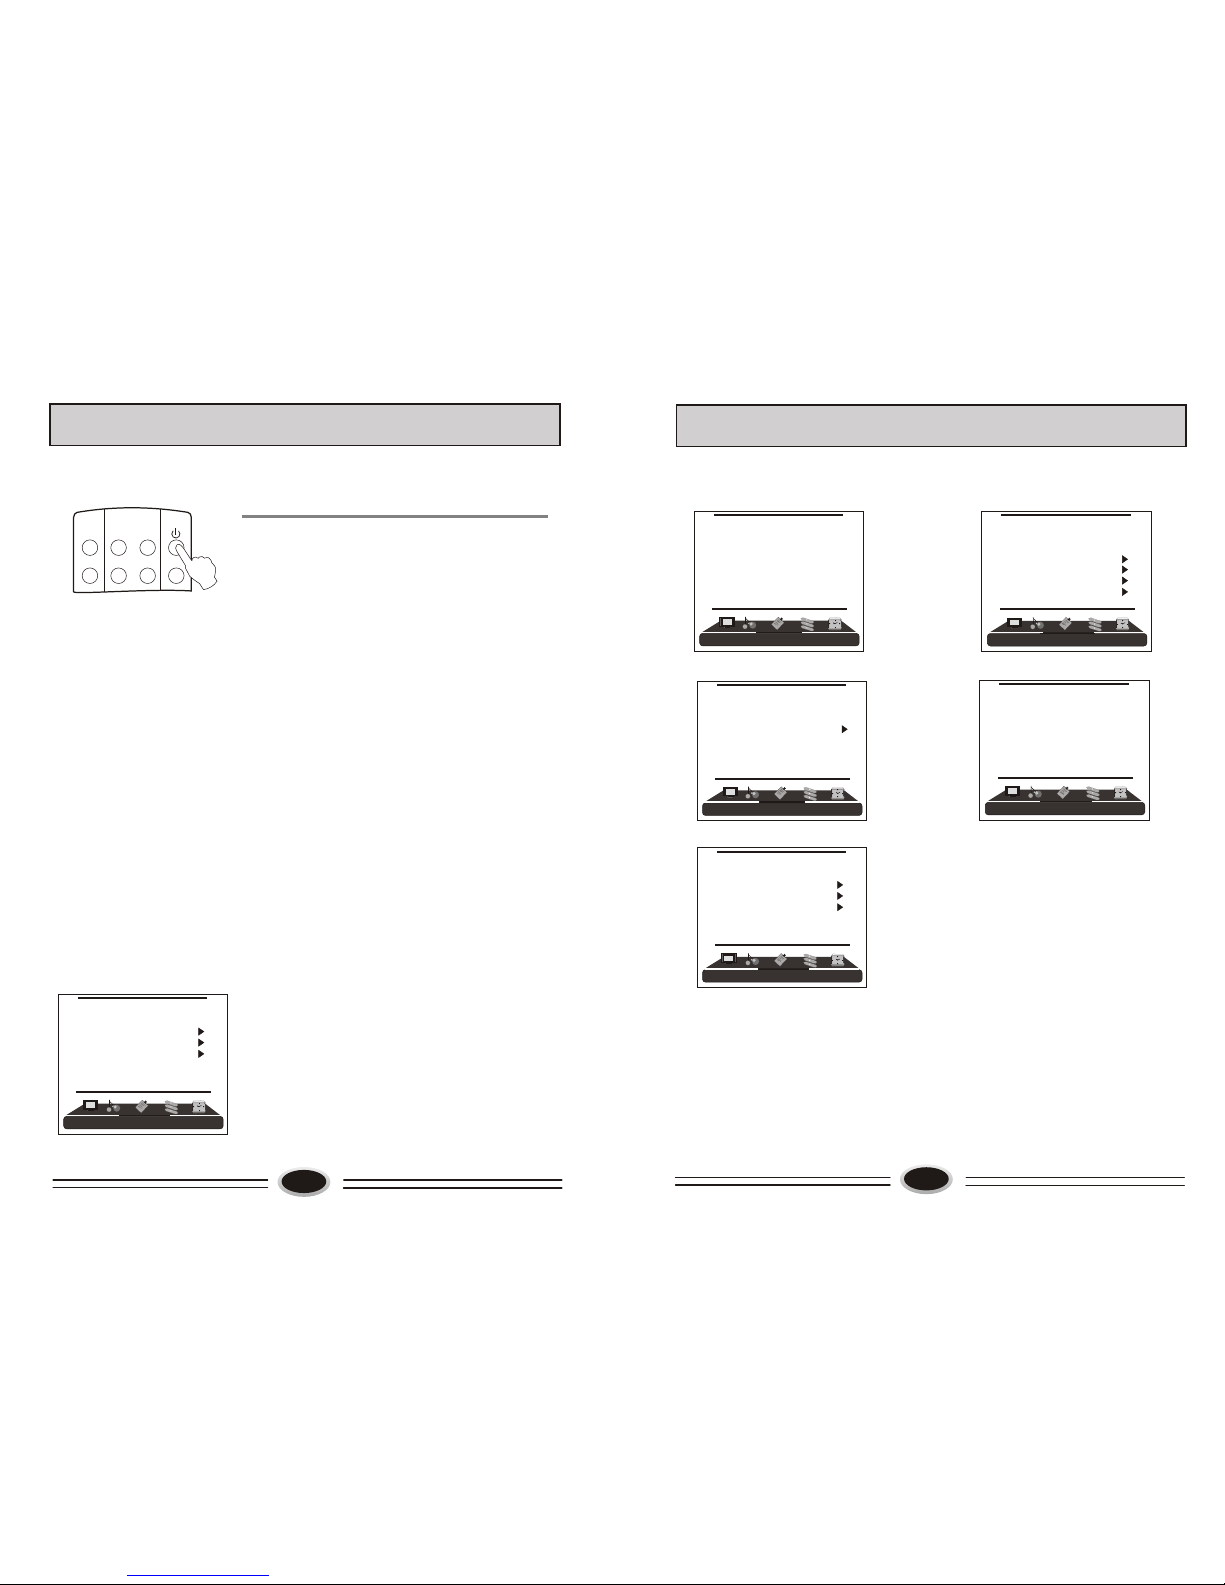
1.Press MENU button to make the main menu display.
2.Press VOL+/- button to select TUNING menu, press
CH- button to enter.
3.Press CH+/- button to select AUTO SEARCH.
4.Press VOL+/- button to start searching, press MENU
button to stop auto search during searching.
Note: The order of the auto search is due to the
frequency of the program, generally speaking,
it is used only at the first time you search the
program, and once the order of the program has
been confirmed, you don’t have to use this
function, otherwise the order of the program
will be changed.
MANUAL SEARCH
Manual search can search and order the program freely.
1.Press MENU button to make the main menu display.
2.Press VOL+/- button to select TUNING menu, press
CH- button to enter.
3. Press CH+/- button to select MANUAL SEARCH item,
4. Press VOL+/- button to start searching, pressing
VOL+ button is used to search the higher frequency
channel, pressing VOL- button is used to search the
lower frequency channel, when you have searched
a program, the searching will stop automatically.
You can press VOL+/- button to go on searching or
press MENU button to exit.
Note: During searching, it may appear black screen
because of change of signal, it is normal, it will
recover after finishing searching.
FINE TUNE
When you can’t get a satisfactory picture effect,
you can fine tune to improve the picture.
1.Press MENU button to make the main menu display.
2.Press VOL+/- button select TUNING menu, press
CH- button to enter.
3. Press CH+/- button to select FINE TUNE item.
4. Press VOL+/- button to start fine tune until you
obtain the best picture and sound, then release
the button and press MENU button to exit.
TV PROGRAM SETTING TV PROGRAM SETTING
55
71.68
AUTO SEARCH
55
71.68
MANUAL SEARCH
55.25
FINE TUNE
COLOUR SYSTEM
1.Press MENU button to make the main menu display.
2.Press VOL+/- button select TUNING menu, then
press CH- button to enter.
3.Press CH+/- button to select COLOUR SYS. item.
4.Press VOL+/- button to select the colour
system you need.
SOUND SYSTEM
1.Press MENU button to make the main menu display.
2.Press VOL+/- button select TUNING menu, then
press CH- button to enter.
3.Press CH+/- button to select SOUND SYS. item.
4.Press VOL+/- button to select the sound system you
need.
EDIT PROGRAM
Using this function, you can rename, skip, delete, copy
and insert the channel.
1.Press MENU button to make the main menu display.
2.Press VOL+/- button select TUNING menu, press CH-
button to enter.
3.Press CH+/- button to select EDIT PROGRAM item,
press VOL+/- button to enter the sub-menu.
RENAME
1.Press CH+/- button to select the channel you need
operate, press red button to enter rename mode.
2.Press VOL+/- button to select the number position of
channel name, press CH+/- button to select number.
3.During operating, if you want to cancel input, press
green button to exit, after setting, press red button to
save. The channel name set will display before
channel number on the top right corner of screen.
SKIP
1.Press CH+/- button to select the channel you need
skip, press green button to skip the current channel.
2.During operating, if you want to cancel input, press
green button to exit, after setting, press red button to
save.
3.When you use CH+/- button to select channel, this
channel number will be skipped. But you can still
use one direct-digit choosing button to select the
skipped channel number.
4.If you want to cancel skip, please select the skipped
channel and do above steps.
001
002
003
004
005
006
007
008
009
010
RENAME DELETE
SKIP COPY
[VOL+/-] INSERT
[CH+/-] SELECT
[S.STD] PAGEUP
[P.STD] PAGEDOWN
RETURN
MENU
001
002
003
004
005
006
007
008
009
010
SKIP
OK CANCEL
MENU RETURN
001
002
003
004
005
006
007
008
009
010
RENAME
OK CANCEL
MENU RETURN
[VOL+/-] POSITION
[CH+/-] CHAR.
TUNING
PROGRAM NUMB. 11
COLOUR SYS. PAL
SOUND SYS. D/K
FINE TUNE
MANUAL SEARCH
AUTO SEARCH
EDIT PROGRAM
COUNTRY CHINA
TUNING
PROGRAM NUMB. 11
COLOUR SYS. PAL
SOUND SYS. D/K
FINE TUNE
MANUAL SEARCH
AUTO SEARCH
EDIT PROGRAM
COUNTRY CHINA
TUNING
PROGRAM NUMB. 11
COLOUR SYS. PAL
SOUND SYS. D/K
FINE TUNE
MANUAL SEARCH
AUTO SEARCH
EDIT PROGRAM
COUNTRY CHINA
TUNING
PROGRAM NUMB. 11
COLOUR SYS. PAL
SOUND SYS. D/K
FINE TUNE
MANUAL SEARCH
AUTO SEARCH
EDIT PROGRAM
COUNTRY CHINA