12
TV PROGRAM SETTING
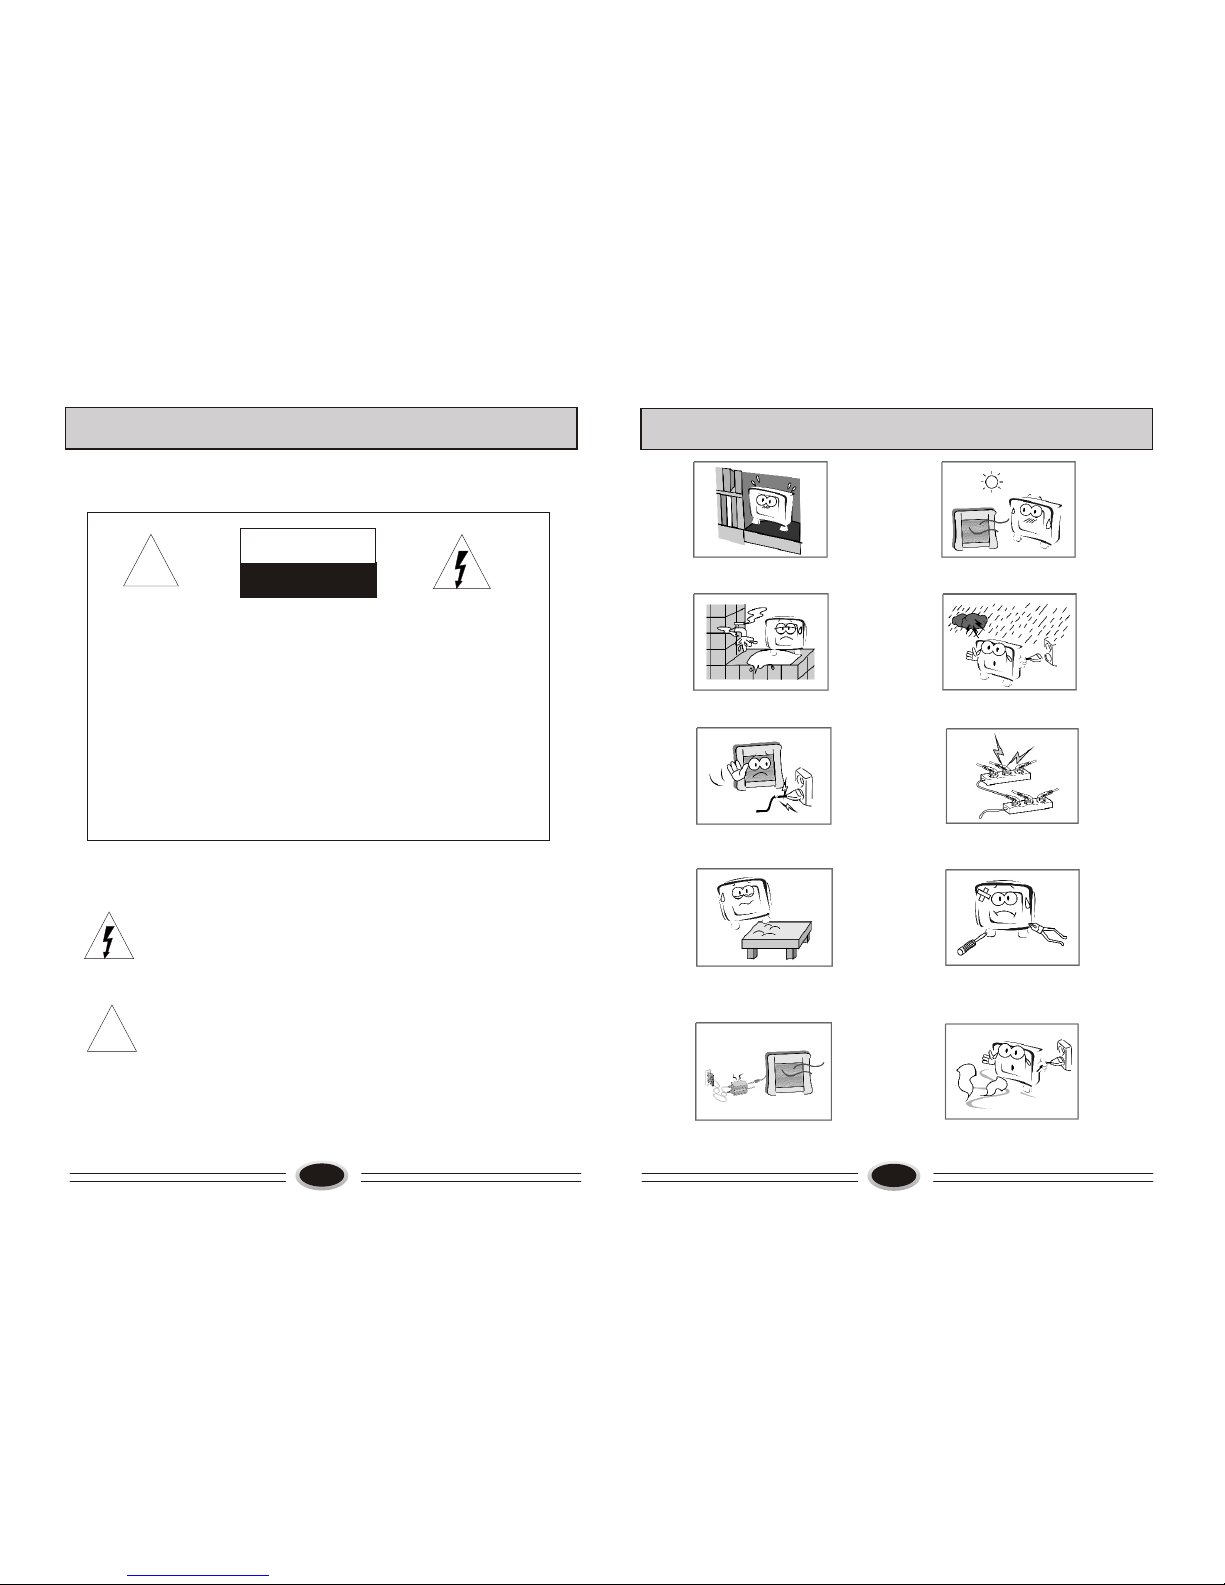
COLOUR SYSTEM
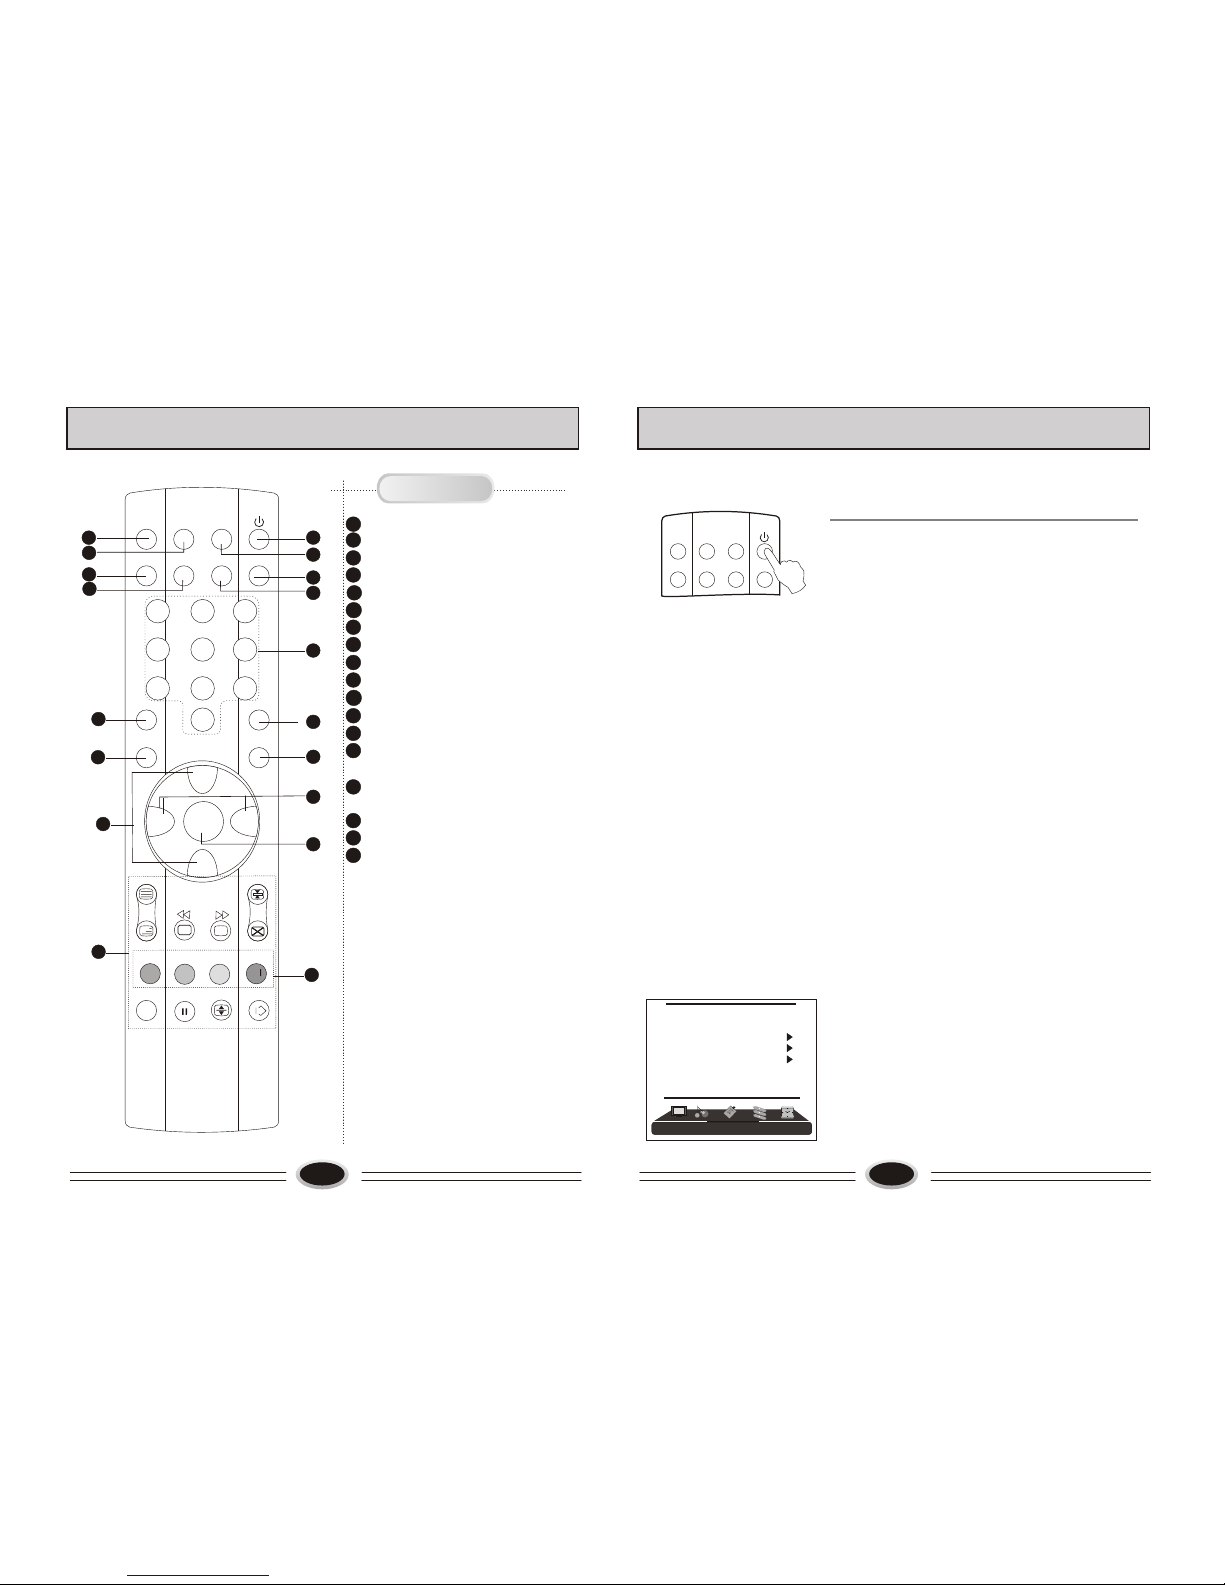
1.Press MENU button to make the main menu display.
2.Press VOL+/- button select TUNING menu, then
press CH- button to enter.
3.Press CH+/- button to select colour SYS. item.
4.Press VOL+/- button to select the colour
system you need.
SOUND SYSTEM
1.Press MENU button to make the main menu display.
2.Press VOL+/- button select TUNING menu, then
press CH- button to enter.
3.Press CH+/- button to select SOUND SYS. item.
4.Press VOL+/- button to select the sound system you
need.
EDIT PROGRAM
Using this function, you can rename, skip, delete, copy
and insert the channel.
1.Press MENU button to make the main menu display.
2.Press VOL+/- button select TUNING menu, press CH-
button to enter.
3.Press CH+/- button to select EDIT PROGRAM item,
press VOL+/- button to enter the sub-menu.
RENAME
1.Press CH+/- button to select the channel you need
operate, press red button to enter rename mode.
2.Press VOL+/- button to select the number position of
channel name, press CH+/- button to select number.
3.During operating, if you want to cancel input, press
green button to exit, after setting, press red button to
save. The channel name set will display before
channel number on the top right corner of screen.
SKIP
1.Press CH+/- button to select the channel you need
skip, press green button to skip the current channel.
2.During operating, if you want to cancel input, press
green button to exit, after setting, press red button to
save.
3.When you use CH+/- button to select channel, this
channel number will be skipped. But you can still
use one direct-digit choosing button to select the
skipped channel number.
4.If you want to cancel skip, please select the skipped
channel and do above steps.
001
002
003
004
005
006
007
008
009
010
RENAME DELETE
SKIP COPY
[VOL+/-] INSERT
[CH+/-] SELECT
[S.STD] PAGEUP
[P.STD] PAGEDOWN
RETURN
MENU
001
002
003
004
005
006
007
008
009
010
SKIP
OK CANCEL
MENU RETURN
001
002
003
004
005
006
007
008
009
010
RENAME
OK CANCEL
MENU RETURN
[VOL+/-] POSITION
[CH+/-] CHAR.
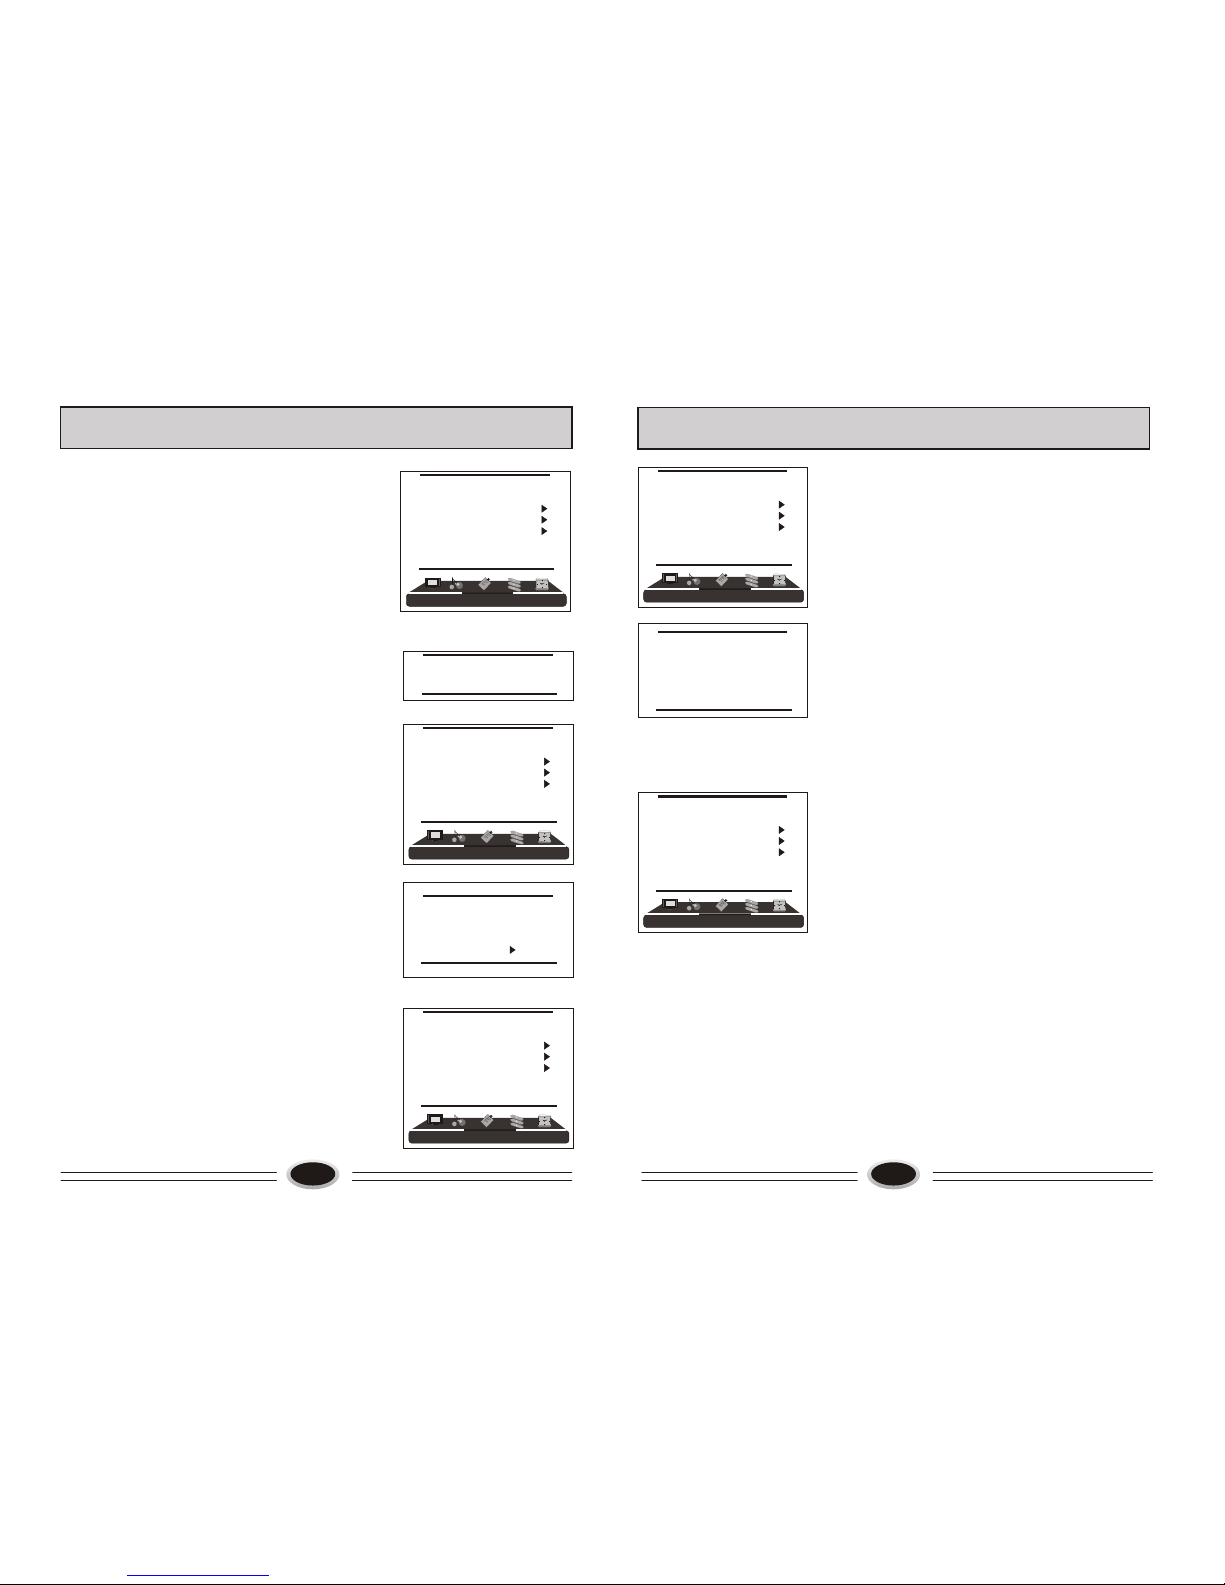
TUNING
PROGRAM NUMB. 11
COLOUR SYS. PAL
SOUND SYS. D/K
FINE TUNE
MANUAL SEARCH
AUTO SEARCH
EDIT PROGRAM
COUNTRY CHINA
001
002
003
004
005
006
007
008
009
010
COPY
OK CANCEL
MENU RETURN
[CH+/-] SELECT
[S.STD] PAGEUP
[P.STD] PAGEDOWN
13
TV PROGRAM SETTING
INSERT
1.Press CH+/- button to select the channel you need
insert, press VOL+/- button to drag the channel you
need move.
2.Press CH+/- button to select the position you need
insert. Press VOL+/- button to insert the selected
channel in this position, during operating, press
green button to cancel insert.
3.For example: insert the channel 5 before channel 2,
you can first press CH+/- button to select channel5,
then press VOL+/- button to drag channel 5, then
press CH+/- button to select channel 2, press
VOL+/- button to insert this position and save, the
program in channel 5 is before the program in
channel 2.
4.Using this function can arrange the program order
as you like.
DELETE
1.Press CH+/- button to select the channel you need
delete, press blue button to delete the current channel.
2.During operating, if you want to cancel delete, press
green button to exit, after setting, press red button to
save.
3.The deleted channel will disappear from the channel
list completely, you can’t use CH+/- button or one
digit selection button to select this channel.
COPY
1.Press CH+/- button to select the channel you need
copy, press yellow button to copy the current channel.
2.Press CH+/- button to select the channel you need
copy to, press red button to save. During operating
press green button to cancel copy.
3.The copied channel may have same setting as the
original copied channel.
001
002
003
004
005
006
007
008
009
010
DELETE
OK CANCEL
MENU RETURN
001
002
003
004
005
006
007
008
009
010
INSERT
MENU RETURN CANCEL
[CH+/-] SELECT
[VOL+/-] OK
[S.STD] PAGEUP
[P.STD] PAGEDOWN
COUNTRY
1.Press MENU button to make the main menu display.
2.Press VOL+/- button to select TUNING menu, press
CH- button to enter.
3.Press CH+/- button to select COUNTRY item.
4. Press VOL+/- button to select the country you live in.
TUNING
PROGRAM NUMB. 11
COLOUR SYS. PAL
SOUND SYS. D/K
FINE TUNE
MANUAL SEARCH
AUTO SEARCH
EDIT PROGRAM
COUNTRY CHINA