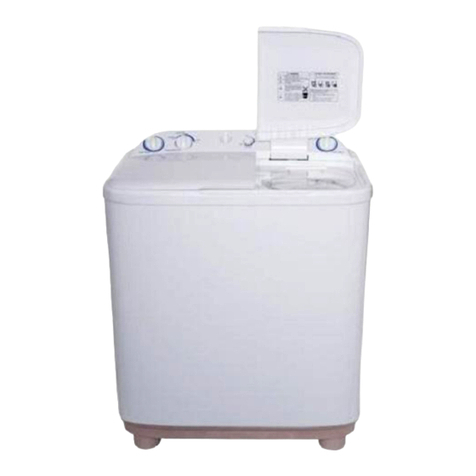
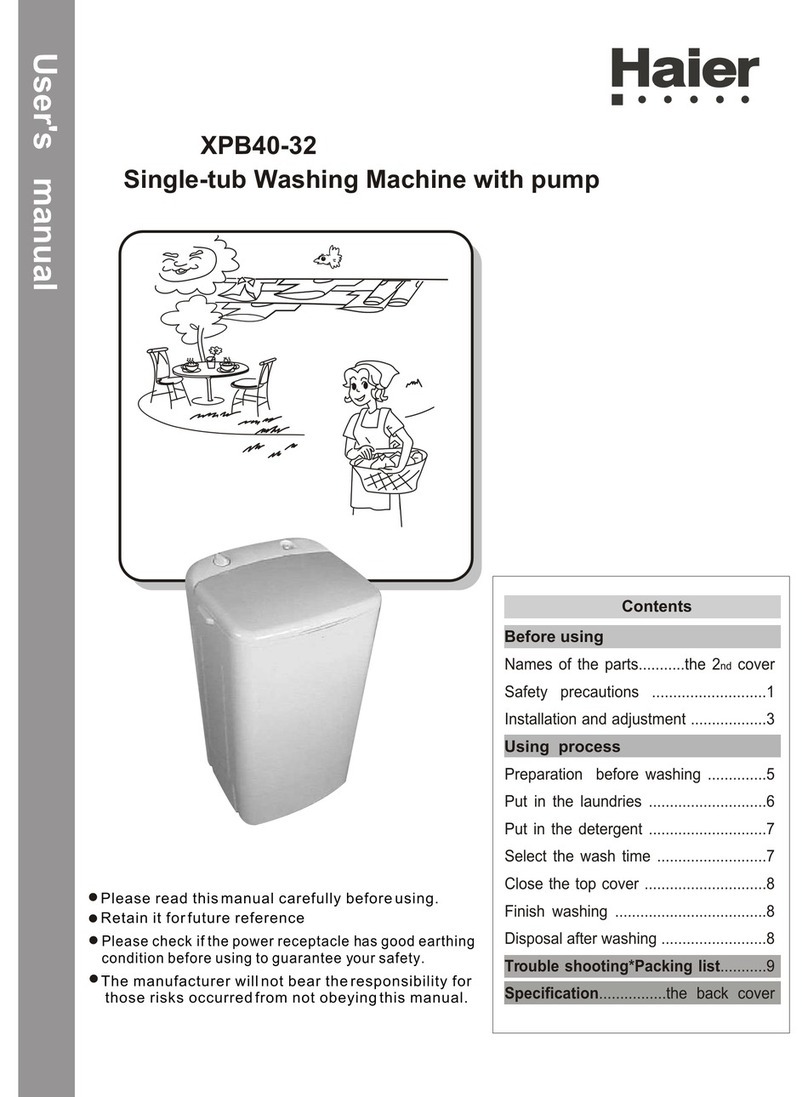
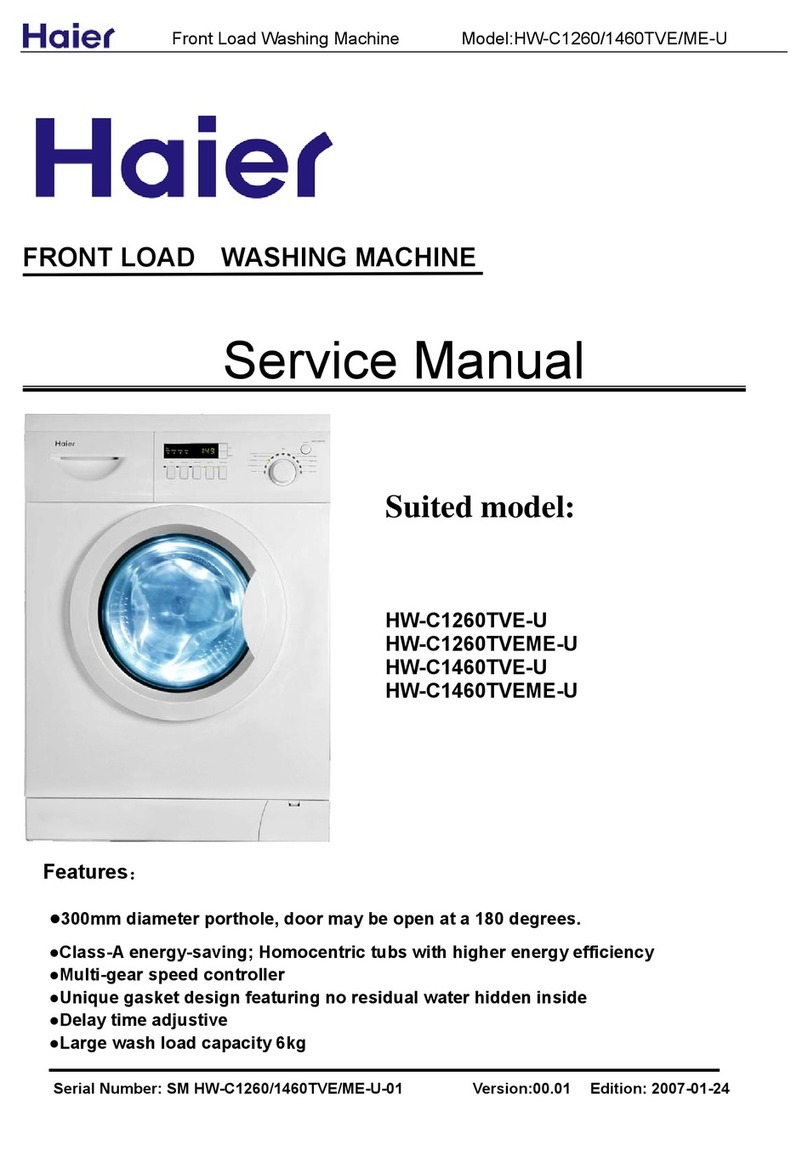
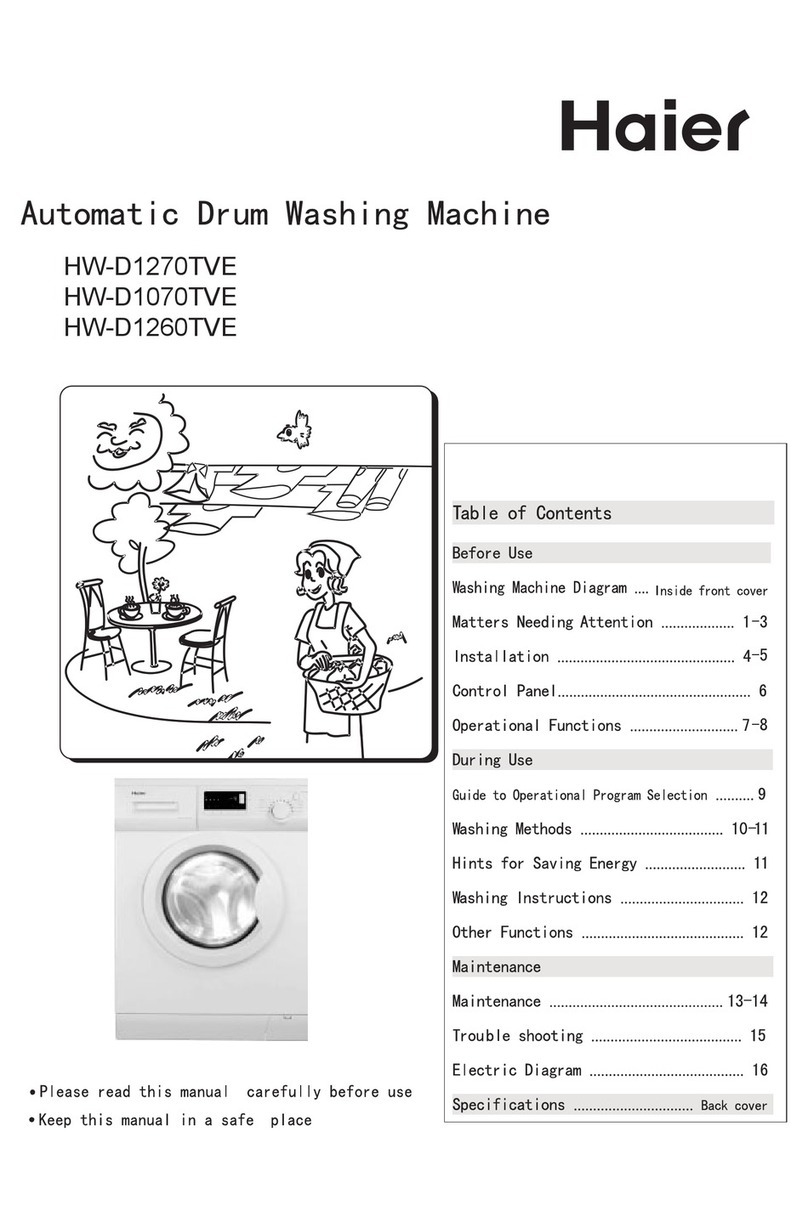
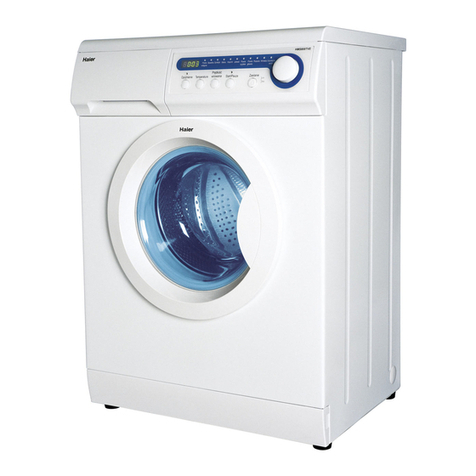
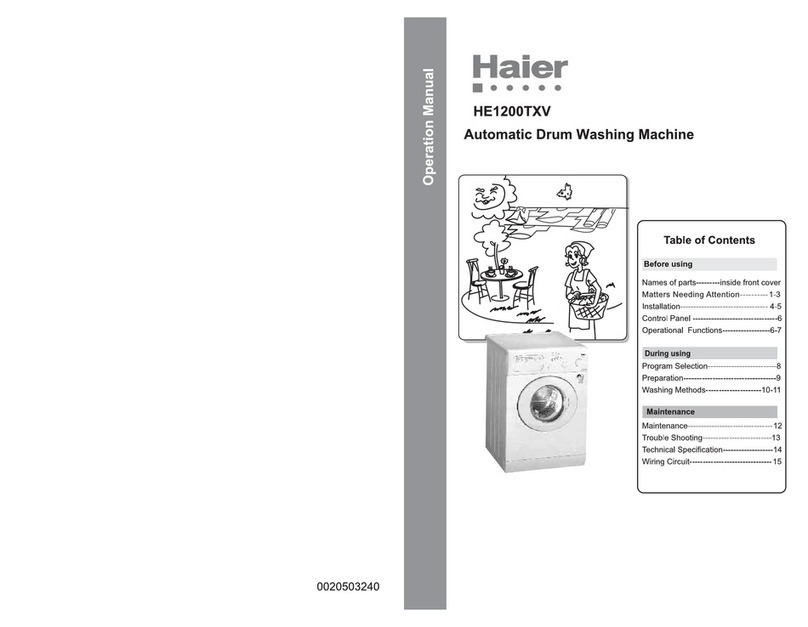
Haier HW100-BDV14979S8U1 User manual

User manual
●
W
●
ashing machine
HW100-BDV14979S8U1
●

Scan the instruction page QR code with your mobile phone to download and install Haier
●
Smart APP client.
Registration is required only the first time you use the APP, for further use, you only
●
have to enter the user name and passward to use the APP when successfully regi-
stered.
Download and Install Haier Smart APP
Connect to the home Wi-Fi, open the Haier Smart APP, register an account and log in,
click the "+" symbol in the upper right corner, select the washing machine, select the
corresponding model, and press and hold the power button until C5 appears on the
washing machine interface, and then connect the phone to Wi-Fi hotspots starting wit-
h "u-wmt", the washing machine automatically associates with the mobile phone to co-
mplete the binding, then reconnect the phone to your home Wi-Fi, Finally select the
Remoto program to operate remotely.
Registration and Login
Function of APP
Equipment control: Select program mode, set program parameters, start program mode,
●
pause, shutdown, etc.
Status View: View the running status of the device in real time.
Information reception: Receiving various prompts such as fault alarm, etc.
●
The APP function will be updated continuously with the upgrade of the version,
which is subject to the actual function of the corresponding version.
●
App Instructions

Thank You
L
●
egend
Warning – Important Safety information
General information and tips
Envi
●
ronmental information
Disposal
H
●
elp protect the environment and human health. Put
the packaging in applicable containers to recycle it.
Help to recycle waste of electrical and electronic ap-
pliances. Do not dispose appliances marked with this
●
symbol with the household waste. Return the product
to your local recycling facility or contact your munici-
pal office.
●
Thank you for purchasing a Haier Product.
Please read these instructions carefully before using this appliance. The instructions
contain important information which will help you get the best out of the appliance and
ensure safe and proper installation, use and maintenance.
Keep this manual in a convenient place so you can always refer to it for the safe and
proper use of the appliance.
If you sell the appliance, give it away, or leave it behind when you move house, make
sure you also pass this manual so that the new owner can become familiar with the
appliance and safety warnings.
o
Disconnect the appliance from the mains supply. Cut off the mains cable and dispose
f it. Remove the door catch to prevent children and pets to get closed in the appliance.
Risk of injury or suffocation!
WARNING!
2

Content
●
1-Safety information................................................................................................ 4
2-Product description
●
.............................................................................................. 7
3-Operation and function ..................................................... ..... ................. ............ 8
4-Programmes.......................................................................................................17
5-Daily use.............................................................................................................18
6-Eco-friendly washing..........................................................................................21
7-Care and cleaning..............................................................................................22
8-Troubleshooting..................................................................................................25
9-Installation
●
..........................................................................................................28
10-Technical data
●
11-After-sale service
................................................................................................. 32
............................................................................................ 33
3

1-Safety information
●
WARNING!
●
Make sure these is not transport damage.
Make sure all transport bolts are removed.
Remove all packing and keep out of children’s reach.
Handle the appliance always with at least two persons because it is hea-
vy.
Daily use
Before first use
This appliance can be used by children aged from 8 years and above a-
nd persons with reduced physical, sensory or mental capabilities or lack
of experience and konwledge if they have been given supervision or in-
struction concerning use of the applia
●
nce in a safe way and understand
the hazards involved.
Before switching on the appliance for the first time read the following safety
hints!
Keep away children under 3 years of
●
age from the appliance unless they
are constantly supersised.
Children shall not play with the appliance.
Pull up zips, fix loose threads and take care for small items to prevent l-
aundry from being entangled. If necessary, use an appropriate bag or n-
et.
Do not let children or pets come close to the appliance when the door is
open. Store washing agents out of reach of children.
Do not press or use the appliance when barefoot or with wet or damp h-
ands or feet.
Do not cover or encase the appliance during operation or afterwards to
allow any moisture or dampness to evaporate.
Do not place heavy objects or sources of heat or damp on top of the ap-
pliance.
Do not use or store flammable detergent or dry cleaning agent in close
vicinity to the appliance.
Do not use any lammable sprays in close vicinity to appliance.
Do not wash any garments treated with solvents in the appliance without
having dried them previously in the air.
4

1-Safety information
●
WARNING!
Daily use
●
Do not remove or inset the plug in the presence of flammable gas.
Do not hot wash foam rubber or sponge-like materials.
Do not wash any laundry which is polluted with flour.
Do not open detergent drawer during any wash cycle.
Do not press the door during the washing precess, it gets hot.
Do not open the door if the water level is visibly over the port hole.
Do not force the door to open. The door is fitted with a self-lock device and
will open shortly after the washing procedure is ended.
Switch off the appliance after each wash programme and before under tak-
ing any routine maintenance and disconnect the appliance from the electri-
cal supply to save electriaity and for safety.
Hold the plug, not the cable, when unplugging the appliance.
Maintenance/cleaning
●
Make sure children are supervised if they carry out cleaning and maintena-
nce.
●
Disconnect the appliance from the electrical supply before undertaking any
routine maintenance.
Keep the lower part of the porthole clean and open door and detergent dr-
awer if appliance is not in use to prevent odours.
Do not use water spray or steam to clean the appliance.
Replace a damaged supply cord only be the manufacturer, its service age-
nt or simiarly qualified persons in order to avoid a hazard.
Do not try to repair the appliance by yourself. In case of repair please cont-
act our customer service.
Installation
The appliance should be placed in a well-ventilated place. Ensure a locati-
on which allows opening the door fully.
Never install the appliance out doors in a damp place, or in an area which
may be prone to water leaks such as under or near a sink unit. In the event
of a water leak cut power supply and allow the machine to dry naturally.
5

1-Safety information
●
Intended use
●
This appliance is intended for washing machine-washable laundry only. Any-
time follow the instructions given on the label of each garment label. It is not
intended for commercial or industrial use.
Changes or modifications to the device are not allowed. Unintended use may
cause hazards and loss of all warranty and liability claims.
WARNING!
Installation
Installor use the appliance only where the temperature is above 5 °C.
Do not place the appliance directly on a carpet, or close to a wall or furn-
iture.
Do not install the appliance in direct sunlightor in the near of heat sourc-
es (e.g. stoves, heaters).
Make sure that the electrical information on the rating plate agrees with
the power supply. If it does not, contact an electrician.
Do not ude multi-plug adapters and extension cables.
Make sure only the delivered electric cableand hose set are used.
Make sure not to damage the electric cable and the plug. If damaged ha-
ve it replaced by an electrician.
Use a separate earthed socket for the power supply which is easy acce-
ssible after installation. The appliance must be earthed.
Make sure the hose joints and connections are firm and there is no leak-
age.
6
●

2.1 Pict
●
ure of appliance
Front (Fig. 2-1): Rear side (Fig. 2-2):
2.2 Accessories
●
Check the accessories and literature in accordance with this list (Fig.2-3):
Note:
1 Detergent delivery module
2
Control panel
3
Touch panel
4 Power button
5 Filter cover
6 Adjustable feet
1 Transportation bolts (T1-T4)
2 Backcover
Backcover screws 7 EA
3
4 Power cord
5 Water inlet valve
6 Drain hose
2-1 2-2
2-3
2-Product description
Inlet hose
●
assemb
●
ly
5 Blanking
plugs+2 Screws Drain hose
bracket
User manual Bottom plate Warranty card
Warranty
card
Due to technical changes and different models,the illustrations in the following ch-
apters may differ from your model.
7
T1
T2
T3
T4

3-1
3.1 Main interface
8
●
.
3-Operation and function
This product adopts full touch screen control. The selection and setting of laundry
procedures can be completed by tapping the display screen Fig. 3-1
The touch screen “Power” button
Tap the button on the panel for about 2 seconds to turn on
the power of the washing machine.
Tap the button on the panel for about 2 seconds to power
off the washing machine.
Tap this icon to enter the setting page, you can set the child lock,
sound, language, brightness, Internet of things configuration,
system update, and restore factory Settings.
This icon is displayed when the washing machine is connected to
the network.
Tap this icon to return to the upper-level menu.
3.2 Program selection
After you tap the button for 2 seconds to start the device, the screen plays the
startup logo and displays the program selection page

3-Operation and function
●
9
3.2.1 Select washing program
3.2.2 Adjustment of washing parameters
The user can select the corresponding program according to the laundry, so as to accu-
rately meet the user's various washing needs.Select the corresponding program from
the program selection page. There are 25 programs to choose from. The washing pro-
gram is shown in the following figure 3-2:
3-2
This model has memory function, after each boot, washing program sequencing will
be the last use of the program to the first, other programs postponed position
Note:
Users can set the washing parameters, detergents, softeners, UV sterilization, reser-
vation, special stains and additional functions in detail according to their needs. The
washing time will be automatically adjusted after the washing parameters are adjusted.
If the washing parameters are not adjusted, the default parameters are used directly.
Different programs have different adjustable parameters. Touch or to turn the
page of the program's function options and set different parameters.

3-Operation and function
10
●
3-3
The picture shows the sample of cotton program interface Fig. 3-3 , you can see from
the drawings change process can be based on user needs time, temperature, rinse times
and speed to choose, can choose whether ultraviolet sterilization program to open at the
same time, in the use of detergents and fabric softeners, and booking function is enabled,
in particular, the processing methods of special stains and some additional functions,For
special stain and additional functions, see the following table.

3-Operation and function
11
Stain Additional
Water Plus
Eco. Wash
Night Wash
Easy Ironing
Fruit
Wine
Ketchup
Soil/Sand
This function is recommended when
there is fruit on clothing
This function is recommended when
there are wine on clothing
This function is recommended when
there are ketchup on clothing
This function is recommended when
there are Soil/Sand on clothing
Increase the water level and amount
of water when washing and rinsing
Energy saving, suitable for washing
not too dirty clothes
Suitable for night washing
Suitable to reduce wrinkles caused
by washing clothes
There are 26 kinds of special stains including
the above 4 kinds. It is recommended to choose
different special stains according to the types of
stains on clothes
Directions for use Directions for use
Uv sterilizing, special stains and additional features are only optional for some programs. If you
choose the night wash or no-ironing function, the clothes will enter the shaking state automatic-
ally to prevent wrinkles caused by accumulation after washing, and the washing will last for up
to 12 hours.Users can manually stop the program according to their own needs or automatically
close the program after the end of the chattering.In the night wash mode, it will also cancel the
beep sound except for the alarm sound and limit the maximum speed during dehydration.
CAUTION!
3.2.3 Start washing procedure
After setting related parameters and additional functions, tap the button on the display page
to start washing.If you use the default parameters, you can start the system directly. And the op-
eration flow chart is as follows.
cotton
The main interface Program selection
Parameter Settings
Detergent
UV
Start
Softener
Stain
Delay
Additional
Washing

3-Operation and function
12
●
3.3 Specific features
3.3.1 Child lock
3.3.2 Door lock function
(1). During the use of washing machine, “Child lock” can avoid children's misoperation and
external interference to the washing machine program.
(2). Turn on the Child lock function when setting the program. If there is no operation on the s-
creen after the washing program starts, the child lock will be automatically activated 2 mi-
nutes after the program runs, and the child lock icon will be displayed on the screen
(Fig. 3-4).
(3). After the child lock function is enabled, any action to change the program or washing para-
meters on the display screen is invalid. After the program runs, the child lock will be lifted
automatically. After the power off, the program starts the memory lock state.
(4). In the child lock state, the child lock can be removed by sliding the information prompt on
the screen.
3-4
3-5
In order to ensure safety, under normal circumstances, when the washing machine is running,
the door of the machine is locked, and the lock icon will appear on the screen (Fig. 3-5).
1 . If you need to unlock during washing, please touch the pause icon on the screen first. After
the lock icon disappears, you can open the boot door.
(2). In some cases, such as the water level in the cylinder is too high, the temperature is too high
and the cylinder is rotating, even if the program is suspended, for the safety of the user, the
door lock will not open immediately, which is a normal phenomenon.
(3). If you want to open the door during booking, please unlock it first.
(4). If the door is locked, the door lock icon will be displayed on the page. If it is not locked, it
will not be displayed.

3-Operation and function
13
3.3.3 Delay function
3.3.4 Downlight function
3.3.5 Power off memory function
The “Delay” function is used to set the end time of washing program. After setting, it will show
how much time is left before the end of washing. Users can set how long to finish washing progr-
am according to their own needs (Fig. 3-6).
(1). After setting the parameters of the laundry program and before starting the program, touch
the “Delay” option to set the delay time.
(2). Slide up and down or tap in the option box to adjust the delay time. The interval is 0.5 hours,
and the maximum optional range is 24 hours.
(3). After setting, tap the key to start the program and make an appointment to enter the co-
untdown.
3-6
The delay time is the end time of the program. If the actual laundry program runs longer than
the delay time, the booking time will not be executed and the laundry program will start running
immediately.In addition, the “Delay” will be cancelled automatically after changing the washing
procedure or parameters.
CAUTION!
When the Downlight of the washing machine is lit in the standby, pause and end state of the
program, the clothes in the washing machine can be observed and the fun of intelligent laundry
can be felt.
During operation, if the display screen is off, tap any position of the display screen to light up
the screen, and then the Downlight will also light up.
This machine has memory function of power outage, if power outage or plug is loose in the
washing process, the washing machine can remember the running status of the program, and
the washing machine will continue to work according to the original program after power supply
is restored and the machine is started.

3-Operation and function
14
●
Through I-time function in the washing parameters, you can adjust the total time of the washing
procedure.The adjustable time parameters in time washing can be adjusted timely according to
the changes of rinsing, temperature, speed and other parameters (Fig.3-7).
3.3.6 I-time
3.3.7 Drum Clean
3.3.8 Detergent drawer
3-7
3-8
Use Drum Clean program, can not add any detergent or cleaning agent, if using tank (drum) c-
leaning agent, please be sure to read the use manual of drum cleaning agent, confirm whether
it is suitable for drum washing machine drum self-cleaning use, so as not to cause foam overflow
or even damage washing machine or clothes.
Open the drawer, three compartments can be seen (Fig.3-8).
1
2
3
When using the “Drum Clean” program, must not put clothes and clothes washing detergent, to
avoid foam overflow or even cause damage to the washing machine or clothes. Select “Drum
Clean”, press "temperature", and select "Cold" , which can be adjusted to the dandruff cleaning
mode. The time display is 8 minutes. Press the start running program to clean a small amount
of thread dandruff in the inner cylinder and window pad.
1 Compartment 1:Liquid detergent.
2 Compartment 2:Softener, Conditioning agent etc.
3 Compartment 3:Powder detergent.
This model has the intelligence on the function, detergents
and fabric softeners delivery is set by the system according
to the parameter Settings, when use, can be artificially qua-
ntity was set up, also can be set to AUTO, judging by the
system automatically supply, don't have to add each time
when using detergents and fabric softeners, when prompted
to add detergent or softener is insufficient
CAUTION!

3-Operation and functionon
15
3-9
3-10
3.3.9 Voice Control
3.3.10 System Settings
The washing machine has a built-in voice control module, which can interact with the washing
machine through voice dialogue and give instructions for washing (Fig.3-9).
After the voice function is enabled, you can use the wakeup word "Hello Haier" to wake up the
voice, please refer to "Instructions for Voice Function" in the attached form on page 35 before
use. The voice control function is more intelligent when Wi-Fi is connected online. The sound
(less than 50 decibels), within 2 meters from the washing machine and directly in front of it.
(1)Tap to go to the setting screen (Fig.3-10).
(2)You can set Wi-Fi, Voice, Child Lock, Operating Tone, Brightness, Guide, International lcon,
System Update and Factory Reset.
effect is related to distance and Angle. It is recommended to work best in a quiet environment

3-Operation and function
16
●
(3) On the Settings screen, tap Wi-Fi Settings to go to the configuration screen, select the Wi-Fi
configuration mode, and connect to Wi-Fi as prompted. After connecting to Wi-Fi, the mess-
age "Network Configuration completed" is displayed.
3-11
Wi-Fi Internet of Things configuration steps:
a. Enable the Wi-Fi configuration mode. The network configuration page is displayed. On the ne-
twork configuration page, click Quit to exit the configuration mode. If no operation is performed
within 10 minutes in the C5 state, the system exits the configuration mode.
b. Log in the APP client and complete the binding of the washing machine according to the oper-
ation instructions in the APP;
c. After binding successfully, the washing machine can be controlled by mobile phone APP;
d. 2 minutes after standby and program end, if there is no other operation, the machine will aut-
omatically shut down and cancel the Internet of Things function.
In addition to the above configuration method, when the washing machine is powered on and in
the shutdown state, long press the power button for 5 seconds until the washing machine starts
up and displays "C5", you can also enter the Wi-Fi configuration mode. In the networking state,
if there is system update content in the server, you can use the system update function to upgr-
ade, and the upgraded washing machine program parameters and other functions may be diff-
erent from the current system version, please choose with caution.

4-Programs
17
1)
*: Water is not heated up.
2) Only one piece of adult or bulky clothing can be washed, and up to three pieces of children’s clothing,
only care for dry clothes.
Choose 90°C wash temperature only for special hygienic requirements.
4)
3) Can be used as a washing program, (The parameter is default and not optional), but also the use of
the Internet function of the exclusive program.
5)
6) Noise testing Program: Open the machine and select Cotton program, then press button Temp. to
select 60°C, Speed set to 1400r, Detergent and softener none Rinse select 1 time I-time select
the shortest time then press the Start/Pause button.
Energy Consumption Testing Program: Open the machine and select Cotton program, then press
button Temp. to select 60°C, Speed set to 1400r then press the Start/Pause button.
Max. load Temperature Preset
spin
speed
in rpm
Function
in kg in °C
1)
Program
selectable
Fabric type
Cotton 10
10
10
5
5
5
7
7
5
10
5
10
2.5
2.5
2.5
2.5
3
2.5
30
30
º º º º º º
º
º
º º º
º º º º
ºº
ºº
ºº
º º º º
º º º º
º
º
º
º
Cotton 1000
Mix
ºº
1000
Smart Wash
30 ºº
1000
Express 15
* to 60
* to 60
* to 90
* to 60
* to 40
* to 40
*
*
30
20
30
30
40
40
40
* to 40
* to 40
* to 60
* to 60
* to 30
30
30
* to 60
* to 60
30
30
30
90
* to 30
* to 40
* to 40
* to 40
30
* to 90
* to 90
* to 90
40 º º Cotton/ synthetics
Cotton/ synthetics
Cotton/ synthetics
Cotton/ synthetics
Cotton/ synthetics
Cotton/ synthetics
Cotton/ synthetics
Cotton/ synthetics
Cotton/ synthetics
Cotton/ synthetics
Cotton/ synthetics
1000
ºº
º º
Cotton
1000
1000
º º
º º
ºº
º º
ºº
º º
ºº
º º
º
1000
1000
1000
1000
1000
1000
º º º º
º º º º
º º º
ºº
º º
ºº
º º
º º
º
ºº
1000
1000
1000
800
800
800
800
800
600
600
600
Refresh
Sportswear
Rinse+Spin
Sprtswear
1
1
1
2
10
10
Hygiene
Underwear
//
/
////
/
/
//
/
/
/
// / /
/
// / /
/
ºº
//
ºº
//
/
/
//
/
/
/
/
/
/
/
/
/
Delicate
Intensive
Outdoor
Bedding
Baby Care
Silk Silk
Shirt Shirt
Jeans
Wool Wool
Curtain
Synthetics
Duvet Duvet
Remote
Drum Clean
Jeans
º Optional, / No
Quick 39
2)
3)
4)
1)
Spin
º
º
º
º º
º
ºº
º
range
Do not use detergent instead of use a special machine cleaner, and the default speed is 600r.
Min.
Min.
Cotton
Synthetic or maxed
Cotton/ synthetics
Cotton/ synthetics
Mendale

5-Daily use
5.3 Pr
●
eparing laundry
Check the care label on the clothing. Sort out
Se
●
parate white clothes from coloured .Wash
coloured textiles first by hand to check if
they fade or run.
●
Empty pockets (keys, coins, etc.) and remove
harder decorative objects (e.g. brooches).
a
ven textile such as fine curtains are to be put into
wash bag to care for this delicate laundry (hand
or dry cleaning would be better).
Close zippers, velco fastenerand hooks, make
sure the buttons are sewn on tightly.
Garments without hems, delicates and finely wo-
Place sensitive items like laundry without firm
he
●
m, delicate underwear and small items su-
ch as socks, belts, bras, etc. in a wash bag.
Un
●
fold large pieces of fabric such as bed sheets,
bedspreads etc.
Turn jeans and printed, decorated or color-inten-
sive textiles inside out; possibly wash .yletarapes
5-3
5.1 Power supply
Connect the washing machine to a power supply
(220V/50Hz; Fig.5-1). Please refer also to section
INSTALLATION.
5.2 Water connection
Check the condition of the water inlet hose before
Tun on the tap (Fig.5-2).
Note: Tightness
Before use check for leakage in the joints between the tap and the inlet hose by turning
on the tap.
CAUTION!
Non-textile, as well as small, loose or sharp-edged items may cause malfunctions and
damage of clothes and appliance.
18
5-1 5-2
connecting it to the water tap.
clothes according to types of fabric (cotton,
synthetics, wool or etc.) and soil level (Fig. 5-3).

5-Daily use
Care chart
Washing
Washable up to 90°C
normal process
Washable up to 60°C
normal process
Washable up to 60°C
mild process
Washable up to 40°C
normal process
Washable up to 40°C
mild process
Washable up to 40°C
very mild process
Washable up to 30°C
normal process
Washable up to 30°C
mild process
Washable up to 30°C
very mild process
Wash by hand
max. 40°C
Do not wash
Bleaching
Any bleaching allowed Only oxygen/
non-chlorine
Do not bleach
Drying
Tumble drying possible
normal temperature
Tumble drying possible
lower temperature
Do not tumble dryer
Line drying Flat drying
Iron at a maximum
temperature up to
200 °C
I
Don’t overload. Note the different maximum load according to programme! Rule of
ron at a medial tem
perature up to
150°C
Iron at a low temper
ature up to 110 °C;
without steam (steam
i
●
roning may cause irre
versible damage)
Do not iron
Professional Textile Care
Dry cleaning in tetra
chloroethene
Dry cleaning in hy
drocarbons
Do not dry clean
Professional wet clean Do not professional
w
●
et clean
5.4 Loadi
●
ng the appliance
Put in the laundry piece by piece.
thumb
●
for maximum load: Check if you can put a hand upright on top of load.
Close the door carefully. Make sure that no pieces of laundry are pinched.
19
Other Haier Washer manuals

Haier
Haier HWM65-828 User manual

Haier
Haier HMS1400TXVE User manual

Haier
Haier HA1000 User manual

Haier
Haier HW-K1200 Configuration guide

Haier
Haier HWT07AN1 User manual

Haier
Haier HWM75TL User manual

Haier
Haier HW70-1202D User manual

Haier
Haier HWD 1500 User manual

Haier
Haier XPB88-LS User manual

Haier
Haier HLC1700AXS User manual

Haier
Haier HWM50-10 User manual

Haier
Haier HWD 1500 User manual

Haier
Haier HL1400TXV User manual

Haier
Haier HW100-B14266A User manual

Haier
Haier HWM75-0713S User manual

Haier
Haier HWM60-78 User manual

Haier
Haier HW80-1403D User manual

Haier
Haier HW-E1070TVE User manual

Haier
Haier HWD80-BP14636S User manual

Haier
Haier HA800T User guide