After switching on the Power, select the memory programme(the tube on).Then select appropriate time of SOAK, WASH and SPIN
and the time of rinse on need. After setting, the washing machine memorized the programme set by yourself. When switching on
the Power again, press the PROGRAM button, and select the MEMORY program, the program set by yourself will start
automatically. Using the MEMORY program, you can storage the program which meets with your individual need.
Eliminating foam rinse
Memory programme
Press the RINSE button, when the tube is on, it indicates that you have chosen the ELIMINATING FOAM RINSE PROGRAM, and
perform eliminating foam rinse firstly. Then, it will fill water continuously after the water level is high, and the foam in the tub will
overflow from the overflow inlet, and avoiding polluting the clothes again.
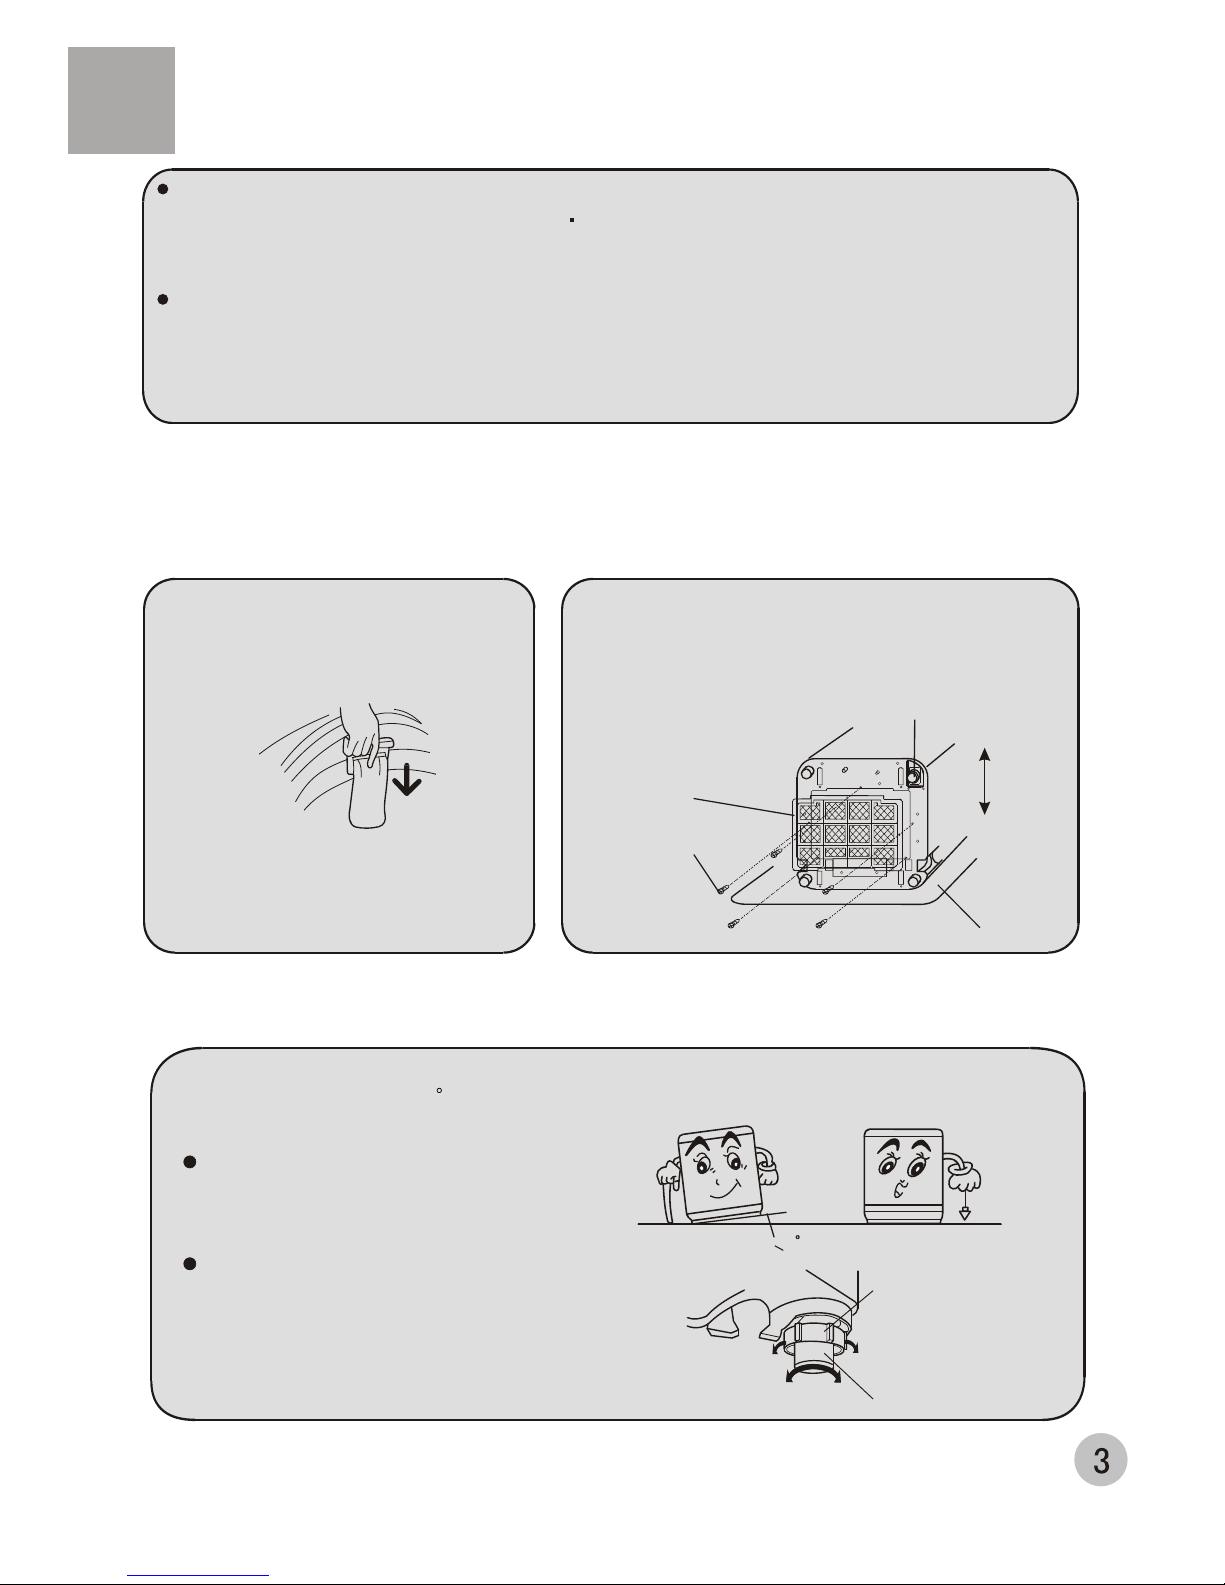
After you open the package, please lean the washing
machine gently down on soft items ( like the towel cloth,
blanket, etc. ). Install the bottom plate to the bottom of
the machine with the five screws by a cross screwdriver,
then lift the machine up gently. See to the figure:
Back
Front
Soft items
Ajustable foot
Screw
Bottom plate
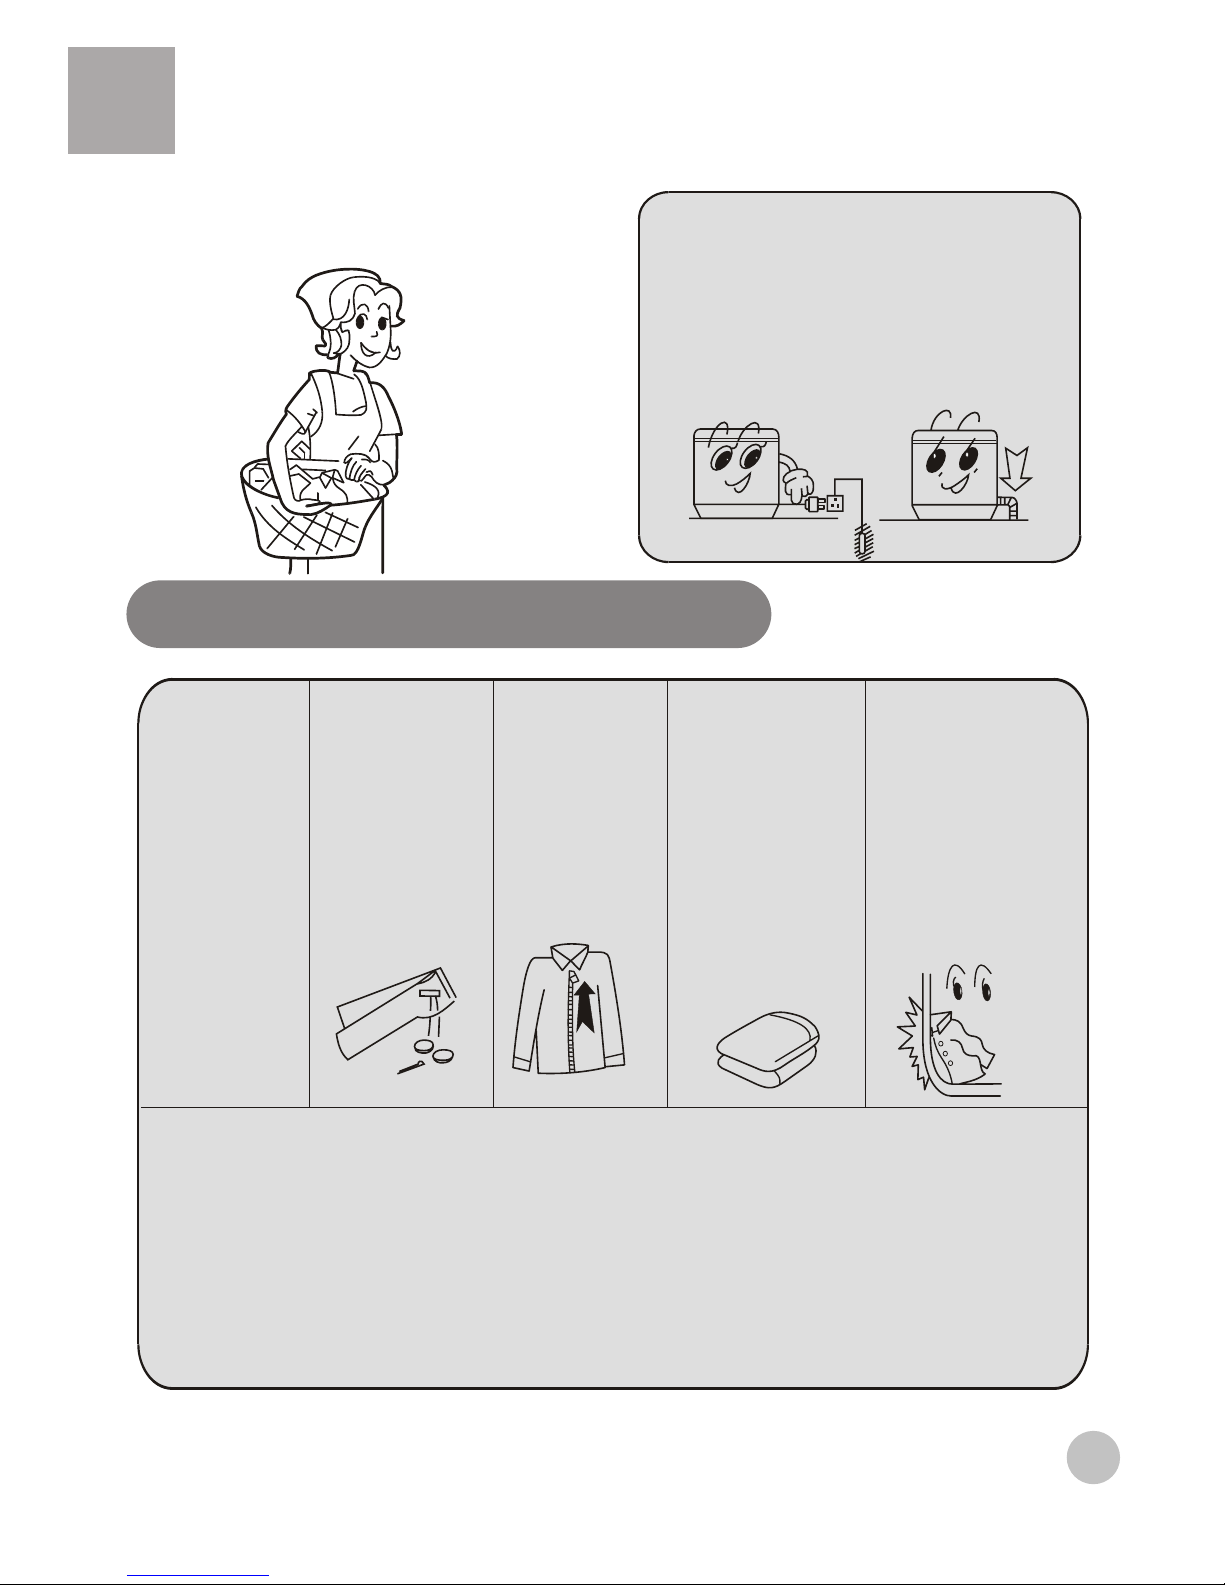
Before Using
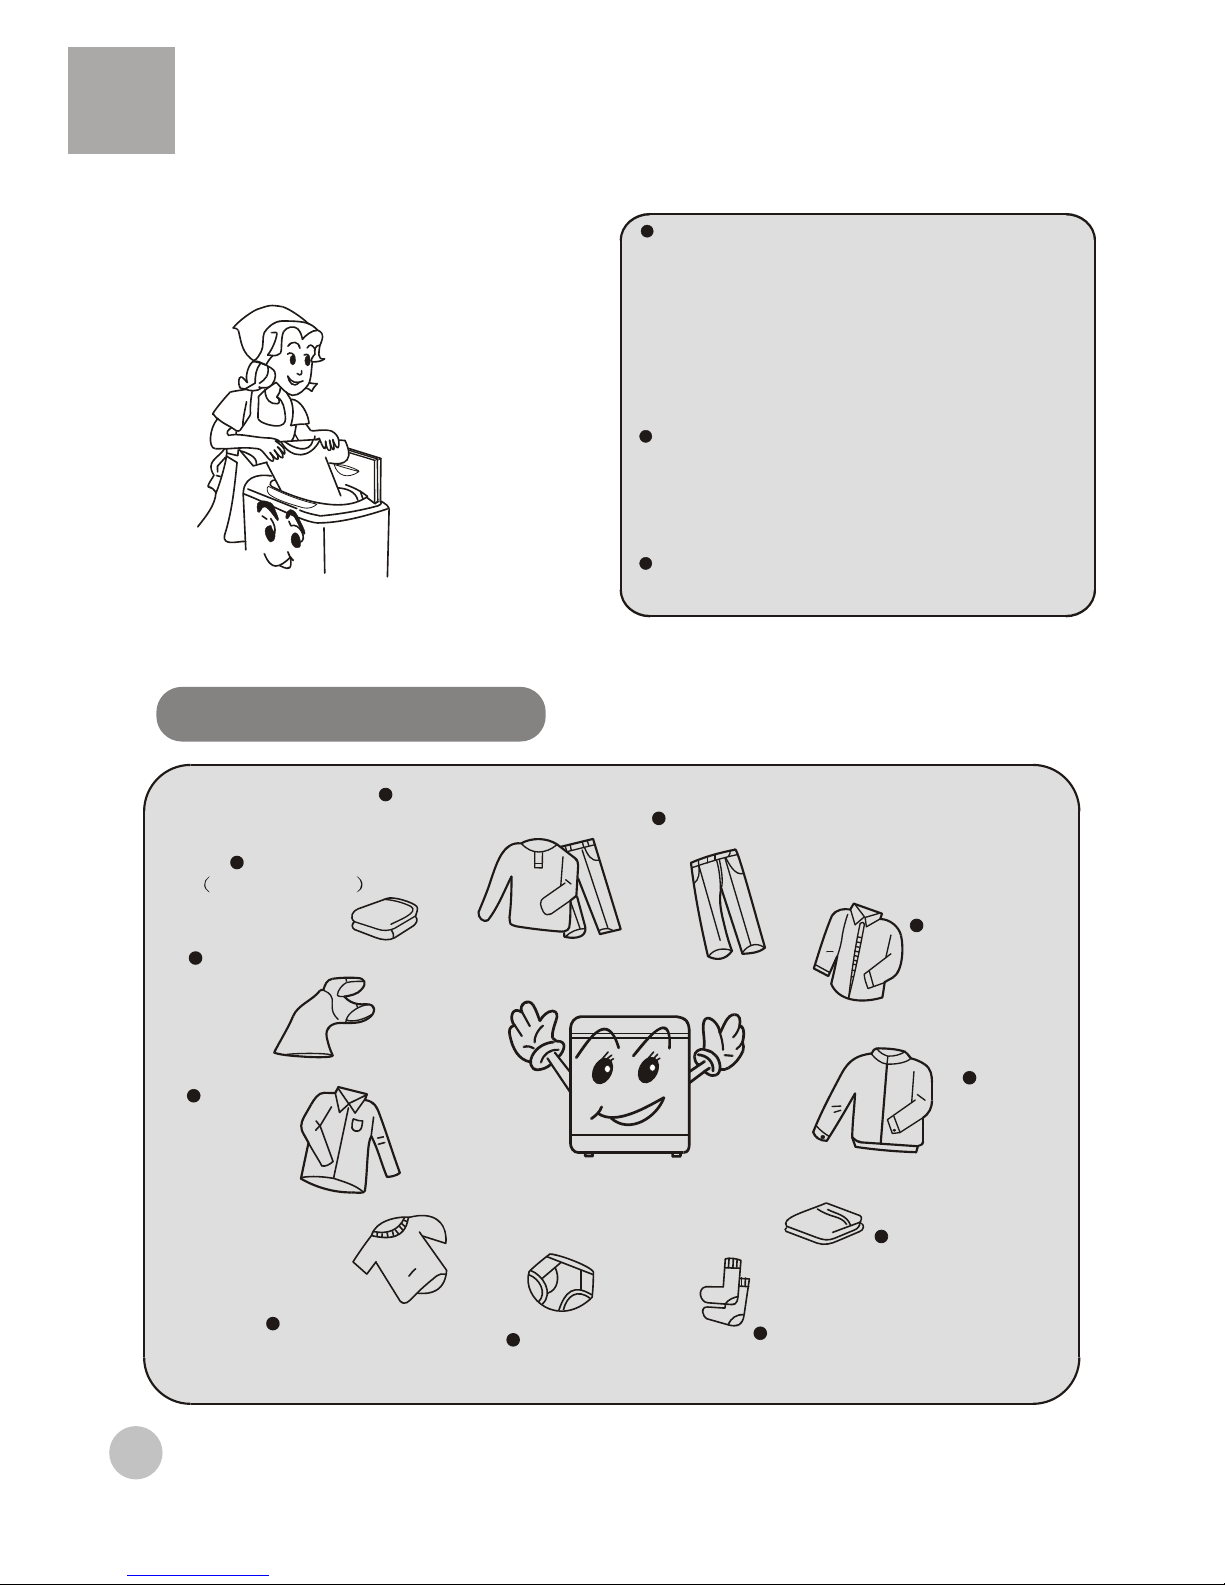
Before Using
Special function introduction
Please install and adjust the machine according to the requirement of the manual. It is
very important to your security and correct operating the machine.
Installation and adjustment
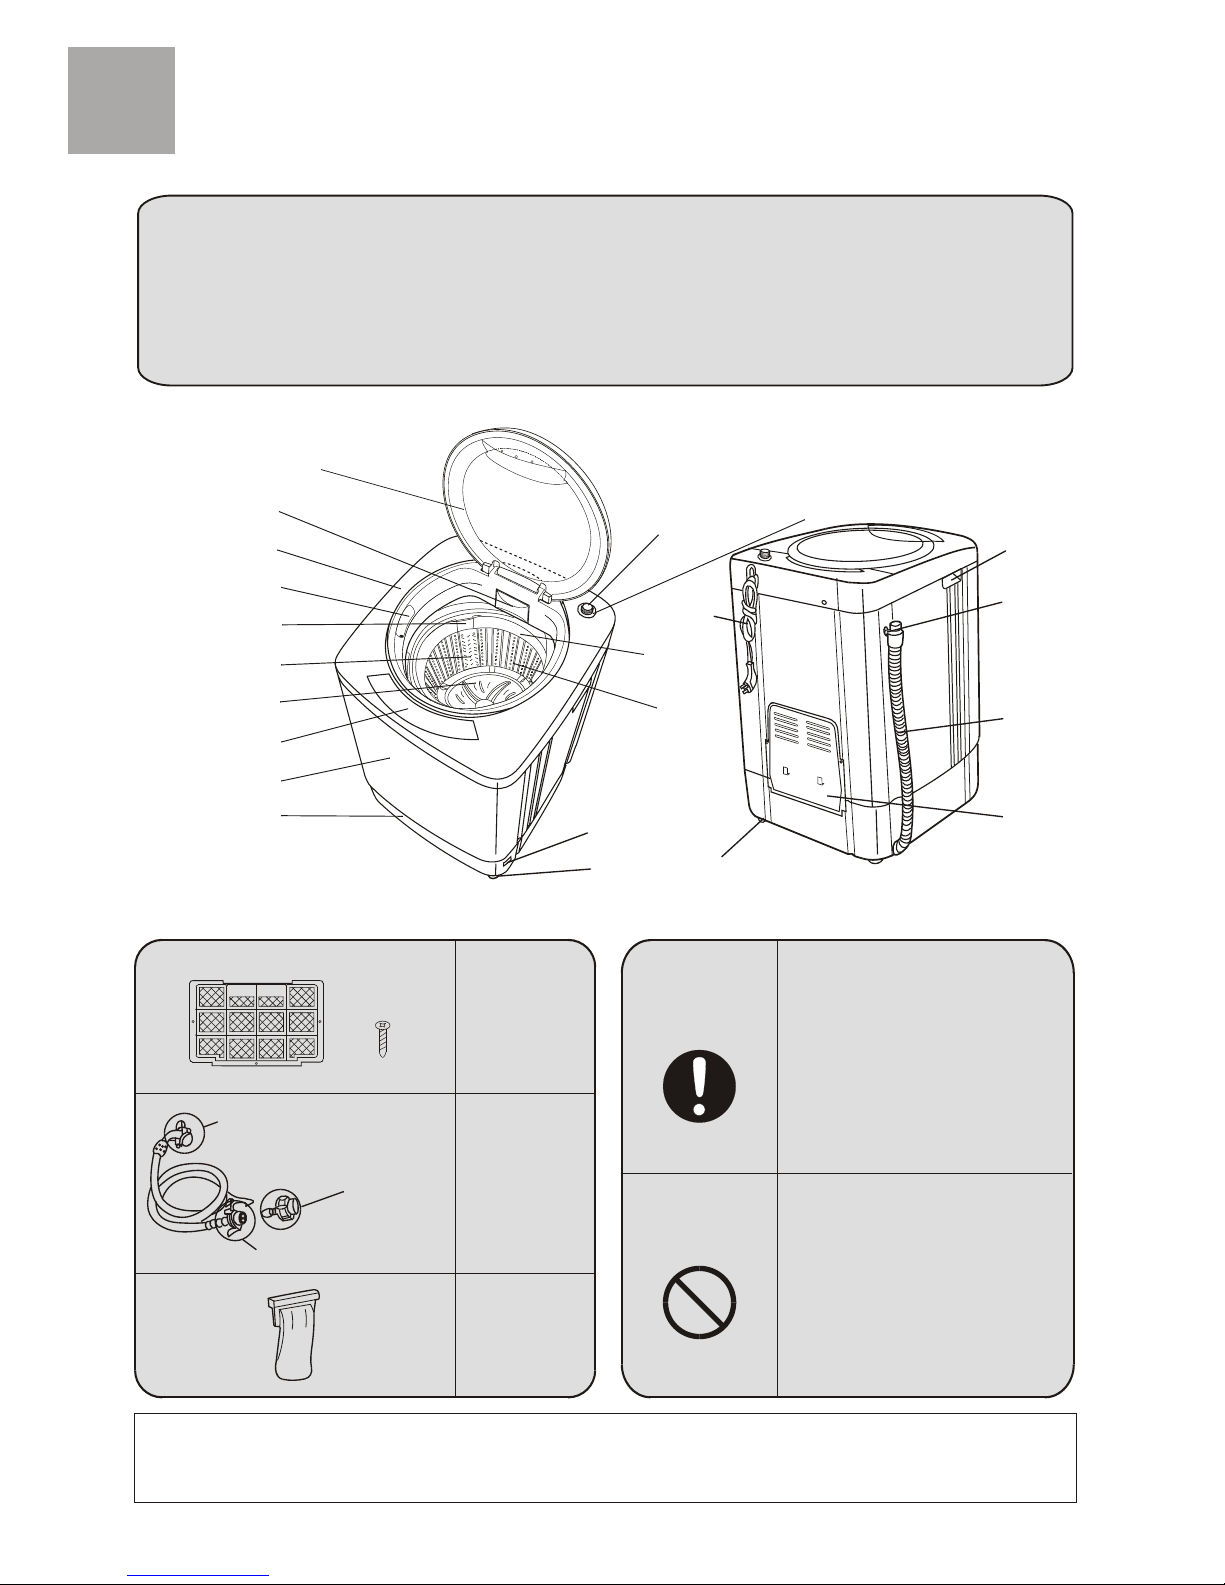
Install bottom plateInstall lint filter
Install
Push lint filter downward to location for
lint filter
The distance that washing machine away from wall should be above 20mm. The largest allowed slope of the
shank base of the machine is 2 . The slanting or rough ground will result in unstable running or stoppage
of the machine. Please adjust it with following methods:
Adjust the adjustable foot:
Adjust the installation position
1.To twist the adjustable foot, please first lift up
the side of the foot slightly, loosen the adjustable
nut, and twist the foot.
2.Fasten the nut after adjustment.
<2
Loosen
High
Fasten
Adjustable feet
Low
Adjustable nut
Confirm it's horizontal:
Hang the lead line to confirm if it is horizontal.