Page 4
Halsey Taylor (630) 574-8484
2000000695 (Rev. A - 07/22)
SJ8Q_1P
To avoid product or property damage, personal
injury, or even possible death, carefully read,
understand, and follow all the instructions in
this Installation / Use & Care Manual before
installing this product.
After installation, keep these instructions in a
safe location for future reference.
Do not operate power tools unless you read and
understand the instructions and warnings in
this and all other applicable labels or manuals.
Proper use of tools and the products described
in this guide is your responsibility.
Lifting Hazard
• To avoid personal injury, always use
these proper lifting techniques and use
two people to move heavy cartons.
• Use appropriate lifting devices to move
the load.
• Always use two people when lifting
heavy or bulky cartons. DO NOT attempt
to lift objects that are too heavy.
Power Tool Hazard
• To prevent personal injury or possible
death, always follow the electrical safety
recommendations of the power tool’s
manufacturer.
• Do not use power tools in an unsafe manner
• Power tools should only be connected to a
circuit protected by a ground-fault circuit
interrupter (GFCI).
• If an extension cord is required, always use
an OSHA approved extension cord.
Shock and Electrocution Hazards
Failure to follow these instructions could result
in severe burns, signicant injuries, and even
death.
Water will conduct electric current to
create a short circuit, resulting in injury or
death.
• Never use electric power tools around water
or wet oors/surfaces.
• Keep all liquids away from electrical cords
and power tools.
• If an extension cord is required, always use
an OSHA approved cord.
• DO NOT create a short circuit between a
source of electricity and a liquid by being in
contact with both simultaneously.
Contacting live electrical wiring with
power tools or hand tools can cause
serious injury or death.
Prior to any maintenance, make sure the unit is
unplugged and circuit breakers are turned OFF.
Prior to installation, test for live circuits or wiring
inside the wall before cutting or drilling into the
wall.
Failure to follow these instructions could
result in personal injuries, water damage, and
other damage to oors, pipes, walls, and other
portions of your building or home.
Follow all instructions related to installation and/
or maintenance of this product.
This appliance is not intended for use by persons
with reduced physical, sensory, or mental
capabilities or lack of experience and knowledge,
unless they have been given supervision or
instructions concerning use of the appliance by
a person responsible for their safety. Children
shall not play with the appliance. Cleaning and
user maintenance shall not be made by children
without supervision.
To prevent a metallic taste or increased metal
content in the water due to an electrolysis
process caused by electrical feedback from the
grounding of electrical equipment to water mains,
connect to the water mains using a dielectric
coupling.
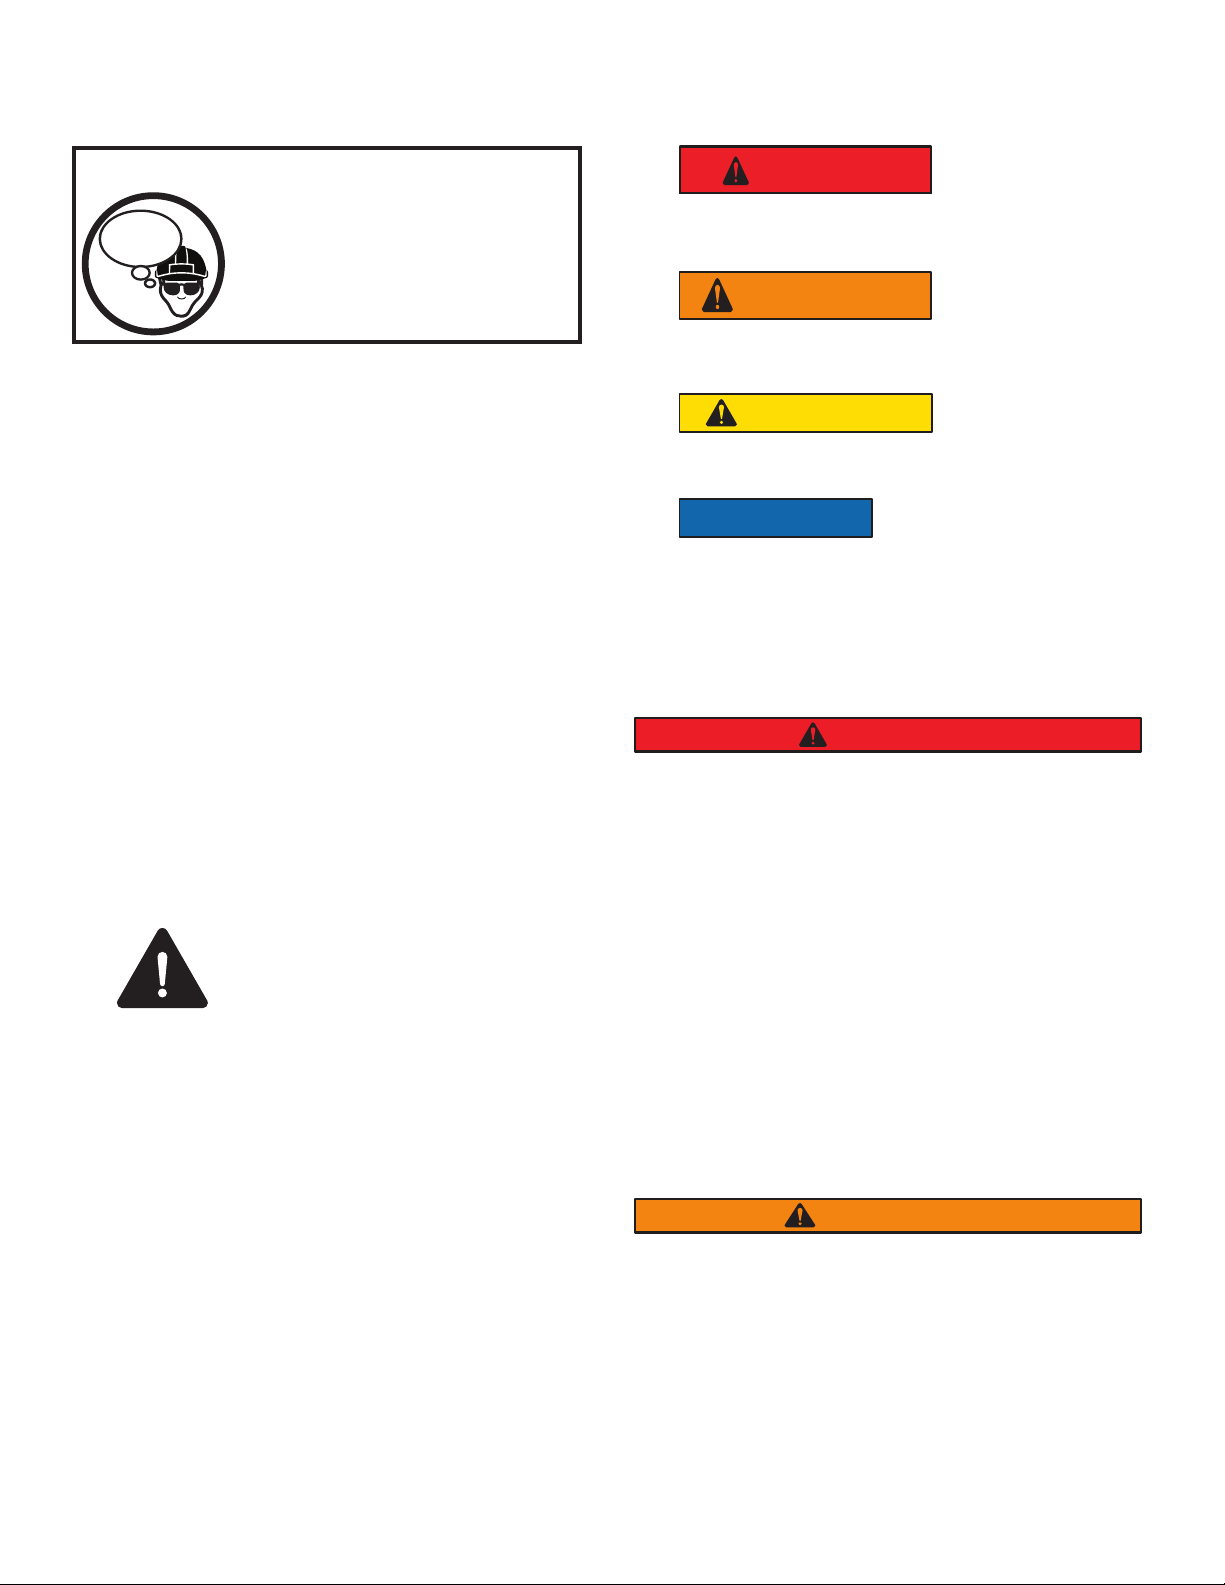
Personal Protection
Be sure to use all personal protective
equipment, such as sturdy safety glasses, work
shoes, hearing protection, and gloves, whenever
necessary, to ensure your own safety.
To avoid eye injury, always wear protective
glasses with side shields when using power
tools. Also, make sure no one else can be
injured by ying particles when using power
tools.
To prevent possible damage to your hearing,
always wear ear protection, such as earmus or
earplugs, when using power tools.
Wear protective gloves during installation
to protect against sharp edges from sheet
metal components.
Tripping Hazard
Personal injury can result from tripping over
power cords, tools, or other installation items.
DO NOT leave items laying around the work
area.
Cutting Hazard
The installation of this product may require
using power tools.
Keep hands away from the cutting edge of any
tool used in the installation of our product.
Placing ngers in or around the cutting blades
could result in serious personal injury.