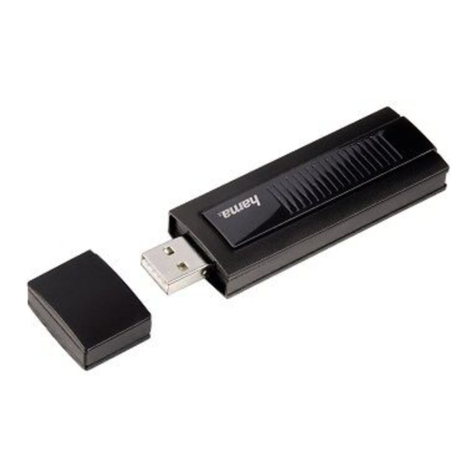
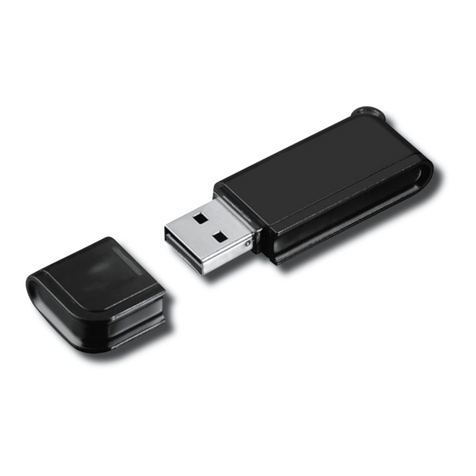
Ob Windows den Wireless LAN USB Adapter ordnungsgemäß ins System eingebunden hat,
können Sie unter Start -> Einstellungen -> Systemsteuerung -> System -> Hardware ->
Geräte-Manager -> Netzwerkadapter nachsehen. Dort muss der Eintrag ”(ZD1211) IEEE
802.11b+g USB Adapter ” ohne gelbes Ausrufezeichen vorhanden sein.
Konfiguration des Wireless LAN und Optionen des Utility
Klicken Sie auf Start -> Programme -> ZyDAS IEE 802.g Wireless LAN USB -> ZDWLAN Utility um
den USB Stick in Ihr Wlan zu integrieren.
Optionen im Hauptmenu:
Bei „Available Network“ werden die in Reichweite befindlichen Netzwerke aufgelistet. Für eine
erneute Suche (Scan) klicken Sie bitte auf „Refresh“. Um den Adapter mit einem mit einem
gefundenen Wireless LAN zu verbinden, doppelklicken Sie bitte auf das gewünschte Netzwerk ,
oder markieren es und klicken dann auf „Connect to this site“.
Optionen im Menü „More Setting“:
General Connection Setting:
Klicken Sie auf “change” um diese Einstellung zu ändern:
Channel: Nur für Ad-hoc Modus. Verwendeter Kanal, muss für alle Geräte eines
Netzwerkes gleich sein
TxRate: Auto: Es wird automatisch die geeignete Sender Datenrate gewählt. Alle
anderen Optionen: Entsprechende Sender- Datenrate manuell festlegen.
SSID: Bis zu 32 Zeichen langer Name des Wireless LANs, muss für alle Geräte
eines Netzwerkes identisch sein.
Network type: Infrastructure bei Betrieb mit Access Point bzw. Router mit Wireless
LAN-Funktion. Ad-Hoc wenn kein Access Point bzw. Router im Wireless
LAN vorhanden ist.
Bestätigen Sie Änderungen mit „Apply“.
Encrypting Setting:
Wir empfehlen Ihnen, hier die Verschlüsselung unbedingt zu aktivieren. Markieren Sie hierzu
"Enable WEP" und klicken dann auf „WEP More...“ und im neuen Fenster auf „Change“. Die
Einstellungen müssen für alle Geräte eines Netzwerks identisch sein. Bitte stellen Sie dies vor
der Schlüssel-Eingabe entsprechend ein. Wenn möglich, sollten Sie 128 Bit (26 Hex-Zeichen 0-9,
a-f und A-F) oder 64 Bit (10 Hex-Zeichen 0-9, a-f und A-F) lange Schlüssel verwenden.
Beispiele: 128 Bit-Schlüssel “645645645ed354a354caef45ae!
64 Bit-Schlüssel “da64650c4f“.
Übernehmen Sie die Einstellungen anschließend mit einem Klick auf "OKAY". Das Verwerfen von
Änderungen ermöglicht "Cancel"
Sie können bis zu 4 Schlüssel festlegen und diese bei „Default Key ID“ umschalten. Es genügt
aber, einen Key bei „1“ einzugeben und diesen zu aktivieren.
Übernehmen Sie die Einstellungen anschließend mit einem Klick auf „Apply“
Profile:
Die Profile ermöglichen das Festlegen von Einstellungen für verschiedene Netzwerke.
Other:
Advanced setting:
Ermöglicht Einstellung des Energiesparmodus, Fragmentation Threshold und RTS/CTS Threhold.
Hier sind normalerweise Keien Änderungen erforderlich.
Information:
Hier können Sie die Version des Treibers, der Firmware sowie des Utilities und die MAC-Adresse
des USB-Sticks nachsehen.
Anmerkung:
Diese Karte darf nur in Deutschland betrieben werden!
Die Konformitätserklärung nach der R&TTE-Richtlinie 99/5/EG finden Sie unter www.hama.de
Beginn der Installation:
Bitte verbinden Sie den USB-Stick vor der Installation noch nicht mit dem USB-Anschluss!
Legen Sie die Treiber-CD-ROM in das entsprechende Laufwerk. Klicken Sie dann auf -> Start ->
Ausführen -> Durchsuchen. Wählen Sie bei „Suchen in“ Ihr CD-ROM Laufwerk. Markieren Sie
dann „ZD1211USB.exe“ und bestätigen Sie mit -> Öffnen -> OK. Es erscheint nun ein neues
Fenster „Install Wizard“. Klicken Sie auf -> Next. Wir empfehlen die Standardeinstellungen zu
belassen. Fahren Sie fort mit -> Next
Hinweis für Windows ME/98SE –Benutzer:
Wählen Sie jetzt „Yes, I want to restart my computer now.“
Und klicken dann auf -> OK. Windows startet anschließend neu.
Hinweis für Windows 2000/XP-Benutzer.
Starten Sie Windows jetzt bitte manuell neu.
Nehmen Sie die CD-ROM wieder aus dem Laufwerk. Verbinden Sie dann den USB-Stick mit
einem freien USB-Anschluss und beginnen mit der Treiber Installation.
Treiber-Installation unter Windows XP:
Der „Assistent für das Suchen neuer Hardware“ wird gestartet. Markieren Sie „Software
automatisch installieren“ und klicken Sie auf -> Weiter. Falls Windows jetzt Informationen zum
Windows-Logo-Test anzeigt, klicken Sie bitte auf -> Installation fortsetzen. Klicken Sie danach
auf -> Fertig stellen.
Ob Windows den Wireless LAN USB-Stick ordnungsgemäß ins System eingebunden hat, können
Sie im Geräte-Manager überprüfen. Klicken Sie hierzu auf -> Start -> Systemsteuerung (im
klassischen Startmenü -> Start -> Einstellungen -> Systemsteuerung) -> Drucker und andere
Hardware und dann auf System unter siehe auch (In der klassischen Ansicht Doppelklick auf
System). Im Fenster Systemeigenschaften fahren Sie fort mit -> Hardware -> Geräte-Manager. In
der Sektion Netzwerkadapter muss der Eintrag ”(ZD1211) IEEE 802.11b+g USB Adapter” ohne
gelbes Ausrufezeichen vorhanden sein.
Hinweis zum Windows XP-Utility:
Im Betriebssystem ist ein Konfigurations-Hilfsprogramm enthalten. Wir empfehlen Ihnen aber,
das Utility des Sticks zu verwenden. Klicken Sie hierzu neben der Task-Leiste unten rechts auf
das Symbol mit den zwei Computern, das zur drahtlosen Netzwerkverbindung gehört. Fahren Sie
dann fort mit -> Erweitert -> Drahtlose Netzwerke. Entfernen Sie hier das Häkchen vor "Windows
zum Konfigurieren der Einstellungen verwenden" -> OK. Die Beschreibung der Optionen bezieht
sich das Utility des Sticks das am Ende diese Handbuches erläutert wird..
Treiber-Installation unter Windows 2000 Professional:
Die Installation startet vollautomatisch. Falls nun ein Fenster „Digitale Signatur nicht gefunden“
erscheint, klicken Sie zum Fortsetzen auf -> Ja.
Ob Windows den Wireless LAN USB Adapter ordnungsgemäß ins System eingebunden hat,
können Sie unter Start -> Einstellungen -> Systemsteuerung -> System -> Hardware ->
Geräte-Manager -> Netzwerkadapter nachsehen. Dort muss der Eintrag ”(ZD1211) IEEE
802.11b+g USB Adapter ” ohne gelbes Ausrufezeichen vorhanden sein.
Treiber-Installation unter Windows ME:
Legen Sie die mitgelieferte CD-ROM ins Laufwerk und öffnen Sie das Verzeichnis "D:\ " ein (evtl.
müssen Sie einen anderen Laufwerksbuchstaben für Ihr CD-ROM eingeben), dort klicken Sie
doppelt auf die Datei ZD1211USB.exe um den Treiber zu installieren -> Next -> Next -> Fertig
stellen. Beantworten Sie die Frage nach dem Neustart mit -> Ja.
Verbinden Sie nun den USB Stecker mit ihrer USB Buchse ihres Computers. Der Computer
erkennt den Stick und bindet automatisch den benötigten Treiber in Ihr System ein.
Ob der Wireless LAN USB Adapter ordnungsgemäß installiert wurde, können Sie unter Start ->
Einstellungen -> Systemsteuerung -> System -> Geräte-Manager -> Netzwerkkarten nachsehen.
Dort muss der Eintrag "( ZDD1211 ) IEEE 802.11b+g USB Adapter" ohne gelbes Ausrufezeichen
vorhanden sein.
Treiber-Installation unter Windows 98SE (Zweite Ausgabe)
Die Installation startet vollautomatisch. Wenn Sie dazu aufgefordert werden, legen Sie die
Windows 98SE CD ein und klicken danach auf „OK“ ( evtl. müssen Sie anschließend den
Laufwerksbuchstaben für Ihr CD-ROM Laufwerk eingeben ).
lKurzanleitung Wireless LAN USB Adapter 54 Mbps


