8
2. Nachdem das Betriebssystem gestartet wurde, erscheint
ein Fenster mit der Bezeichnung „Neue Hardware
gefunden“ und schlägt drei Optionen vor.
Wählen Sie die Option „Treibersoftware suchen und
installieren (empfohlen)“ aus.
3. Gegebenenfalls werden Sie von der Benutzer-
kontensteuerung aufgefordert, dieser Aktion
zuzustimmen. Klicken Sie deshalb auf die Schaltfläche →
Fortsetzen
4. Windows versucht automatisch einen geeigneten Treiber
für den Controller von der Internetseite Windows Online
zu finden. Falls kein Treiber verfügbar ist, müssen
Sie die beiliegende Treiber CD-ROM verwenden.
5. Sie werden daraufhin von Windows aufgefordert den
Datenträger für den RAID-Controller einzulegen. Kommen
Sie der Aufforderung nicht nach, sondern klicken die
Option „Der Datenträger ist nicht verfügbar. Andere
Optionen anzeigen“ an.
6. Wählen Sie im nächsten Schritt die Option „Auf dem
Computer nach Treibersoftware suchen (erweitert)“ aus.
7. Legen Sie nun die beiliegende Treiber CD-ROM ein.
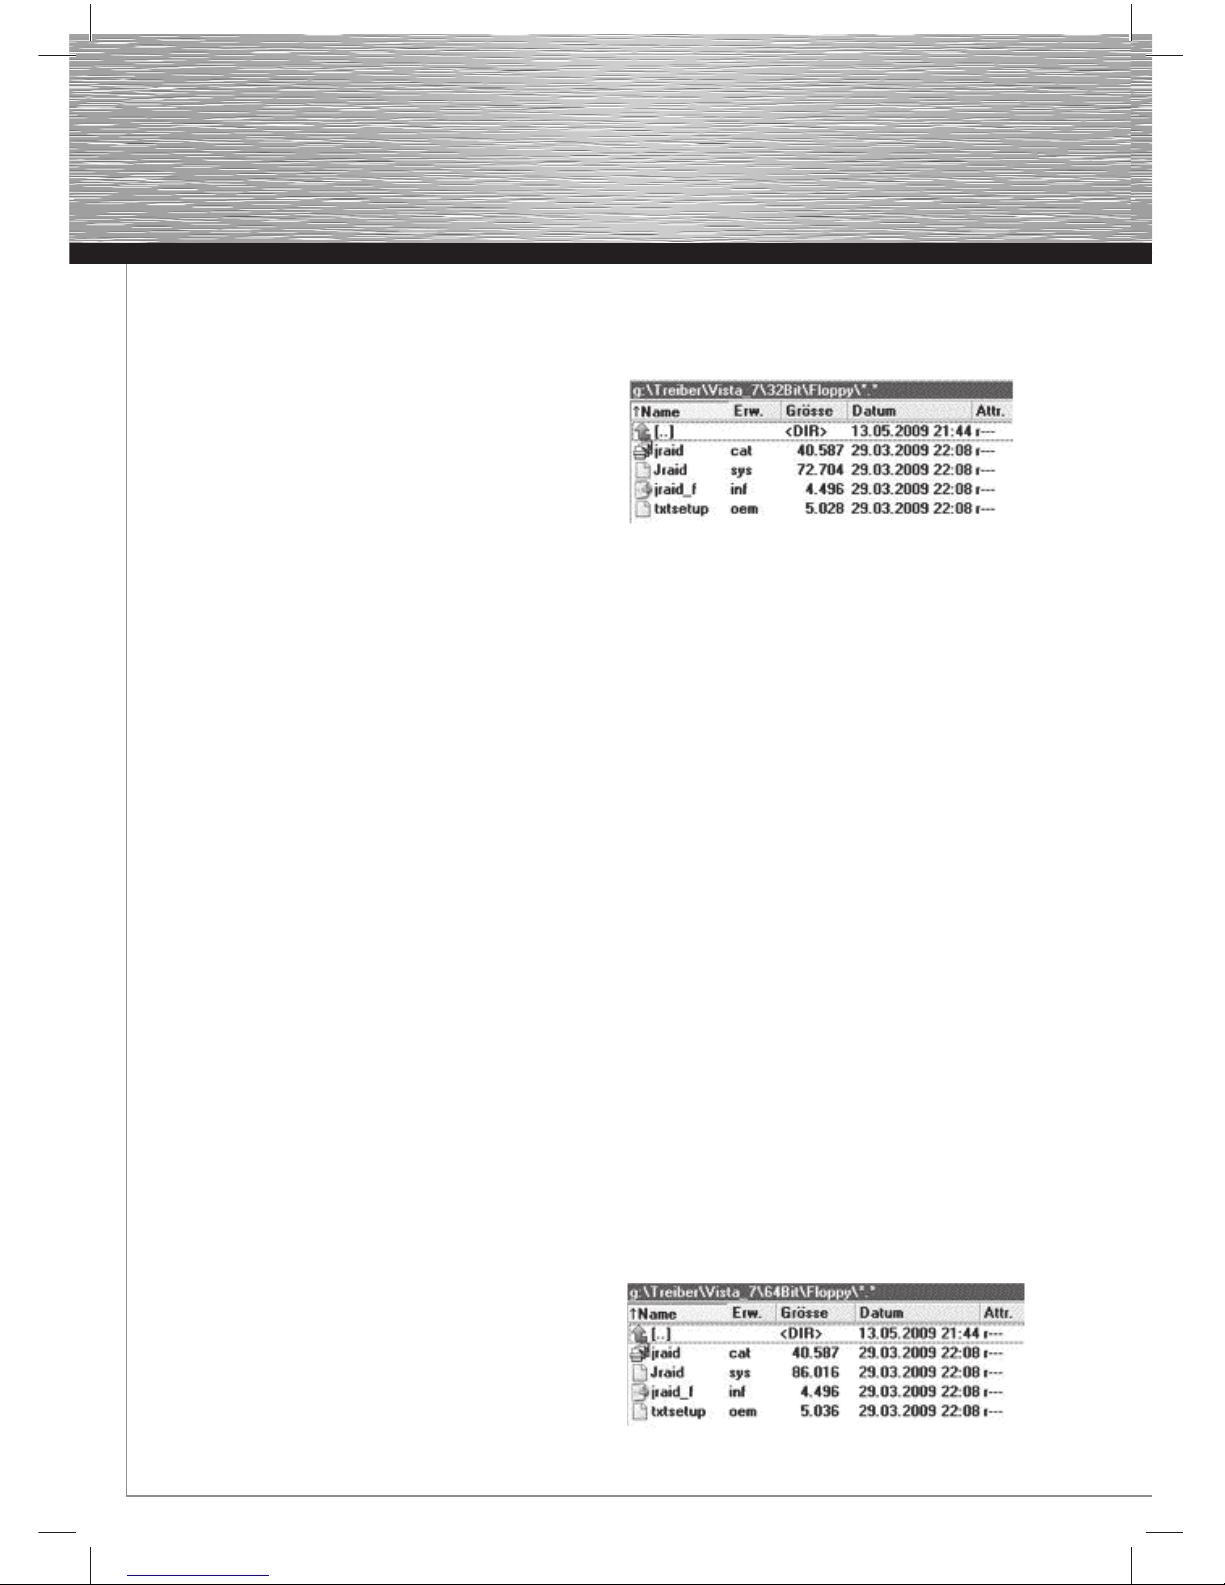
8. Tragen Sie nun in das Eingabefeld folgende Daten ein:
E:\Treiber\Vista_7\32Bit (wobei Eunter Umständen durch
Ihrem Laufwerksbuchstaben ersetzt werden muss).
Klicken Sie nun auf → „Weiter“.
9. Der Hardware Assistent installiert nun den Treiber aus
dem gerade angegebenen Pfad und teilt Ihnen
anschließend mit, dass die Installation erfolgreich
abgeschlossen wurde.
10. Starten Sie nun das Betriebssystem neu, um mit der
Einrichtung der Festplatten unter Windows Vista bzw. 7
fortzufahren.
Ob der Controller ordnungsgemäß installiert wurde, können Sie
unter Start (Windows Logo) → Systemsteuerung → System und
Wartung (Vista) bzw. System und Sicherheit
(Windows 7) → Geräte-Manager nachsehen. Unter Umständen
werden Sie von der Benutzerkontensteuerung aufgefordert,
dieser Aktion zuzustimmen. Klicken Sie deshalb auf die
Schaltfläche → Fortsetzen. Folgender Eintrag muss ohne gelbe
Ausrufezeichen vorhanden sein.
Speichercontroller:
• JMicron JMB36X Controller
Hinweis: Wir empfehlen Ihnen dringendst, dass Windows Vista
Benutzer das Service Pack 2, wegen den Erweiterungen und der
Beseitigung von Schwachstellen installieren.
Für Windows Vista und 7 in der 64-Bit Version:
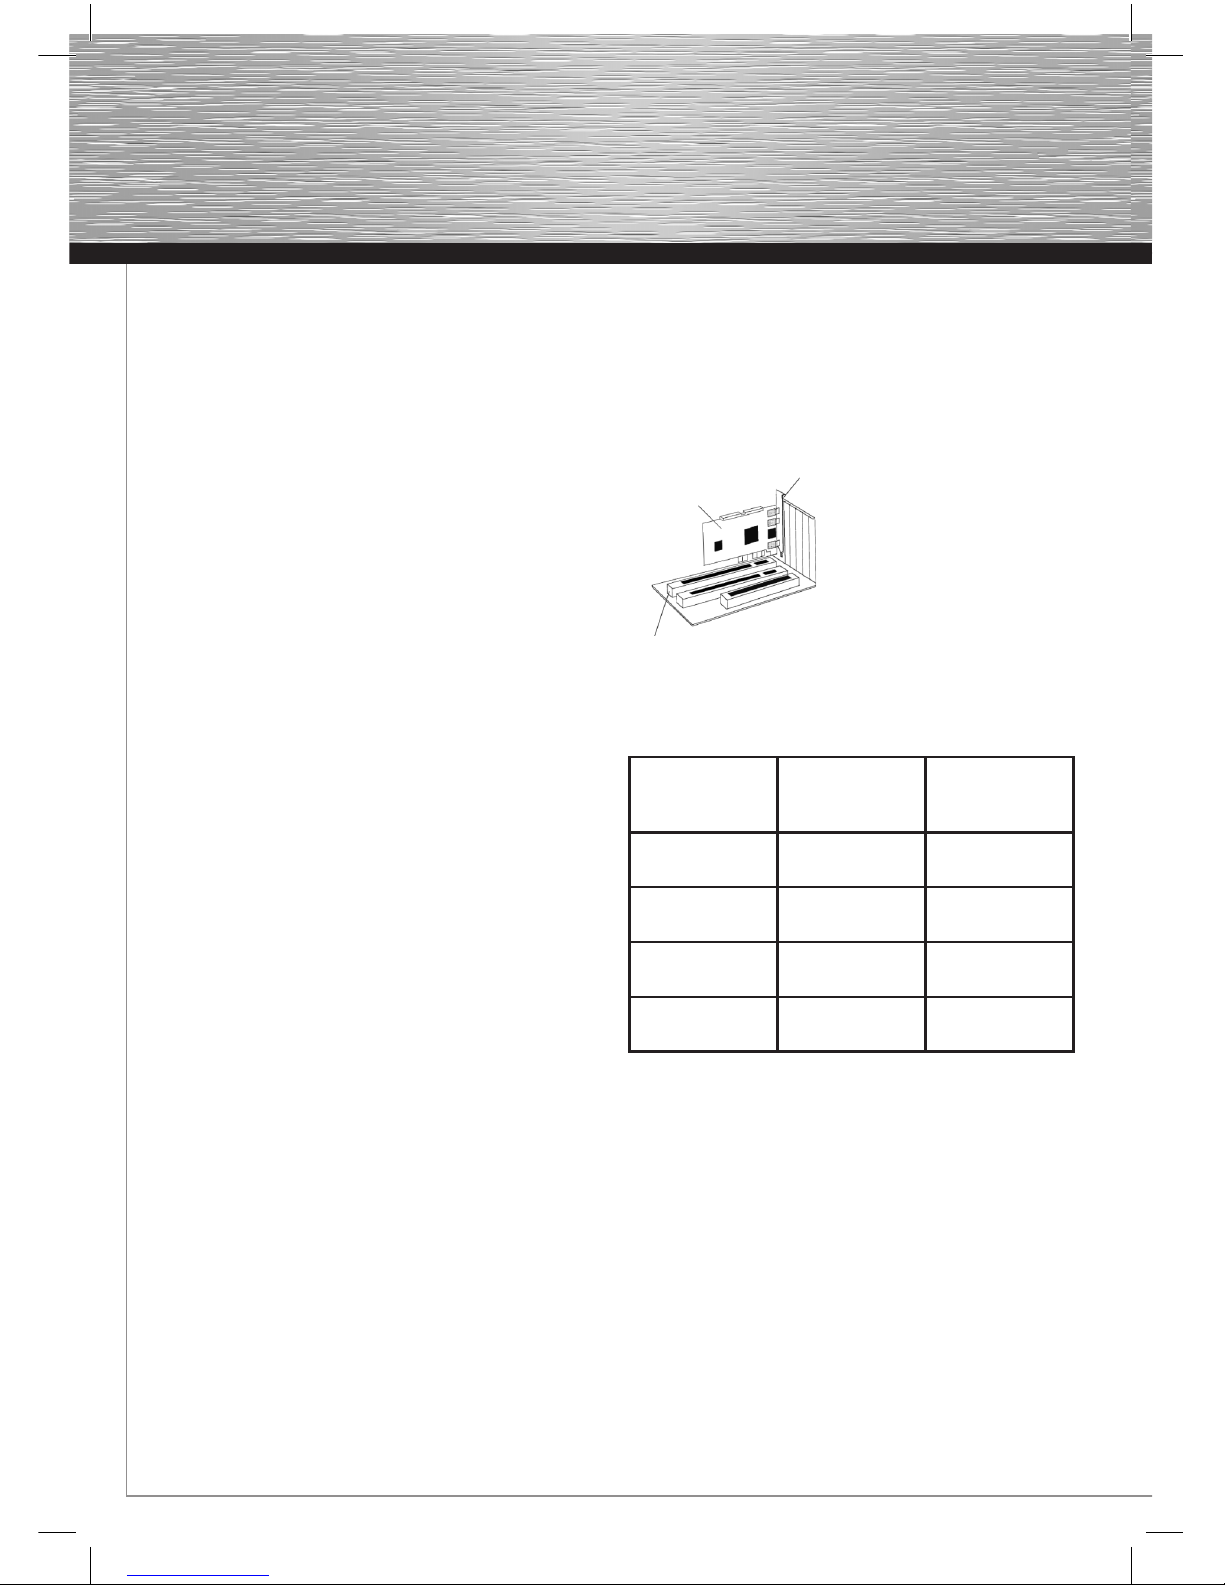
1. Installieren Sie zuerst die Hardware, wie in diesem
Handbuch beschrieben und starten Windows.
2. Nachdem das Betriebssystem gestartet wurde, erscheint
ein Fenster mit der Bezeichnung „Neue Hardware
gefunden“ und schlägt drei Optionen vor.
Wählen Sie die Option „Treibersoftware suchen und
installieren (empfohlen)“ aus.
3. Gegebenenfalls werden Sie von der Benutzer-
kontensteuerung aufgefordert, dieser Aktion zuzustimmen.
Klicken Sie deshalb auf die Schaltfläche → Fortsetzen
4. Windows versucht automatisch einen geeigneten Treiber
für den Controller von der Internetseite Windows Online zu
finden. Falls kein Treiber verfügbar ist, müssen Sie die
beiliegende Treiber CD-ROM verwenden.
5. Sie werden von Windows aufgefordert den Datenträger für
den RAID-Controller einzulegen. Kommen Sie der
Aufforderung nicht nach, sondern klicken die Option „Der
Datenträger ist nicht verfügbar. Andere Optionen
anzeigen“ an.
6. Wählen Sie im nächsten Schritt die Option „Auf dem
Computer nach Treibersoftware suchen (erweitert)“ aus.
7. Legen Sie nun die beiliegende Treiber CD-ROM ein.
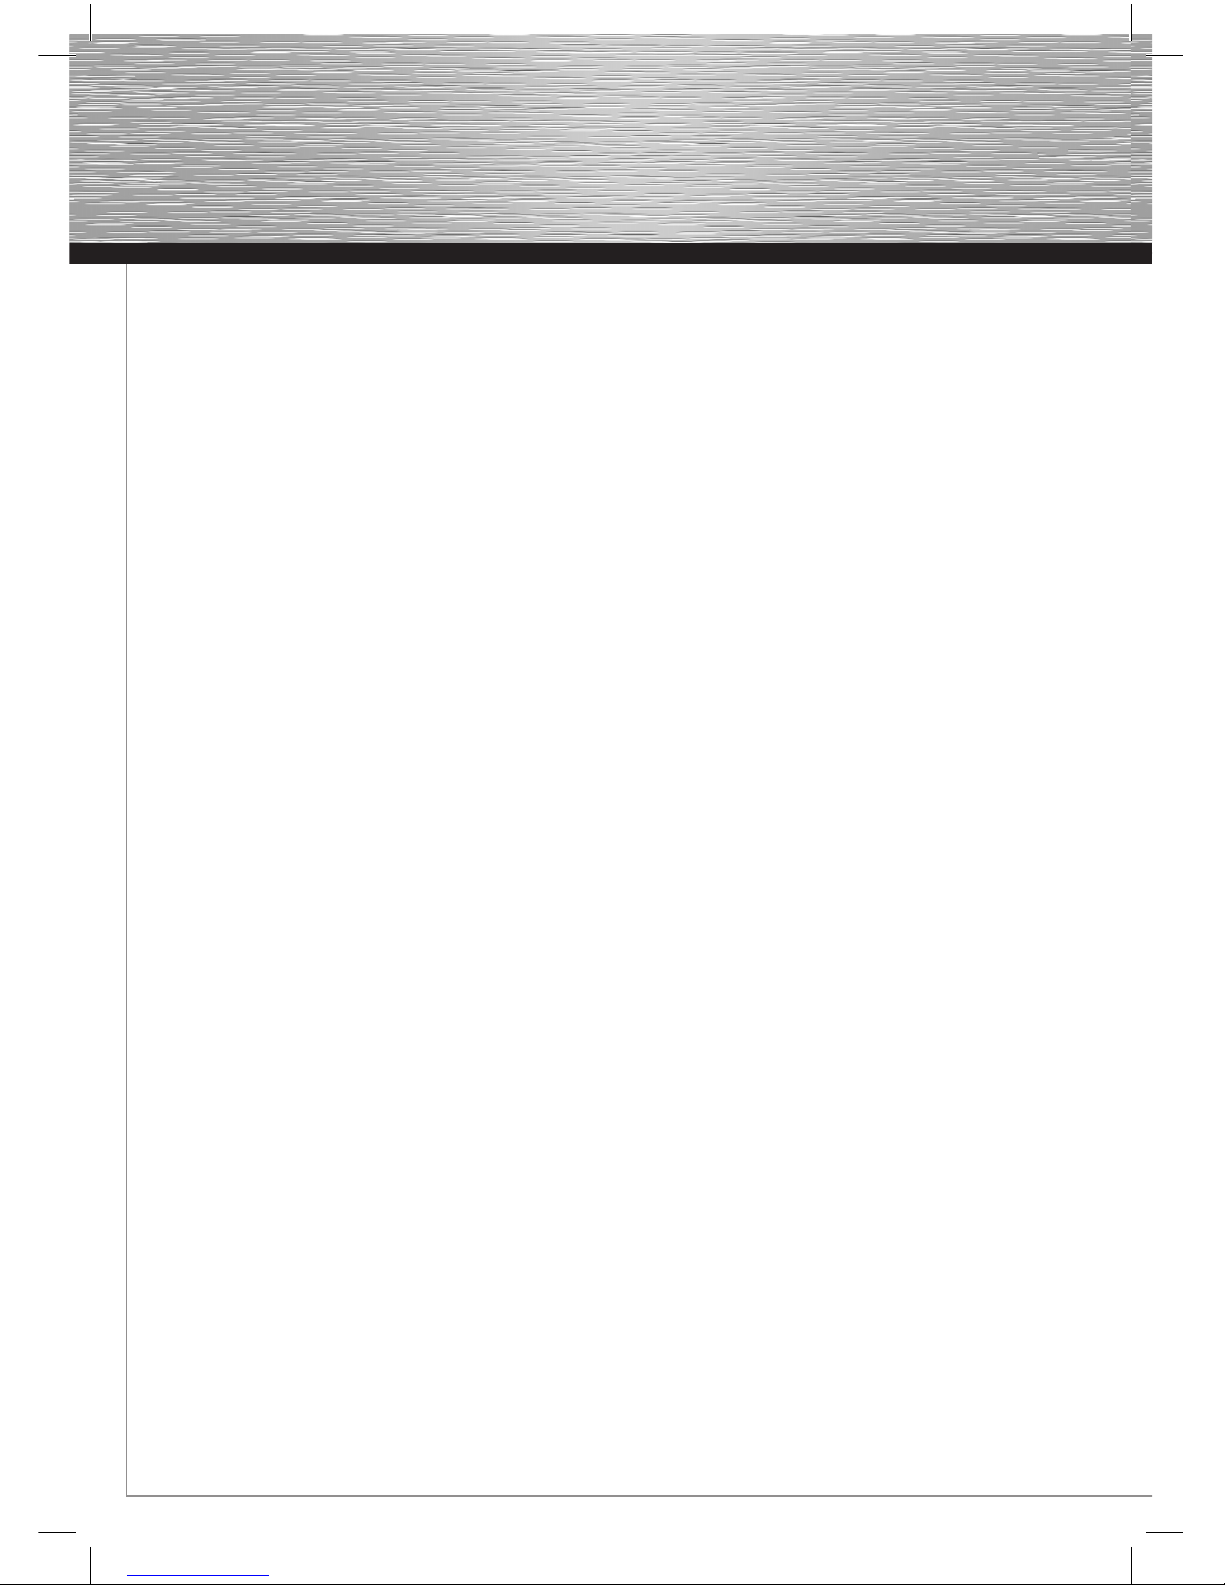
8. Tragen Sie nun in das Eingabefeld folgende Daten ein:
E:\Treiber\Vista_7\64Bit (wobei E unter Umständen durch
Ihrem Laufwerksbuchstaben ersetzt werden muss). Klicken
Sie nun auf → „Weiter“.
9. Der Hardware Assistent installiert nun den Treiber aus dem
gerade angegebenen Pfad und teilt Ihnen anschließend mit
dass die Installation erfolgreich abgeschlossen wurde.
10. Starten Sie nun das Betriebssystem neu, um mit der
Einrichtung der Festplatten unter Windows Vista bzw. 7
fortzufahren.
Hinweis: Wir empfehlen Ihnen dringendst, dass Windows Vista
Benutzer das Service Pack 2, wegen den Erweiterungen und der
Beseitigung von Schwachstellen zu installieren.
Für Windows XP Home / Professional oder Media Center
1. Installieren Sie zuerst die Hardware, wie in diesem
Handbuch beschrieben und starten Windows.
2. Sobald Windows hochgefahren wurde, startet der
Assistent für das Suchen neuer Hardware und fragt sie,
ob Windows sich mit dem Internet verbinden darf, um auf
Windows Update nach einem geeigneten Treiber zu
suchen. Beantworten Sie die Frage, mit der Auswahl der
Option → Nein, diesmal nicht und klicken zum Fortsetzten
der Installation auf → Weiter.
3. Daraufhin werden Sie aufgefordert eine Diskette oder CD
einzulegen, um den Treiber installieren zu können. Sobald
Sie die beliegende CD eingelegt haben, wählen Sie von
den beiden Optionen die zweite: Software von einer Liste
oder bestimmten Quelle installieren (für fortgeschrittene
Benutzer) aus. Danach klicken Sie bitte auf → Weiter.
(Sollten Sie zuvor das Autostart Menu der Hama CD-ROM
angezeigt bekommen, so beenden Sie dieses.)
4. Im nächsten Schritt „Wählen Sie die Such- und
Installationsoptionen“ wählen Sie folgende Optionen aus:
• Diese Quellen nach dem zutreffensten Treiber
durchsuchen
• Folgende Quelle ebenfalls durchsuchen: