OPERATORS
MANUAL
Caution
Readthis manual beforeoperating VanGuard centrifuge
Introduction
HamiltonBell's VanGuard Compact Centrifuge offers the protection needed
intoday's health careenvironment when operated inaccordancewith the in-
structions contained herein. The transparent polycarbonate protective
cover permits visual inspection of tubes. When the cover is locked closed,
the rotor is contained in
a
sealed compartment. With the cover locked
closed the VanGuard provides integral aerosol and spash protection to
minimize exposure to infectious disease. The VanGuard centrifuge should
only be operated with the cover locked closed and with a balanced load.
Utility
Hamilton Bell VanGuard Centrifuge is designed specifically
for
use
in
physician's offices and clinical laboratories. The VanGuard performs
separation proceduresfor blood,
fecal
and highdensitysedimentation. The
VanGuard is also
at
home in the biological, chemical and industrial
laboratory where fast separation
of
materials of different densities is
desirable.
VanGuard
Centrifuge
Models
All VanGuard centrifuges are available with either
10
ml or 15
rnl
hardened
aluminum shields. Please indicate the shields you require when ordering.
V6000 VanGuard Centrifuge, onloff switch, constant speed brushless
induction motor, six place rotor.
V6500 VanGuard Centrifuge, 60 minute interval timer operation, constant
speed brushless induction motor, six place rotor.
NOTE:
ALL VANGUARD CENTRIFUGE
MODELS
PERFORM
AT
3400
RPM
FULLY LOADED AND RELATIVE CENTRIFUGAL FORCE
1318.
Important
1. To assure product PROTECT1ON and RELIABILITY, repairs, maintenance
and adjustments must be performed by Hamilton Bell Service Center or
authorized service stations, always using Hamilton Bell replacement
parts.
2. Always save carton and foam packing material to be used for possible
future shipment or storage of your VanGuard Centrifuge.
1.
Place the VanGuard Centrifuge unit on a stable, smooth, flat surface.
2.
Plug inthe VanGuard Centrifuge unit power cord. Oneend plugs intothe
receptacle on the right side
of
the back of the centrifuge unit. The other
end (the one with the 3-prong plug) plugs into your power source
(115
VAC, 60 Hz.)
3. Remove plastic protective wrap from transparent polycarbonate cover.
EBectrica%
Precautions
@
OPERATE VANGUARD CENTRIFUGE ONLY FROM AN
A.C.
POWER
SOURCE APPROVED FOR THE MACHINE.
@
PLUG POWER CORD
ONLY
INTO
A
GROUNDED
3-WIRE
RECEPTACLE.
@
NEVER REMOVETHE GROUNDING PRONG FROM THE POWER PLUG.
@
IMMEDIATELY REPLACE WORN
OR
DAMAGED POWER CORD
OR
PLUG.
@
ALWAYS UNPLUGTHE POWER CORD BEFORE CLEANING
OR
SERVIC-
ING
THE CENTRIFUGE.
Operation
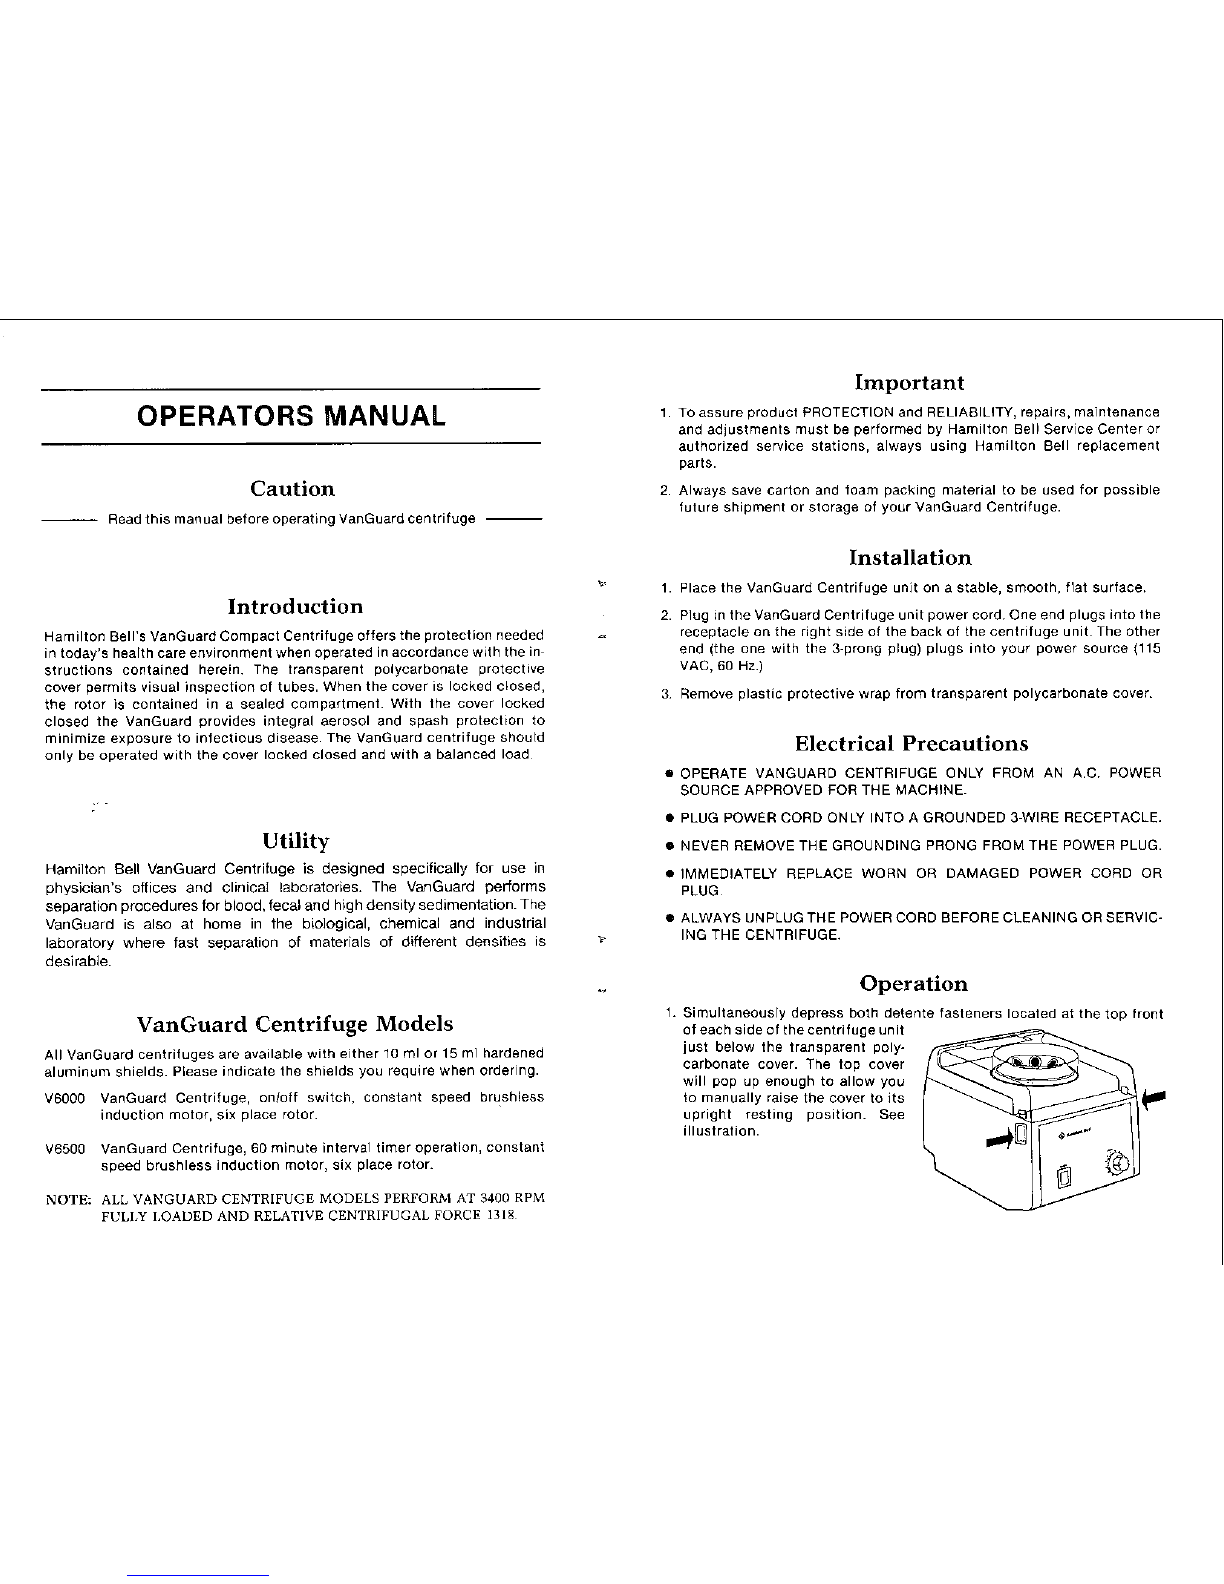
1. Simultaneously depress both detente fasteners located at the top front
of each side of thecentrifuge unit
just below the transparent poly-
carbonate cover. The top cover
will pop
up
enough to allow you
to manually raise the cover to its
upright resting position. See
Y
illustration.