manuals.online logo
Brands
  1. Home
  2. •
  3. Brands
  4. •
  5. Hans Grohe
  6. •
  7. Plumbing Product
  8. •
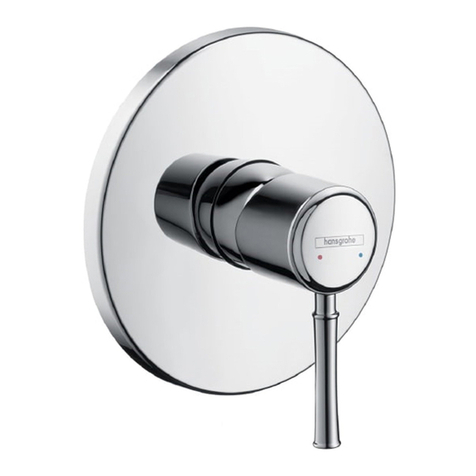
  9. Hans Grohe Picta 13750000 Manual

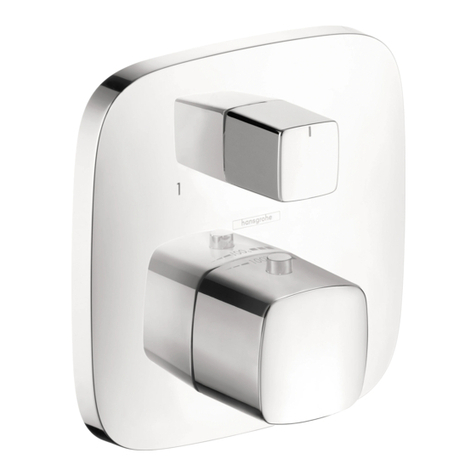
Hans Grohe Picta 13750000 Manual

Other Hans Grohe Plumbing Product manuals
Hans Grohe Rainmaker 2841418 Series Manual

Hans Grohe

Hans Grohe Rainmaker 2841418 Series Manual

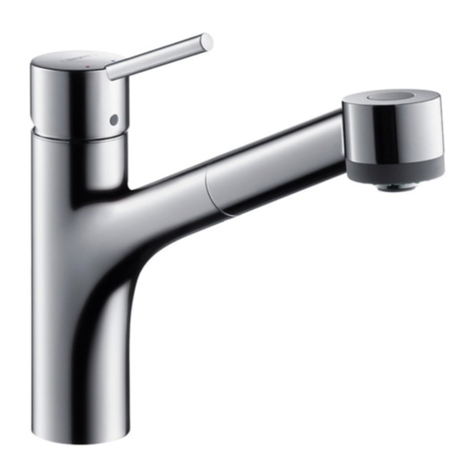
Hans Grohe Talis C 33102000 User manual

Hans Grohe

Hans Grohe Talis C 33102000 User manual

Hans Grohe PuraVida 15445 Series Manual

Hans Grohe

Hans Grohe PuraVida 15445 Series Manual

Hans Grohe Metropol Select 110 32571007 Manual

Hans Grohe

Hans Grohe Metropol Select 110 32571007 Manual

Hans Grohe Finoris 230 2jet 76063 Series Manual

Hans Grohe

Hans Grohe Finoris 230 2jet 76063 Series Manual

Hans Grohe Raindance Rainfal 28433 Series Manual

Hans Grohe

Hans Grohe Raindance Rainfal 28433 Series Manual

Hans Grohe Allegro E Prep Kitchen Faucet Pull-Out... User manual

Hans Grohe

Hans Grohe Allegro E Prep Kitchen Faucet Pull-Out... User manual

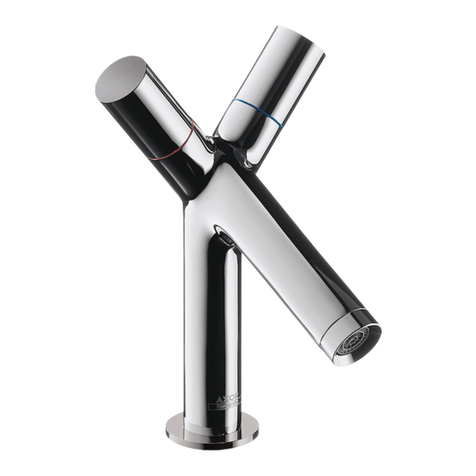
Hans Grohe Axor Uno 38400 Series User manual

Hans Grohe

Hans Grohe Axor Uno 38400 Series User manual

Hans Grohe Crometta S 240 1jet Showerpipe 26507009 Manual

Hans Grohe

Hans Grohe Crometta S 240 1jet Showerpipe 26507009 Manual

Hans Grohe Raindance S 100 AIR 3-Jet User manual

Hans Grohe

Hans Grohe Raindance S 100 AIR 3-Jet User manual

Hans Grohe PULSIFY 24170670 User manual

Hans Grohe

Hans Grohe PULSIFY 24170670 User manual

Hans Grohe Unica'S Series Manual

Hans Grohe

Hans Grohe Unica'S Series Manual

Hans Grohe Focus 31940000 Manual

Hans Grohe

Hans Grohe Focus 31940000 Manual

Hans Grohe Raindance Select 2jet Showerpipe 27126000 Manual

Hans Grohe

Hans Grohe Raindance Select 2jet Showerpipe 27126000 Manual

Hans Grohe AXOR Citterio E 36143 9 Series Manual

Hans Grohe

Hans Grohe AXOR Citterio E 36143 9 Series Manual

Hans Grohe Raindance Select 2jet Showerpipe Series Instruction Manual

Hans Grohe

Hans Grohe Raindance Select 2jet Showerpipe Series Instruction Manual

Hans Grohe Metris S 31460000 User manual

Hans Grohe

Hans Grohe Metris S 31460000 User manual

Hans Grohe Metris Classic User manual

Hans Grohe

Hans Grohe Metris Classic User manual

Hans Grohe Focus E Series User manual

Hans Grohe

Hans Grohe Focus E Series User manual

Hans Grohe Push open 50100 Series User manual

Hans Grohe

Hans Grohe Push open 50100 Series User manual

Hans Grohe Metris Select 320 1jet Series Manual

Hans Grohe

Hans Grohe Metris Select 320 1jet Series Manual

Hans Grohe Pulsify Showerpipe 260 2jet 24240 Series Manual

Hans Grohe

Hans Grohe Pulsify Showerpipe 260 2jet 24240 Series Manual

Hans Grohe Vivenis 75050 Series Manual

Hans Grohe

Hans Grohe Vivenis 75050 Series Manual

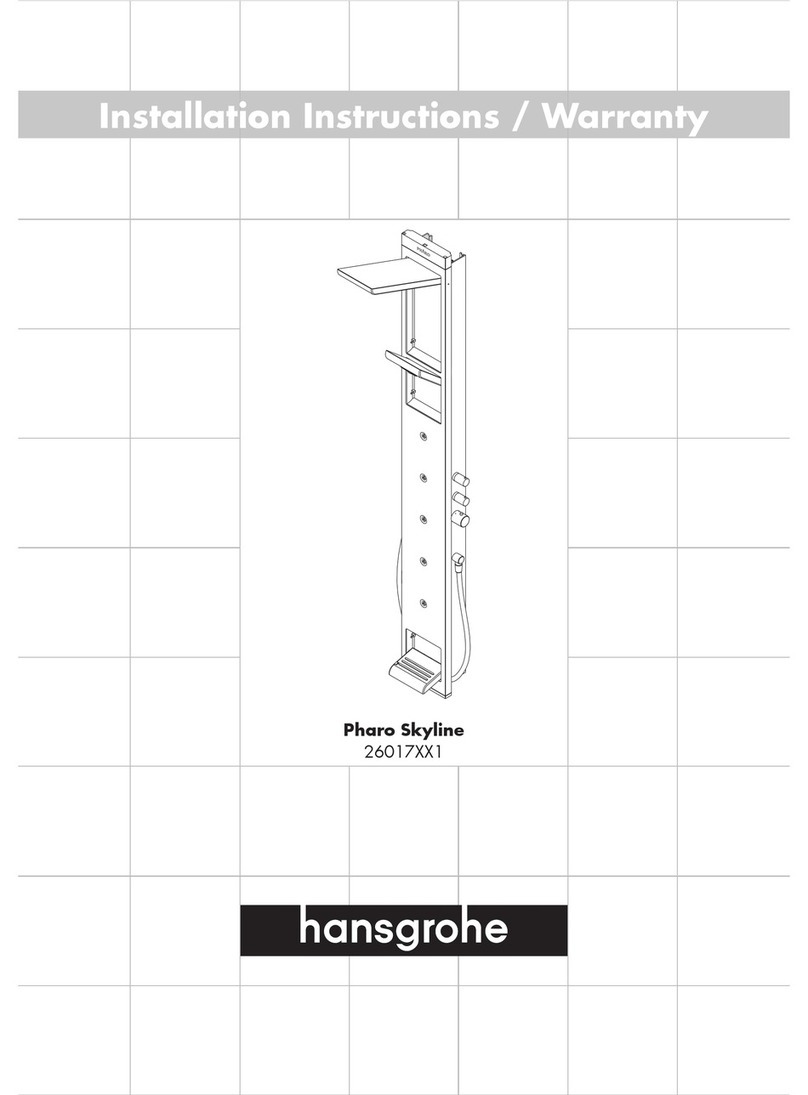
Hans Grohe Pharo Skyline 26017XX1 Installation guide

Hans Grohe

Hans Grohe Pharo Skyline 26017XX1 Installation guide

Popular Plumbing Product manuals by other brands

Moen SANI-STREAM 8797 manual

Moen

Moen SANI-STREAM 8797 manual

Grohe Allure Brilliant 19 784 manual

Grohe

Grohe Allure Brilliant 19 784 manual

Cistermiser Easyflush EVO 1.5 manual

Cistermiser

Cistermiser Easyflush EVO 1.5 manual

Kohler Triton Rite-Temp K-T6910-2A installation guide

Kohler

Kohler Triton Rite-Temp K-T6910-2A installation guide

BEMIS FNOTAB100 Installation instruction

BEMIS

BEMIS FNOTAB100 Installation instruction

Akw Stone Wash Basin Installation instructions manual

Akw

Akw Stone Wash Basin Installation instructions manual

Enlighten Sauna Rustic-4 user manual

Enlighten Sauna

Enlighten Sauna Rustic-4 user manual

Moen ShowHouse S244 Series quick start guide

Moen

Moen ShowHouse S244 Series quick start guide

Sanela SLWN 08 Mounting instructions

Sanela

Sanela SLWN 08 Mounting instructions

Franke 7612982239618 operating instructions

Franke

Franke 7612982239618 operating instructions

Heritage Bathrooms Granley Deco PGDW02 Fitting Instructions & Contents List

Heritage Bathrooms

Heritage Bathrooms Granley Deco PGDW02 Fitting Instructions & Contents List

Tres TOUCH-TRES 1.61.445 instructions

Tres

Tres TOUCH-TRES 1.61.445 instructions

STIEBEL ELTRON WS-1 Operation and installation

STIEBEL ELTRON

STIEBEL ELTRON WS-1 Operation and installation

Miomare HG00383A manual

Miomare

Miomare HG00383A manual

BELLOSTA revivre 6521/CR1 quick start guide

BELLOSTA

BELLOSTA revivre 6521/CR1 quick start guide

American Standard Heritage Amarilis 7298.229 parts list

American Standard

American Standard Heritage Amarilis 7298.229 parts list

BorMann Elite BTW5024 quick start guide

BorMann

BorMann Elite BTW5024 quick start guide

Moen 1225 quick start guide

Moen

Moen 1225 quick start guide

manuals.online logo
manuals.online logoBrands
  • About & Mission
  • Contact us
  • Privacy Policy
  • Terms and Conditions

Copyright 2025 Manuals.Online. All Rights Reserved.

DE Gebrauchsanleitung / Montageanleitung 2
FR Mode d'emploi / Instructions de montage 4
EN Instructions for use / Assembly instructions 6
Lesezeichen
Deutsch 2
Français 4
English 6
Picta
13750000
2
Deutsch
Sicherheitshinweise
Bei der Montage müssen zur Vermeidung von
Quetsch- und Schnittverletzungen Handschuhe
getragen werden.
Das Produkt darf nur zu Bade-, Hygiene- und
Körperreinigungszwecken eingesetzt werden.
Kinder, sowie Erwachsene mit körperlichen, geistigen
und / oder sensorischen Einschränkungen dürfen das
Produkt nicht unbeaufsichtigt benutzen. Personen, die
unter Alkohol- oder Drogeneinfluss stehen, dürfen das
Produkt nicht benutzen.
Große Druckunterschiede zwischen den Kalt- und
Warmwasseranschlüssen müssen ausgeglichen
werden.
Montagehinweise
• Vor der Montage muss das Produkt auf Transportschä-
den untersucht werden. Nach dem Einbau werden
keine Transport- oder Oberflächenschäden anerkannt.
• Die Leitungen und die Armatur müssen nach den
gültigen Normen montiert, gespült und geprüft
werden.
• Die in den Ländern jeweils gültigen Installationsricht-
linien sind einzuhalten.
Technische Daten
Betriebsdruck: max. 1 MPa
Empfohlener Betriebsdruck: 0,1 - 0,5 MPa
Prüfdruck: 1,6 MPa
(1 MPa = 10 bar = 147 PSI)
Heißwassertemperatur: max. 60°C
Thermische Desinfektion: 70°C / 4 min
• Eigensicher gegen Rückfließen
• Das Produkt ist ausschließlich für Trinkwasser
konzipiert!
Symbolerklärung
Kein essigsäurehaltiges Silikon verwenden!
Safety Function (siehe Seite 10)
Dank der Safety Function lässt sich die gewünschte
Höchsttemperatur von z. B. max. 42 °C voreinstellen.
Justierung (siehe Seite 10)
Nach erfolgter Montage muss die Auslauftemperatur des
Thermostaten überprüft werden. Eine Korrektur ist
erforderlich wenn die an der Entnahmestelle gemessene
Temperatur von der am Thermostaten eingestellten
Temperatur abweicht.
Wartung (siehe Seite 12)
• Rückflussverhinderer müssen gemäß EN 806-5
regelmäßig in Übereinstimmung mit nationalen oder
regionalen Bestimmungen auf ihre Funktion geprüft
werden (mindestens einmal jährlich).
• Um die Leichtgängigkeit der Regeleinheit zu
gewährleisten, sollte der Thermostat von Zeit zu Zeit
auf ganz warm und ganz kalt gestellt werden.
Maße (siehe Seite 15)
Durchflussdiagramm (siehe Seite )
freier Durchfluss
Serviceteile (siehe Seite 16 )
Sonderzubehör (siehe Seite 16 )
nicht im Lieferumfang enthalten
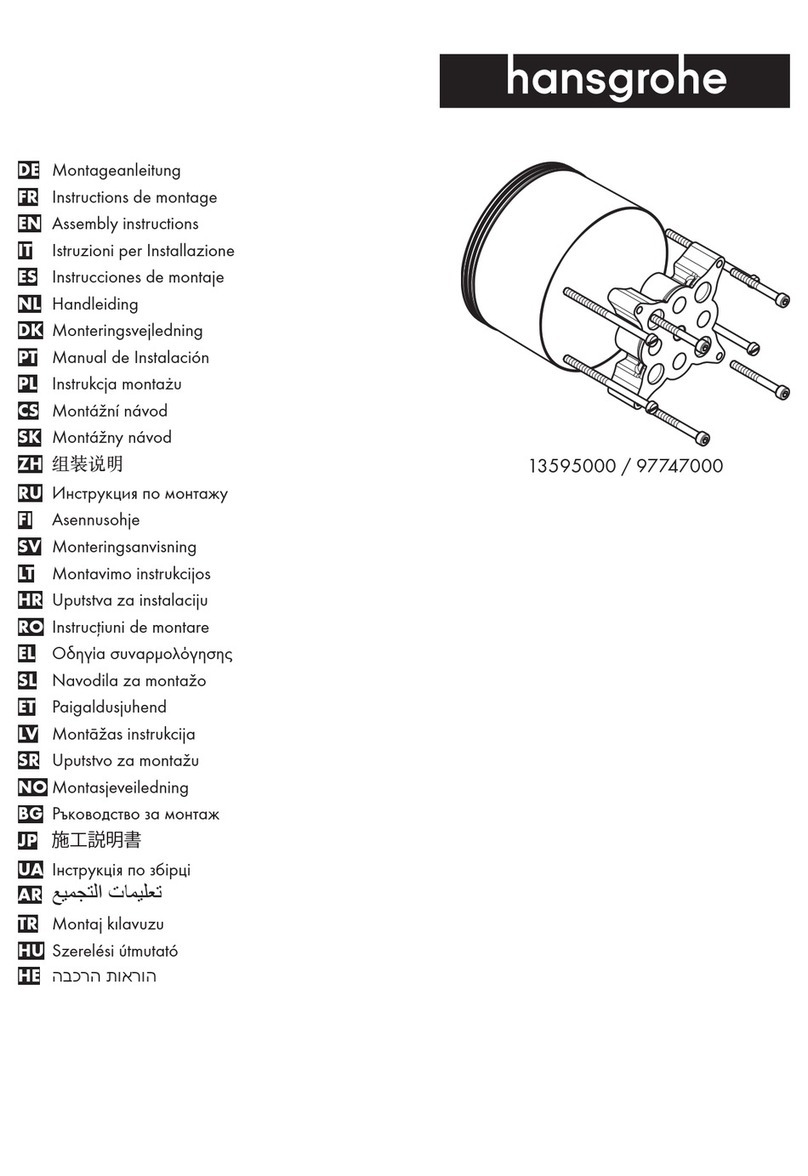
• Verlängerung 25 mm #13595000
• Verlängerung 22 mm (bei geringer Einbau-
tiefe) #13593000
• Ausgleichsset 1° #95521000
Reinigung (siehe Seite 17)
Bedienung (siehe Seite 14)
Prüfzeichen (siehe Seite 17 )
+
3
Deutsch
Montage (siehe Seite 8)
Störung Ursache Abhilfe
Wenig Wasser - Versorgungsdruck nicht ausreichend - Leitungsdruck prüfen
- Schmutzfangsieb der Regeleinheit
verschmutzt
- Schmutzfangsiebe vor dem
Thermostat und auf der Regeleinheit
reinigen
- Siebdichtung der Brause verschmutzt
- Filtereinsatz der Brause verschmutzt
- Siebdichtung zwischen Brause und
Schlauch reinigen
- Filtereinsatz zwischen Brause und
Schlauch reinigen
Kreuzfluss, warmes Wasser wird bei
geschlossener Armatur in die
Kaltwasserleitung gedrückt oder
umgekehrt
- Rückflussverhinderer verschmutzt /
defekt
- Rückflussverhinderer reinigen ggf.
austauschen
Auslauftemperatur stimmt nicht mit der
eingestellten Temperatur überein
- Thermostat wurde nicht justiert - Thermostat justieren
- Zu niedrige Warmwassertemperatur - Warmwassertemperatur erhöhen auf
42 °C bis 60 °C
Temperaturregelung nicht möglich - Regeleinheit verkalkt - Regeleinheit austauschen
- Bei Neuinstallation Grundkörper
falsch angeschlossen (Soll: kalt
rechts, warm links) oder 180°
verdreht eingebaut
- Funktionsblock um 180° verdreht
einbauen
- Regeleinheit für vertauschte
Anschlüsse #92373000
Druckknopf der Sicherheitssperre
ohne Funktion
- Feder defekt
- Druckknopf verkalkt
- Feder bzw. Druckknopf reinigen u.
leicht fetten, ggf. austauschen
Ventil schwergängig - Absperroberteil beschädigt - Absperroberteil austauschen
Brause oder Auslauf tropft - Schmutz oder Ablagerungen auf
dem Dichtsitz, Absperroberteil
beschädigt
- Absperroberteil reinigen bzw.
austauschen
4
Français
Consignes de sécurité
Lors du montage, porter des gants de protection pour
éviter toute blessure par écrasement ou coupure.
Le produit ne doit servir qu'à se laver et à assurer
l'hygiène corporelle.
Il est interdit aux enfants ainsi qu'aux adultes ayant
des insuffisantes physiques, psychiques et/ou
motoriques d'utiliser la douche sans surveillance. De
même, il est interdit à des personnes sous influence
d'alcool ou de drogues d'utiliser la douche.
Il est conseillé d'équilibrer les pressions de l'eau
chaude et froide.
Instructions pour le montage
• Avant son montage, s'assurer que le produit n'a subi
aucun dommage pendant le transport Après le
montage, tout dommage de transport ou de surface
ne pourra pas être reconnu.
• Les conduites et la robinetterie doivent être montés,
rincés et contrôlés selon les normes en vigueur.
• Les directives d'installation en vigueur dans le pays
concerné doivent être respectées.
Informations techniques
Pression de service autorisée: max. 1 MPa
Pression de service conseillée: 0,1 - 0,5 MPa
Pression maximum de contrôle: 1,6 MPa
(1 MPa = 10 bar = 147 PSI)
Température d'eau chaude: max. 60°C
Désinfection thermique: 70°C / 4 min
• Avec dispositif anti-retour
• Le produit est exclusivement conçu pour de l'eau
potable!
Description du symbole
Ne pas utiliser de silicone contenant de l'acide
acétique!
Safety Function (voir pages 10)
Grâce à la fonction Safety, il est possible de prérégler la
température maximale par exemple max. 42°C
souhaitée.
Etalonnage (voir pages 10)
Le montage terminé, contrôler la température de l’eau
puisée au mitigeur thermostatique. Un étalonnage est
nécessaire si la température de l’eau mitigée mesurée au
point de puisage diffère sensiblement de celle affichée
sur le thermostat.
Entretien (voir pages 12)
• Les clapets anti-retour doivent être examinés
régulièrement conformément à la norme EN 806-5 ou
conformément aux dispositions nationales ou
régionales quant à leur fonction (au moins une fois
par an).
• Pour assurer le mouvement facile de l´élément
thermostatique, le thermostat devrait être placé de
temps en temps en position très chaude et très froide.
Dimensions (voir pages 15)
Diagramme du débit (voir pages )
débit libre
Pièces détachées (voir pages 16)
Accessoires en option
(voir pages 16 )
ne fait pas partie de la fourniture
• jeu de rallonge 25 mm #13595000
• Rallonge de 22 mm (pour profondeur de
montage trop faible) #13593000
• Set d'égalisation 1° #95521000
Nettoyage (voir pages 17 )
Instructions de service
(voir pages 14)
Classification acoustique et débit
(voir pages 17 )
+
5
Français
Montage (voir pages 8)
Dysfonctionnement Origine Solution
Pas assez d´eau - Pression d´alimentation insuffisante - Contrôler la pression
- Filtre de l´élément thermostatique
encrassé
- Nettoyer les filtres devant le mitigeur
thermostatique et sur la cartouche
- Joint-filtre de douchette encrassé
- élément-filtre de douchette encrassé
- Nettoyer le joint-filtre entre la
douchette et le flexible
- Nettoyer le élément-filtre entre la
douchette et le flexible
Circulation opposée, l´eau chaude
est comprimée dans l´arrivée d´eau
froide et vice versa avec robinet
fermé
- Clapet anti-retour encrassé ou
défectueux
- Nettoyer le clapet anti-retour ou le
changer éventuellement
La température à la sortie ne
correspond pas à la température de
réglage
- Le thermostat n´a pas été réglé - Régler le thermostat
- Température d'eau chaude trop
basse, pas d´eau froide
- Augmenter la température d´eau
chaude entre 42°C et 60°C
Le réglage de la température n´est
pas possible
- Cartouche thermostatique entartrée - Changer la cartouche thermosta-
tique
- La pièce de base a une alimentation
inversée (l´eau froide doit être à
droite et l´eau chaude à gauche)
ou elle est montée à l´envers
- Montez le bloc de fonction à 180°
- Unité de réglage pour raccords
inversés #92373000
Bouton à pression du verrouillage de
sécurité défectueux
- Ressort défectueux
- Bouton à pression entartré
- Nettoyer le ressort ou bien le bouton
à pression, le changer éventuelle-
ment
Fonctionnement de la poignée
difficile
- Mécanisme d´arrêt défectueux - Changez le mécanisme d´arrêt
La douchette ou le bec verseur goutte - De la saleté ou de l´incrustation sur
le siège, mécanisme d´arrêt
défectueux
- Nettoyez le mécanisme d´arrêt ou
le changez éventuellement
6
English
Safety Notes
Gloves should be worn during installation to prevent
crushing and cutting injuries.
The product may only be used for bathing, hygienic
and body cleaning purposes.
Children as well as adults with physical, mental and/
or sensoric impairments must not use this product
without proper supervision. Persons under the
influence of alcohol or drugs are prohibited from
using this product.
The hot and cold supplies must be of equal pressures.
Installation Instructions
• Prior to installation, inspect the product for transport
damages. After it has been installed, no transport or
surface damage will be honoured.
• The pipes and the fixture must be installed, flushed
and tested as per the applicable standards.
• The plumbing codes applicable in the respective
countries must be observed.
Technical Data
Operating pressure: max. 1 MPa
Recommended operating pressure: 0,1 - 0,5 MPa
Test pressure: 1,6 MPa
(1 MPa = 10 bar = 147 PSI)
Hot water temperature: max. 60°C
Thermal disinfection: 70°C / 4 min
• Safety against backflow
• The product is exclusively designed for drinking
water!
Symbol description
Do not use silicone containing acetic acid!
Safety Function (see page 10)
The desired maximum temperature for example max.
42°C can be pre-set thanks to the safety function.
Adjustment (see page 10)
After the installation, the output temperature of the
thermostat must be checked. A correction is necessary if
the temperature measured at the output differs from the
temperature set on the thermostat.
Maintenance (see page 12)
• The check valves must be checked regularly accord-
ing to EN 806-5 in accordance with national or
regional regulations (at least once a year).
• To guarantee the smooth running of the thermostat, it
is necessary from time to time to turn the thermostat
from total hot to total cold.
Dimensions (see page 15)
Flow diagram (see page )
free flow
Spare parts (see page 16)
Special accessories (see page 16 )
order as an extra
• extension 25 mm #13595000
• Extension Set 22 mm (when wall is not deep
enough) #13593000
• levelling set 1° #95521000
Cleaning (see page 17)
Operation (see page 14)
Test certificate (see page 17 )
+
7
English
Assembly (see page 8)
Fault Cause Remedy
Insufficient water - Supply pressure inadequate - Check water pressure (If a pump has
been installed check to see if the
pump is working).
- Regulator filter dirty - Clean filter in front of the mixer and
on the MTC-thermo cartridge
- Shower filter seal dirty
- filter insert shower dirty
- Clean filter seal between shower
and hose
- Clean filter insert between shower
and hose
Crossflow, hot water being forced into
cold water pipe, or vice versa, when
mixer is closed
- Backflow preventers dirty or leaking - Clean backflow preventers,
exchange if necessary
Spout temperature does not
correspond with temperature set
- Thermostat has not been adjusted - Adjust thermostat
- Hot water temperature too low - Increase hot water temperature to
42 °C to 60 °C
Temperature regulation not possible - thermo cartridge calcified - Exchange thermo cartridge
- For new installations: basic body
incorrectly connected (should be:
cold right, hot left) or installed with
180° rotation
- Install function block turned through
180°
- Control unit for reversed connections
#92373000
Safety stop button not operating - Spring defective
- Button calcified
- Clean spring and/or button,
exchange if necessary
Valve stiff - Shut-off unit damaged - Exchange shut-off unit
Shower or spout dripping - Dirt or sedimentation on valve seat,
shut-off unit damaged
- Clean or exchange shut-off unit
8
2.
3.
1.
SW 4 mm
(5 Nm)
X + 11
X
1 - 2 mm
01800180
2.
1.
(0,1 Nm)
1 2
3 4
5 6 7
Montage
9
40
°C
40
°C
40
°C
40
°C
40
°C
40
°C
2.
SW 3 mm
(4 Nm) 2.
Armaturenfett
Grease
䀵滑油
1.
Armaturenfett
Grease
䀵滑油
1.
40
°C
40
°C
40
°C
SW 3 mm
1.
2.
40
°C
40
°C
SW 3 mm
(2 Nm)
1.
2.
3.
40
°C
40
°C
8 9 10
11
13
12
14 15
Montage
10
40
°C
3.
SW 3 mm
2.
40
°C
40
°C
z. B. 42° C
for example 42° C
2.
1.
1.
40
°C
40
°C
40
°C
40
°C
40
°C
1 2 3
1 2
3 4
Justierung Safety Function