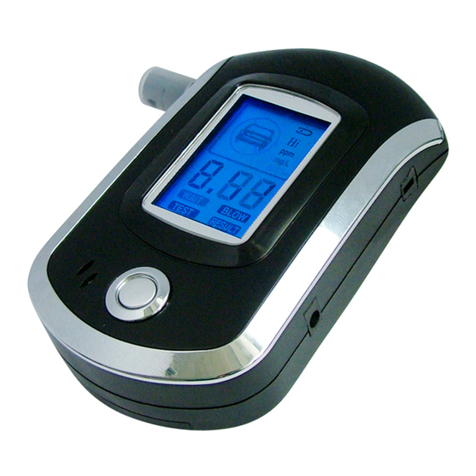
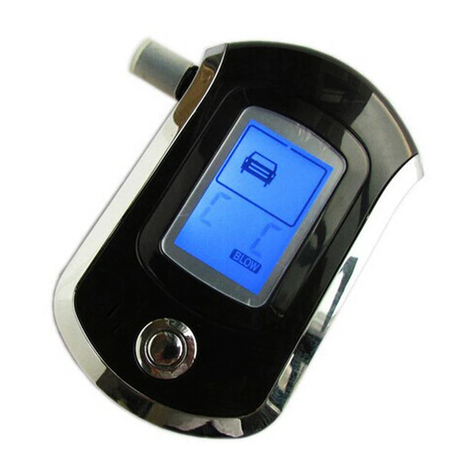
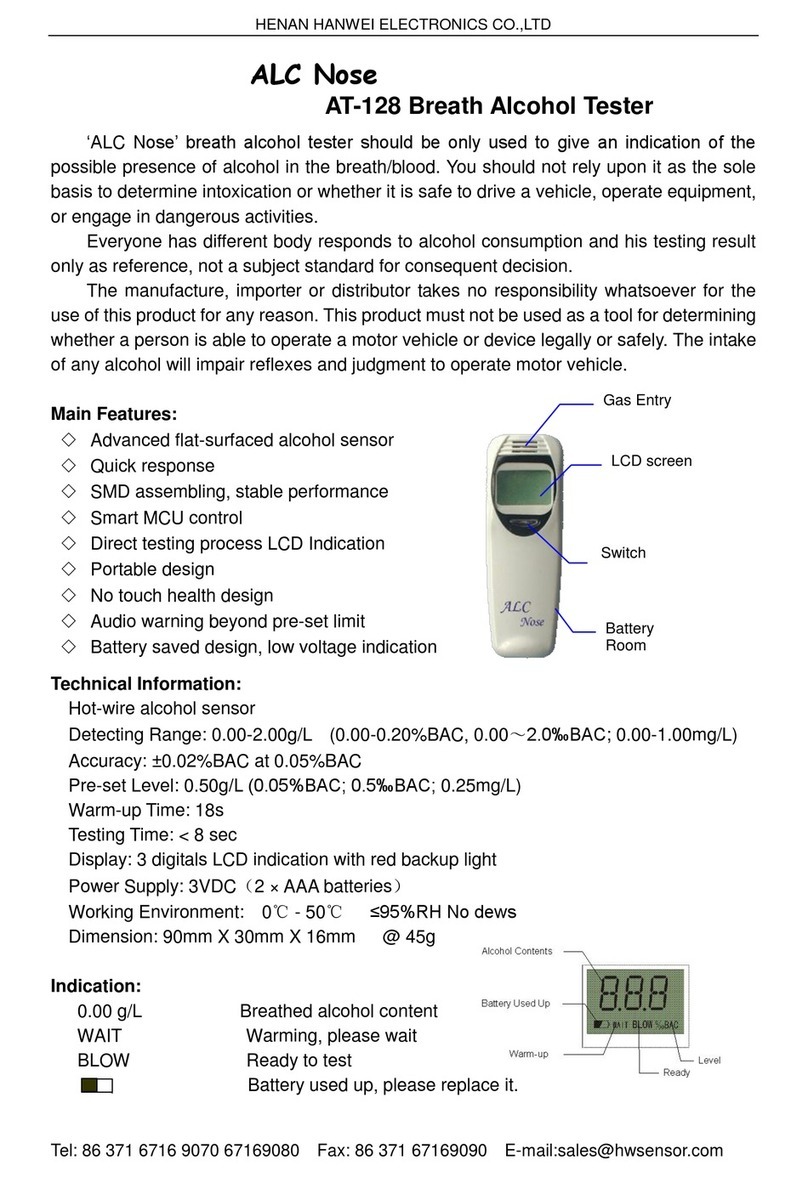
Hanwei AT8801 User manual

AT8801
Breath Alcohol Tester
Operation Manual
Read Carefully Before Use
Version: HW190118188


Notification
To ensure the real test result of alcohol concentration of human blood
and avoid sensor damaging, please wait 15 minutes to take test after
drinking.
Recommend to calibrate the sensor once the tester indicates CAL "0
Days Left".
The sensor may be damaged if the cigarettes smoke is blew into the
tester directly.
Avoid to use the tester when environment temperature exceeds its
specified range.
Avoid any fall or strong shock.
Instructions icon
Please know the icons before using this product.
Warning—May cause danger to user or others.
Caution—May cause damage to tester.
Remarks—Notes or instructions for additional information.
[ ] button on the alcohol tester. Such as [ ] shows power on/off.
<> button on the touch screen. Such as <testing>.

Terms and Definitions
1、Breath alcohol analyzers
Under specified temperature, humidity and pressure, instrument which
to analyze and measure the ethanol concentration in exhaled deep lung
gases.
2、Breath alcohol concentration
The ethanol content in the breath of each liter, for short, BrAC. The
measuring unit is: mg/L.
3、Blood alcohol concentration
The ethanol content in every 100 milliliters of blood, for short, BAC. The
measuring unit is mg/100mL.
4、Gas from deep lung
The gas which breath from deep lung of human.
5、Shift
The degree variation of the measured value of alcohol tester to a given
concentration of ethanol gas over a period of time.

QUICK GUIDE
Switch on/off: long press [ ]
Steps of testing alcohol content:
1. Install the mouthpiece (see picture).
2. Long press [ ] for power on.
3. Click the <test> icon in the touch screen.
4. Preparing of testing, take a deep breath now.
5. When screen and voice indicate “Please
blow”, then please blow into mouthpiece
regularly and consecutively. When blowing, a
continuous "dip" sound will be issued. Please
keep blowing until “dip” sound ended.
6. When breathalyzer Analyzing the alcohol
content, then do not blow, or else the result
will be affected.
7. Result be shown and stored automatically. Click <Enter> to next step,
or click <Cancel> to step 11, that will skip the step of Driver name,
Vehicle No. and Driver license No. input.
8. Input the driver name: input it by virtual keyboard and click <Enter> for
confirmation.
9. Input the vehicle No: input it by virtual keyboard and click <Enter> for
confirmation.

10. Input the Driver license No. input it by virtual keyboard and click
<Enter>for confirmation.
11. Screen display print interface, which show all testing information. Click
<Print>, Indicates print or not, if connect with printer, then click <Enter>
to print the testing results.
Please read the manual carefully for functions and operation
information.

Table of Contents
1 Summary ..............................................................................1
2 Accessories .........................................................................3
3 Structures ............................................................................4
4 Power On/Off .......................................................................4
5 Touch Screen Usage ...........................................................5
6 Precaution Before Usage ...................................................5
7 Alcohol Content Testing ....................................................8
8 Menu Operation .................................................................11
Delete of Records ................................................................12
Measuring Unit Setup ..........................................................12
Password Changing ............................................................13
Police No .............................................................................13
Alarming Setup ....................................................................14
Printing Copy .......................................................................14
Record .................................................................................15
Calibration Date ...................................................................15
Time Setup ...........................................................................15
9 Data Uploading ....................................................................16
10 Troubleshooting Guides ...................................................16
11 Main Technique Parameter ................................................17

1. Summary
AT8801 is an advanced portable Breath Alcohol Tester with
up-to-date design in the international field at present. The core
component adopts Changeable Electrochemical Sensor module and
the tester is in more accuracy, high sensitivity, strong anti-jamming
ability and easy calibration. Adopting advanced technology, AT8801
could do self-regulation of signal gain, ensure the successful
calibration. And users no need to disassemble the product. The
design of multicolor LCD, simply keyboard, and touch screen make
the tester more concise and suitable for outside use. The build-in
Bluetooth module expand the choices of printer types. And
compatible with funnel blower, it is convenient for rapid screening
and passive testing.
The product is applicable to driving in drunk or alcohol detecting
before busywork, so that it can help us avoid the accident, protect
human life and property safe. The delicate appearance and
comfortable handle are the best choice for alcohol testing.
1.1Main functions and features:
Using fuel cell smart module, high accuracy and reliability
1

Adopting advanced technology, AT8801 could do
self-regulation of signal gain, ensure the successful
calibration. Simplified the calibration process.
2.8 Inch Touch color display, beautiful and clear.
Multi modes of testing: active testing, passive testing and
rapid screen.
Simple keyword, touch screen operation.
Testing records uploading function.
Built in wireless module to realize wireless printing.
Providing time and temperature display function.
Build in large capacity rechargeable lithium battery.
Auto shut off when undervoltage.
Having blowing interrupt hint function.
Switchable measuring unit, adjustable alarming point.
More than 20000 test records can be stored.
Password management function, main operations need
password verification.
Short preheating time, fast response and quick recovery.
Compatible with disposable anti reflux nozzle and funnel
type nozzle, healthy and safe for people.
2

Large range of temperature design, to meet user’s
requirement to the greatest extend.
It has the function of automatic and intelligent management
of test information (instrument number, time, tester, test
result, etc.).
2. Accessories
Alcohol tester
DC5.5V 1.0A power cords
Date wire
Mouthpiece
User manual
Please use accessories and software under Hanwei approved,
otherwise the instrument may be damaged or malfunction, the
manufacturer will not guarantee it.
Could buy accessories from local distributor or manufacturer.
The accessories should provide good support to the alcohol tester.
Other non-original accessories may not be compatible with the
alcohol tester.
3

3. Structures
Note: Function key will carry the
functions which indicated in left/right down side of screen.
4. Power on/off
1. Long press [ ] to power on or off the tester
2. Under standby mode, if no operation within 180 seconds
continuously, the tester will give out sound to remind user to turn off.
If you do not want to turn off, please dot the screen or press any
keys, otherwise it will turn off automatically.
3. If the battery was exhausted, the tester will turn off automatically,
please recharge in time.
4. Short press [ ] under standby mode, it could turn on or off the
light of tester, and it is invalid under other operation interface.
4
1
Air inlet
2
Light
3
Charge lamp
4
Display/touch screen
5
Function key①
6
On/off /light key
7
Function key①
8
Charging/communication
jack cover

5. Touch screen usage
Using finger or other tools to dot the screen to choose the item or
use its functions.
Don’t use sharp tools to avoid scratching the touch screen
No other electronics devices contact with the touch screen,
Electrostatic discharge can cause malfunction of touch screen
No water, it will cause malfunction of touch screen in humidity
environment or in contact with water.
6. Preparation before usage
Recharging batteries
Using the charger which provided by manufacturer. Other inapposite
charger will cause explosion or damage tester
Low battery indication
When the tester is with low battery, it will:
5

Send out alarming;
Show short of battery;
Empty battery icon twinkle.
If the battery was too low, the tester will turn off automatically, please
recharge it in time.
Recharge the tester by adaptor
Use DC 5.5V adaptor and date line to recharge alcohol tester.
1. Open the charging/communication jack cover at the side.
2. Insert the small terminal of adaptor into recharging jack.
3. Insert the big terminal pin of adaptor into power socket, then the
red indication light of tester will be lighted.
4. If the red light of screen off, and green light is on, it means the
finish of recharging. Please pull out the adaptor.
Mouthpiece installation
This tester is equipped with disposable anti-return mouthpiece
which meet hygienic conditions. Before each active blow test, the
disposable anti-return mouthpiece should be replaced. For rapid
6

screening and passive test, funnel type mouthpiece is available.
Printer Connecting
Modular thermal printers or independent Bluetooth dot-matrix
printers optional.
Technical data of Bluetooth Thermal Printer:
Paper type: thermal printing paper;
Paper width: 57mm;
Paper roll diameter: ≤25mm.
7

Technical data of Bluetooth Pin Printer:
Paper type: Pin type printing paper;
Paper width: 57mm;
Paper roll diameter: ≤40mm.
The effective communication distance between tester and Bluetooth
printer is less than 5 m. Please ensure the usage within the effective
distance. The first connection to the printer may take a long time to
search for communication, please wait patiently.
User Setup
Before carrying out test, please read "Part 8 Menu operation"
carefully and set Measure unit, alarming point, Police ID input and
Time and date etc.
7. Alcohol Content Testing
Active Testing
Breath continuity and minimum expiratory volume
Alcohol tester starts to collect a breath sample when the breath
sample greater than 1L. The sample collection will last for more than
3s. The "blowing interrupt" will be displayed when blowing is
interrupted.
Waiting time for blowing
When the screen displays "Please blow", please use the
mouthpiece to blow continuously & evenly; if no blowing after 30s,
result is displayed and automatically saved, with buzzer beeping at
8

the same time. If tested persons are unable to blow, click <Cancel>
to active print interface with result saved; Click <Enter> to active
driver name input interface with result saved.
Active Testing Steps
1. Insert disposable anti-return mouthpiece.
2. Press [ ] to power on.
3. Click [Test].
4. The test person shall take a deep breath during warming up.
5. When screen showing "Please blow", the test person must
blow into the device continuously and evenly until the buzzer
"drops" stop.
6. No blow allowed during analyzing, otherwise, it will distort the
results.
7. The screen shows the testing result and be saved
automatically. Click<Enter> to next step; click <Cancel> to
step of print directly, skipping the Driver’s name, Vehicle No.
and Driver License No. input interface.
8. Input the driver’s name: From the virtual keyboard to find
the characters which you need, click on them to the input,
click< NEXT >to find other characters in next page, click <
> to delete the characters. When finish the input, click
<Enter> to move next step; or click <Cancel> to return
standby interface.
9. Input of vehicle No: From the virtual keyboard to find the
characters, and click <Enter>.
10. Input of driver license No.: From the virtual keyboard to find
the characters, and click <Enter>.
11. The screen displays <Print?>, if the tester connected with
printer, please click <Print>, the result will be printed.
9

Passive Testing
When the tested person can't take the initiative to detect the normal
breath alcohol content, the alcohol detector can collect the breath of
the tested person through passive test to complete the test, and give
the qualitative judgment results. Install funnel mouthpiece. When the
screen prompts "Please blow", point the mouthpiece at the mouth or
nostril of the subject. Click the < Passive > button at the bottom right
of the screen. After active sampling and analysis, the screen
displays the passive test results.
Passive Testing Steps
1. Insert disposable funnel type mouthpiece.
2. Press [ ] to power on.
3. Click <Test> to next step.
4. Click <Passive>, then the product would take some air sample
from person being tested and active analyzed with result saved.
5. The screen shows the testing result and be saved automatically.
Click<Enter> to next step; click <Cancel> to step of print directly,
skipping the Driver’s name, Vehicle No. and Driver License No.
input interface.
6. Input the driver’s name: From the virtual keyboard to find the
characters which you need, click on them to the input, click<
NEXT>to find other characters in next page, click < > to
delete the characters. When finish the input, click <Enter> to
move next step; or click <Cancel> to return standby interface.
7. Input of vehicle No: From the virtual keyboard to find the
characters, and click <Enter>.
8. Input of driver license No.: From the virtual keyboard to find
the characters, and click <Enter>.
9. The screen displays <Print?>, if the tester connected with
printer, please click <Print>, the result will be printed.
10

Rapid screening
In the standby interface, click <Screening> at the left of the
screen to enter the Quick Check Test Interface. Install funnel
mouthpiece or without mouthpiece, when the screen prompts <
Please blow >, aim the nozzle or air inlet hole at the tested
person, start blowing within 3 cm of the distance between the
nozzle and the tested person. The blowing time is about 0.5
seconds. Stop blowing after hearing a "snap" sound of
electromagnetic absorption. The instrument analyses and
displays the test results. Click<Cancel> to standby interface;
click <Enter> to step of print directly.
8. Menu Operation
Time Tem. Battery
Menu Icon
In the standby interface shown
on the left, click on the menu
icon on the display screen to
enter the corresponding menu
items. Some menu requires
password validation.
The initial password is:
000000.
Function Icon
-Display left/right function icon
11

Delete Records
This operation will clear all test records.
The tester could save up to 20000 records and upload records to
Computer for Back-up management. Make sure you want to clear all
test records before executing this operation.
Empty records
1. Click under standby interface.
2. Input password, click <Enter>.
3. Click <Delete> to clear all test records; Click <Cancel> to give
up erase operation.
Unit Setup
Setup the measuring unit of testing result.
Setup method:
1. Click under standby interface.
2. Dot the touch screen to choose units.
3. Click <Enter> to store the setup; or click <Cancel> to drop the
operation.
Five optional measuring units:
a、(BrAC)mg/L

b、(BAC)mg/100mL
12
c、g/L
d、‰BAC
e、%BAC
After the unit is changed, the critical value in the alarm setting is
automatically updated according to the conversion relationship
between the old and the new units
mg/L and mg/100mL are Chinese standard “GB/T
21254-2017” requested measurement results, Conversion
relation: BAC=BrAC×2200.
Password Changing
In order to ensure information security and prevent misoperation by
others, please change the password in time after purchasing this
machine.
Change the password and remember the new password you set. If
you forget your password, please contact the dealer or system .
Password changing:
1. Click under standby interface.
2. Input original password, click <Enter>.
3. From virtual keyboard to input the new password, click icon
to delete characters.
4. Click <Enter> to save new password, new password is taking
effect; click <Cancel> to drop this operation.
Table of contents
Other Hanwei Test Equipment manuals
Popular Test Equipment manuals by other brands

Zodiac
Zodiac Diag box Instructions for installation and use
Alicat Scientific
Alicat Scientific FP-25 operating manual
pico Technology
pico Technology PicoScope quick start guide
ATD Tools
ATD Tools ATD-5614 instruction manual

Elcometer
Elcometer 110 operating instructions
Conrad
Conrad 17 40 92 operating instructions
