SKU91771 For technical questions, please call 1-800-444-3353
3. TheSolarPanelhastwofoldable
legs on the back to help you
positionit for maximumexposure
tosunlight.Thereareadditional
tabs on the back of the Solar Panel
to hang it in a window or other
locationtoreceivesunlight.
NOTE:Initialchargingtimerequired
using the Solar Panel is 12 hours in
directsunlight.Subsequentcharging
timeis 8-12 hours dependingon the
amountof use of the lanternand the
strength of the sunlight. When the
lantern is in use on a regular basis, you should make practice of placing the
solar panel in direct sunlight each day to
rechargetheinternalbattery.NOTE:
Thereisawirecompartmentwithcover
to store the solar panel wire when not in
use.
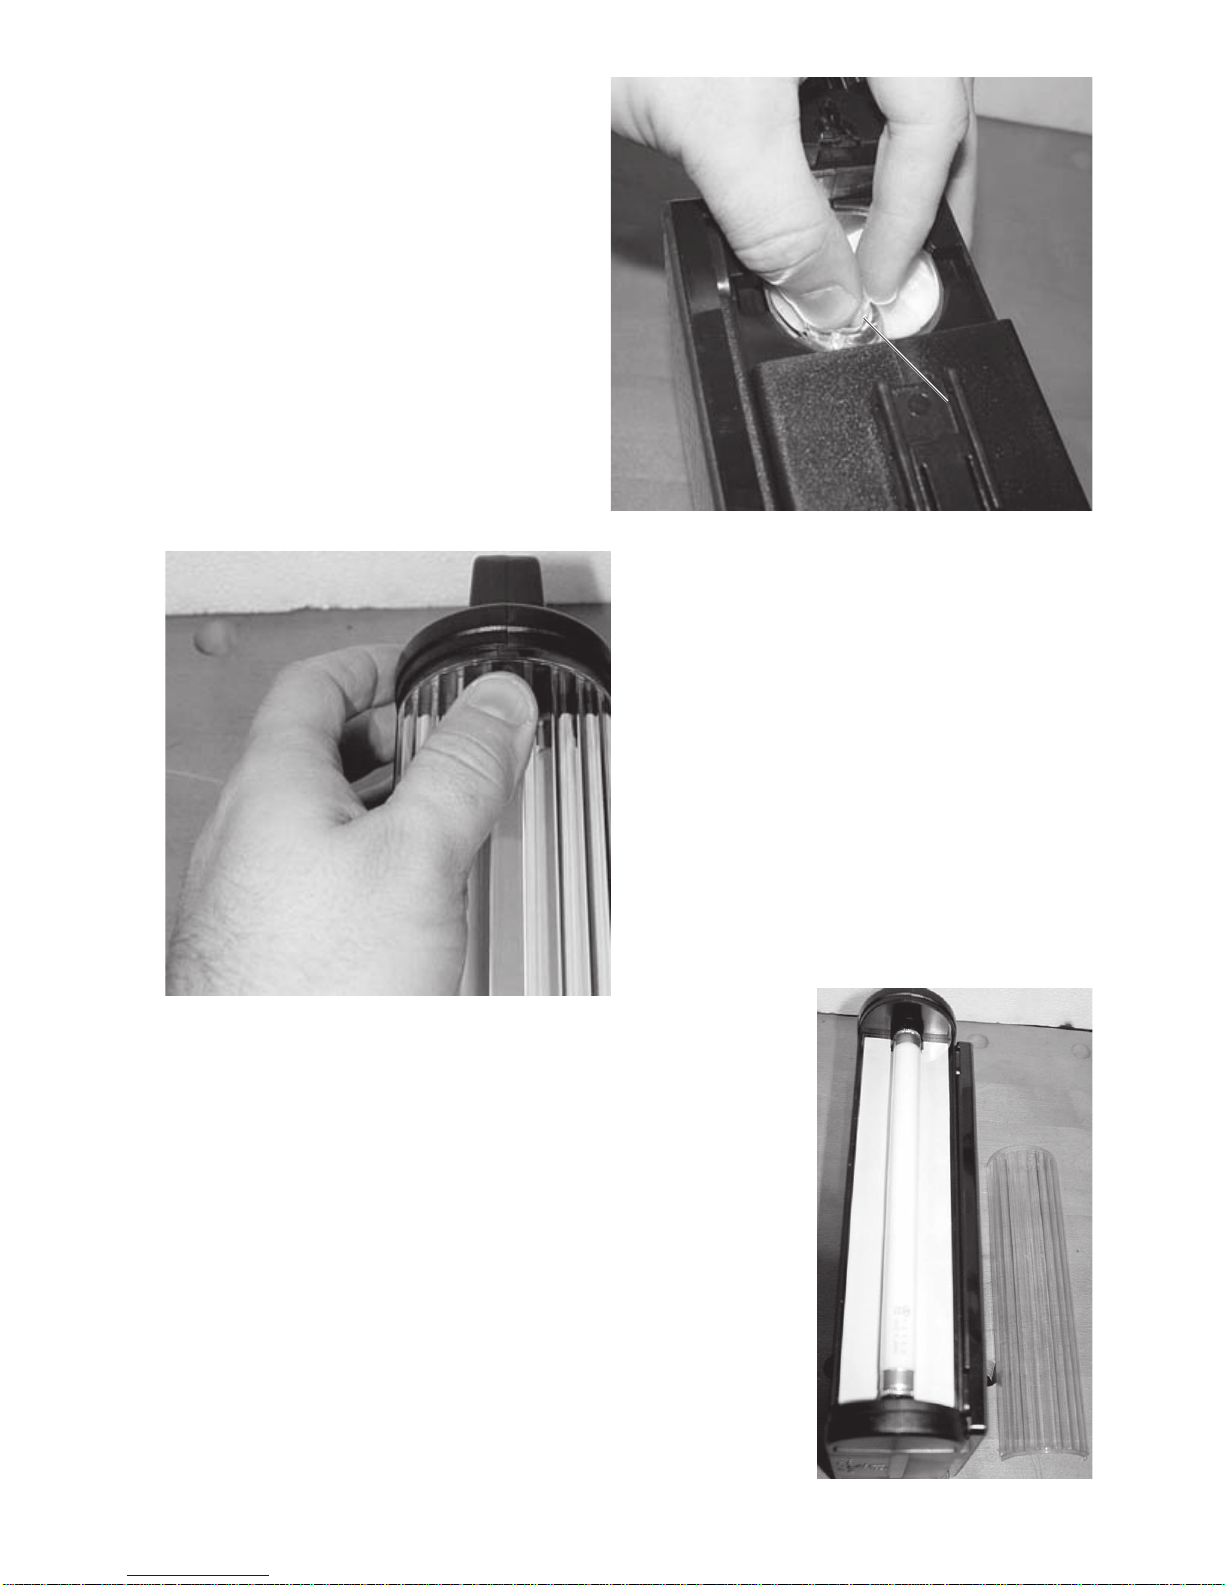
TheSolarPanel has a connectingwire
which is stored in a compartment
underneath the Solar Panel.To expose
the wire, open the compartment by
pushing the tab as marked.To store the
wire, fold it up and press it into the
storagecompartment.Closethe
compartmentcoverasmarked.
Charging the Lantern using an AC/DC adaptor
YoucanchargetheinternalrechargeablebatteryusinganAC/DCadapter(notincluded).
1. Be sure both the lantern switches are turned OFF.Plug the adapter end of the
AC/DC adapter into the receptacle at the bottom of the lantern. Plugthepower
plugcordoftheAC/DCrechargerintoacircuit-breakerprotected110-120VACoutletplug.
2. The Charger LED will light up as the lantern is charged. Once charged the
LEDwill turn off. When the“Charging” LED turns off, yourlantern is fully
charged,andthe AC/DC chargingunitcan be disconnected fromthe lantern.
NOTE: The Solar Charger and the AC/DC charger are exclusive, so that if the
AC/DC charger is used, the Solar Panel will automatically stop charging to
prevent double charging the battery.
Page6
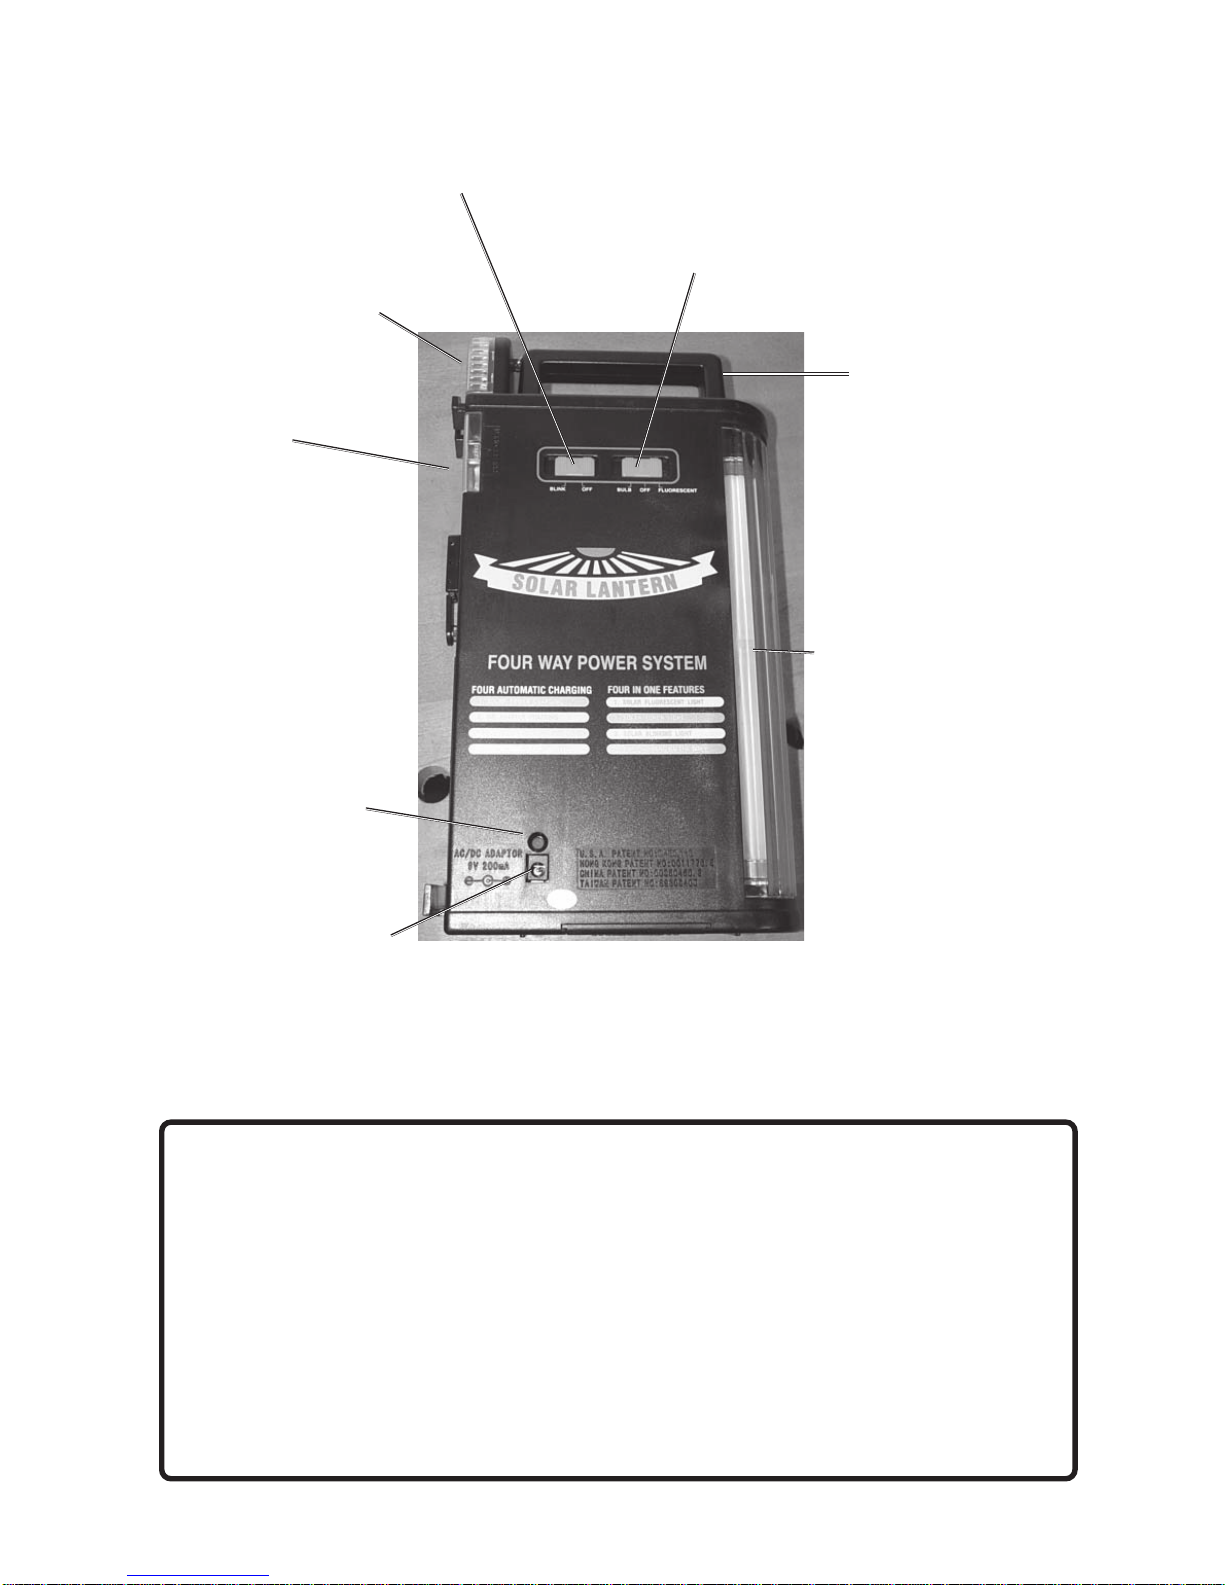
SolarPanelLegs
SolarPanelWire
andSpareBulb
Compartment