HARTING MICA User manual

User Guide
MICA Getting Started

MICA Getting Started
2 HARTING IT Software Development
2. Edition 2019
© HARTING IT Software Development, Espelkamp
All rights reserved, including those of the translation.
No part of this manual may be reproduced in any form (print, photocopy, microfilm or any
other process), processed, duplicated or distributed by means of electronic systems without
the written permission of HARTING ITSoftware Development GmbH & Co. KG, Espelkamp.
Version 8.0. Subject to alterations without notice.

Contents
1Connecting Your MICA to Power.........................................................................5
2Logging In..............................................................................................................6
2.1 Using Name Resolution............................................................................6
2.2 Using the 10.10.10.10 Fall Back Address ...............................................6
2.3 Connecting to a MICA Wireless for the First Time ................................6
2.4 First Login..................................................................................................6
3Working with Containers......................................................................................8
3.1 Starting Containers...................................................................................8
3.2 Opening the UI of a Container .................................................................8
3.3 Stopping a Container................................................................................9
4MICA Network Configuration .............................................................................10
4.1 Basic Network Configuration.................................................................10
4.2 Advanced Network Configuration.........................................................13
5WLAN Configuration...........................................................................................15
5.1 Access Point Mode Configuration ........................................................15
5.2 Client Mode Configuration.....................................................................16
5.3 Advanced Roaming ................................................................................16
6Mobile Network Configuration...........................................................................18
6.1 Activating the eSIM.................................................................................18
6.2 Mobile Connection Configuration .........................................................19
6.3 GNSS Receiver........................................................................................19
7Container Network Settings ...............................................................................21
7.1 Details ......................................................................................................21
7.2 Container Network Settings...................................................................22
7.3 Note: Legacy Additional Network Interfaces .......................................22
8Bluetooth Configuration.....................................................................................23
9Time and Date......................................................................................................24
10 Changing Passwords..........................................................................................25
11 Firmware Reset....................................................................................................26
12 Firmware Upgrade...............................................................................................27
13 Generating a System Report..............................................................................28
14 Container Configuration and Maintenance.......................................................29
14.1 Container Installation .............................................................................29
14.2 Container Update....................................................................................29
14.3 The Context Menu...................................................................................29
14.4 Accessing the Container UI ...................................................................29
14.5 Container Reset.......................................................................................30
14.6 Container Duplication.............................................................................30
14.7 Container Export.....................................................................................30
14.8 Container Overlay Export.......................................................................30

MICA Getting Started
4 HARTING IT Software Development
15 MICA Software Architecture...............................................................................31
15.1 Container Architecture...........................................................................31
15.2 MICA Network Topology ........................................................................31
16 MICA Variants with Additional Connections ....................................................33
16.1 Ethernet and USB....................................................................................33
16.2 USB Connections...................................................................................33
17 Troubleshooting..................................................................................................34

MICA Getting Started
5
1 Connecting Your MICA to Power
MICA BASIC WITH M12 A-CODED GPIO AND M12 X-CODED POWER OVER ETHERNET (POE).
MICA WIRELESS WITH M8 POWER SUPPLY.
Depending on the MICA variant your MICA can be powered using Power over Ethernet (PoE) or 24V DC.
The documentation included with your MICA explains how to connect your MICA to power and to your com-
puter.
Warning: Make sure to use an appropriate power source. Some commercially available
PoE injectors do not follow the IEEE 802.3afnorm and can damage devices like the
MICA through voltage peaks of up to 80V. If you are unsure which PoE Injector to use,
please contact your HARTING partner or
MICASupport@HARTING.com
The MICA boots automatically when connected to power and loads its web interface. During the boot se-
quence, the power LED will be illuminated in red and switch to green once the boot process is complete.
MICA Getting Started
6 HARTING IT Software Development
2 Logging In
2.1 Using Name Resolution
In most network environments the MICA will show up under the name listed on the type shield at the bottom
of the device. Depending on your combination of browser, operating system, and network settings, you can
log into the MICA web interface using either https://micaname or https://micaname.local.
2.2 Using the 10.10.10.10 Fall Back Address
If the MICA cannot connect to a DHCP server, for example because it is connected directly to a PC, you can
access its web interface under https://10.10.10.10. To do this, your PC needs to be in the same network seg-
ment as the MICA. You can do this, for example, by setting its IP address to 10.10.10.7 and its network
mask to 255.255.255.240.
If you have not set the MICA base system to a static IPv4 address, you can also use 10.10.10.10 to log into
a MICA that no longer shows up in a network due to some fault or misconfiguration. To engage this fallback
mode, disconnect the MICA from power, connect it directly to a PC that is not connected to an IPv4 network,
and power the MICA back on.
2.3 Connecting to a MICA Wireless for the First Time
When the MICA Wireless is initially connected to power, it starts in Access Point mode with the IP address
10.10.10.10 and WPA2 enabled. The SSID and WPA2 password are listed on the type shield on the bottom
of the MICA. Use these to connect to the MICA from your PC or tablet and to perform the initial configuration.
For more information about configuring a MICA Wireless, please refer to the MICA Wireless User Guide
available on www.harting-mica.com.
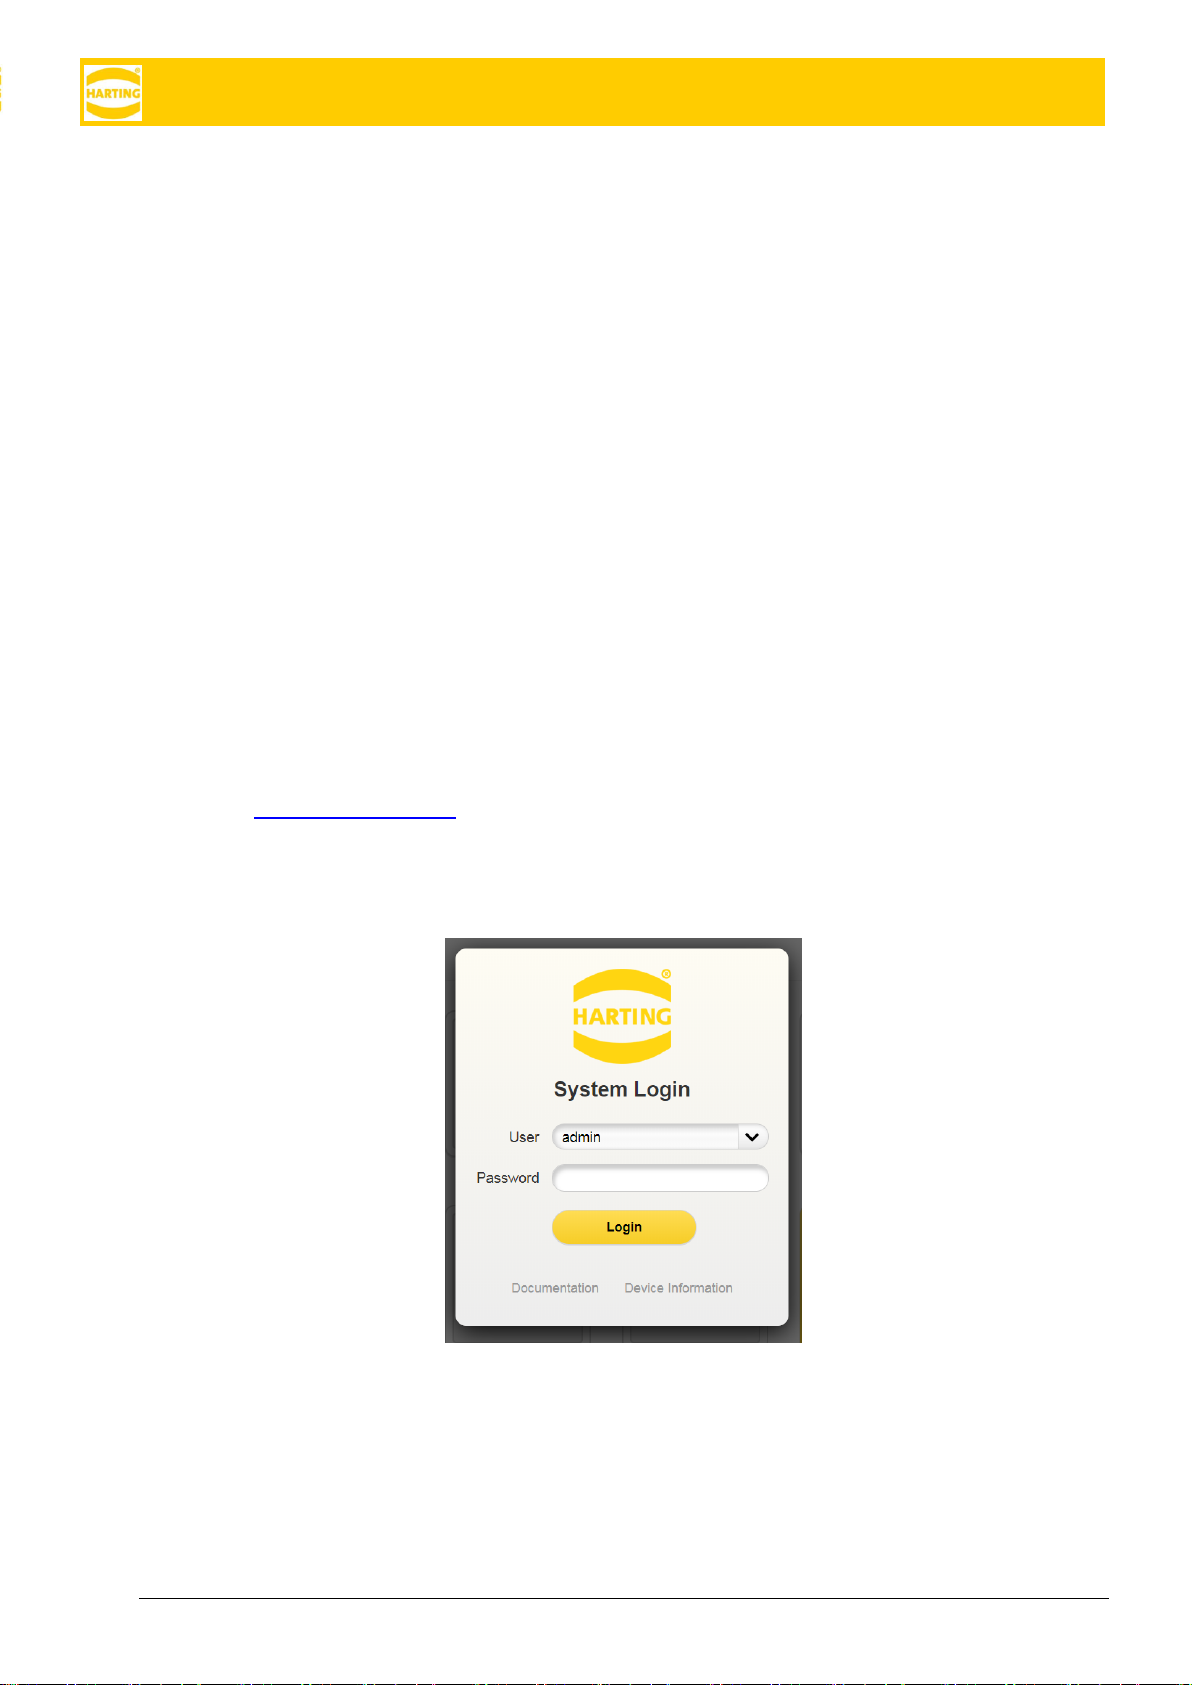
2.4 First Login
To log into your MICA for the first time, use the username admin and the password listed on the type shield.
We strongly recommend that you change the password immediately after logging in.
You can also access the MICA API documentation and some basic device information about your device (in-
cluding the serial number and MAC address) from this screen without having to log in.


MICA Getting Started
8 HARTING IT Software Development
3 Working with Containers
All MICA applications consist of one or more LXC containers, which are small independent virtual machines.
The MICA web interface lists all installed containers and three general tools called Install, Settings, and Infor-
mation.
3.1 Starting Containers
Before you can interact with a container, it has to be started. To start a container, choose Start App from the
context menu. You can open the context menu by right-clicking a container icon or by long pressing it on a
touch screen. Once the container is active, its icon changes from gray to yellow.
3.2 Opening the UI of a Container
To open the user interface of a started container, click its icon. If the container has a web user interface, it
will be displayed in your browser. If the container does not have a web interface, an informational message
will be shown.
Stopped Container
Active Container


MICA Getting Started
10 HARTING IT Software Development
4 MICA Network Configuration
The MICA base system can be configured using the Settings panel. All actions inside the Settings panel re-
quire admin privileges.
4.1 Basic Network Configuration
Network settings can be configured under Settings →Network. In most cases, you just need to configure the
primary network at this point and do not have to not worry about advanced settings.
4.1.1 General Settings
The MICA host name and MDNS name are set in the factory and cannot be changed in the UI.
GW&NS lets you choose which interface will be used to connect to the default gateway and nameserver. If
your MICA only has one network interface, this setting is disabled.
The currently used gateway and name servers are shown below. These settings can be changed in Inter-
face-specific configuration as described below.
System Settings

MICA Getting Started
11
4.1.2 Interface-specific Configuration
In this section, you can activate, deactivate and configure all built in network interfaces. If you are using
Ethernet to USB dongles on a MICA USB, you can in most cases also configure these as well, but HARTING
cannot guarantee that any and all USB dongles work.
WIFI to USB dongles are not supported by MICA base system 8.
•To activate a network interface, move the slider to the right.
•To deactivate a network interface, move the slider to the left.
Note: You cannot deactivate all network interfaces at the same time, since the MICA would no
longer be accessible.
Note: The PPP/LTE interface cannot be the only active interface. This ensures that the MICA can
still be accessed when no LTE connection is available.
To view and edit the settings of an interface, click the icon on the left or the name of the interface.
4.1.3 IPv4 Configuration
IPv4 is disabled by default except for the fallback address 10.10.10.10 (see
Troubleshooting).
To activate IPv4, you can select from one of three settings:
•Select DHCP if you want the MICA to obtain an IPv4 address, gateway and name server information
automatically.
•Select Partial DHCP if you want the MICA to obtain an IPv4 address automatically but want to set
the gateway and name server manually.
•Select Static to enter an IP address, network mask and, if necessary, a gateway and a name server
manually. Note that the IP address 169.254.1.1 is reserved for internal communication and cannot
be used.
Click Apply to apply the new network settings.
Warning: If you assign an IPv4 address for the MICA that is not
reachable in your network, the MICA will not be accessible over the IPv4 network.
In this case, follow the troubleshooting instructions in chapter 17.
4.1.3.1 Partial DHCP
MICA base system version 5 and higher also let you configure name servers and gateways manually even if
the MICA is connected to a DHCP server. This can be useful for some specific network environments.
MICA Getting Started
12 HARTING IT Software Development
To override DHCP settings, select Partial DHCP from the Mode drop down and enter IPv4 addresses
for the gateway, the name server, or both.
Warning: If you assign an IPv4 address that is not
reachable in your network, the MICA will not be accessible over the IPv4 network.
In this case, follow the troubleshooting instructions in chapter 17.
4.1.3.2 External Visibility—Base Services
External Visibility lets you specify how the MICA base system interacts with the external network.
•If you want to be able to access the MICA base system from this network interface, move the Base
Service slider to the right.
•If you want to block access to the MICA base system from this network interface, move the Base
Service slider to the left.
You cannot disable Base Service for all network interfaces at the same time.
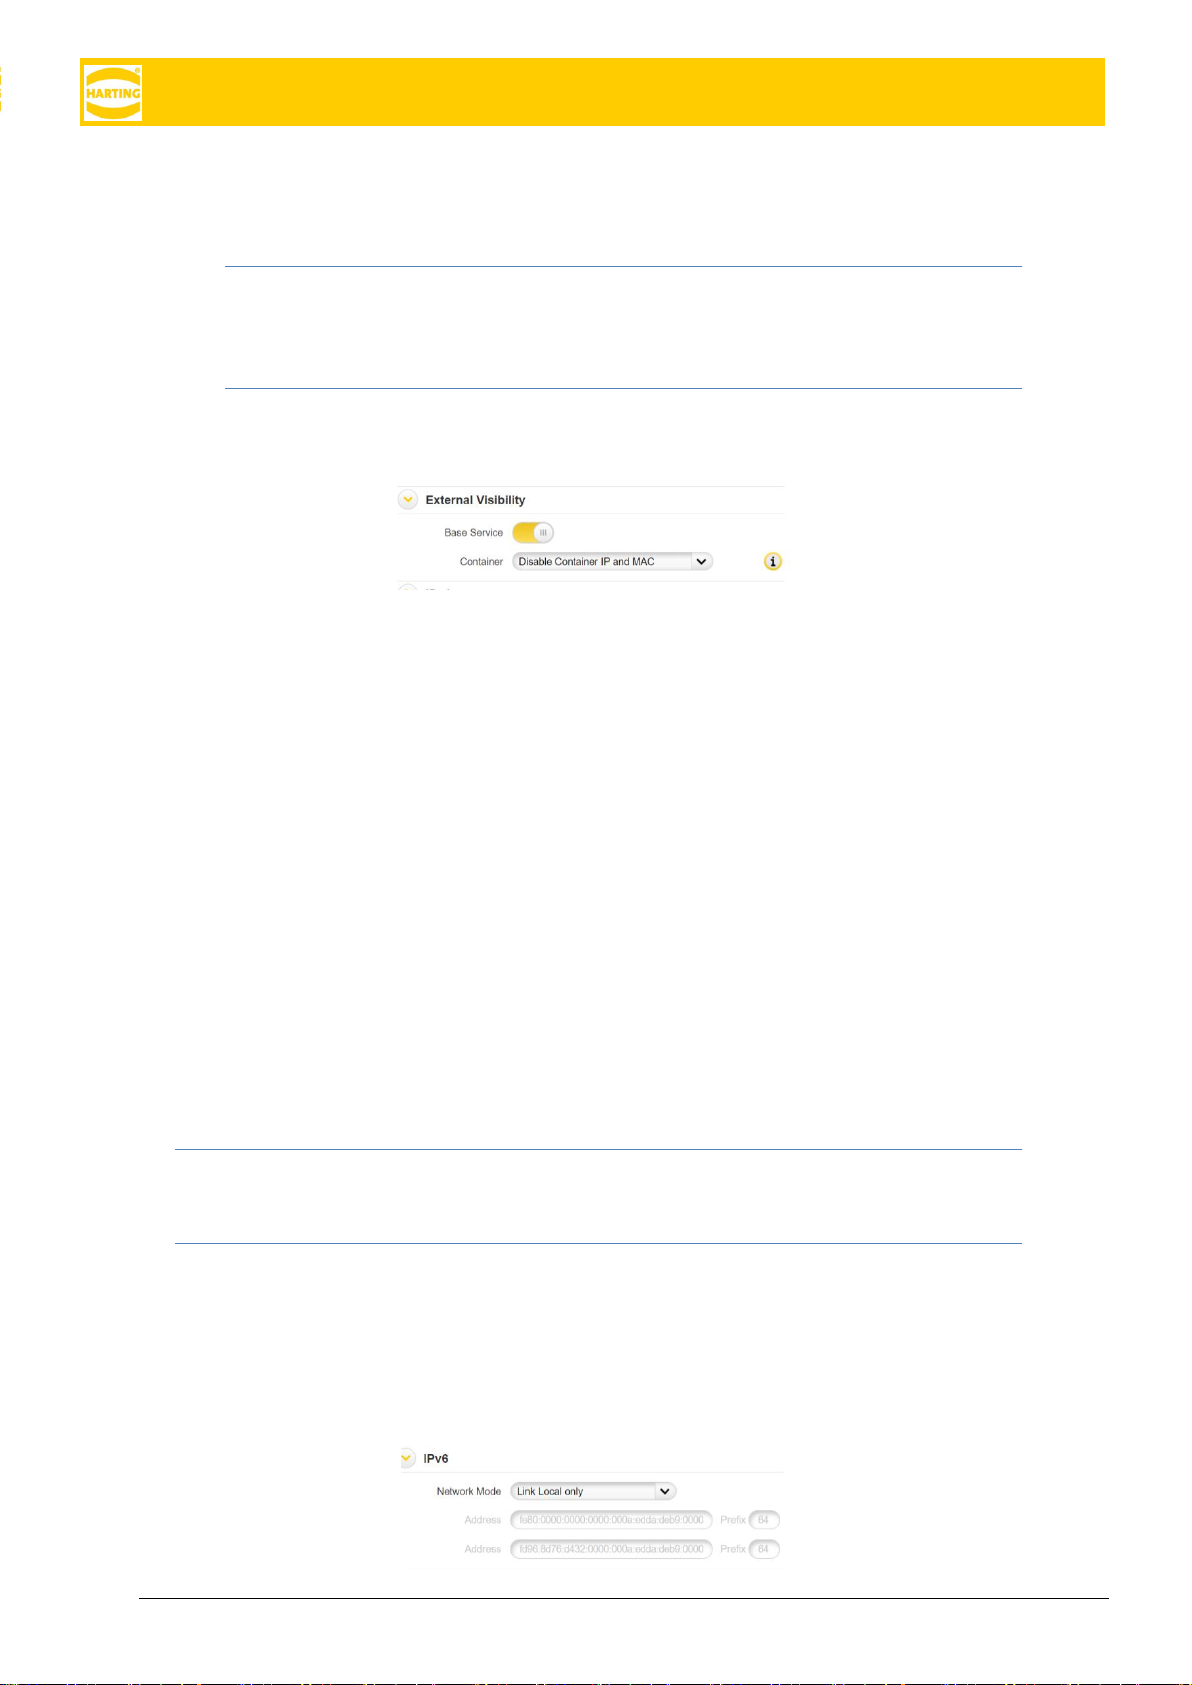
4.1.3.3 External Visibility—Containers
External Visibility also lets you specify how the MICA Containers interact with the external network. This set-
ting only applies to the primary network interface.
•Full: Container IP and MAC are visible in external network.
•Disable Container MAC: Container IP and the network interface MAC are visible in external network.
In other words, all containers will be assigned the same MAC address as the base system. This is
occasionally necessary in legacy networks with restrictive MAC filters.
•Disable Container IP and MAC: Only network interface IP and MAC are visible in external network;
containers can be addressed by port redirection. In other words, all containers have the same IP ad-
dress as the base system and can be accessed from the outside by base-system-ip:container-port.
Note: External Visibility is NOT a firewall. Containers installed on the MICA can initiate outbound commu-
nication with any external network connected to a network interface.
4.1.4 IPv6 Configuration
By default, the MICA base system has an IPv6 link local address as well as an unique local address. The link
local address can be derived by combining the HARTING IPv6 prefix and the last 9 digits of the MAC address
listed on the type shield of the MICA.
For example:

MICA Getting Started
13
1. MAC address 00:0A:ED:D8:0B:10
2. IPv6 link local address: fe80::a:ed:d8:0B:10:0
This address is set in the factory and cannot be changed.
To assign additional static IPv6 addresses, choose Static in the drop-down menu and add the desired ad-
dress, gateway, and prefix.
Click Apply to apply the new settings.
4.2 Advanced Network Configuration
Some MICA models have multiple network interfaces. Some examples are:
•MICA Wireless
•MICA Wireless ETH
•MICA ETH
Each of these MICA has one primary network interface, typically using the X-coded M12 connector on MI-
CAs without wireless connectivity and the WIFI interface on the right side of the front panel for MICA Wire-
less models.
If your MICA has multiple built in network interfaces, you can use the GW & NS drop down to specify which
network interface the MICA will use to connect to a gateway and name server. Click Apply to activate the
new setting.
4.2.1 Port Forwarding
IPv4 port forwarding is available for all secondary network interfaces and all containers the secondary inter-
face is assigned to. It is also supported for the primary network interface if Disable Container IP and MAC is
selected.
In these cases, the MICA only publishes the IPv4 address of the selected interface and all services offered
by container are reached from the outside using port forwarding.
MICA Getting Started
14 HARTING IT Software Development
Note: To use port forwarding rules, the container obviously must have these ports enabled and the
container developer must have implemented the appropriate port listeners and port writers to es-
tablish connections on these ports. If your container does not support the source and target ports,
please contact your container developer.
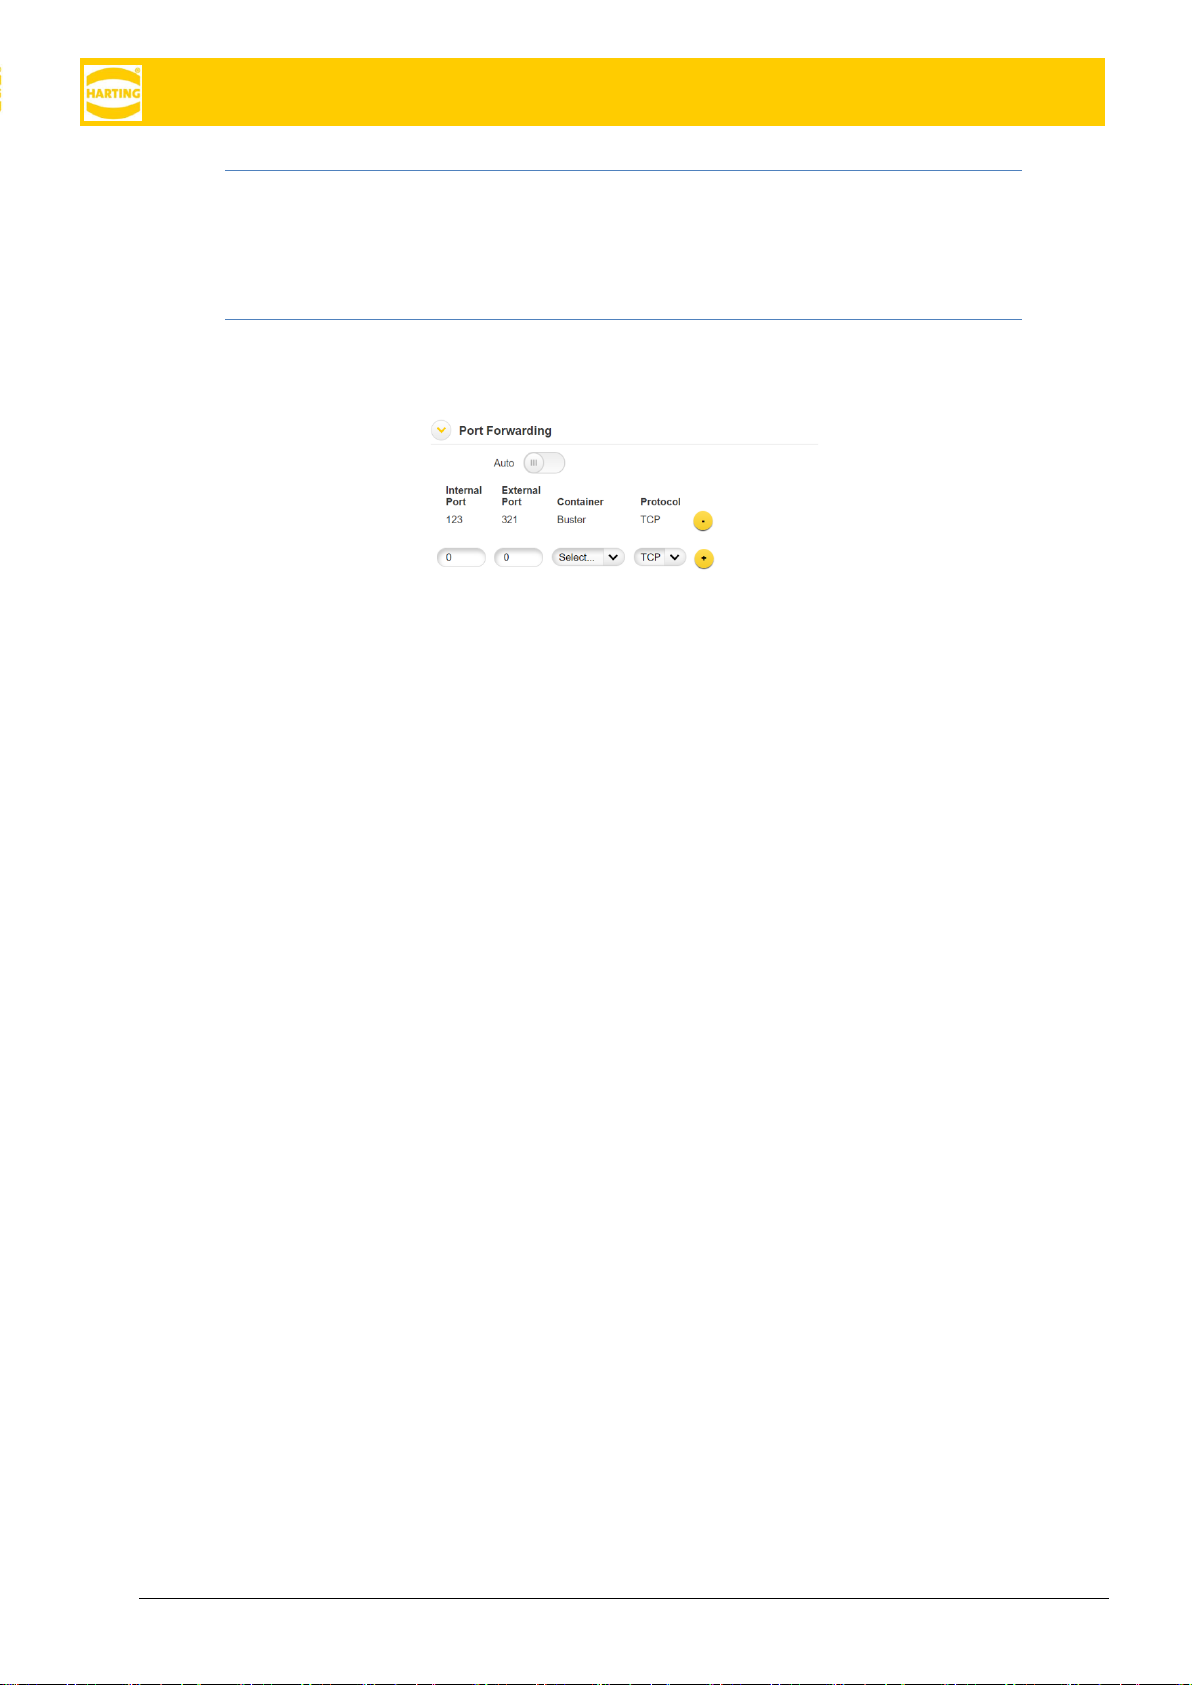
If Port Forwarding is set to Auto, the MICA Base System automatically creates port forwarding rules based
on ports published by the individual containers (using the Linux ss -tulpn command).
If you want to add your own port forwarding connections
1. Enter the internal and external port. Each external port can only be used once.
2. Select the container which is listening on this port or establishing connections on this port from the
drop down. For secondary interfaces, the drop down only lists containers the secondary interface is
assigned to. See section 7.1 for how to assign a secondary network interface to a container.
3. Press ⊕ to accept the setting and add an additional input row.
To delete a forwarding route press ⊖.
If you unselect, Disable Container MAC or Disable Container IP and MAC, the MICA Base System will hide
the Port Forwarding section, but remember the settings when you reenable the advanced network modes.

MICA Getting Started
15
5 WLAN Configuration
The MICA Wireless variants are initially configured to start in Access Point mode. When you switch the MICA
to Client Mode, it will restart and try to connect to the specified wireless access point. If the MICA is unable to
connect to an access point within 1 minute, it will restart in Access Point mode to make sure it stays available
for configuration.
If you are preconfiguring the MICA to deploy later, you can disable this fallback mechanism by disconnecting
the MICA from power after switching to Client Mode. The countdown to the fallback mechanism then starts
when the MICA is connected to power again.
This fallback mechanism only applies during the first restart after a MICA is switched to client mode.
5.1 Access Point Mode Configuration
To use the MICA Wireless as an access point:
1. Navigate to Settings →Network in the WebUI.
2. Click the WiFi interface under Interface-specific configuration.
3. Set the correct Country Code for your region.
4. Set the operation mode to Access Point.
5. Choose the WiFi standard you want the access point to use
6. Optionally, select a specific channel
7. Select the desired security mode
8. Enter the SSID
9. Enter and confirm the network key (PSK). Make sure to remember the access key since you will
need it to connect any Wi-Fi client to the MICA.
The DHCP range is set during production and cannot be changed.
MICA Getting Started
16 HARTING IT Software Development
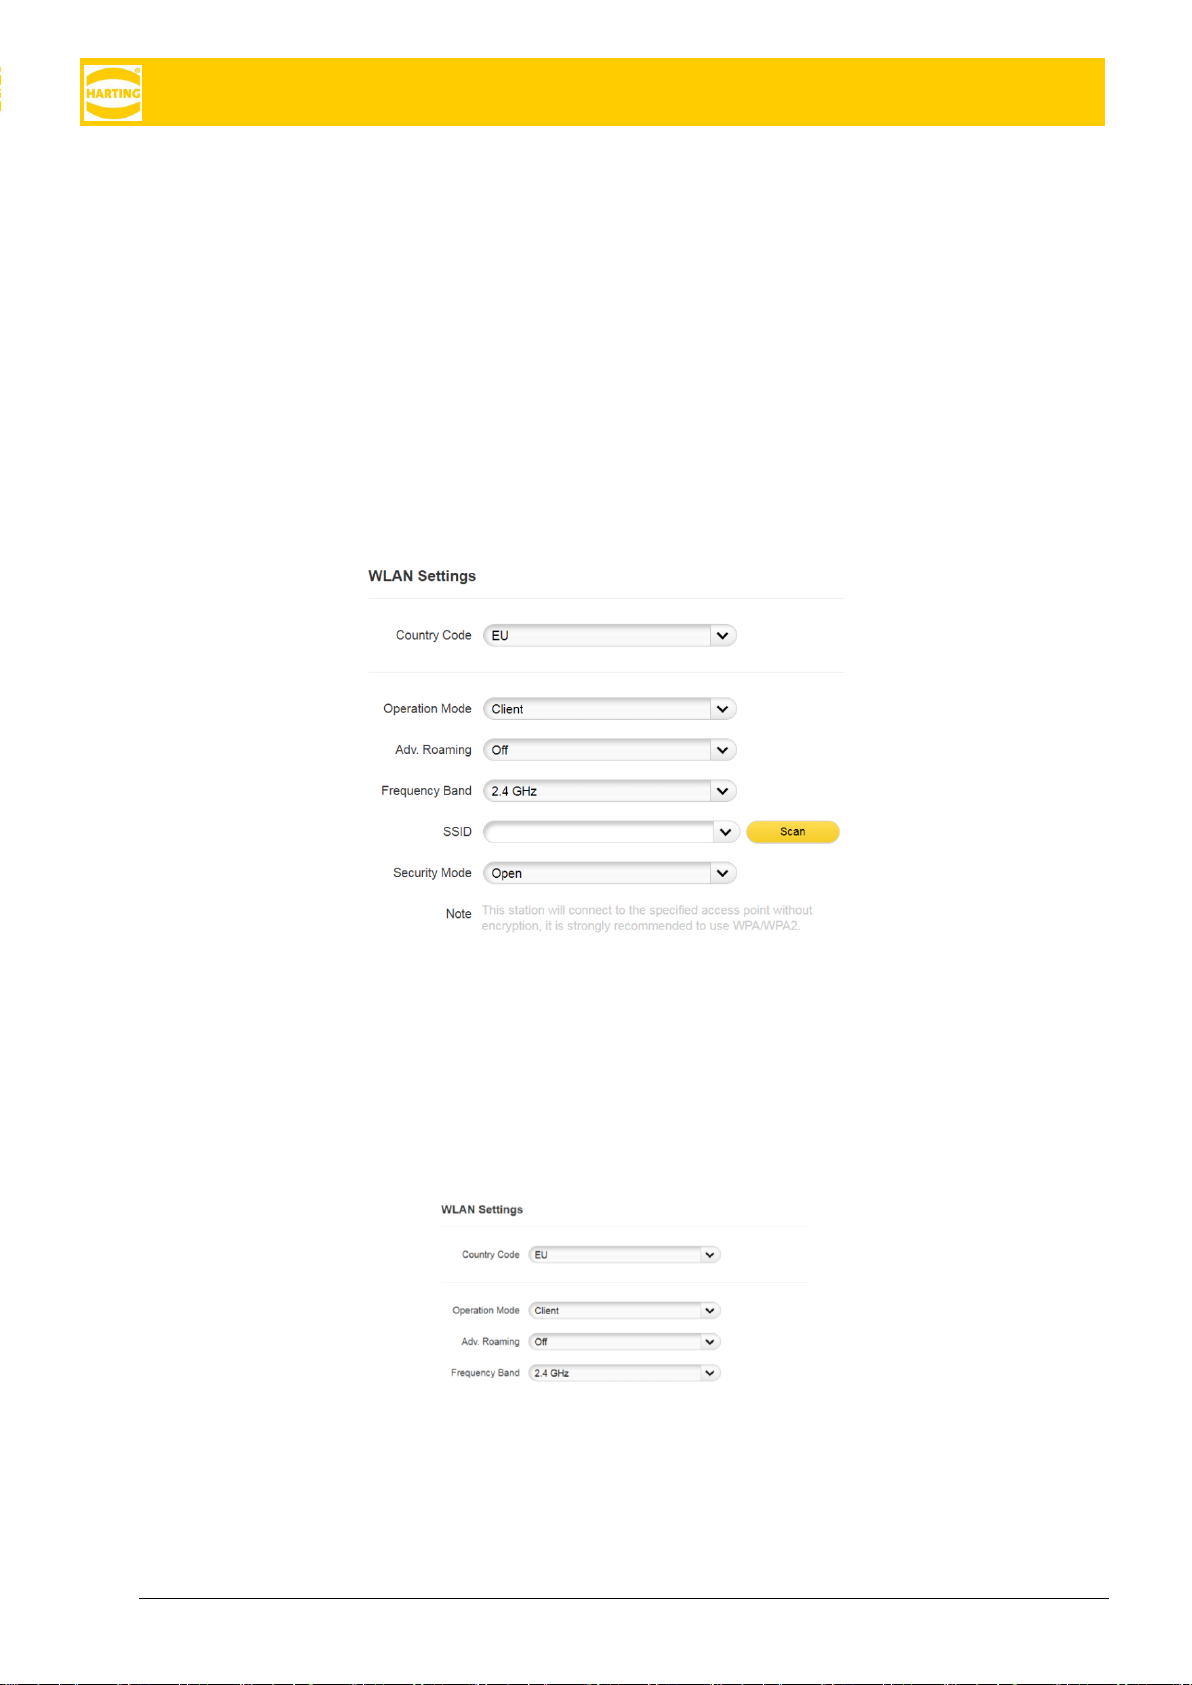
5.2 Client Mode Configuration
To configure the MICA in client mode to connect to an existing wireless access point.
1. Navigate to Settings → Network in the WebUI.
2. Click the WiFi interface under Interface-specific configuration.
3. Set the correct Country Code for your region
4. Set the Operation Mode to Client
5. Select whether to use Advanced Roaming (see 5.3)
6. Choose a frequency band. Note that roaming and scanning will also be restricted to this band.
7. Enter the SSID of the access point or scan for available access points by clicking the Scan button.
Scanning is not available if BLE is enabled.
8. Select the appropriate security mode supported by the chosen access point and enter the necessary
information.
9. Click Activate Settings to apply the settings and restart the MICA:
When you switch the MICA to client mode, it will restart and try to connect to the specified wireless access
point. If the MICA is unable to connect to an access point within one minute, it will restart as access point to
make sure it stays available for configuration. This fallback mechanism only applies during the first restart
after a MICA is switched to client mode.
5.3 Advanced Roaming
Starting with Firmware 3, the MICA Wireless supports two roaming modes between multiple access points
with the same SSID und authentication.

MICA Getting Started
17
Advanced Roaming Off
The default roaming behavior is to switch to a new access point only if the connection to the old access point
has been lost. This saves energy but can cause low bandwidth and higher latency at larger distances to the
access point.
Advanced Roaming On
The MICA checks for new access points every 5 seconds and switches the to a new access point if the sig-
nal strength drops below -40dBm.
Advanced roaming can be activated in the network settings. While advanced roaming is active, it is recom-
mended not to launch scans for additional access points.

MICA Getting Started
18 HARTING IT Software Development
6 Mobile Network Configuration
6.1 Activating the eSIM
MICA Wireless ships with an Emnify eSIM. To commission the eSIM and set up your account, check with
your system administrator, or follow the instructions in the EMnify Set-Up Guide available at http://www.em-
nify.com to sign up for the Emnify User Interface.
If you were invited to the Emnify User Interface by an existing organization, you should have received an
email with an activation link. Please open the link within 48 hours and choose a password for your account.
You will then be able to log in with your email address and chosen password.
After signing up, please create a support ticket with the ICC-IDs of the MICAs you want to use on a mobile
network. Emnify will activate your account typically within 24 hours.
Notes
•Enter the same email address you
used to log-in to the Emnify User In-
terface.
•Enter the 19-digit ICCID, listed on the
MICA type shield or in the LTE con-
tainer running on your MICA.
•If you want to get a higher volume of
SIMs assigned, you can enter an ICCID
range or attach a list with all ICCIDs to
the ticket.

MICA Getting Started
19
6.2 Mobile Connection Configuration
6.2.1 Modem and Dial-up
The wireless modem is initially turned off. To configure the modem, move the power switch to the right. The
modem will start up and read the ICCID from the eSIM card. At this point, the modem is not connecting to the
mobile network.
In most cases, we recommend leaving the Network Mode in Auto. This allows the MICA to choose the best
available connection. You can also limit the Network Mode to 2G, 3G, or 4G.
By default, the Operator is determined automatically. If the modem cannot determine the operator automati-
cally, you can enter it here. Typically in the form operator.domain, for example Telekom.de.
6.3 GNSS Receiver
To activate Location Services, connect a GNSS antenna to the MICA and turn on the GNSS module in the
Interface Specific Configuration for the PPP interface by moving the slider to the right. Note that it can take
up to 20 minutes for the module to achieve a position lock when activated for the first time or after moving
the MICA Wireless a large distance.
Position information can be requested from the MICA base system by using RPC calls.
The JSON RPC need to be requested from
wss://devicename(.local)/ws/
It is necessary to have GNSS enabled before getting GNSS position information. When GNSS is enabled for
the first time, it can take up to 20 minutes for the MICA to lock on to a sufficient number of satellites to calcu-
late its position. If you cannot receive a GNSS position, check that GNSS is enabled, that an appropriate an-
tenna is connected, and that the antenna has an unobstructed view of the sky.

MICA Getting Started
20 HARTING IT Software Development
To request GNSS data using RPC
1
, enable the interface
{
"method" : "set_base",
"params" : { "auth_token" : auth_token, { "gnss": True } }
}
and request the latitude and longitude.
{
"method" : "get_state",
"params" : { "auth_token" : auth_token }
}
The response will look like the following.
{
"result" : {
"rssi" : rssi,
"gnss_position" : [ latitude, longitude ]
}
}
1
The ID and JSON information is being left out for readability. Please see the MICA Programming Guide for
an overview of the MICA JSON RPC API.
Other manuals for MICA
1
This manual suits for next models
3
Table of contents
Popular Industrial PC manuals by other brands


Dell
Dell Embedded Box PC 5000 Installation and operation manual

IBASE Technology
IBASE Technology ASB200-918 Series user manual

Lenovo
Lenovo ThinkCentre M90q Hardware Maintenance Manual

IXXAT
IXXAT Econ 100 Hardware manual

Kontron
Kontron KBox A-151-TGL user guide

AXIOMTEK
AXIOMTEK ICO500-518 Series user manual