manuals.online logo
Brands
  1. Home
  2. •
  3. Brands
  4. •
  5. HARTMANN TRESORE
  6. •
  7. Safe
  8. •
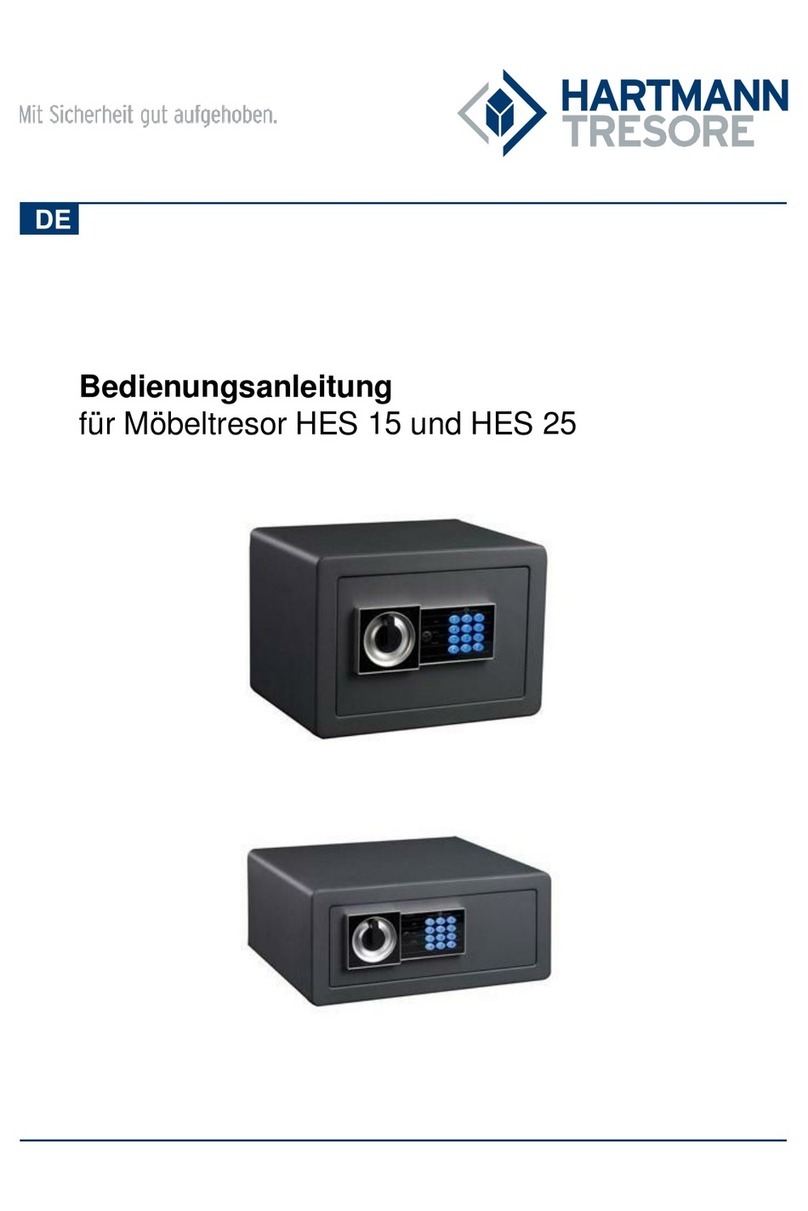
  9. HARTMANN TRESORE HES User manual

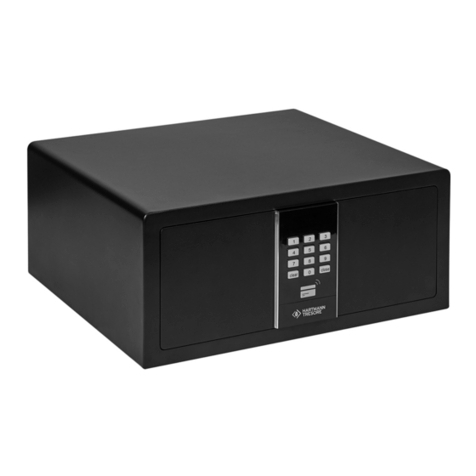
HARTMANN TRESORE HES User manual

*Modèles HES90/140 - HED25/40
*Modèles HES15 / 25 / 30
Notice HES / HED
I. SYSTEME A DOUBLE CODE
Code Utilisateur (1 à 10 chiffres), code Maître (1 à 10
chiffres).
Codes usine par défaut :
Code Utilisateur : “1-2-3-4”
Code Maître “1-5-9”
II. PREMIERE OUVERTURE DE LA PORTE
Pour les gammes HES et HED, ôter la Capsule plastique
qui occulte la serrure. Insérer la clé à côté de l’indication «
LOW BATTERY » sur le clavier et tourner dans le sens
indiqué selon modèle de serrure. Tourner ensuite la
poignée dans le sens indiqué ci-dessous.
Après avoir ouvert la porte, installer les 4 piles AA dans le
logement prévu, à l’intérieur du coffre.
Laisser le coffre porte ouverte, tourner la clé et la sortir.
Entrer le code Utilisateur d'usine 1 2 3 4 ou le code Maître
d'usine 1 5 9 et presser « # », 2 bips sonores sont suivis d’un
signal lumineux vert ; la porte peut être ouverte en tournant la
poignée.
Ensuite vous pouvez garder la clé à un autre endroit et utiliser
le code Utilisateur ou le code Maître pour ouvrir la porte.
ATTENTION : Faites très attention de ne jamais laisser la
clé dans le coffre-fort.
III. FERMETURE DE LA PORTE
Pour le modèles HES et HED, pousser la porte et tourner la
poignée dans le sens des aiguilles d’une montre.
IV. CHANGER LES CODES
1. Changer le code Utilisateur :
S’assurer que la porte est en position ouverte et que le voyant
lumineux « PROCEED » est éteint.
Presser le bouton rouge dans le milieu de l’intérieur de la porte,
quand le signal lumineux devient jaune, entrer le nouveau code
Utilisateur (1 à 10 chiffres) et presser « # » pour confirmer. Le
nouveau code utilisateur est valide quand on entend 2 bips
sonores + le voyant « READY » s’éteint (sur le clavier).
2. Changer le code Maître
S’assurer que le voyant lumineux « PROCEED » est éteint,
Déverrouiller avec le code maître (usine 159) et presser "#",
immédiatement après entrer le code maître actuel (usine 159)
et presser « * », quand le voyant « READY » devient jaune (Sur
le clavier) entrer le nouveau code maître (1 à 10 chiffres) puis
presser « # » pour confirmer. On entend 2 bips sonores de
confirmation, répéter le nouveau code Maître et presser « # »,
on entend encore 2 bips sonores et le voyant « READY »
s’éteint.
Le nouveau code MAITRE est validé.
V. OUVERTURE D’URGENCE
Utiliser la clé de secours en cas d’oubli du code MASTER ou
code personnel.
VI. ATTENTION
1. Alarme :
Si un code incorrect est entré 3 fois, le coffre déclenchera une
alarme et sera bloqué pendant une minute. L’entrée du code
correct fera cesser l’alarme.
Presser « #» avec la porte fermée pour activer l’alarme pour
vibration. Cela veut dire qu’une alarme sera déclenchée
pendant 1 minute si l’on bouge ou frappe sur le coffre. L’entrée
du code correct fera cesser l’alarme.
NOTE : Lorsque le coffre est porte ouverte, il ne peut y avoir
aucune alarme.
2. Contrôle d’usure des piles :
Voltage : 4.1-4.2V
Lorsque le voyant « LOW BATTERY » clignote 8 fois après avoir
ouvert la porte, cela indique que les piles ne sont plus assez
efficaces, les remplacer le plus tôt possible.
3. “*” est aussi un code d’annulation (en cas de saisie
incorrecte). Presser une fois annulera un chiffre.
Pour toute question ou problème de fonctionnement :
SAV : 0 811 69 67 60 - [email protected]
COFFRES-FORTS - ARMOIRES FORTES - ARMOIRES IGNIFUGES - COFFRES POUR ARMES - COFFRES HÔTEL - PORTES FORTES - CHAMBRES FORTES
3, rue de la Louvière - 78120 RAMBOUILLET
Tél. 01 34 57 11 55 - Fax 01 34 57 11 50 - contact@hartmann-tresore.fr - www.hartmann-tresore.fr
SARL AU CAPITAL DE 152 449,02 € - RCS VERSAILLES B 410 562 045 - N° de TVA FR32410562045
Notice HES / HED
*Modèles HES90/140 - HED25/40
Manual HES / HED
I.SISTEMA DE DOBLE CODIGO
Código de usuario (1 – 10 dígitos), Código Maestro (1-10 dígitos).
Códigos de fábrica:
Código usuario: “1-2-3-4”
Código Maestro: “1-5-9”
II. APERTURA DE LA CAJA FUERTE.
Para las gamas HES y HED, quite la tapadera de la cerradura e introduzca la llave
suministrada. Gire la llave hacia el sentido indicado según modelo. Para abrir la caja fuerte gire
el pomo hacia el sentido indicado según modelo.
Una vez abierta la caja de seguridad, introduzca 4 baterías AA en el compartimento interior.
Con la puerta abierta, gire la llave hacia la izquierda y retírela de la cerradura.
Introduzca el código de fábrica de usuario o maestro y presione “#”. La luz verde “PROCEED”
junto con 2 bips sonoros indicaran que el código es correcto.
Abra la puerta girando el pomo.
ATENCION: No guarde la llave en el interior de la caja de seguridad.
III. CIERRE DE LA CAJA FUERTE
Para los modelos HES y HED, cierre la puerta y gire el pomo en el sentido contrario de las
agujas de un reloj para cerrar la caja fuerte.
IV. CAMBIO DE CODIGOS
1. Cambio de código de usuario:
Asegúrese que la puerta se encuentra abierta y que la luz “PROCEED” se encuentra apagada.
Presione el botón ROJO que se encuentra en el lado interior de la puerta.
Cuando el indicador amarillo “READY” se encienda, introduzca su NUEVO código de usuario
(de 1 a 10 dígitos) y presione “#”.
La luz amarilla “READY” junto con 2 bips sonoros indicaran que el código ha sido grabado en
memoria.
2. Cambio de código MAESTRO
Asegúrese que la puerta se encuentra abierta desbloquenando con el codigo maestro de
fabrica (159#) y que la luz “PROCEED” se encuentra apagada. Introduzca el código maestro
actual (código fabrica 1-5-9) y presione “*”.
Cuando el indicador amarillo “READY” se encienda, introduzca su NUEVO código MAESTRO
(de 1 a 10 dígitos) y presione “#”.
Se emitirán 2 bips sonoros.
Vuelva a introducir su NUEVO código MAESTRO y presione “#”.
Se emitirán 2 bips sonoros y la luz amarilla “READY” se apagará indicando que su NUEVO
código MAESTRO ha sido grabado en memoria correctamente.
V. APERTURA DE EMERGENCIA
Utilice la llave suministrada para abrir la caja fuerte en caso de olvido de los códigos.
VI. PRECAUCIONES
1. Alarma:
Si se introduce el código maestro o el código usuario de manera incorrecta en 3 ocasiones el
sistema activara una alarma sonora por un tiempo de 1 minuto. Introduzca correctamente el
código para desactivar la alarma.
Para activar la alarma por vibración, con la puerta cerrada, presione “#” durante unos
segundos hasta oír un doble BIP sonoro.
Si la caja fuerte sufre cualquier golpe o movimiento el sistema activara una alarma sonora por
un tiempo de 1 minuto. Introduzca correctamente el código para desactivar la alarma.
2. Baterías bajas.
Si el indicador “LOW BATERRY” parpadea durante 8 veces al abrir la puerta de la caja fuerte.
Por favor reemplace las baterías lo antes posible
3. la tecla “*”
Sirve para eliminar el ultimo digito introducido, utilícela en caso de que cometa un error al
introducir un digito del código.
I.DOUBLE CODE SYSTEM
Personal code (1 – 10 digits), Master code (1 – 10 digits).
Factory default settings:
Personal code: “1-2-3-4”;
MASTER code “1-5-9”
II. OPEN THE DOOR.
For HES and HED, take out the plastic cover beside the “LOW BATTERY” and plug-in the key
and turn as show in figure. Turn the handle, as shown in figure below, to open the safe.
*Modèles HES15 /25 / 30
After opening the door, install 4 AA batteries into the internal battery case.
Let the door in open status , turn the key and take the key out. Input factory personal
or Master code then press “#”, it will beep 2 times, the “PROCEED” light turns green,
then the door can be opened by turning the knob/handle. After this, you can keep the
key well in other place and use Personal/MASTER code to open the safe.
WARNING: Make sure NOT put the key inside the safe.
III. CLOSE THE DOOR
For HES and HED models, push the door closed and turn the knob in Anti-Clockwise way
to Lock the safe.
IV. CODE SETTINGS
1. Change Personal code:
Make sure the door is under OPEN status and “PROCEED” light is off. Press the “RED
button” in the middle of the door’s back side. When the “READY” light turns to yellow,
input NEW code (1-10 digits) and then press “#” for confirmation. When there are 2
beeps and the “READY” light turns off, then the new personal code setting is finished.
2. Change MASTER code
Make sure the door is under OPEN status unlocking with the factory master code
(159#) and “PROCEED” light is off. Input the current MASTER code and press “*”.
When the “READY” light turns yellow, input NEW master code (1-10 digits) and then
press “#” for confirmation. There will 2 beeps. Repeat the NEW MASTER code again
and press “#”. There are another 2 beeps and the “READY” light turns off. Then the
NEW MASTER code setting is finished.
V. EMERGENCY OPENING
Please use the emergency override key to open the safe in case of forgetting the code.
VI. CAUTIONS
1. Alarm:
If you input incorrect code for 3 times, the safe will trigger the alarm for 1 minute. Input
the correct code to stop the alarm.
With the door under locking status, press “#” until the safe beep 2 times to enable alarm
for vibration. It means the safe will sound the alarm bell for 1 minute when the safe is
hit/moved by force. During this period, you can input correct code to stop the alarm.
NOTE: When the door is open, the alarm mode cannot be activated)
2. Low voltage:
Normal Voltage: 4.1-4.2V
If the “LOW BATTERY” flashes 8 times after opening the door, it indicates that the voltage
is low, please change the batteries as soon as possible.
3. “*” key is also a deletion key. Press one time will delete one digit.
Pour toute question ou problème de fonctionnement :
SAV : 0 811 69 67 60 - [email protected]
COFFRES-FORTS - ARMOIRES FORTES - ARMOIRES IGNIFUGES - COFFRES POUR ARMES - COFFRES HÔTEL - PORTES FORTES - CHAMBRES FORTES
3, rue de la Louvière - 78120 RAMBOUILLET
Tél. 01 34 57 11 55 - Fax 01 34 57 11 50 - contact@hartmann-tresore.fr - www.hartmann-tresore.fr
SARL AU CAPITAL DE 152 449,02 € - RCS VERSAILLES B 410 562 045 - N° de TVA FR32410562045

This manual suits for next models

1

Other HARTMANN TRESORE Safe manuals

HARTMANN TRESORE HS 420 Series User manual

HARTMANN TRESORE

HARTMANN TRESORE HS 420 Series User manual

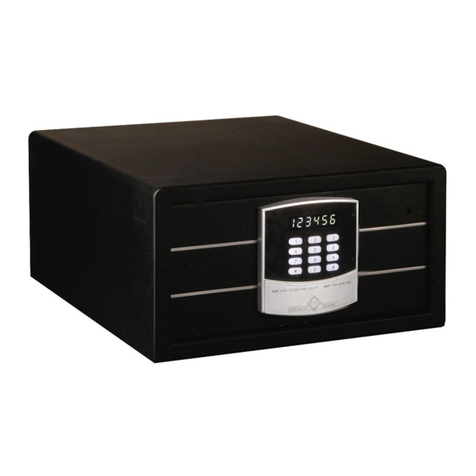
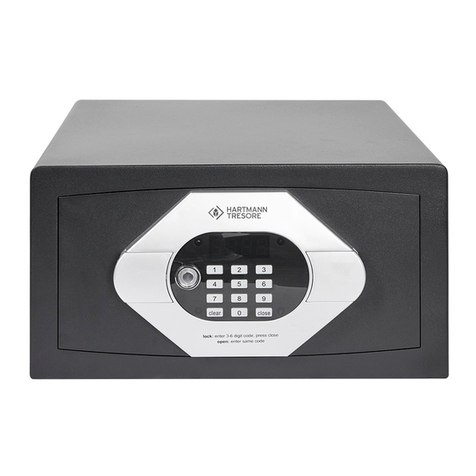
HARTMANN TRESORE HES 15 User manual

HARTMANN TRESORE

HARTMANN TRESORE HES 15 User manual

HARTMANN TRESORE Signature Safe Experience User manual

HARTMANN TRESORE

HARTMANN TRESORE Signature Safe Experience User manual

HARTMANN TRESORE HS 480 Series User manual

HARTMANN TRESORE

HARTMANN TRESORE HS 480 Series User manual

HARTMANN TRESORE Bjork User manual

HARTMANN TRESORE

HARTMANN TRESORE Bjork User manual

HARTMANN TRESORE HS 460 Series User manual

HARTMANN TRESORE

HARTMANN TRESORE HS 460 Series User manual

Popular Safe manuals by other brands

Yale YSB/200/EB1 user manual

Yale

Yale YSB/200/EB1 user manual

Stack-On SHD-SU-BG-B instructions

Stack-On

Stack-On SHD-SU-BG-B instructions

SPORTS AFIELD SA5932P-BG instruction manual

SPORTS AFIELD

SPORTS AFIELD SA5932P-BG instruction manual

SecureLine PS2-32K manual

SecureLine

SecureLine PS2-32K manual

Phoenix DIAMOND DEPOSIT HS1090 Instructions & Guarantee Registration

Phoenix

Phoenix DIAMOND DEPOSIT HS1090 Instructions & Guarantee Registration

Avanti RS47BM Installation and usage instructions

Avanti

Avanti RS47BM Installation and usage instructions

Costway HW67044 user manual

Costway

Costway HW67044 user manual

Arregui FORMA B instruction manual

Arregui

Arregui FORMA B instruction manual

Homak HS30103605 Owner's manual & operating instructions

Homak

Homak HS30103605 Owner's manual & operating instructions

Burg Wächter FireProtec FP 43 E user manual

Burg Wächter

Burg Wächter FireProtec FP 43 E user manual

U-Line H-8937 quick start guide

U-Line

U-Line H-8937 quick start guide

eSafe Maxus user manual

eSafe

eSafe Maxus user manual

SPORTS AFIELD SA-HD1X instruction manual

SPORTS AFIELD

SPORTS AFIELD SA-HD1X instruction manual

Stack-On QAS-1845-E instructions

Stack-On

Stack-On QAS-1845-E instructions

Protect S2-100 Operating and installation instructions

Protect

Protect S2-100 Operating and installation instructions

Tracker Safe E Series use and care manual

Tracker Safe

Tracker Safe E Series use and care manual

Deli 4083 user manual

Deli

Deli 4083 user manual

Security + Stack-On GC-908-5 installation instructions

Security +

Security + Stack-On GC-908-5 installation instructions

manuals.online logo
manuals.online logoBrands
  • About & Mission
  • Contact us
  • Privacy Policy
  • Terms and Conditions

Copyright 2025 Manuals.Online. All Rights Reserved.