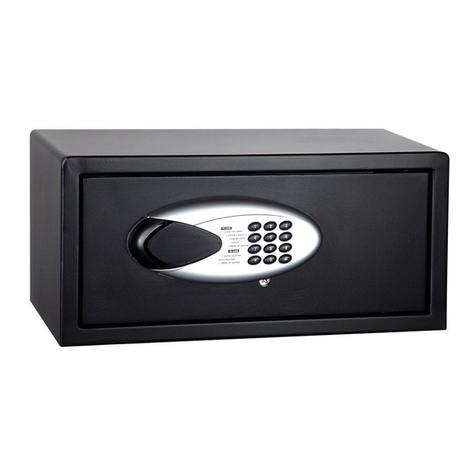
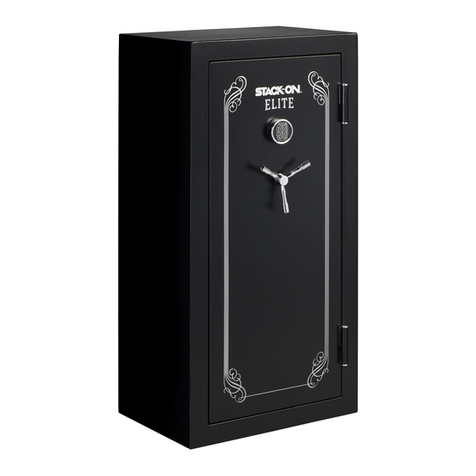
With the purchase of this safe you have chosen a quality product with defined burglary
protection, grade I according to Euro standard EN 1143-1. Please take a moment to read these
instructions carefully.
1
|
ACCEPTANCE AT THE FORWARDER AND INSPECTION FOR TRANSPORT
DAMAGE
Please check your safe for any visible transport damage (dents, dings, scratches, etc.) before
signing the delivery confirmation. If the forwarder refuses to allow you the necessary time for
the inspection, sign the delivery confirmation only with the note "subject to inspection". Any
transport damage discovered must be reported to the carrier immediately in writing.
2
|
CHECK FOR COMPLETENESS AND FUNCTIONALITY
Please check your safe for condition, completeness and functionality:
•
Does the delivered safe correspond to what was ordered?
•
Have all ordered components been delivered?
•
Can the door and the interior safe be opened and closed easily?
Please report any discrepancies discovered to your supplier immediately.
3
|
INSTALLATION & ANCHORING OF THE SAFE
Before setting up the safe, please check that the load on the safe does not exceed the
permissible load capacity of the transport route and the installation site. Be sure to take the
condition of the floor covering into account, as this is where most problems occur (e.g. hidden
cavities under the thin marble slabs can be the cause of a crack, etc.). If in doubt, seek advice
from a structural engineer or architect.
The guaranteed burglary resistance according to grade I is only given if the safes are
professionally anchored at the place of installation under a dead weight of 1000 kg. The aim of
anchoring is to prevent thieves from simply taking safes and opening them later in a relaxed
working environment at their leisure.
The following must be observed when anchoring:
•
The ground in which the safe is anchored must be suitable for anchoring. To achieve the
characteristic load-bearing capacity of the anchors, this must ideally be concrete class C20/25
or higher. If this is not the case, the location may have to be changed. Floating screed or
similar is not suitable for anchoring.
•
There are not allowed to be any cables, lines, pipes or similar in the drilling area.
•
No additional drill holes may be made in the safe during assembly. If the construction is
changed, the approval and thus possibly also the insurance cover will expire.
The safe is attached through the floor drill holes provided for this purpose. The diameter of the
holes is chosen so that the installation can be carried out according to the push-through principle.
This means that the holes for the dowels and the installation of the dowels are made directly
through the holes in the safe (pictures 2-5). Suitable for the fastening are e.g.: MKT drive-in
anchor type EM 12x50 (picture 1 - mounting elements: anchor, washer, screw, drive-in tool), or
Upat USA drive-in anchor M 12 (strength class 8.8) or an equivalent fastening element from other
manufacturers.
Follow the installation instructions of the respective anchor manufacturer, as this is the only way
to ensure the required minimum pull-out forces of these fastening elements.
Pic. 1
Pic. 2 Pic. 3
Pic. 4 Pic. 5
2 3
