Hartmann BELITEC User manual

1
D:\montage\montageanleitungen\englisch\2018\qs-eng_26-2018.pub
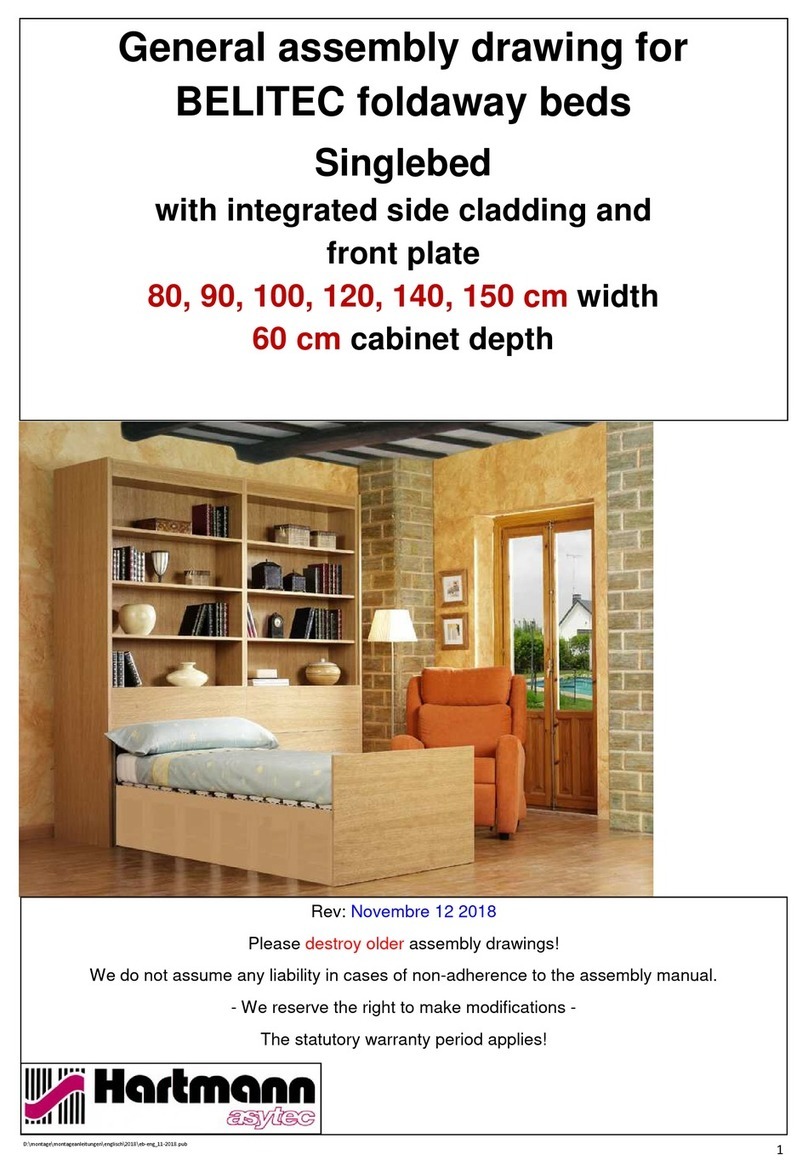
General assembly drawing for
BELITEC foldaway beds
Sofa bed
with integrated side cladding and
front plate
80, 90, 100, 120, 140, 150 cm width
60 cm cabinet depth
Rev: June 26 2018
Please destroy older assembly drawings!
We do not assume any liability in cases of non-adherence to the assembly manual.
- We reserve the right to make modifications -
The statutory warranty period applies!

2
Safety instructions
Do not allow persons (including children) with impaired physical, sensory or mental abilities or
a lack of experience and / or knowledge to access the operating elements of the electrical drive!
Ensure that children cannot play with the device.
Do not move the bed from the installation site which has been deemed "safe" by the installer.
A safe installation site must have sufficient space around the system travel path,
so that there is no direct danger caused by getting caught and / or crushing.
When using the device, ensure that there are no objects which may get caught between the moving components.
Do not touch moving components during operation to avoid severe personal injuries / damage to property!
There is a risk of crushing injuries, fractures and / or limbs being severed.
It is prohibited to smoke or handle open flame
in close proximity to the device!
Due to the risk of electric shock, a damaged power cable may only be replaced
by the manufacturer or a specialist company.
When installing the system, ensure that there is sufficient space
and provide a sufficiently large safety area!
If spaces and / or the safety area are too small,
there is a risk of crushing, fractures and / or limbs being severed.
Protect all electrical lines and connections from damage and water and
install them so that they are freely accessible to prevent electric shocks.
Reliably prevent unintentional changes to the control system, the electrical system
and all moving components.
Prevent misuse of the remote control by unauthorised persons.
Fasten the hand switch at the highest possible position to prevent misuse.
Only allow expert personnel who have received
the required instruction to assemble the BELITEC system!

3
Parts list
-2 sets of cam guides A LH and RH
- 1 set of cam guides B LH and RH
- 1 set of cam guides C LH and RH
- 2 carriage units + drawers + side claddings
- 2 chain frames + 8 screws
- 1 mattress
- 4 drive units
- 2 SB - drives 1.1
- 2 SB - drives without motor
- 2 synchronous shafts + 4 couplings
- 1 control + 1 hand - held switch +
emergency lowering
- wooden slats as required
- 4 stops for retraction / extension
- 1 mattress support board
- 4 x 2 guide rails
- 16 air ventilation rings
- 2 metal feets with rollers for front plate
- 4 belts
- 4 belt holders
- 8 belt hooks + 8 plastic plugs
Remote control
A Reclining area is retracted. Press button until the desired A
position is reached.
B Reclining area is extended. Press button until the desired B
position is reached.
ATTENTION!
In case of a power failure, you can extend the system by pressing the button (*) on the emergency lowering.
After that the control system needs an additional teach-in run!
Do not extend the bed completely in case of a power failure, as the system may otherwise be damaged.
Only extend and retract the bed while unloaded!
The system is protected against malfunctions and improper handling by an integrated overload protection in the
controls. Break times of 3 - 4 minutes are required to prevent the drive motors from overheating!
*

4
The electrical system of controls and
drives consists of five components.
Plug the main electrical connection (1) into
the control block (2). Then plug the block for
emergency lowering (3a) into the control
block and connect the switch (3b) with
housing. Connect the plugs of the drive
motors (5) with the remaining two couplings
on the block of the emergency lowering.
Push the plug of the actuator with the yellow
mark (*) and chain guide (*) into the remaining
coupling on the block of the emergency
lowering. After that connect the hand-held
switch (4) with the control block.
With this hand-held switch the system will be
controlled.
1
2
3b
3a
4
5
chain guide (*)
(*)

5
component F
component E
chain
outlet
component A
component B
side view (RH / LH side wall) front view
foldaway bed system internal dimension X
(mm)
200 = 2 x 100 2 x 996
mattress width unit height Y (mm)
80 1350
90 1350
100 1350
120 1550
140 1750
150 1850
X
minimum dimension Y
min.
280 mm
47°

6
Manufacture the centre support according to the drawing, accurately fitting the bend guides. If necessary the data required for CNC machining can be supplied.
centre support
component A
component C
component A
* Length dependent on
mattress width
component B
with edge
LH / RH side wall
component B
component C
without edge
centre support
component C
*

2.
Install the bend guides on the RH and LH side
(component B) at a height of 308 mm, flush with
the rear edge.
LH
Note:
For systems with internal doors, the side walls must be
doubled accordingly to ensure that the depth dimension of 600 mm is maintained!
Assembly instructions
1.
Read carefully, adhere to specified dimensions,
note the RH / LH side, route cable precisely,
install the controls and the corresponding
receiver so that they are freely accessible!
Recommendation:
On the top of the cabinet unit
Ensure that the floor on which the system is
installed is horizontal and level.
The carriage frame cannot compensate for
the height, even if the cabinet is adjusted
to the floor.
RH
308 mm

8
50 mm
3.
Install component A. Leave a gap of minimum 50 mm
in the cabinet lid area and ensure that the chain outlet
is sufficient. Pay attention to cabinet lighting cables
etc., increase dimension, if necessary.
Ensure that the gap between component A and the
rear of the cabinet storage space is no more
than 10 mm.
*Fit length of componet A dependent to
width of mattress / height of cabinet.
4.
Install side guide rails (component F) at the bottom of
the side walls and on the centre support.
< 10 mm
component A
*
fig.: p.6

9
Leave off the screws intended for the stops.
centre support
5.5.
Fit the actuator housing with yellow mark to the RH side panel
and the other housing to the RH side panel in the recesses
provided.
Attach the actuator housings without motor to the centre support.

10
6.
Attach component E.
Ensure that the cabinet maker has made the spar
for fastening the belts (component E) of material
with high bending strength, e.g. laminated wood
and that it has a cross section of 95 x 20 mm.
The length is the internal dimension minus 8 mm.
Always note the exact internal dimension!
7.
Connect the electrical system, this means control
system + emergency lowering + actuators.
1
2
3 b
a
4 fig.: p.4

11
9.
Connect the protruding hexagonal rods of
the drives to the synchronous shaft (SB - SA)
by pushing the couplings (SB - KU) up to
the marking.
10.
Roll out the chain frame and then manually
push it in up to the gear wheel of the drive.
Ensure that both chain ends are in the same
position when making contact.

12
11.
Fasten the chain frame to the first carriage.
10.
To retract the system use the drives pushing both buttons A + B on the hand-held switch at the same time until
3/4th of the total length of the chain frame has been drawn in.
Ensure that both chain ends are pulled in uniformly.
During this assembly step, the chain can only be extended
using the button of the emergency lowering.
A
B

13
12.
Fit the stops for retracting/extending on the LH and
RH side and the centre support.
13.
Prepare the belt loops.
Fasten the metal hook on the spars.
Attach the belt holder on component E.

14
14.
The first run of the system is intended for adjusting the
electronic controls, is carried out at reduced speed and
is called the teach-in run.
The hand-held switch is used for drawing in the chain.
Push the buttons A + B at the same time and hold.
The drives retract the system and stop at the end position.
There is sounding a beep for successful operation.
16.
Fit the mattress support board.
A
B
15.
Extend the system. Ensure the carriages are
completely extended.
Now adjust the belts until they are tensioned.

15
17.
Fit the metal foot to the front plate.
15 mm
19.
Completely extend the system.
Install the wooden slats, push the 1st slat into
the 1st mattress loop. Fasten the remaining slats
to fit the respective mattress (dependent upon the
width).
18.
Fit the front plate to the pushed-in drawer.
Ensure that there is a gap of minimum 15 mm
between the fastened panel and the floor.
Ensure that the front plate width of the system
equals the internal dimension plus double the side wall
thickness.
The front plate need not be continuous, i.e. multi-part
fronts can be installed.

16
20.
Lay the mattress on the chain frame. Pay attention to
the correct position of the mattress, especially the front
edge. The front part of the mattress contains a softer
insert.
Mattress front = 25 mm distance from the 1st loop.
.
Rev: June 26 2018
Pease destroy older assembly drawings!
We do not assume any liability in cases of non-adherence to the assembly manual.
- We reserve the right to make modifications -
The statutory warranty period applies!
For reasons of appearance, a cover strip can be fitted
to the mattress support board.
This must be made by the cabinet manufacturer.
Other manuals for BELITEC
1
Table of contents
Other Hartmann Indoor Furnishing manuals
