manuals.online logo
Brands
  1. Home
  2. •
  3. Brands
  4. •
  5. Mocka
  6. •
  7. Indoor Furnishing
  8. •
  9. Mocka Eclipse User manual

Mocka Eclipse User manual

mocka.co.nz I mocka.com.au I PO BOX 18, Pinkenba QLD 4008
ASSEMBLY I N S TRUCTION S
Eclipse
Console Table
Thank you for your purchase.
Please follow the instructions below for correct assembly
WARNING: Any furniture that is not anchored to a wall has the potential to tip over in certain
circumstances, i.e. if a child attempts to climb up on the furniture or in the event of an earth-
quake. Accordingly, we recommend that all furniture is anchored to a wall. We supply a free safety
wall anchor with all furniture sold and we recommend these are used to prevent your product
tipping. The fixing device provided should fit most wall types, but please note that dierent wall
materials may require dierent fixing devices from those supplied.
For quicker assembly, we recommend the
use of a power drill on a low-speed setting.
.
Phillips & Flathead screwdrivers
Wall Strap
x2
Z
washer
Y
wall
x1
X
anchor
safety
WV
strap x1 x1
screw wall
x1
screw
x10
bolt
x4
A B C D EFG H
JKL M
I
Hardware Supplied
x12
dowelscrew
x10
slide
rail x1
slide
rail x1
slide
rail x1
slide
rail x1
locking
nut x10
x6
screw
wedge
x4
screwbolt
x12
handle
x1
N
screw
x1 Key
Allen
x1
O P
screw
x14
1
Eclipse
mocka.co.nz I mocka.com.au I PO BOX 18, Pinkenba QLD 4008
ASSEMBLY I N S TRUCTION S
2
Console Table
2
Insert 6x bolts (C) into panel [1] and tighten with a screwdriver. Attach 1x slide rail (F) and 1x slide rail (G) to panel [4] and [5] as
shown and secure with 6x screws (E). Tighten with .a screwdriver.
F
CL
E
C
C
C
C
C
C
E
F
G
E
E
E
E
E
G
CR
E
1
5
4
Eclipse
Console Table
mocka.co.nz I mocka.com.au I PO BOX 18, Pinkenba QLD 4008
ASSEMBLY I N S TRUCTION S
Attach panels [3], [4] and [5] to panel [1] with 6x dowels (A) and
secure with 6x locking nuts (D). Tighten with a screwdriver.
3 4
Slide panel [6] down along the grooves between the panels [3]
and [5] to form the back of the unit as shown.
D
D
A
A
D
D
A
D
5
4
3
3
6
5
1
A
A
A
A
D
D
mocka.co.nz I mocka.com.au I PO BOX 18, Pinkenba QLD 4008
ASSEMBLY I N S TRUCTION S
Eclipse
Console Table
5 6
Attach panel [2] to panels [3], [4] and [5] with 6x dowels (A) and
secure with 6x screws (B). Tighten with a screwdriver.
Attach panels [7] and [8] to panels [9], [10] and [11] with 8x bolt (L).
Tighten with an Allen Key (P).
B
B
B
B
B
B
A
A
A
A
L
L
L
L
L
L
L
L
B
2
5
4
3
9
10
11
11
8
7
P
Eclipse
Console Table
mocka.co.nz I mocka.com.au I PO BOX 18, Pinkenba QLD 4008
ASSEMBLY I N S TRUCTION S
Attach panels [7], [8], [9] and [10] to panel [2] with 10x screws (N).
Tighten with a screwdriver.
Insert 4x bolts (C) into panel [12]. Tighten with a screwdriver.
7 8
N
N
N
N
NN
N
N
N
N
C
C
C
C
N
9
10
3
7
8
212
10
Eclipse
Console Table
mocka.co.nz I mocka.com.au I PO BOX 18, Pinkenba QLD 4008
ASSEMBLY I N S TRUCTION S
Attach panels [13], [14] and [15] as shown using 4x screws (N).
Tighten with a screwdriver.
Slide panel [16] down along the grooves between the side panels [13] and [15].
109
15
N
N
N
N
13
14
13
15
14
16
11
Eclipse
Console Table
mocka.co.nz I mocka.com.au I PO BOX 18, Pinkenba QLD 4008
ASSEMBLY I N S TRUCTION S
Attach panels [12] to panels [13] and [15] secure with 4x
locking nuts (D). Tighten with a screwdriver.
Attach slide rail (I) and slide rail (H) to the underside of the side panels
as shown. Secure with 4x screws (E) and tighten with a screwdriver.
Attach slide rail (I) and slide rail (H) to the underside of the side panels
as shown. Secure with 4x screws (E) and tighten with a screwdriver.
12
DD
DD
O
M
E
E
H
I
E
E
12
12
13
15
13
15
13
Eclipse
Console Table
mocka.co.nz I mocka.com.au I PO BOX 18, Pinkenba QLD 4008
ASSEMBLY I N S TRUCTION S
Insert the assembled drawers into the corresponding compartments
as shown. Ensure the drawers slide easily along the rails.
Attach 4x wedges (J) into the corners of the back of the unit and secure with
4x screws (K). Tighten with a screwdriver. Attach 1x safety strap (V) to the top
of the back side of the unit as shown using 1x washer (Z) and 1x screw (W).
Tighten with a screwdriver. Attach panel [17] to panels [7], [8] and [10] with
4x bolt (L). Tighten with an Allen Key (P).
14
6
L
L
L
V
Z
WV
Z
W
K
J
K
K
J
J
LP
10
17
17
7
8
15
Eclipse
Console Table
mocka.co.nz I mocka.com.au I PO BOX 18, Pinkenba QLD 4008
ASSEMBLY I N S TRUCTION S
Once assembled lift furniture into place, do not drag. Use a drill to
create a small hole lining up with the top of the safety strap (V).
Fasten to the wall using 1x washer (Z), 1x wall anchor (X) and 1x screw (Y).
Ensure unit is balanced and steady before use.
You’re done, enjoy!
16
X
Y
Z
anchor
wall
screw
strap
washer

Other manuals for Eclipse

7

Other Mocka Indoor Furnishing manuals

Mocka Sonata User manual

Mocka

Mocka Sonata User manual

Mocka Zack User manual

Mocka

Mocka Zack User manual

Mocka Chelsea Tallboy Drawers User manual

Mocka

Mocka Chelsea Tallboy Drawers User manual

Mocka Tahoe Four Drawer User manual

Mocka

Mocka Tahoe Four Drawer User manual

Mocka Orlando User manual

Mocka

Mocka Orlando User manual

Mocka Sadie User manual

Mocka

Mocka Sadie User manual
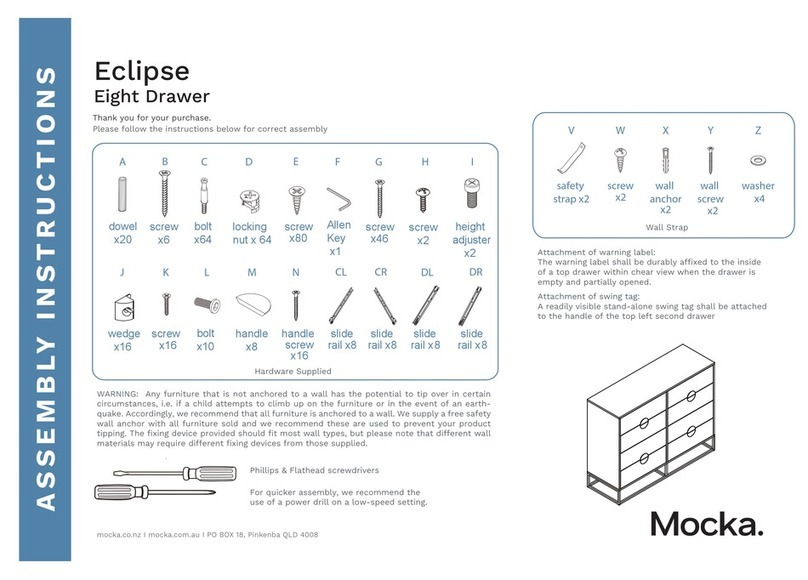
Mocka Hamptons User manual

Mocka

Mocka Hamptons User manual

Mocka Noah Play Table User manual

Mocka

Mocka Noah Play Table User manual

Mocka Hobart User manual

Mocka

Mocka Hobart User manual

Mocka Olwyn User manual

Mocka

Mocka Olwyn User manual

Mocka Locka User manual

Mocka

Mocka Locka User manual

Mocka Billy Three Drawer Basket User manual

Mocka

Mocka Billy Three Drawer Basket User manual

Mocka Adele Chair User manual

Mocka

Mocka Adele Chair User manual

Mocka Sonata User manual

Mocka

Mocka Sonata User manual

Mocka Noah Play Boxes-Set of 2 User manual

Mocka

Mocka Noah Play Boxes-Set of 2 User manual

Mocka Eve User manual

Mocka

Mocka Eve User manual

Mocka Marlow Four Drawer User manual

Mocka

Mocka Marlow Four Drawer User manual

Mocka Bronte User manual

Mocka

Mocka Bronte User manual

Mocka Elias Change Table User manual

Mocka

Mocka Elias Change Table User manual

Mocka Locka User manual

Mocka

Mocka Locka User manual

Mocka Aspen User manual

Mocka

Mocka Aspen User manual
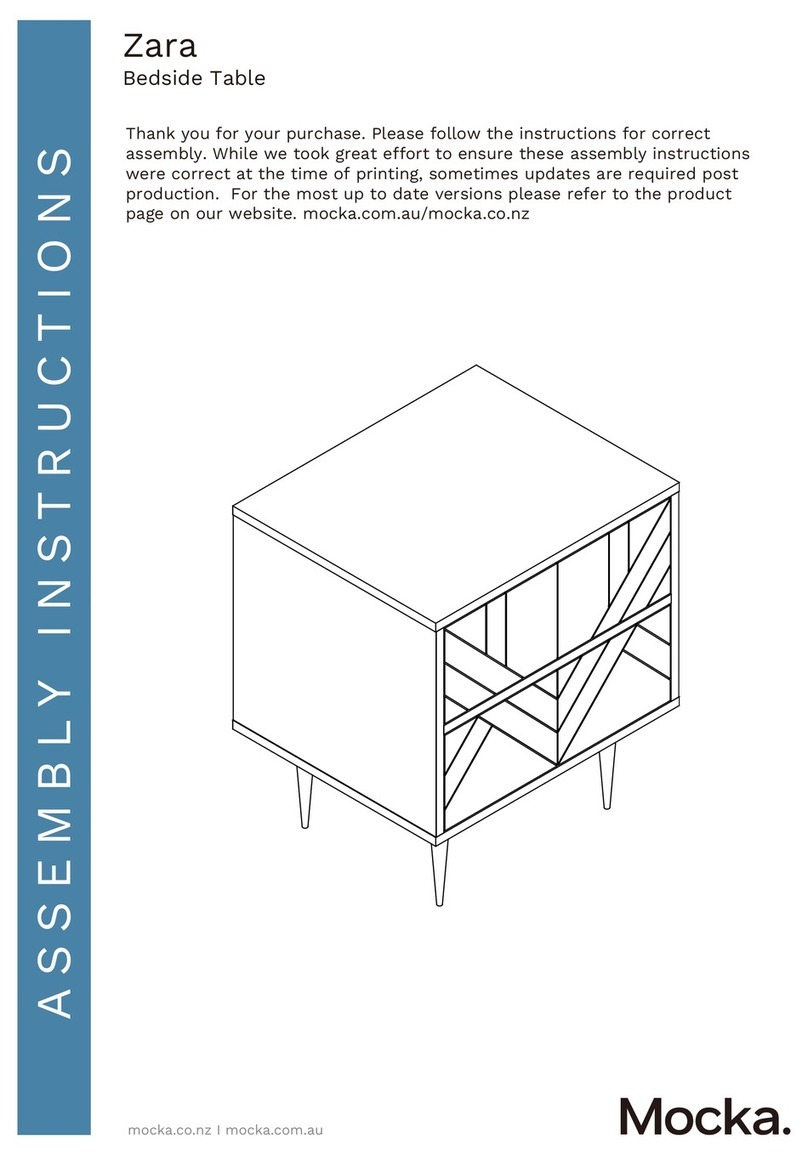
Mocka Alps Bedside Table User manual

Mocka

Mocka Alps Bedside Table User manual
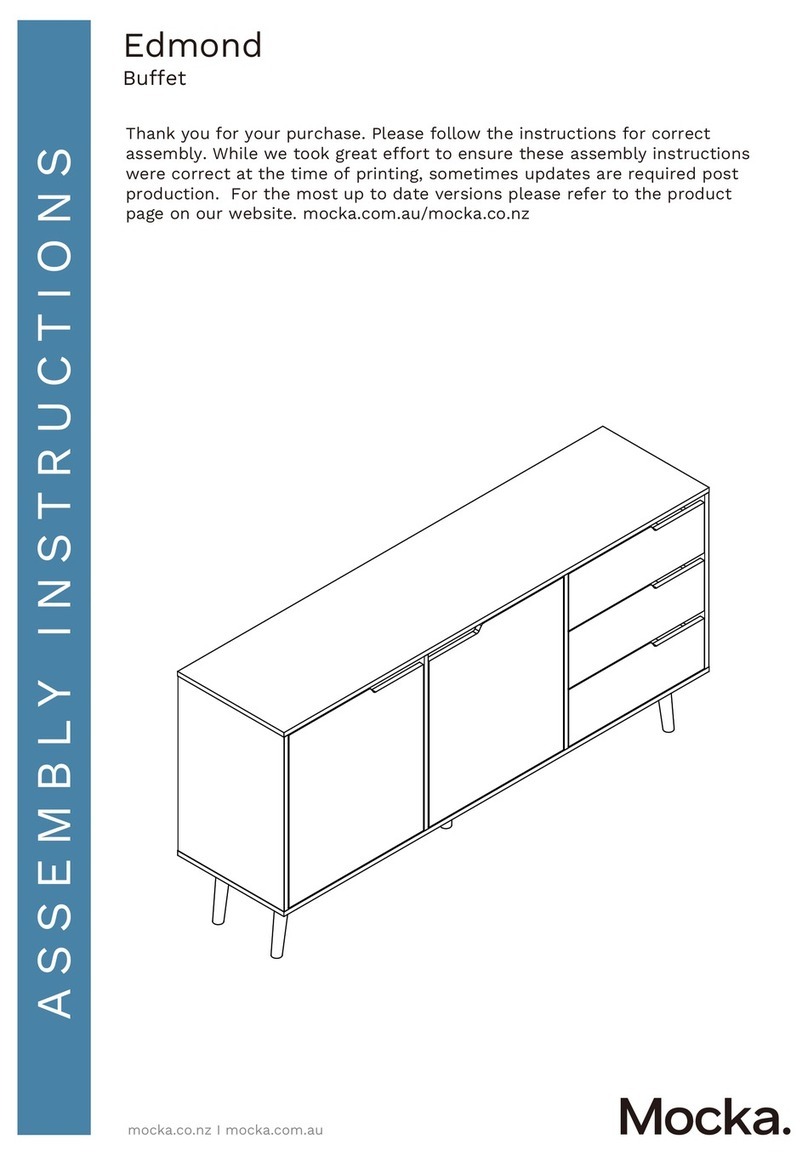
Mocka Asta rocker User manual

Mocka

Mocka Asta rocker User manual

Mocka Parker User manual

Mocka

Mocka Parker User manual

Popular Indoor Furnishing manuals by other brands

Rauch M2049 Assembly instructions

Rauch

Rauch M2049 Assembly instructions

Pitarch 2027 Assembly instructions

Pitarch

Pitarch 2027 Assembly instructions

IKEA ESPRESSIVO AA-19025-3 user manual

IKEA

IKEA ESPRESSIVO AA-19025-3 user manual

Lumex GF8902 Assembly & operation instructions

Lumex

Lumex GF8902 Assembly & operation instructions

Kettler DINING TABLE 2610 user manual

Kettler

Kettler DINING TABLE 2610 user manual

Backyard Creations BJ390 Assembly and user's manual

Backyard Creations

Backyard Creations BJ390 Assembly and user's manual

ABSTRACTA My Hive Assembly instructions

ABSTRACTA

ABSTRACTA My Hive Assembly instructions

Next 134233 Assembly instructions

Next

Next 134233 Assembly instructions

Home Decorators Collection 9084620 Use and care guide

Home Decorators Collection

Home Decorators Collection 9084620 Use and care guide

Whittier Wood Furniture 2909DUET Assembly instructions

Whittier Wood Furniture

Whittier Wood Furniture 2909DUET Assembly instructions

Hewi 16209100XA Mounting Information

Hewi

Hewi 16209100XA Mounting Information

Better Homes and Gardens BH47-021-199-08 Assembly instructions

Better Homes and Gardens

Better Homes and Gardens BH47-021-199-08 Assembly instructions

Gami MONTANA G82 Assembly instructions

Gami

Gami MONTANA G82 Assembly instructions

hawa Frontslide 60/A-Telescopic 3 Planning and installation instructions

hawa

hawa Frontslide 60/A-Telescopic 3 Planning and installation instructions

aiTerminal AIT005B user manual

aiTerminal

aiTerminal AIT005B user manual

Zenna Home 2156NN Assembly instructions

Zenna Home

Zenna Home 2156NN Assembly instructions

Hadley FKVSLGMDGY Assembly instructions

Hadley

Hadley FKVSLGMDGY Assembly instructions

Husky HTC5206 Use and care guide

Husky

Husky HTC5206 Use and care guide

manuals.online logo
manuals.online logoBrands
  • About & Mission
  • Contact us
  • Privacy Policy
  • Terms and Conditions

Copyright 2025 Manuals.Online. All Rights Reserved.