manuals.online logo
Brands
  1. Home
  2. •
  3. Brands
  4. •
  5. Harvia
  6. •
  7. Plumbing Product
  8. •
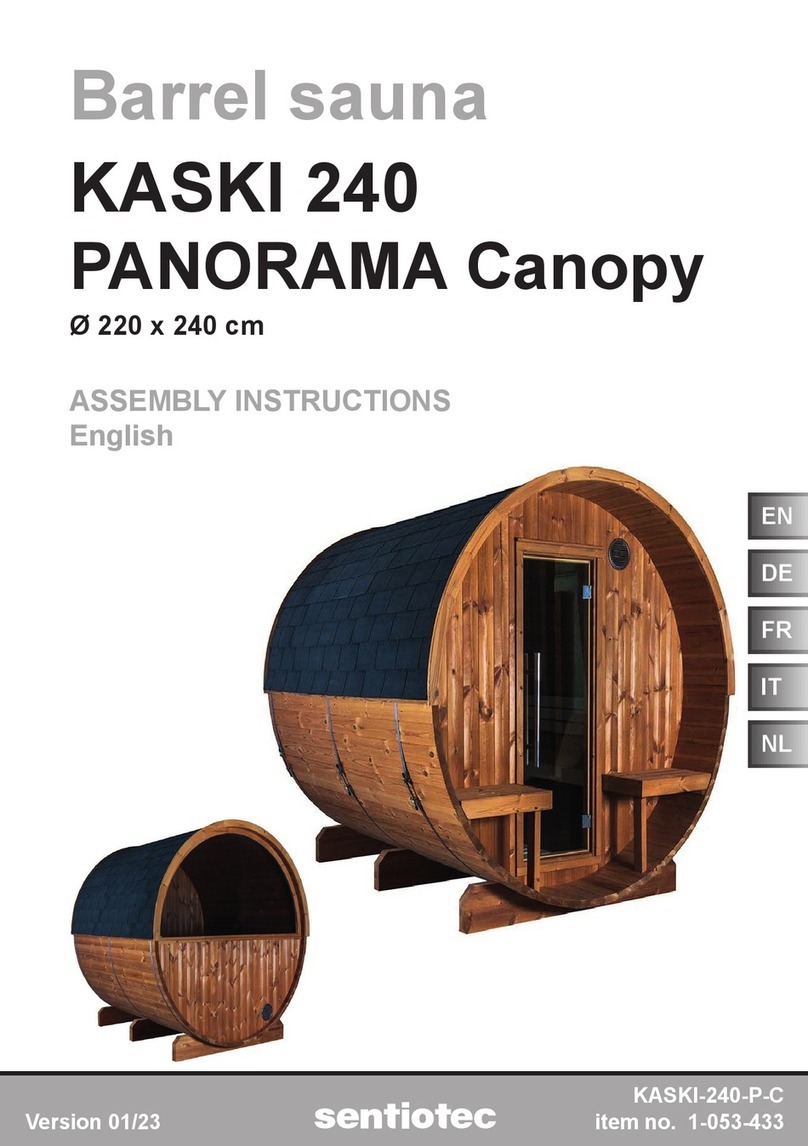
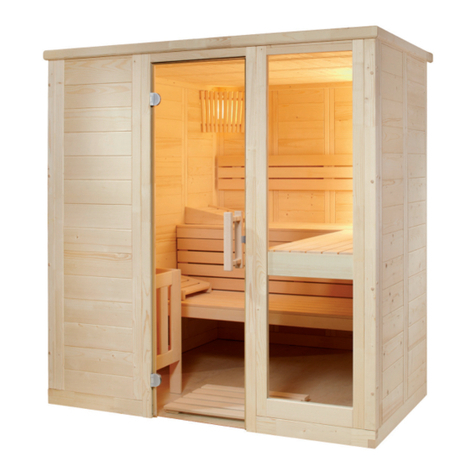
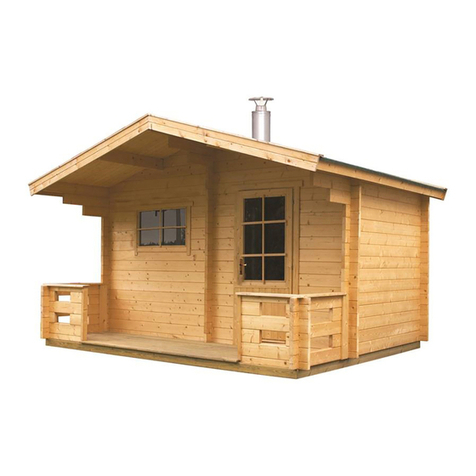
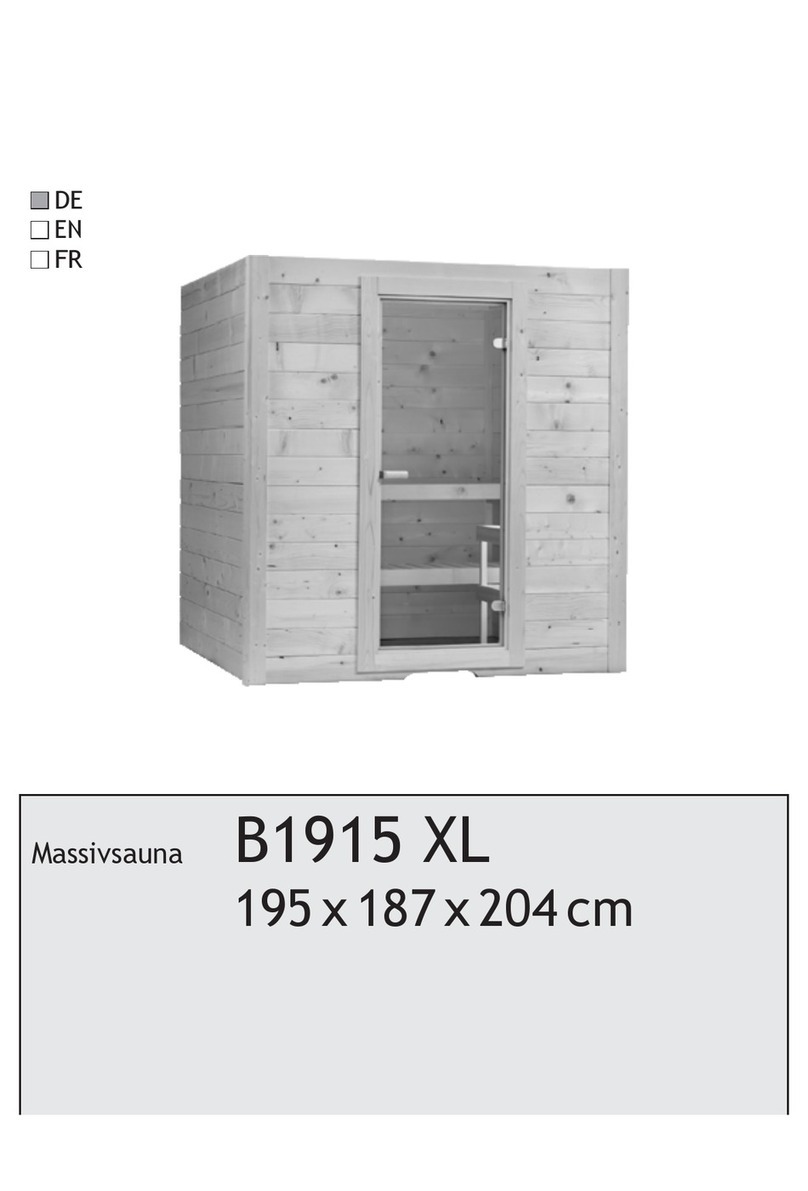
  9. Harvia SOLIDE OUTDOOR 2 User manual

Harvia SOLIDE OUTDOOR 2 User manual

28102019/Y05-0621
SOLIDE OUTDOOR 2
38
1
6
2
3
4
5
8a
7
8b 910
11
12
12
13
14
15
16
17
18
20
21
22
24
23
25 26
27
28
29
60
32
34
33
44
44
35
36
37 39
40
41
42
42
43
43
47
45
45
45
46
47
48
49
49b
49c
49b
50
52
53
53
54
55
57
58
59
31
30
19
56
56
51
32
32
32
SLD02PS
Osa/Part mm kpl/pcs
1. Takaseinän alahirsi / Bottom log, rear wall 2212 1
2. Sivuseinän alahirsi / Bottom log, side wall 3488 1
3. Etuseinän alahirsi / Bottom log, front wall 2212 1
4. Terassiseinän alahirsi / Bottom log, terrace wall 3488 1
5. Väliseinän alahirsi / Bottom log, partition wall 2100 1
6 Lattiapalkkien kannatinrima / Support bar for floor beams 32 x 48 x 2095 4
7. Vesikouru / Drain Chute 1
8a. Lattiapalkit / Floor beams, sauna 48 x 148 x 2100 6
8b. Lattiapalkit / Floor beams, pukuhuone 48 x 148 x 1332 5
9. Terassin palkki / Terrace beam 48 x 128 x 3424 1
10. Terassin palkit / Terrace beams 48 x 148 x 3504 4
11. Terassin palkit / Terrace beams 48 x 148 x 600 5
12. Terassin etu- ja takapalkit / Terrace beams, front and back 48 x 148 x 2202 2
13. Lattiavaneri / Plywood floor covering 1020 x 2095 2
14. Lattiavaneri / Plywood floor covering 1325 x 1047 2
15. Takaseinän hirsi / Log, rear wall 2212 7
16. Sivuseinän hirsi / Log, side wall 3488 7
17. Etuseinän hirsi / Log, front wall 2212 8
18. Terassiseinän hirsi / Log, terrace wall 2245 6
19. Terassiseinän ovenylityshirsi / Crossing the door log, terrace wall 3488 1
20. Väliseinän hirsi / Log, partition wall 270 6
21. Kiinnitysrauta / Bracket 1127 2
22. Terassiseinän yläkolmio / Upper triangle, terrace wall 3488 1
23. Sivuseinän yläkolmio / Upper triangle, side wall 3488 1
24. Takaseinän ylähirsi / Upper log, rear wall 2212 viistetty/bevelled 1
25. Etuseinän ylähirsi / Upper log, front wall 2212 viistetty/bevelled 1
26. Väliseinän ovenylityshirsi / Crossing the door log, partition wall 2088 1
27. Duo-lasiseinän tukilauta / Duo Glass wall support board 25 x 60 x 1890 1
28. Kiinnitysrauta / Bracket 600 1
29. Väliseinän ylähirsi / Upper log, partition wall 2088 1
30. Saunan ovi + Duo-lasiseinä/Sauna room door + Duo Glass wall 1
31. Terassin ovi / Terrace door 1
32. Nurkkalaudat / Corner boards 4
33. Katto-orret / Roof rafters 48 x 148 x 4860 6
34. Saunan kattopaneelit / Ceiling panels, sauna room 15 x 95 x 2110 28
35. Pukuhuoneen kattopaneelit / Ceiling panels, dressing room 15 x 95 x 1340 28
36. Kattoruoteet / Roof purlins 44 x 68 x 4234 8
37. Terassin yläpalkki / Upper log, terrace 90 x 90 x 3650 1
38. Terassin pilareiden jalat / Pillar pedestals 3
39. Terassin pilari 1 / Terrace pillar 1 90 x 90 x 1960 1
40. Terassin pilari 2 / Terrace pillar 2 90 x 90 x 2180 1
41. Terassin pilari 3 / Terrace pillar 3 90 x 90 x 2400 1
42. Räystäspoikanen 1 / Roof outlooker 1 44 x 148 x 560 4
43. Räystäspoikanen 2 / Roof outlooker 2 44 x 148 x 500 4
44. Räystäspoikanen 3 / Roof outlooker 3 44 x 148 x 302 4
45. Räystäspoikanen 4 / Roof outlooker 4 44 x 148 x 262 4
46. Otsalaudat / Fascia boards 21 x 145 8
47. Otsalaudan tukirima / Support bar for fascia boards 21 x 48 4
48. Raakaponttilauta / Tongue and groove boards 23 x 95 270 im
49. Terassilaudat / Terrace boards 26 x 120 x 2246 30
49b. Terassin otsalaudat / Terrace fascia boards 26 x 120 x 2200 2
49c. Terassin otsalauta / Terrace fascia board 26 x 120 x 3600 1
50. Ritilä / Grid 1850 x 1665 1
51. Ritilä / Grid 2118 x 1665 1
52. Askeljakkara / Step stool 1
53. Alalauteen tukipuu / Fix support strip for bottom benches 2
54. Alalauteen lankut / Bottom beanch boards 4
55. Jalkatuki / Leg support 1
56. Ylälauteen tukipuu / Fix support strip for upper benches 2
57. Ylälauteen lankut / Upper bench boards 2
58. Kiuas / Heater 1
59. Piippu / Chimney 1
60. Paneloinnin tukirima / Support board for panels 21 x 48 x 2095 1
Vaarnatappeja / Dowel bars
Ruuveja / Screws
Nauloja / Nails
Vaaleaa liimamassaa / Light adhesive
Tummaa tiivistysmassaa / Black sealant
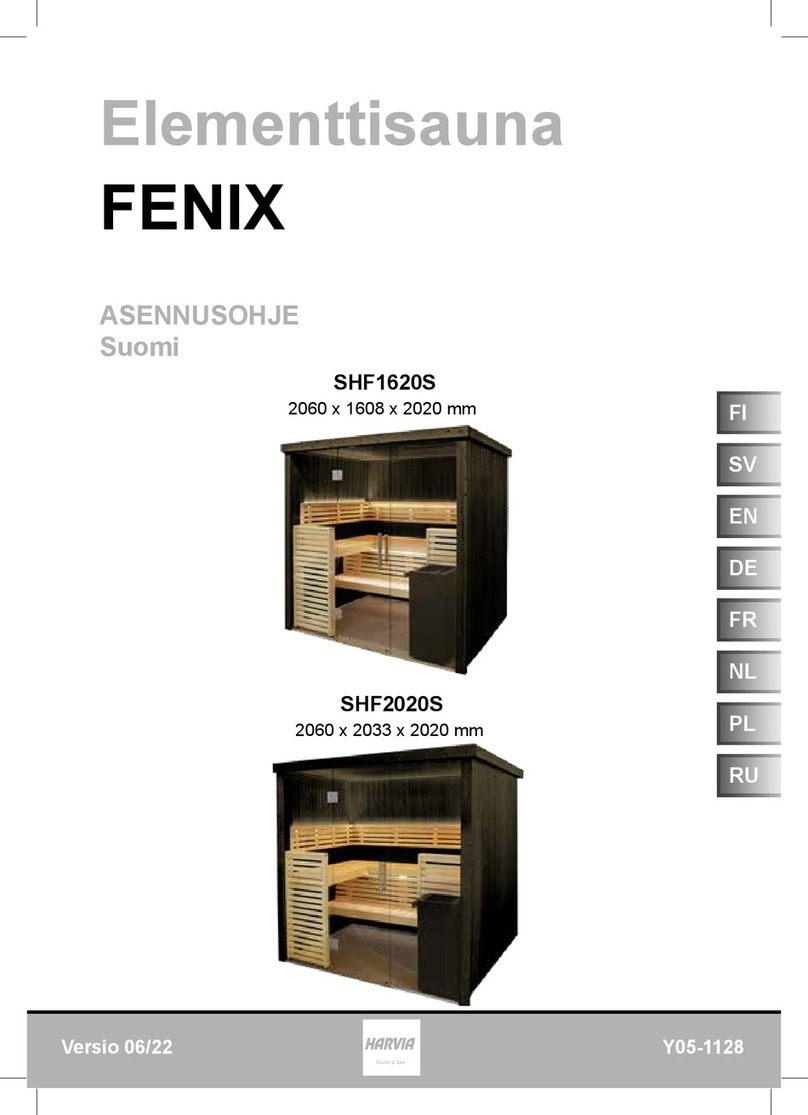
Tämän asennusohjeen kuvat ovat tarkoitettu esimerkiksi.
Saunan asennukseen tarvitaan kaksi ihmistä.
Asennukseen täytyy myös osallistua henkilö, jolla on
riittävästi kokemusta puurakentamisesta.
Tarvitset seuraavia työkaluja:
• porakone/ruuvinväännin
• saha
• Dyckert-naulapyssy
• mittanauha
• vatupassi
• puukko
• vasara
• tikkaat
Huomioithan, että puu on luonnonmateriaali ja siksi se
voi kosteuden takia turvota, supistua tai vääntyä. Tämän
vuoksi joidenkin saunan osien asentaminen voi vaatia
voiman käyttöä.
FI EN
The pictures shown in this manual are meant as guidelines
only.
Two persons are necessary when assembling the sauna.
Installation must be led by a person with sufficient
experience of log building.
You will need the following tools:
• drill/screwdriver
• saw
• brad or finish nailer
• tape measure
• spirit level
• knife
• hammer
• step-ladders
Please note that wood is natural material, which can
swell, contract or warp due to humidity and moisture.
Therefore, the assembly of some of the sauna parts may
require some force.
PLEASE READ THESE ASSEMBLY
INSTRUCTIONS CAREFULLY
BEFORE STARTING THE ASSEMBLY
LUE ASENNUSOHJEET HUOLELLISESTI
ENNEN KUIN ALOITAT SAUNAN
ASENTAMISEN
5
SLD02PS
Ennen asentamista
Helpottaaksesi asentamista sijoittele osat rakennusalueen
ympärille lähelle niitä paikkoja mihin ne kuuluvat, jotta ne
ovat helposti saatavilla.
Kun lajittelet osia, tarkasta samalla toimitussisällöstä,
että kaikki tilaukseen kuuluvat osat ovat pakkauksessa.
Mikäli pakkauksen mukana tulee erillisiä piirrustuksia,
tulee niitä ensisijaisesti noudattaa. Tämä johtuu jatkuvasta
tuotekehityksestä.
Before assembling
To make the assembly easier, place parts around the
building area so that they are easily accessible and all
parts are next to the wall they will be placed to.
When sorting the parts, check the delivery content
list to get familiar with the parts and to verify that the
delivery has been complete.
If there are separate wall drawings supplied with the
package, they should be followed. This is due to on-going
product development.
Perusta
Perustana voi käyttää joko betonilevyjä tai tiivistettyä
soraa. Sorapohjaa käytettäessä tulisi nurkkiin ja
pohjalautojen alle asetella betonipalkkeja, betonitiiliä
tai sopivia kiviä tukemaan rakennusta perustuskuvien
mukaisesti.
Pohjakehikkoa asennettaessa on varmistettava, että
se on asetettu niin, että seinät tulevat suoraan. Jos
käytät perustuksessa pilariharkkoja, vala harkkojen reiät
umpeen sopivalla laastilla ja harjateräksen pätkillä. Käytä
muovi- tai bitumihuopakaistaleita pohjan puukehikon
ja betonipilareiden välissä, estääksesi puuta imemästä
kosteutta.
Terassin lautojen väleihin tulee 5 mm raot. Varmista
perustaa tehdessä, että vesi pääsee valumaan lattian alta
ja että voit puhdistaa lattian alusen tarvittaessa.
Foundation
As a foundation you can use either a concrete plate or
compressed gravel. On a gravel base, place concrete
blocks or suitable stones in corners and under the base
wood to support the construction. See the foundation
figures.
Make sure that when you place the base logs and
beams they are levelled so that all the walls will stand
upright. If concrete blocks are used, fill their cores using
suitable corefill and rebars. Use either plastic or roof felt
strips between the base timber and concrete blocks to
prevent the wood from absorbing moisture.
There will be 5 mm gaps in the floors of the terrace.
When laying the foundation, make sure that water drains
away from beneath the floor and that you can clean the
space under the floor.
6
2268
2192
1670
1070
1070
1670
Kattohuopa
Roofing felt
Betonipilari
Concrete block
240 x 240 x 190
600 x 600 x 100
Betonilaatta
Concrete tile
Kulmarauta
Corner bracket
Hirsi
Log
7
Lattioiden asentaminen
1. Saunatilan kehikko ja lattia:
Asettele alimmat hirret (1-5) perustuksen päälle kuvien
mukaisesti. Liimaa alimpien hirsien pystysaumat vaalealla
liimamassalla ja ruuvaa kehikot yhteen 5 x 120 mm
ruuveilla. HUOM! Varmista ristimitta, X=Y!
Kiinnitä alimmainen hirsikerros pilareihin kulmaraudoilla.
Liimaa vaalealla massalla etu- ja takahirsiin (1 ja 4)
lattiapalkkien kannatinrima (5., 32 mm x 48 mm,
painekyllästetty) tasan hirren alareunan kanssa ja ruuvaa
kiinni 4,5 x 60 mm ruuveilla.
Aseta lattian palkit (8a, 8b) rakennusperustalle ohjeen
alussa olevien pohja- ja perustuskuvien mukaisesti.
Huomaa lattiapalkkien väliset summittaiset etäisyydet
(A=A, B=B, C=C, D=D). Ruuvaa lattiapalkit paikoilleen
kehikon ulkopuolelta.
Sovita saunahuoneen vesikouru (7) lattiapalkkien päälle
ja pujota ulkoseinästä läpi. Tämän jälkeen voit asettaa
saunahuoneen lattiavanerit paikoilleen.
2.
2.
1.
1.
Installing the floors
1. Sauna room frame and floor:
Place the bottom logs (1-5) on top of the foundation,
according to illustrations. Glue the bottom logs’ vertical
joints with the included light adhesive and use 5 x 120
mm screws to secure the logs. NB! Check cross-measure,
X=Y!
Attach the bottom log layer to the concrete blocks with
steel corner brackets.
Use the included light adhesive to glue a support strip
board (5, 32 mm x 48 mm, pressure treated wood) along
the bottom of the front and back wall logs (1 and 4).
Secure with 4,5 x 60 mm screws.
Place the floor beams (8a, 8b) according to the
foundation diagrams in the beginning of this manual. Note
approximate distances for the beams (A=A, B=B, C=C,
D=D). Screw the floor beams in place from outside the
frame.
Place the sauna room drain chute (7) on top of the floor
beams and through the outer wall. Lift the floor coverings
in place.
8
A
C C
D D D
AA A A
BBBB
7.
3.
8a. 8b.
4.
6.
5.
11.
10.
9.
12.
1.
2.
X
Y
Kokoa terassin (9 - 12) runko kuvan mukaiseksi ja ruuvaa
kiinni (2 ruuvia per liitos, 6 x 100 mm, rst).
Aseta terassin perustuspilarien päälle kattohuopapalat.
Kiinnitä lattiavanerit (13, 14) ruuveilla lattiapalkkeihin
ja tiivistä reunasaumat mukana toimitetulla mustalla
massalla.
Assemble the terrace (9 - 12) frame according to the
image above and fix with 6 x 100 mm stainless steel
screws (2 screws per joint).
Add roofing felt strips on top of the foundation blocks.
Fix the floor coverings (13, 14) with screws to the floor
beams and seal all corners with the included black sealant.
9
13.
14.
!
!
49.
49b.
49b.
49c.
2. Terassin lattia:
Sahaa saunan nurkkiin tuleviin lautoihin (49) kuvan
mukaiset aukot pystynurkkalaudoille (32).
Aseta terassin lattialaudat paikoilleen ja jaa ne tasaisesti
terassikannelle. Jätä n. 5 mm rako lautojen väliin ja
kiinnitä ne lattiapalkkeihin (4,5 x 60 mm rst).
Halkaise reunimmainen lauta oikeaan leveyteen sahalla ja
kiinnitä ruuveilla runkoon.
Kiinnitä terassin otsalaudat (49b ja 49c) ruuveilla
terassirunkoon.
2. Terrace deck:
Cut clearances (check measures from the illustrations) for
the corner modules (49) to the deck boards (32) that are
placed next to the sauna room corners.
Place the terrace deck boards on top of the frame and distribute
them evenly, leaving approx. 5 mm gaps. Fix the boards to the
frame with 4,5 x 60 mm stainless steel screws.
Split the last board to suitable width with a saw and fix to
the frame with screws.
Fix the terrace fascia boards (49b and 49c) to the frame
with screws.
10
90
90
45
45
90
45
32.
11
Saunan seinien pystytys
Aloita seinienpystytys taka-, sivu- ja terassiseinistä.
Lyö vaarnatapit hirsien reikiin vasaralla.
Aseta seuraava hirsikerros tappeihin. Levitä liimaa
pystysaumoihin ja kiinnitä ulkopuolelta nurkista 5 x 120
mm ruuveilla.
HUOM! Kahdessa hirressä on ilmanvaihtoaukot.
Sijoita toinen näistä pukuhuoneen sivuseinän alimpaan
kerrokseen ja toinen saunan terassiseinän alimpaan
kerrokseen.
Jatka seinien pystytystä lyömällä vaarnatapit hirsien
reikiin ja liimaamalla ja ruuvaamalla nurkat kiinni.
Sivuseinän (16) tulisi olla 6 hirttä korkea, takaseinän 5
(15) hirttä korkea ja terassi seinän (18) 3 hirttä korkea,
ennen ovien asennusta.
Assembling sauna walls
Start assembling the sauna walls from rear wall, side
wall and terrace wall.
Insert metal dowel bars into the holes using a hammer.
Place the next log layer onto the dowels. Add glue to
vertical joints and fix with 5 x 120 mm screws from
outside.
NOTE! Two logs has a pre-fabricated ventilation openings.
Place other log onto the dressing room side wall, to the
bottom layer and other log to saunaroom terrace wall, to
the bottom layer.
Continue adding logs by inserting dowel bars into their
holes and gluing and fixing the corners. Side wall should
be 6 logs tall, rear wall 5 logs tall and terrace wall 3 logs
tall before installing the doors.
12
!
!
16.
16.
18.
18.
15.
15.
13
21.
20.
30.
27. !
Saunahuoneen oven ja
Duo-lasiseinän asennus
Kiinnitä Duo-lasiseinän tukilauta (27) sivuseinälle ja
kiinnitysrauta (21) terassiseinälle väliseinän alahirsien
kohdalle.
HUOM! Tässä vaiheessa on hyvä sijoittaa myös kiuas
saunahuoneen sisälle.
Nosta lasiseinämoduuli (30) paikalleen. Lasiseinän
kehyksiä ei tule kiinnittää seinähirsiin, jotta puun eläminen
ei riko rakenteita.
Nosta ovimoduuli (30) paikalleen. Varmista, että
ovimoduuli ei pääse kaatumaan, ennen kuin väliseinän
hirret (20) on asennettu. Laske hirret paikoilleen ylhäältä
alas.
Installing the sauna room door and
Duo glass wall
Install support board for Duo glass wall (27) to side wall
and bracket (21) to terrace wall in the same line than
partition wall.
NOTE! At this point is good to place the heater inside the
sauna room.
Lift the glass wall module (30) into place. Glass wall
frames must not be fixed to the wall logs, to allow the
wood’s natural movement.
Lift the door module (30) into place. Take care not to
let the door module tip over, until all side wall logs have
been installed. Place the logs from above to the bottom.
14
Terassinoven asennus
Aseta kaksi etuseinän seinähirttä (17) paikoilleen samoin
kuten muiden seinien hirret.
Nosta terassinovi (31) varovasti paikalleen.
Asenna loput seinähirret paikoilleen.
Kiinnitä kiinnitysrauta (28) sivuseinälle Duo-lasiseinä
moduulin yläpuolelle.
Installing the terrace door
Assemble two of the front wall logs (17) into place as
before.
Lift the terrace door (31) into place carefully.
Install the remaining wall logs into place.
Attach the bracket (28) to the side wall above Duo glass
wall module.
21.
20.
30.
27. !
15
31.
17.
28.
16
Huomaa ylimmän kerroksen hirsien 24 ja 25 viisteys.
Asenna takaseinän ylähirsi (24), ylimmät kolmiohirret (22
ja 23) sekä etuseinän ylähirsi (25) kuten edelliset hirret.
Note the bevel in the top layer logs 24 and 25.
Install the rare wall top log (24), the top triangle logs (22
and 23) and the front wall top log (25) as logs before.
24.
25.
22.
23.
19.
!
17
29.
26.
Asenna väliseinän ovenylityshirsi (26) Duo-lasiseinä- ja
ovi-moduulien yläpuolelle. Aseta väliseinän ylähirsi (29)
paikoilleen.
Naulaa paikoilleen puulistat (4kpl) väliseinän ja sivuseinän/
terassin seinän ylähirsien kulmauksiin.
Install the partition wall door crossing log (26) above the
Duo glass wall and the door modules. Assemble upper log
(29) of the partition wall into place.
Nail into place wooden blocks (4 pcs) in the corner of
partition wall and side wall/terrace wall.
18
A
B
D
C
B
D
C
A
19.
32.
Nurkkamoduulien asennus
Materiaalista johtuen nurkkamoduulin (32)
kiinnitysrautojen tarkka paikka vaihtelee. Mittaa kuvan
mukaiset mitat A ja B sekä C ja D jokaiselle moduulille ja
ruuvaa mittojen leikkauspisteisiin ruuvit siten, että ruuvin
kanta jää noin 3 mm irti seinästä.
Nosta nurkkamoduulit paikoilleen.
Ruuvaa nurkkamoduulit kiinni sisäpuolelta ylänurkasta 5
x 80 mm ruuveilla.
Installing corner modules
Due to fabrication and materials used, accurate
dimensions of the corner modules’ (32) mounting
brackets may vary. Take measures A and B as well as
C and D for every module according to the illustration.
Drive screws to respective intersections, so that the
screw head is left approximately 3 mm off the wall.
Lift the corner modules in place
Fix the corner modules with 5 x 80 mm screws from top
interior corners.
19
32.
20
Terassin pilareiden pystyttäminen
Pilarit kasataan ensin maassa yhteen rakennelmaksi,
jonka jälkeen nostetaan pystyyn terassille.
Kiinnitä terassin pilarit (39, 40, 41) yläpalkkiin (37)
yläpuolelta ruuveilla 1665 mm päähän toisistaan.
Aseta pilareiden jalat (38) terassin päätyyn 2120 mm
päähän seinästä ja 1685 mm päähän toisistaan. Poraa
paikoilleen.
Irtolevyt ruuvataan pilareiden pohjiin.
Nosta rakennelma pystyyn terassille jalkojen päälle. Voit
sitoa pilarirakennelman kiinni hirsirunkoon tukilautaa
apuna käyttäen, kunnes katto-orret on saatu asennettua.
2120
16851685
16651665
39.
38.
39.
37.
40.
40.
41.
41.
Tukilauta/
Support board
Building the terrace pillars
Pillars are assembled together on the ground to form a
structure and then structure is lifted into terrace.
Attach pillars (39, 40, 41) into top beam (37) and attach
from top with screws. Leave 1665 mm space between
pillars.
Assemble pillar pedestals (38) in the end of the terrace
2120 mm away from the wall and leave 1665 mm space
between pillars. Drill into place.
Drill separated metal plates in the bottom of the pillars.
Lift the pillar structure on to the terrace on the pedestals.
You can attach the pillar structure to the sauna
framework with a support board until the roof rafters has
been attached.

Other manuals for SOLIDE OUTDOOR 2

1

This manual suits for next models

1

Other Harvia Plumbing Product manuals

Harvia Griffin Infra CG170I Use and maintenance manual

Harvia

Harvia Griffin Infra CG170I Use and maintenance manual

Harvia SIRIUS SC1111 User manual

Harvia

Harvia SIRIUS SC1111 User manual

Harvia KAMMI 180 User manual

Harvia

Harvia KAMMI 180 User manual

Harvia sentiotec ALASKA VIEW User manual

Harvia

Harvia sentiotec ALASKA VIEW User manual

Harvia HL135 User manual

Harvia

Harvia HL135 User manual

Harvia SOLIDE OUTDOOR 3 User manual

Harvia

Harvia SOLIDE OUTDOOR 3 User manual

Harvia CAPELLA SC1410 User manual

Harvia

Harvia CAPELLA SC1410 User manual

Harvia Mini User manual

Harvia

Harvia Mini User manual

Harvia SmartFold SHSF1212BL User manual

Harvia

Harvia SmartFold SHSF1212BL User manual

Harvia Corner Large User manual

Harvia

Harvia Corner Large User manual

Harvia SOLIDE OUTDOOR 2 User manual

Harvia

Harvia SOLIDE OUTDOOR 2 User manual

Harvia B1819 User manual

Harvia

Harvia B1819 User manual

Harvia Radiant Series Operator's manual

Harvia

Harvia Radiant Series Operator's manual

Harvia FENIX SHF1620S Guide

Harvia

Harvia FENIX SHF1620S Guide

Harvia PO10-U1 User manual

Harvia

Harvia PO10-U1 User manual

Harvia SOLIDE COMPACT VISION Operation instructions

Harvia

Harvia SOLIDE COMPACT VISION Operation instructions

Harvia sentiotec WELLFUN LARGE Guide

Harvia

Harvia sentiotec WELLFUN LARGE Guide

Harvia sentiotec Komfort Large Guide

Harvia

Harvia sentiotec Komfort Large Guide

Harvia Radiant SGC0909BR Operator's manual

Harvia

Harvia Radiant SGC0909BR Operator's manual

Harvia S1010 User manual

Harvia

Harvia S1010 User manual

Harvia Sentiotec KASKI 240 VIEW Canopy User manual

Harvia

Harvia Sentiotec KASKI 240 VIEW Canopy User manual

Harvia sentiotec BALANCE VIEW LARGE User manual

Harvia

Harvia sentiotec BALANCE VIEW LARGE User manual

Harvia TROMSO User manual

Harvia

Harvia TROMSO User manual

Harvia sentiotec BASIC LARGE User manual

Harvia

Harvia sentiotec BASIC LARGE User manual

Popular Plumbing Product manuals by other brands

Showersave QB1-21 Installer quick guide

Showersave

Showersave QB1-21 Installer quick guide

Sanela SLUN 77 Mounting instructions

Sanela

Sanela SLUN 77 Mounting instructions

Nobili LPC90118/1 quick start guide

Nobili

Nobili LPC90118/1 quick start guide

Mira Sport Installation & user guide

Mira

Mira Sport Installation & user guide

Ideal-Standard iLife 2 T4887EO Manual for Use, Installation and Maintenance

Ideal-Standard

Ideal-Standard iLife 2 T4887EO Manual for Use, Installation and Maintenance

Moen S8000 quick start guide

Moen

Moen S8000 quick start guide

Grohe Essence E Installation

Grohe

Grohe Essence E Installation

Moen M-CORE 3 Series instruction sheet

Moen

Moen M-CORE 3 Series instruction sheet

Svedbergs Yding 96850S manual

Svedbergs

Svedbergs Yding 96850S manual

Hans Grohe AXOR Montreux 16802 Series quick start guide

Hans Grohe

Hans Grohe AXOR Montreux 16802 Series quick start guide

PELHAM & WHITE PWS531-C manual

PELHAM & WHITE

PELHAM & WHITE PWS531-C manual

Clou Wash Me CL/02.13033 installation instructions

Clou

Clou Wash Me CL/02.13033 installation instructions

Luxart Circula8e L8FSH18 Installation

Luxart

Luxart Circula8e L8FSH18 Installation

Glacier bay VUR2318A1 Use and care guide

Glacier bay

Glacier bay VUR2318A1 Use and care guide

Hans Grohe Raindance Classic 100 Air 3jet 28548000 Assembly instructions

Hans Grohe

Hans Grohe Raindance Classic 100 Air 3jet 28548000 Assembly instructions

Omnires SL7732GR Installation and Maintenance

Omnires

Omnires SL7732GR Installation and Maintenance

Glacier bay MARCIE RF412034 Installation and care guide

Glacier bay

Glacier bay MARCIE RF412034 Installation and care guide

Sanela SLW 02PA Mounting instructions

Sanela

Sanela SLW 02PA Mounting instructions

manuals.online logo
manuals.online logoBrands
  • About & Mission
  • Contact us
  • Privacy Policy
  • Terms and Conditions

Copyright 2025 Manuals.Online. All Rights Reserved.