manuals.online logo
Brands
  1. Home
  2. •
  3. Brands
  4. •
  5. Hauler Racks
  6. •
  7. Automobile Accessories
  8. •
  9. Hauler Racks ULRHDGV-1 User manual

Hauler Racks ULRHDGV-1 User manual

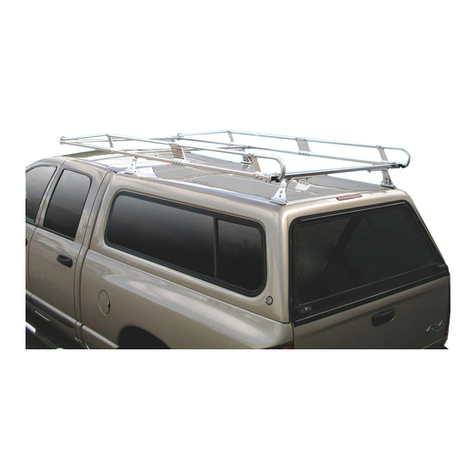
ALUMINUM “UNIVERSAL” VAN / CAP RACK
INSTRUCTIONS ROOF MOUNT APPLICATION
P/N ULRHDGV-1 / ULRHDGC-1
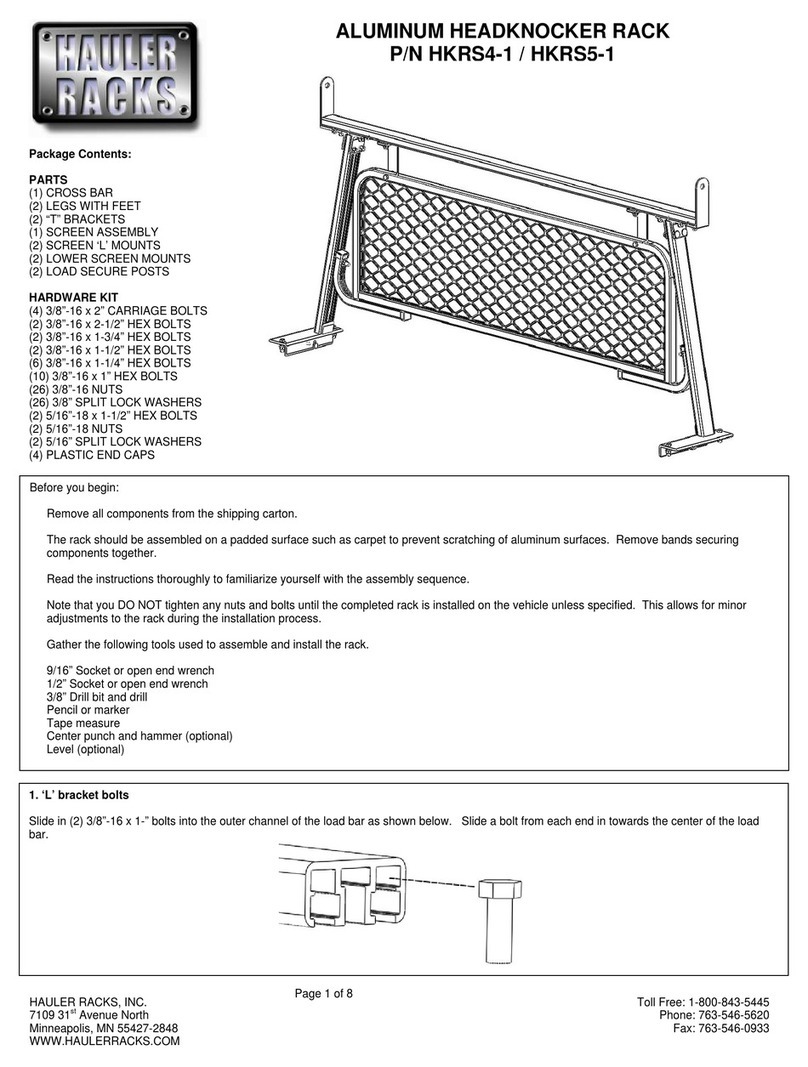
Package Contents:
(8) Load Secure Posts
(2) Cross Bars
(4) Curved Arms
(4) G Mount Hinges
(4) G Mount Rubber Gaskets
(4) G Mount Flat Plates
(8) 5/16” x 1” Carriage Bolts
(8) 5/16” Nuts
(8) 5/16” Split Lock Washers
(16) 3/8-16 x 1-3/4” Bolts
(16) 3/8-16 Nuts
(16) 3/8 Split Lock Washers
(12) ¼” Nuts
(12) ¼” Split Lock Washers
(12) ¼” x 1-1/2” Phillips Screws
Before you begin:
Remove all components from the shipping carton.
The rack should be assembled on a padded surface such as carpet to prevent scratching of aluminum surfaces. Remove bands securing
components together.
Read the instructions thoroughly to familiarize yourself with the assembly sequence.
Note that you DO NOT tighten any nuts and bolts until the completed rack is installed on the vehicle unless specified. This allows for minor
adjustments to the rack during the installation process.
Gather the following tools used to assemble and install the rack.
7/16”, 1/2” & 9/16” Socket or open end wrench
Phillips screw driver
5/16” dia drill bit and drill
Waterproof Silicon Sealer (optional, not included)
Marker
HAULER RACKS, INC. Page 1 of 6 Toll Free: 1-800-843-5445
7109 31st Avenue North Phone: 763-546-5620
Minneapolis, MN 55427-2848 Fax: 763-546-0933
WWW.HAULERRACKS.COM
1. Assemble “G” mount hinge to curved arm by placing the (2) 5/16”-18 x 1” carriage bolts as shown through the curved arm and “G” mount hinge.
Secure and tighten the curved arm to the “G” mount hinge with (2) 5/16” split lock washer and (2) 5/16”-18 nut.
Repeat for remaining “G” mounts hinges.
2. Assemble center load secure posts to crossbar by sliding (2) 3/8”-16 x 1-3/4” bolts into the center channel of the cross bar.
HAULER RACKS, INC. Page 2 of 6 Toll Free: 1-800-843-5445
7109 31st Avenue North Phone: 763-546-5620
Minneapolis, MN 55427-2848 Fax: 763-546-0933
WWW.HAULERRACKS.COM
HAULER RACKS, INC. Page 3 of 6 Toll Free: 1-800-843-5445
7109 31st Avenue North Phone: 763-546-5620
Minneapolis, MN 55427-2848 Fax: 763-546-0933
WWW.HAULERRACKS.COM
3. Mount the non-labeled load secure posts to the crossbar so that the flat of the load secure post is against the side of the cross bar.
Secure with 3/8” split lock washer and 3/8”-16 nut. Repeat for other non-labeled load secure post.
4. Slide the non-labeled load secure posts towards the center of crossbar.
5. Slide (2) 3/8”-16 x 1-3/4” bolts into the center channel of the cross bar on each end.
HAULER RACKS, INC. Page 4 of 6 Toll Free: 1-800-843-5445
7109 31st Avenue North Phone: 763-546-5620
Minneapolis, MN 55427-2848 Fax: 763-546-0933
WWW.HAULERRACKS.COM
6. Loosely attach the “G” mount assembly to the crossbar using (2) 3/8” split lock washers and (2) 3/8”-16 nuts. Repeat for other end.
7. Attach the labeled end load secure posts to the cross bar end by sliding a 3/8”-16 x 1-3/4” bolts into the center channel of the cross bar on each
end.
HAULER RACKS, INC. Page 5 of 6 Toll Free: 1-800-843-5445
7109 31st Avenue North Phone: 763-546-5620
Minneapolis, MN 55427-2848 Fax: 763-546-0933
WWW.HAULERRACKS.COM
8. Place the labeled load secure posts so that the flat of the load secure post is against the end of the cross bar. Tighten with 3/8” split lock
washer and 3/8”-16 nut. Repeat for other side of cross bar.
9. Position crossbar on the vehicle and adjust the “G” mounts to the desired width. Tighten the “G” mount to crossbar with 3/8” split lock washers
and 3/8”-16 nuts.
Use the “G” mount holes for a pattern and mark the holes on the van (or cap) roof. Drill 5/16” holes through the van (or cap) roof.
The rubber gasket goes between the “G” mount and van (or cap) roof and “G” mount flat plate is used in the interior.
To prevent any leaks, seal with water proof silicone (optional, not included).
Secure the “G” mount to the crossbar with (3) ¼”-1-1/2” Phillips screws, (3) ¼” split lock washers and (3)¼” nuts. Tighten all screws. Repeat for
other side.
10. Adjust center load stops as needed. Repeat for other crossbar. Tigthen all nuts and bolts after installation.
HMIS12
ULRHD-G
© 2008 Hauler Racks. Revised 6-09-2008
Customer Limited Warranty and Standard Return Policy
Hauler Racks, Inc. offers to preferred customers a special limited warranty. It is our goal to provide effective service for
any warranty or standard return. This statement of warranty and return policy is divided into two sections: Warranty
Returns of Defective Product and Standard Returns of Unused Product.
Warranty Returns of Defective Product
Hauler Racks, Inc. will repair or replace, at its option and without charge, any properly installed Hauler component that
fails due to defect in material or workmanship up to 30 days from the initial registered consumer purchase. All of our
aluminum product line is guaranteed not to rust or corrode for 1 year. Proof of Purchase must be provided for warranty
to be honored.
Loads should never exceed 1/3 of your vehicle’s manufacturer’s total load capacity. Loads should never extend more
than 1 foot on either end of rack. This warranty is void if any damage to the product is due to misuse, abuse, neglect,
accident, improper installation, or any uses contrary to the instructions accompanying the product. The warranty is also
void if racks are altered in any manner. The racks have been load tested for the racks capacity to hold loads when not
on a vehicle. Hauler Racks, Inc. does not warranty load capacities. As the factory has no way of knowing if the product
was properly assembled, installed, used according to instructions, or if loads were secured properly.
This warranty covers the cost of the defective component and not the cost of removal, installation or other incidental
charges unless other arrangements have been made with Hauler Racks.
This warranty gives you specific legal rights and you may have other rights which vary from state to state.
All warranty claims must receive a Return Authorization number from Hauler Racks, Inc. BEFORE the product is
returned to the Company. Please follow this procedure:
1. Call Hauler at 800-843-5445 to request a Return Authorization number. You will need to provide the following
information
• Specific nature of the defect • Product installation date
• Product part number • Original sales invoice number
2. When a replacement or repair strategy is determined, a Return Authorization number will be assigned to the claim.
3. A replacement invoice and shipping document will be generated at Hauler Racks to initiate any replacement product.
Replacement product will be sent according to standard shipping cycles.
4. The purchaser is responsible for packing and return shipping of the product. The RETURN AUTHORIZATION
NUMBER MUST BE CLEARLY MARKED ON THE OUTSIDE OF THE PACKAGE. Unmarked packages will be
refused. Any product damage that occurs during the shipping is not covered under warranty. The purchaser must
pursue claims for shipping damage with the shipping center.
5. The purchaser is responsible for payment of both the original product invoice and the replacement invoice according
to established credit terms.
6. Upon receipt of the returned product, Hauler Racks will review the claim for warranty conformance. If the claim meets
warranty criteria, a credit for the original invoice amount will be posted to the purchaser’s account and a credit memo
will be mailed. If the claim does not meet warranty criteria, the purchaser will receive a statement detailing reasons
for partial credit or denial. At the purchaser’s option, denied product may be returned to the purchaser.
Standard Returns of Unused Product
Unused product may be eligible for return to Hauler Racks, Inc. Follow the procedure described in the section on
Warranty Returns to receive an Authorization Number.
Returned product which is less than 6 (six) months old is subject to a 20% restocking fee.
Returned product which is more than 6 (six) months old may not be eligible for return or may incur additional restocking
charges.
HAULER RACKS, INC. Page 6 of 6 Toll Free: 1-800-843-5445
7109 31st Avenue North Phone: 763-546-5620
Minneapolis, MN 55427-2848 Fax: 763-546-0933
WWW.HAULERRACKS.COM

This manual suits for next models

1

Other Hauler Racks Automobile Accessories manuals

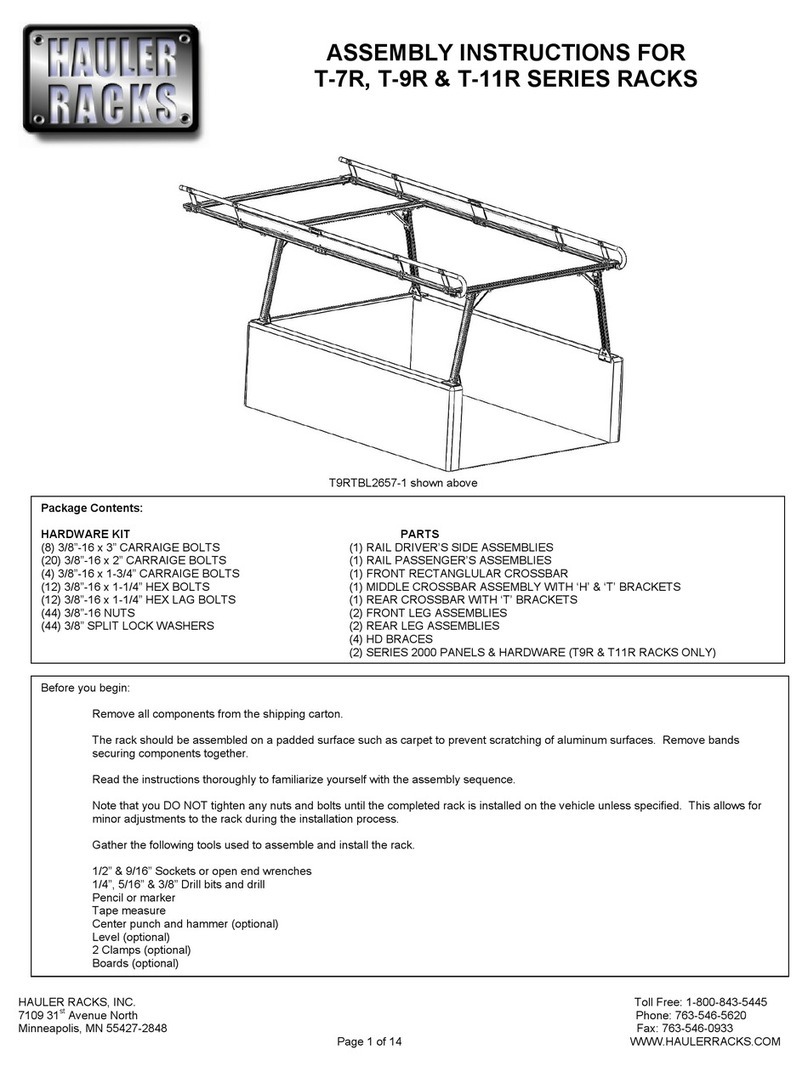
Hauler Racks T-7R Series User manual

Hauler Racks

Hauler Racks T-7R Series User manual

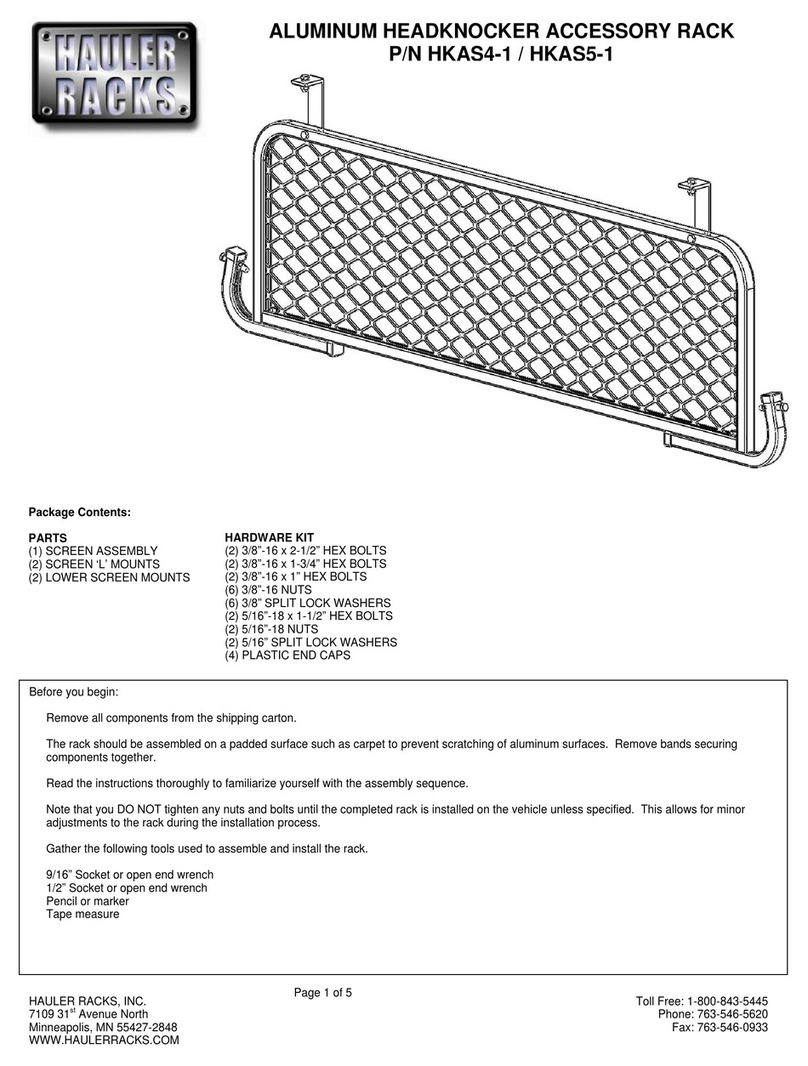
Hauler Racks HKAS4-1 User manual

Hauler Racks

Hauler Racks HKAS4-1 User manual

Hauler Racks HKRS4-1 User manual

Hauler Racks

Hauler Racks HKRS4-1 User manual

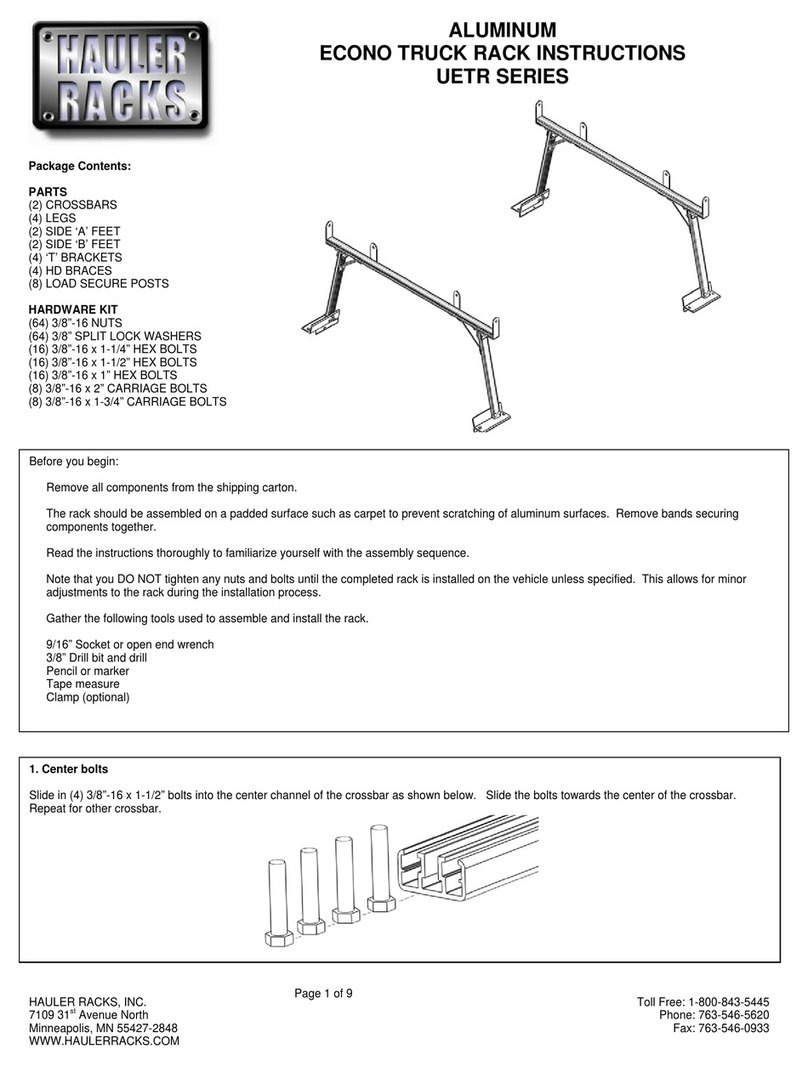
Hauler Racks ECONO TRUCK UETR Series User manual

Hauler Racks

Hauler Racks ECONO TRUCK UETR Series User manual

Hauler Racks C-7R Series User manual

Hauler Racks

Hauler Racks C-7R Series User manual

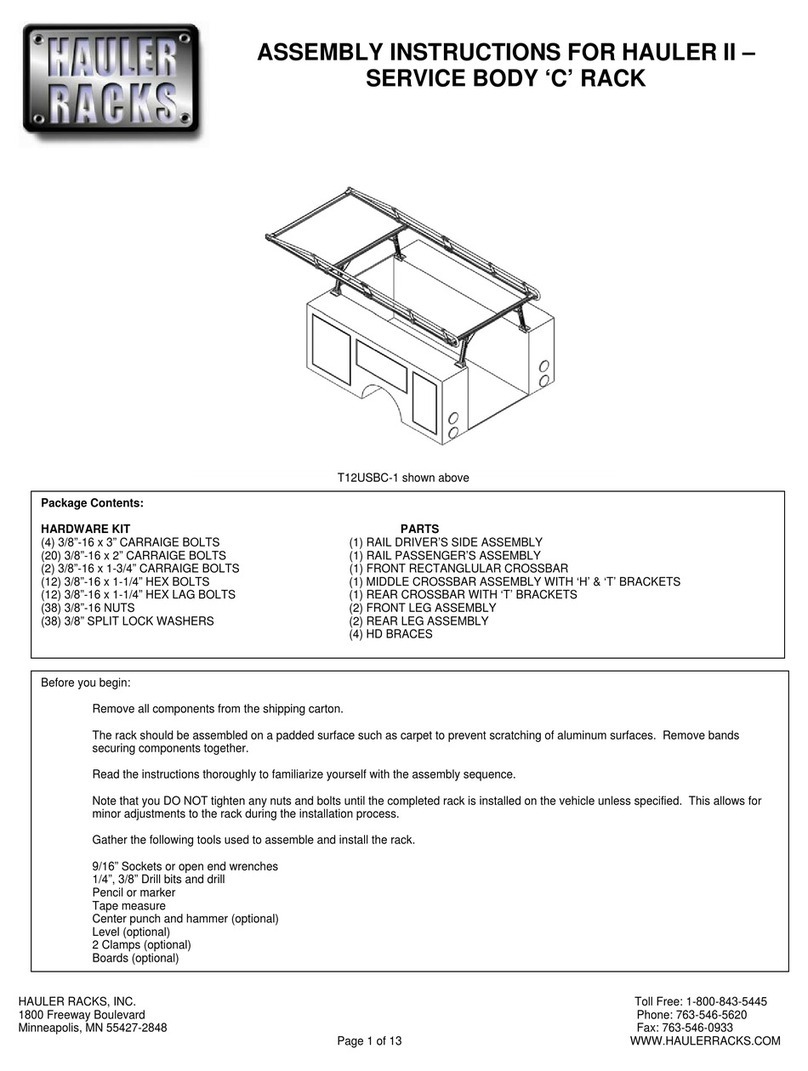
Hauler Racks HAULER II User manual

Hauler Racks

Hauler Racks HAULER II User manual

Hauler Racks T-10 User manual

Hauler Racks

Hauler Racks T-10 User manual

Hauler Racks C300 User manual

Hauler Racks

Hauler Racks C300 User manual

Hauler Racks C600 User manual

Hauler Racks

Hauler Racks C600 User manual

Popular Automobile Accessories manuals by other brands

VBG Onspot Mounting instructions

VBG

VBG Onspot Mounting instructions

Speedsignal B-339VW01 installation guide

Speedsignal

Speedsignal B-339VW01 installation guide

Cruz N+ Series Assembly instructions

Cruz

Cruz N+ Series Assembly instructions

SportRack SR7095 manual

SportRack

SportRack SR7095 manual

Entratek Caro Series user manual

Entratek

Entratek Caro Series user manual

Safe Fleet Prime Design VBB3 NV200 Assembly instructions

Safe Fleet

Safe Fleet Prime Design VBB3 NV200 Assembly instructions

RUD CENTRAX Fitting instructions

RUD

RUD CENTRAX Fitting instructions

Bosch QUICK FIT F026C00470 installation instructions

Bosch

Bosch QUICK FIT F026C00470 installation instructions

RVS systems RVS-M624 instruction manual

RVS systems

RVS systems RVS-M624 instruction manual

AMP Research BedStep 75313-01A quick start guide

AMP Research

AMP Research BedStep 75313-01A quick start guide

Akyga AK-ND-35 user manual

Akyga

Akyga AK-ND-35 user manual

InCarTec 27-878 instruction manual

InCarTec

InCarTec 27-878 instruction manual

APS Auto Parts Specialist IB06EJJ9 installation instructions

APS Auto Parts Specialist

APS Auto Parts Specialist IB06EJJ9 installation instructions

Webasto BlueCool Truck Operating

Webasto

Webasto BlueCool Truck Operating

Bestop trektop installation instructions

Bestop

Bestop trektop installation instructions

Safe Fleet PRIME DESIGN AR-2000-BLK manual

Safe Fleet

Safe Fleet PRIME DESIGN AR-2000-BLK manual

ULTIMATE SPEED 279746 Assembly and Safety Advice

ULTIMATE SPEED

ULTIMATE SPEED 279746 Assembly and Safety Advice

EVB BCPP-A1-16 user manual

EVB

EVB BCPP-A1-16 user manual

manuals.online logo
manuals.online logoBrands
  • About & Mission
  • Contact us
  • Privacy Policy
  • Terms and Conditions

Copyright 2025 Manuals.Online. All Rights Reserved.