3
NEVER leave the tent open for a long time where insects, rodents, or moisture could occur, and regularly
inspect your tent for damage and check hardware for signs of rust.
Keep children away from a stored tent, and ensure it can't be tipped over accidentally.
Be aware of low entrances, low hanging branches, and other hazards that could damage your roof top tent
or vehicle.
When washing your vehicle, your rooftop tent must be removed first.
For reasons of fuel economy and the safety of other road users, your roof tent and roof rack should be
removed when not in use.
Keep ALL flame and heat sources away from the tent. Under NO circumstance should ANY naked flame
sources or heating devices be used inside the tent.
Keep a look out for ANY airborne burning embers that may come into contact with the tent.
Keep a fire extinguisher or water bucket nearby.
DO NOT smoke within the tent.
Keep EXIT clear.
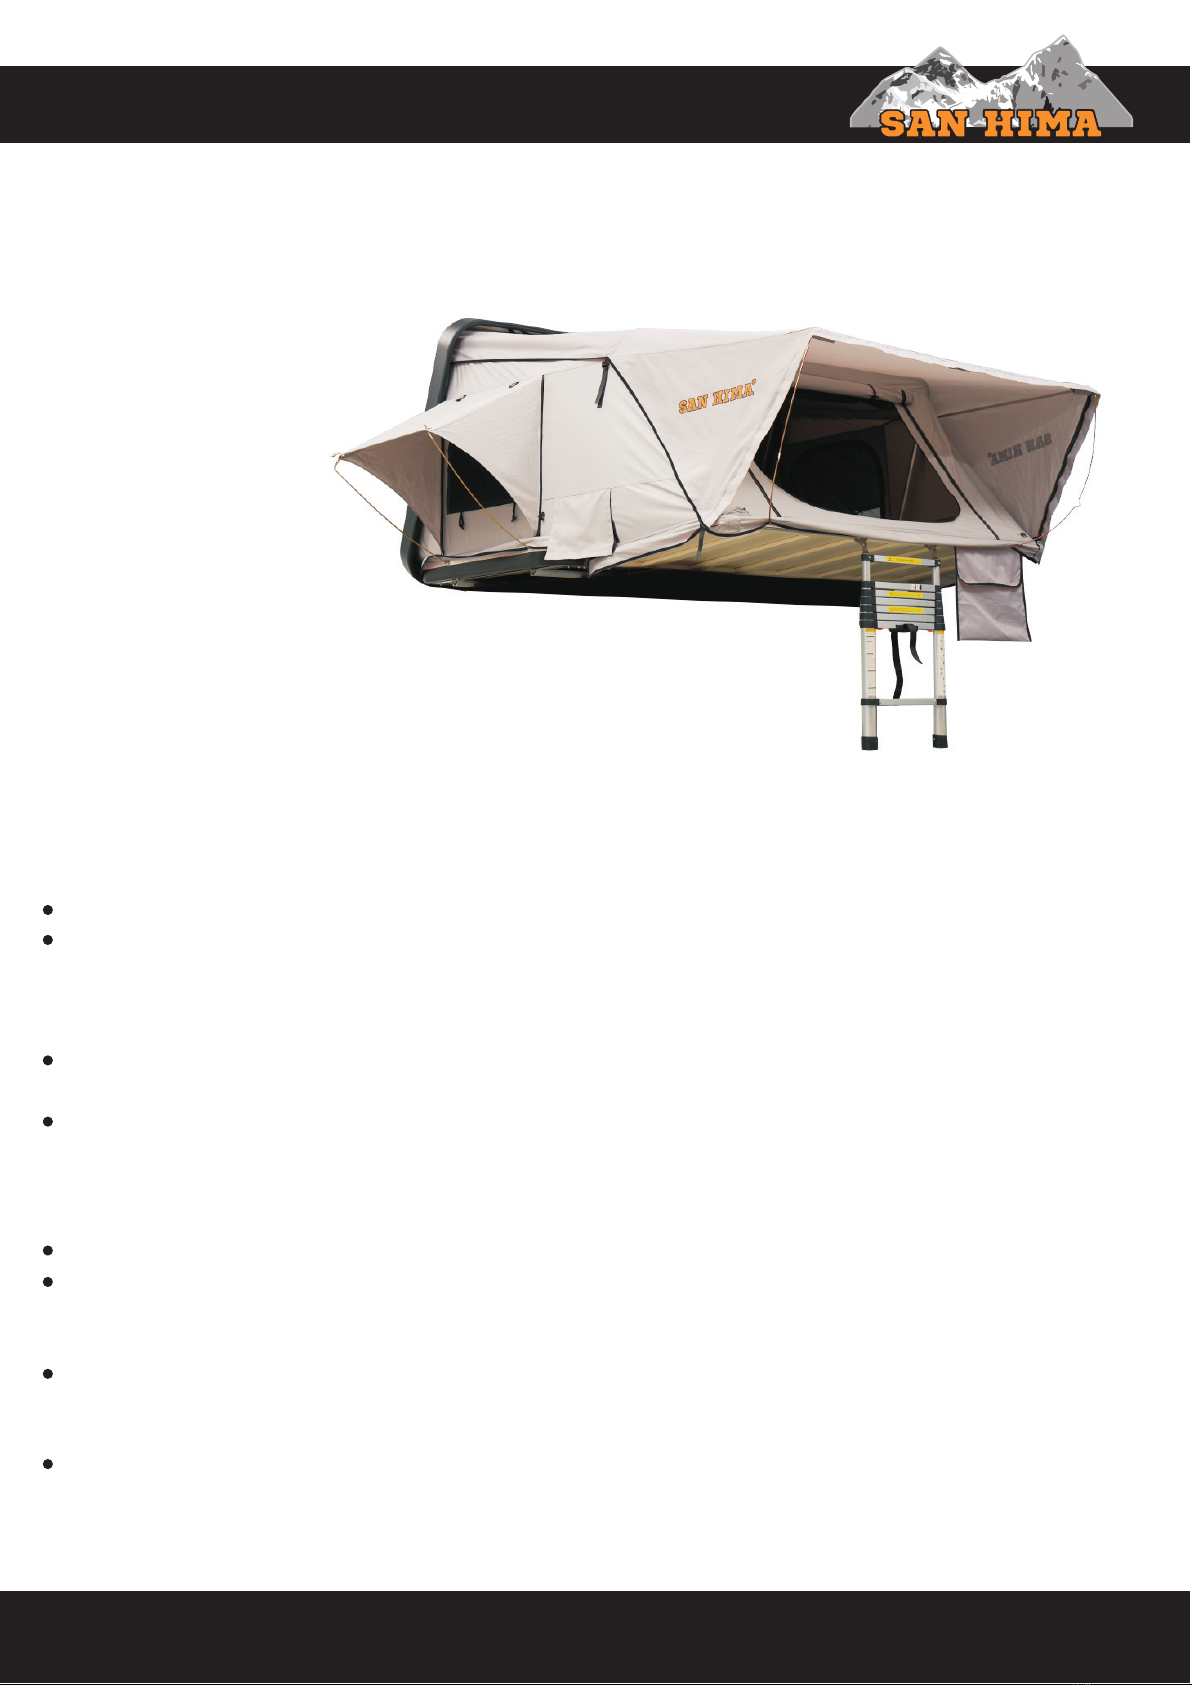
Telescopic Ladder:
Make sure that each section is pulled up to its full extension and is locked before continuing to the next
section. Improper locking will lead to bodily injuries.
NEVER open the ladder from the top unless extending to its maximum length.
NEVER exceed the permissible load capacity of the telescopic ladder. The telescopic ladder has a
permissible load capacity of MAX. 150 kg.
ALWAYS face the ladder during use.
Wear non-slip footwear when using the ladder.
Use both hands to grip the ladder when ascending and descending.
DO NOT attempt to extend or retract the ladder while climbing or standing on it.
Place body weight in the middle of the rung to ensure stability.
Equipment carried while using a ladder should be light and easy to handle.
DO NOT use the ladder as a bridge.
DO NOT use the ladder in windy environments.
Check before every use the proper function of the locking mechanisms. If the locking mechanisms are not
working properly, DO NOT use the ladder.
Before using the ladder all the extended rung sections must be locked.
DO NOT use the telescopic ladder under the influence of pharmaceuticals, drugs, alcohol, etc. or if you
feel unwell.
Remove dirt on the telescopic ladder, such as wet paint, oil or snow before use.
The telescopic ladder is ONLY to be used by one person at a time.
Avoid leaving an unsecured ladder at the top.
Avoid excessive lateral loads, such as carrying up heavy loads or drilling sideways in solid materials.
DO NOT spend long periods without regular breaks on the telescopic ladder. Fatigue and loss of balance
are accident hazards.
ALWAYS stand with both feet on one rung.
When climbing in and out of your rooftop tent, ALWAYS use the ladder with caution and NEVER let children
use it unsupervised. Make sure the ladder hooks are in good condition.