Hauler Racks T-10 User manual
Other Hauler Racks Automobile Accessories manuals
Hauler Racks
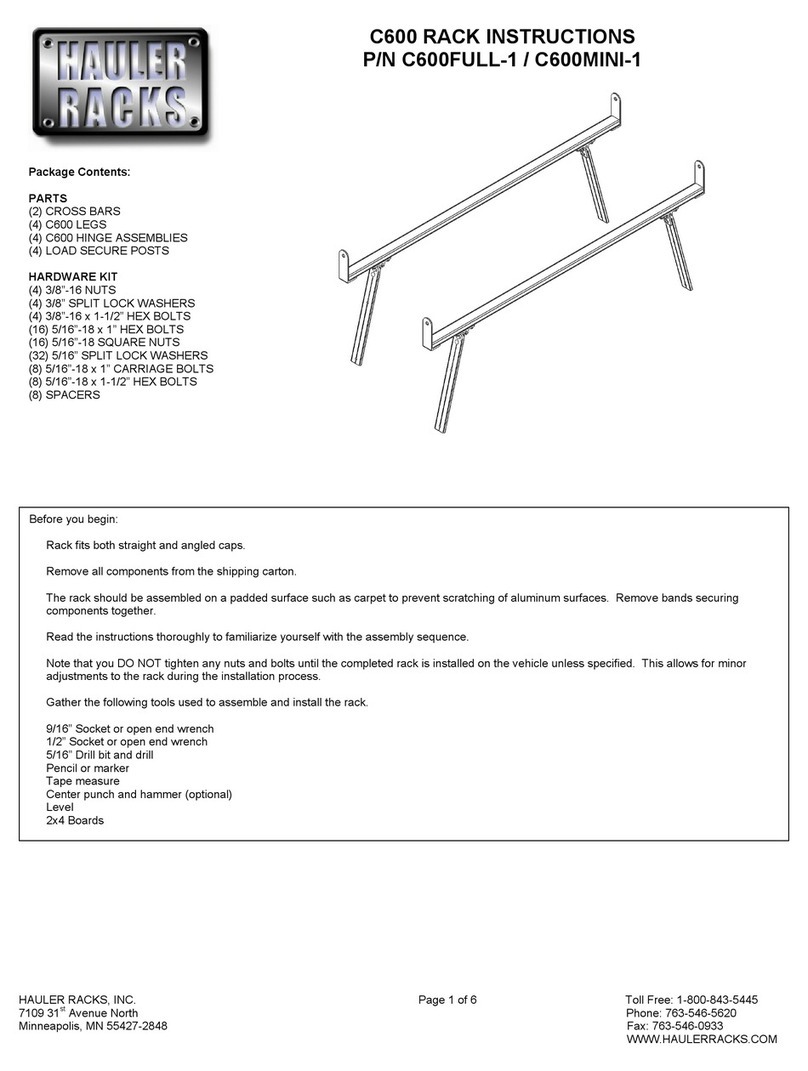
Hauler Racks C600 User manual
Hauler Racks
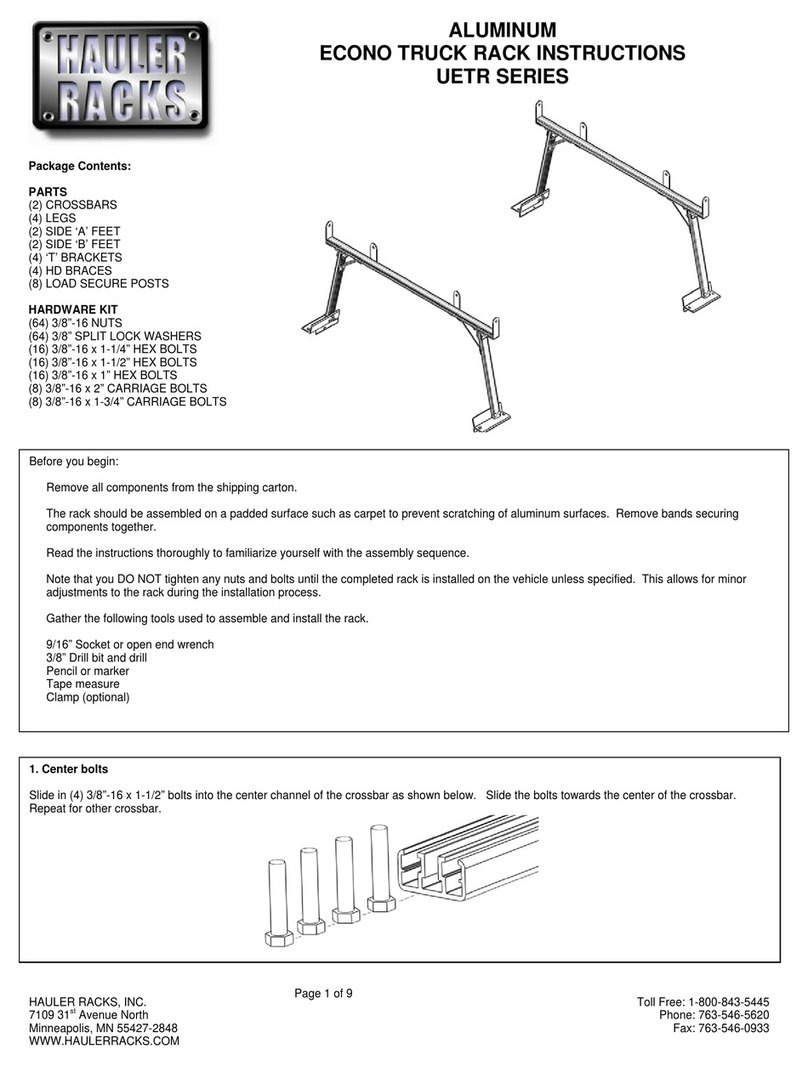
Hauler Racks ECONO TRUCK UETR Series User manual
Hauler Racks
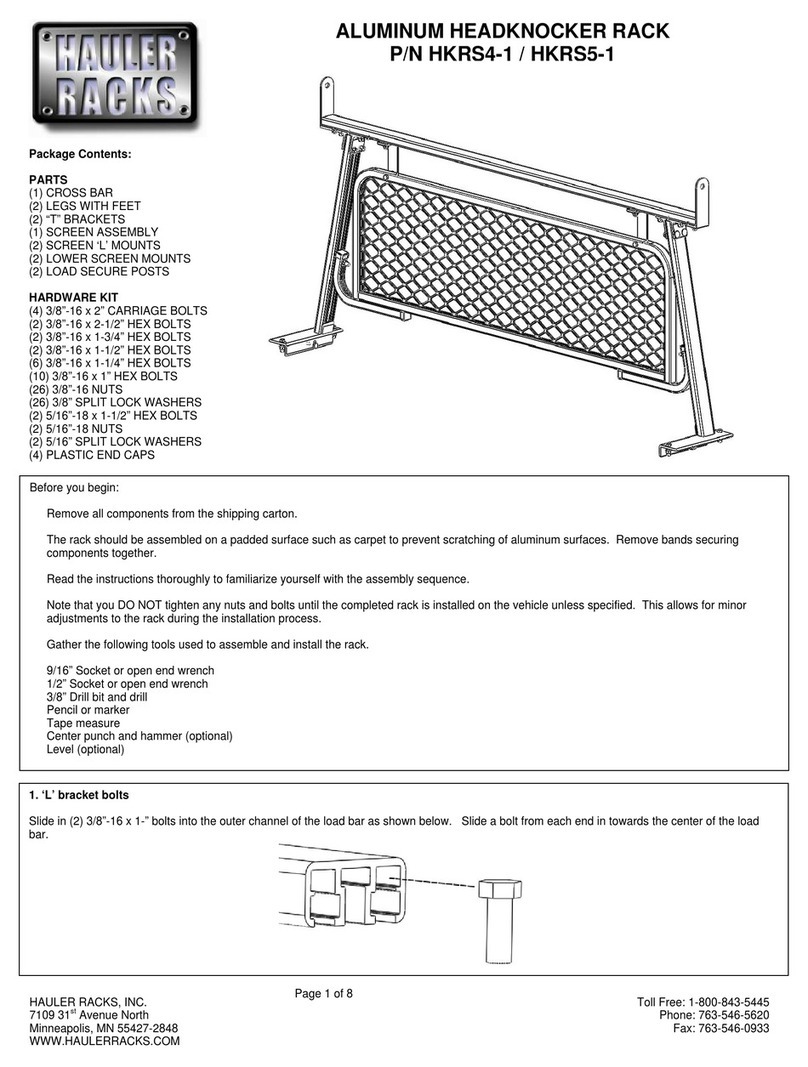
Hauler Racks HKRS4-1 User manual
Hauler Racks
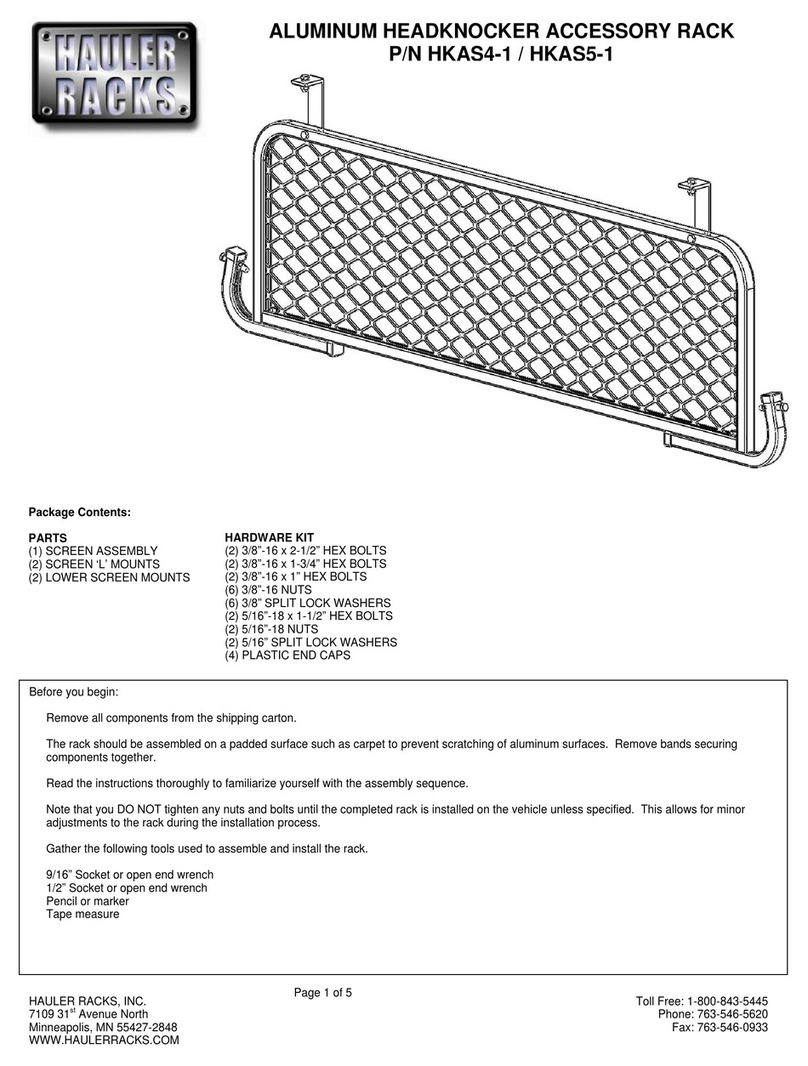
Hauler Racks HKAS4-1 User manual
Hauler Racks
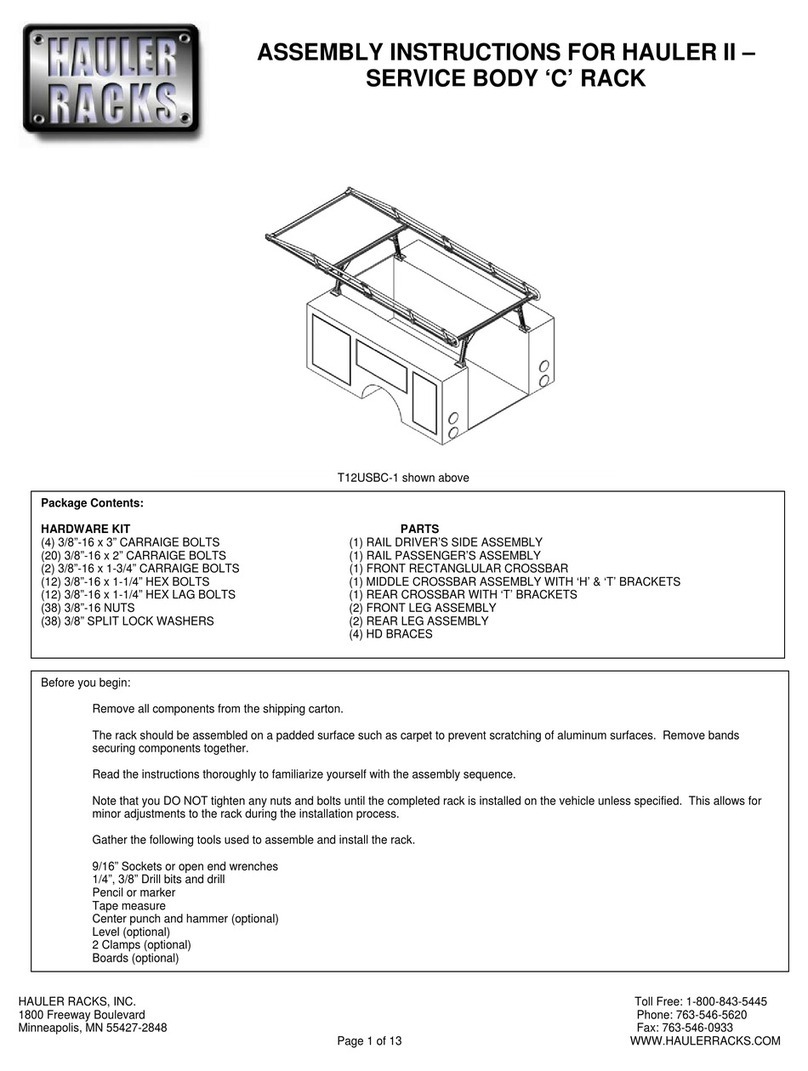
Hauler Racks HAULER II User manual
Hauler Racks
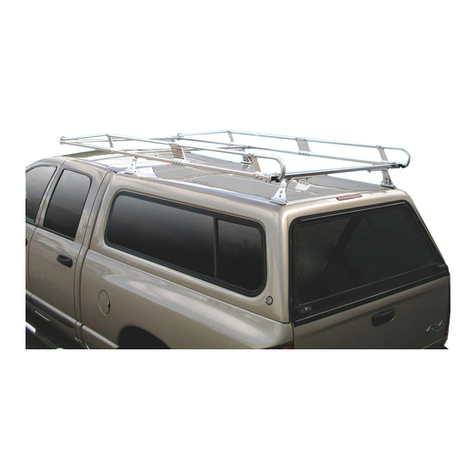
Hauler Racks C-7R Series User manual
Hauler Racks
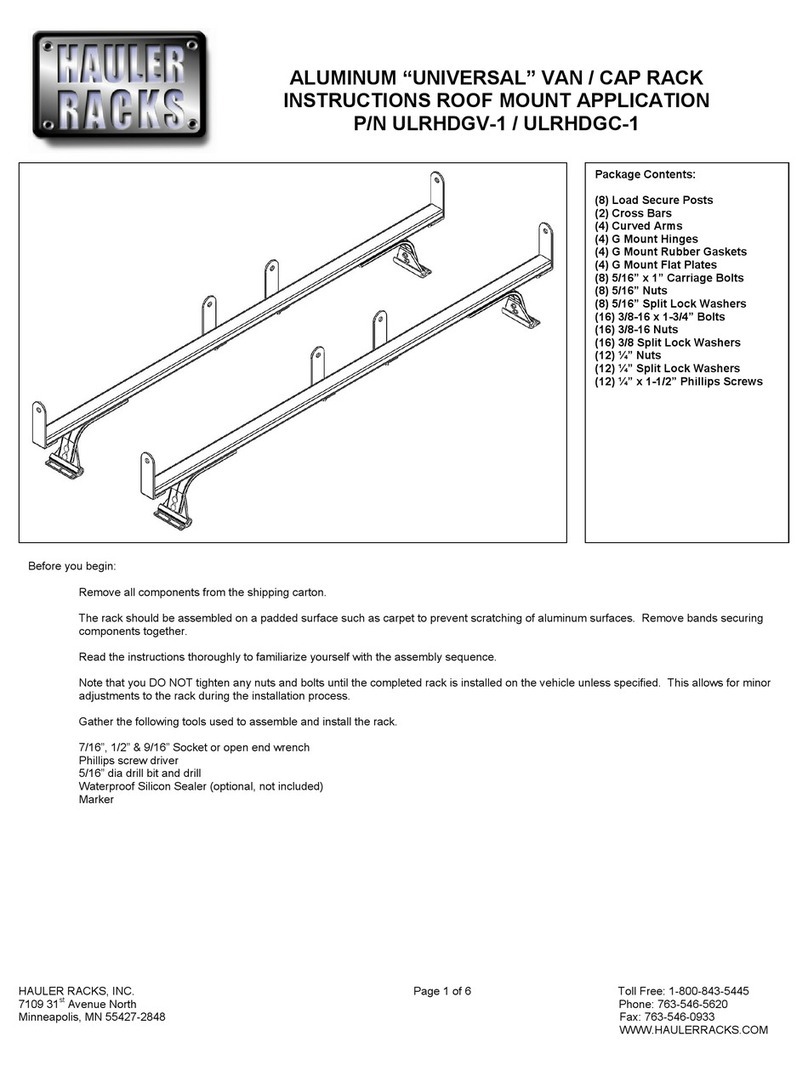
Hauler Racks ULRHDGV-1 User manual
Hauler Racks
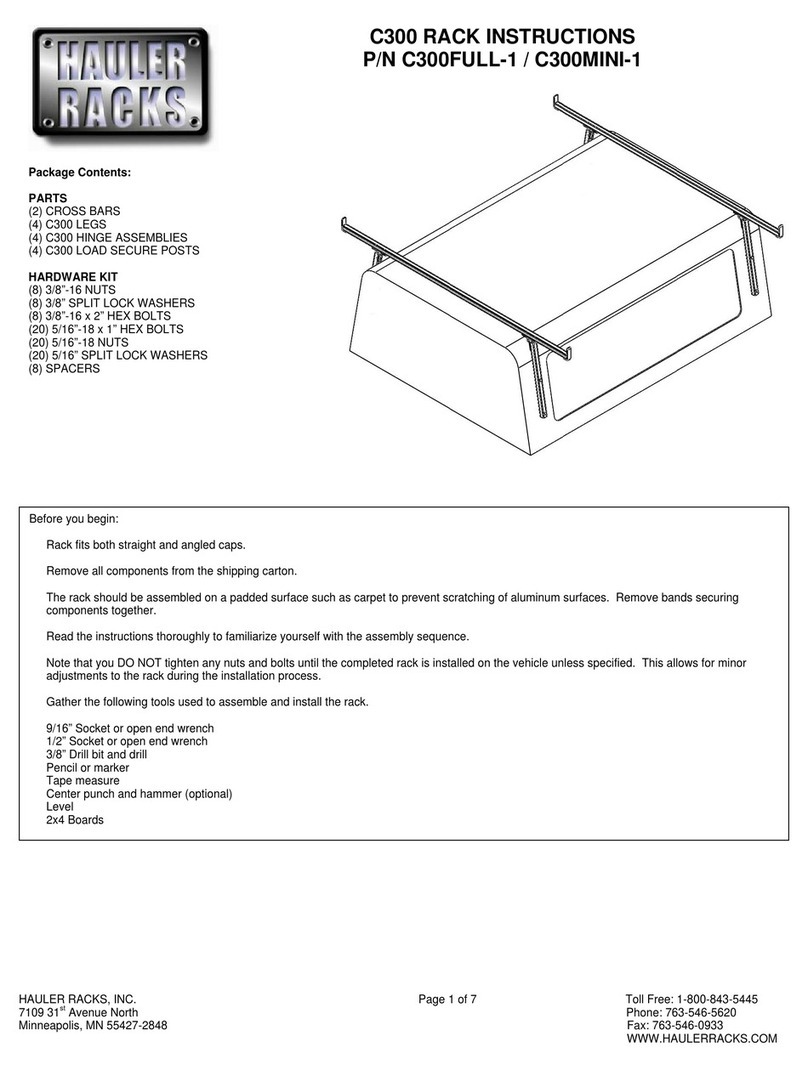
Hauler Racks C300 User manual
Hauler Racks
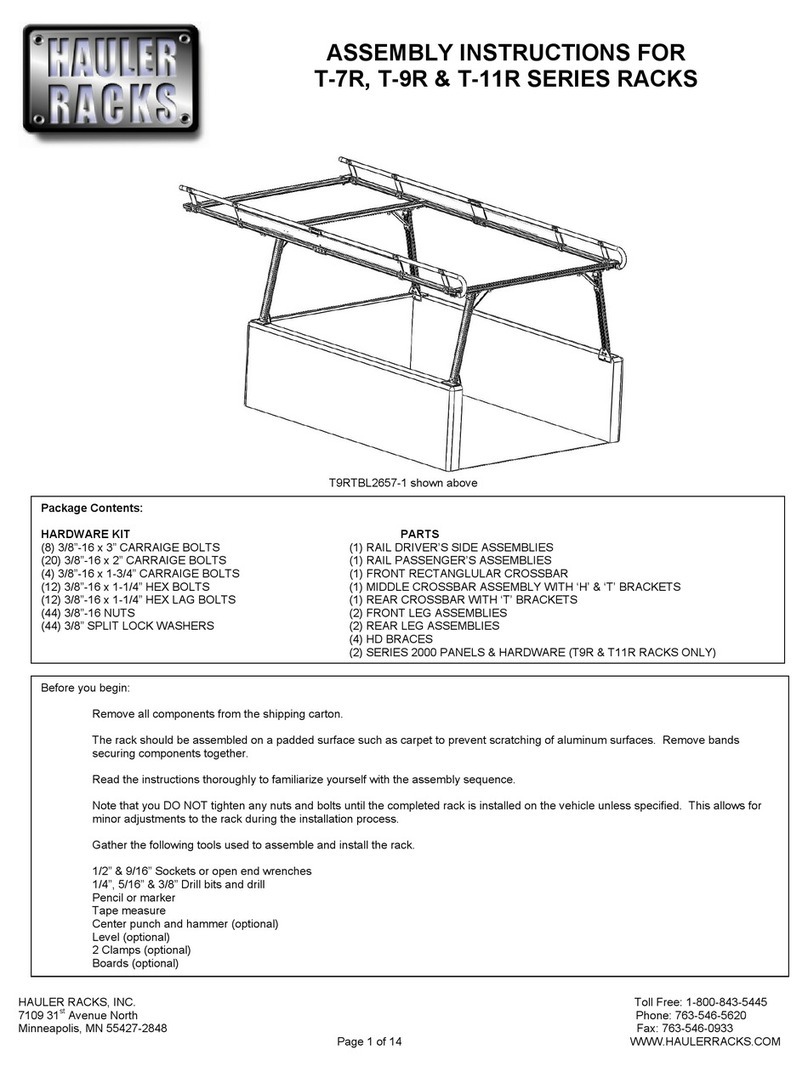
Hauler Racks T-7R Series User manual
Popular Automobile Accessories manuals by other brands
ARMORDILLO
ARMORDILLO RS Running Boards installation instructions

Lindgaard Pedersen
Lindgaard Pedersen E-Cruise installation instructions

Streetwize
Streetwize SWGH18 manual
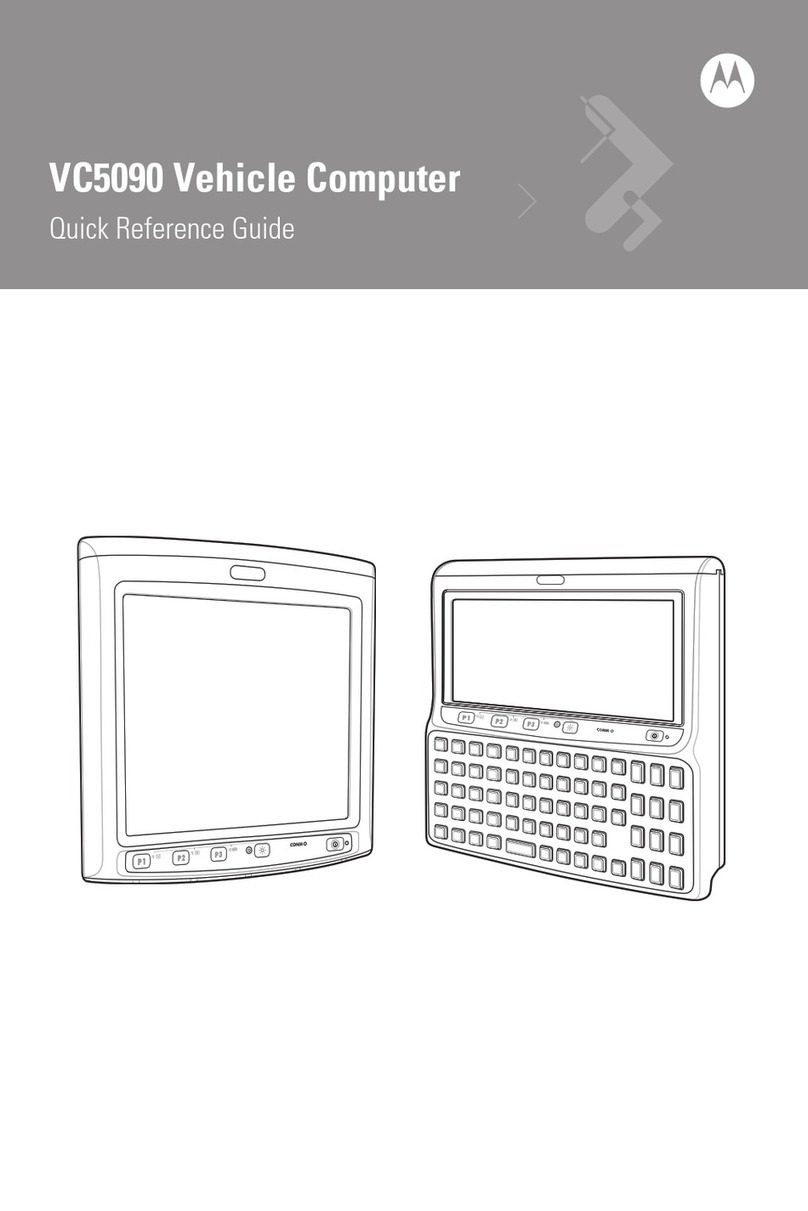
Motorola
Motorola VC5090 Quick reference guide
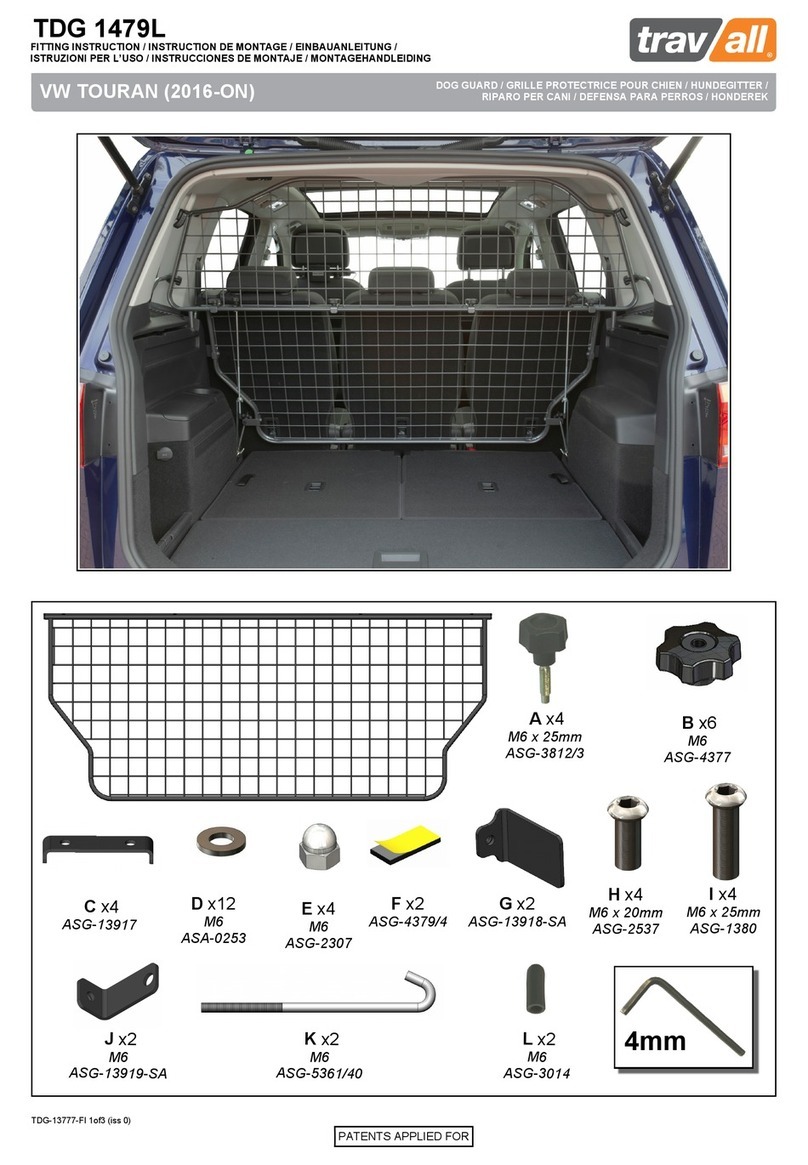
travall
travall TDG 1479L Fitting instructions
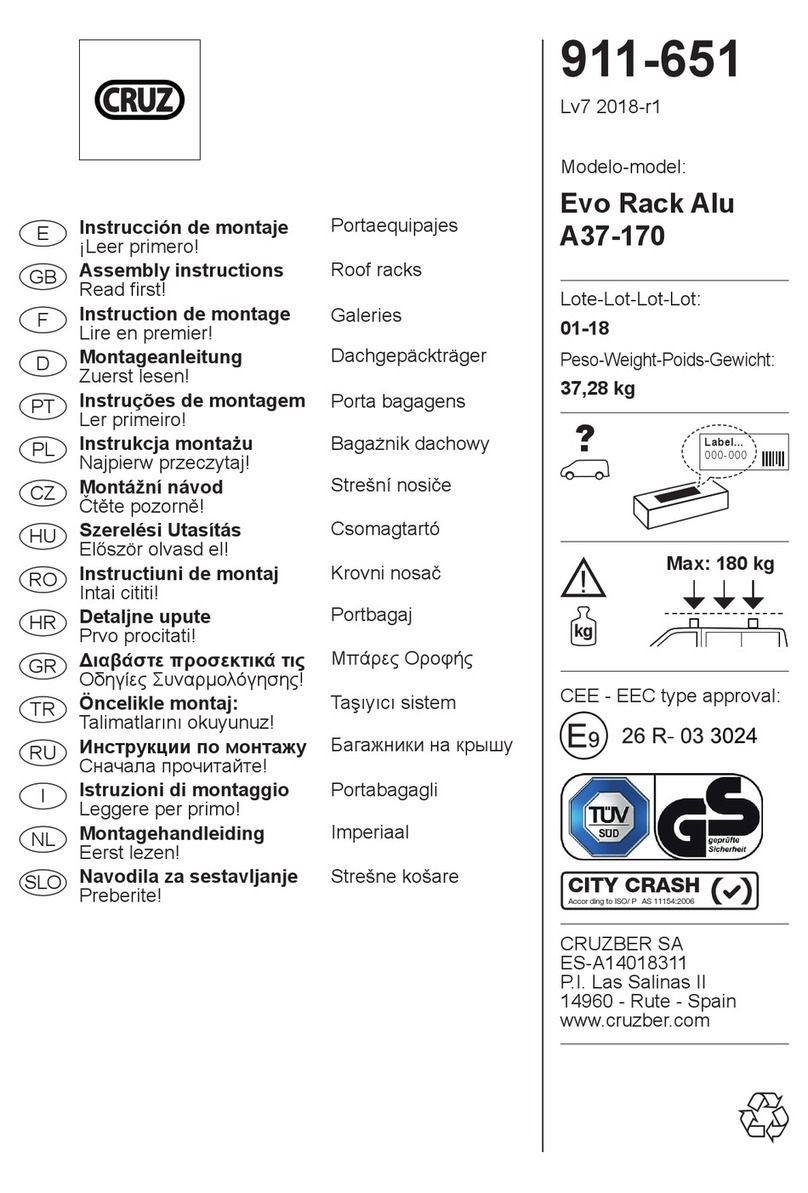
Cruz
Cruz Evo Rack Alu A37-170 Assembly instructions

Federal Signal Corporation
Federal Signal Corporation Legend Installing Instruction
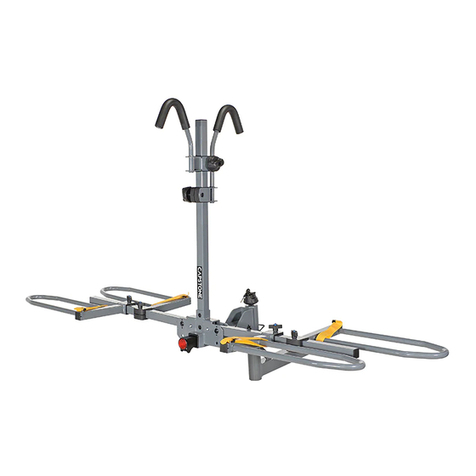
Cequent
Cequent TOW READY 63131 Description

Mercedes-Benz
Mercedes-Benz Hands-free system Pairing Instructions
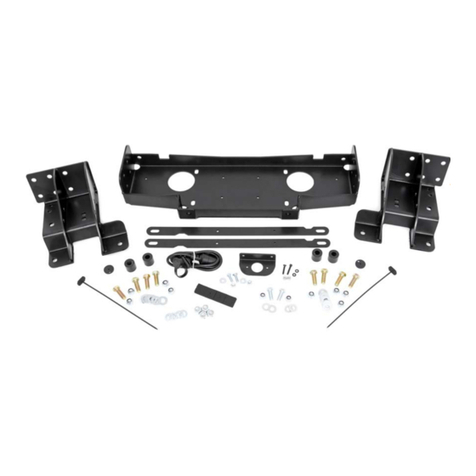
rough country
rough country JEEP 2017-19 WK2 installation instructions
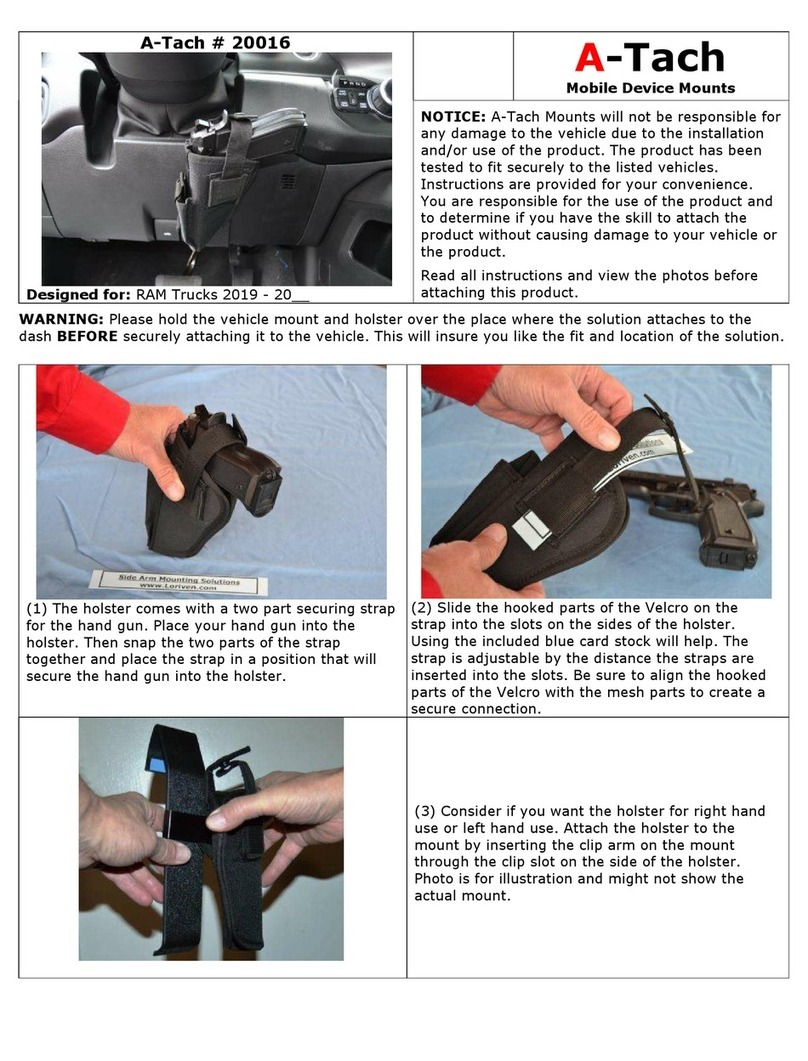
A-Tach Mounts
A-Tach Mounts 20016 manual
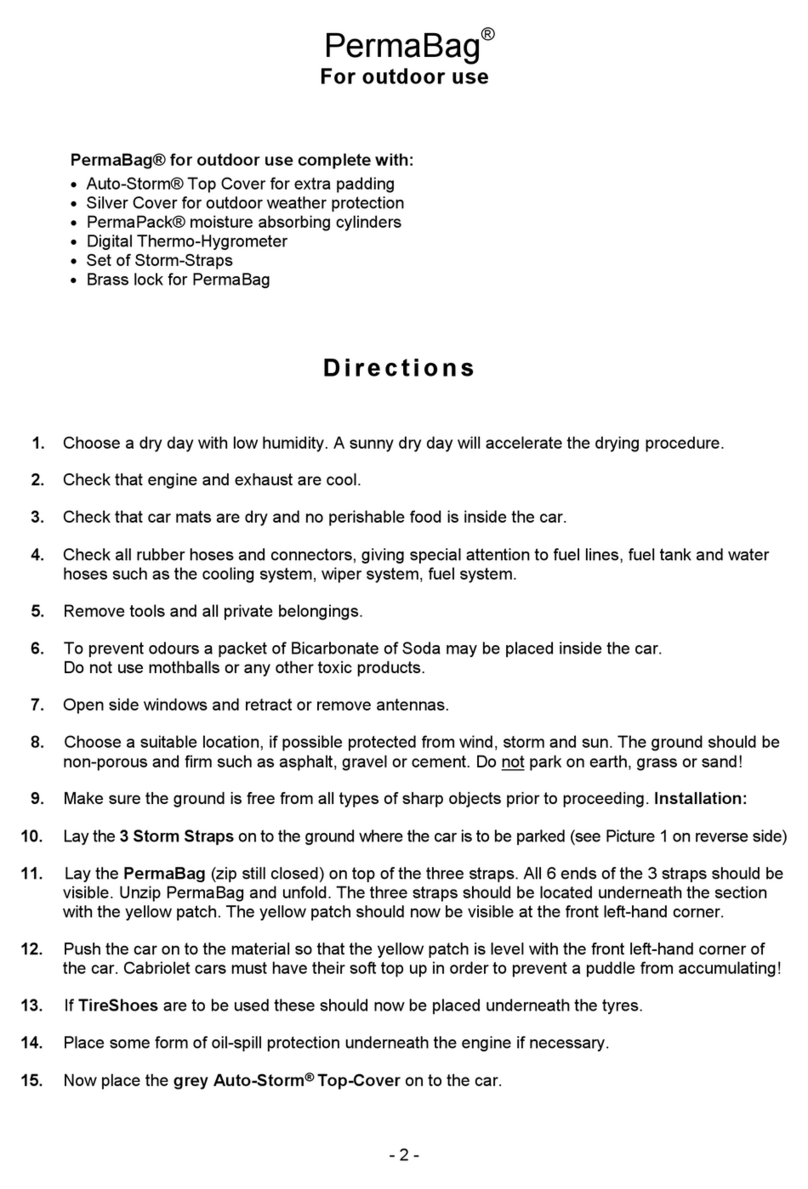
Auto-Pyjama
Auto-Pyjama PermaBag manual


