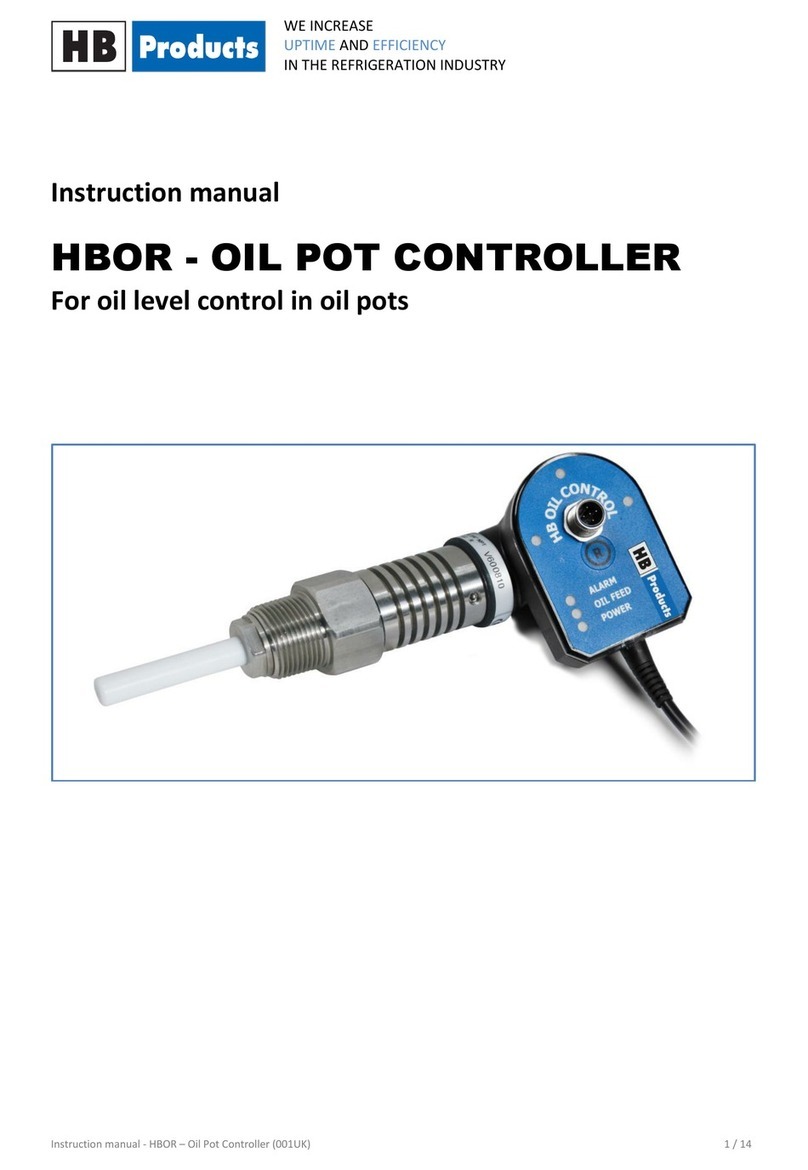
HB Products HBLC User manual

Instruction manual - HBLC –Sensor & regulator (012-UK) 1 / 12
WE INCREASE
UPTIME AND EFFICIENCY
IN THE REFRIGERATION INDUSTRY
Instruction manual
HBLC –SENSOR & CONTROLLER
For low and high pressure control of liquid levels in
industrial refrigeration systems

Instruction manual - HBLC –Sensor & regulator (012-UK) 2 / 12
WE INCREASE
UPTIME AND EFFICIENCY
IN THE REFRIGERATION INDUSTRY
Table of contents
Safety Instructions...........................................................................3
Introduction.....................................................................................4
Measurement Principle ...................................................................4
Design ..............................................................................................4
Software ..........................................................................................4
Technical Data .................................................................................5
Design and Function ........................................................................5
Installation Guide ............................................................................6
Electrical connection .......................................................................7
Mounting Guide...............................................................................8
LED Indication & Calibration............................................................9
Installation of HB Configuration Tool ............................................10
PC Configuration............................................................................10
Setup and Connection of Valve .....................................................10
Fault Detection ..............................................................................11
Sensor Repair.................................................................................11
Spare parts.....................................................................................12
Further Information.......................................................................12

Instruction manual - HBLC –Sensor & regulator (012-UK) 3 / 12
WE INCREASE
UPTIME AND EFFICIENCY
IN THE REFRIGERATION INDUSTRY
Safety Instructions
CAUTION! Read the instruction manual before commencing work! Heed all warnings to the letter!
Installation of HBLC requires technical knowledge of both refrigeration and electronics. Only qualified
personnel should work with the product. The technician must be aware of the consequences of an
improperly installed sensor, and must be committed to adhering to the applicable local legislation.
If changes are made to type-approved products, this type approval becomes void. The product's input and
output as well as its accessories may only be connected as shown in this guide. HB Products assumes no
responsibility for damages resulting from not adhering to the above.
Explanation of the symbol for safety instructions. In this guide, the symbol below is used to point out
important safety instructions for the user. It will always be found in places in the chapters where the
information is relevant The safety instructions, and particularly the warnings, must always be read and
adhered to.
CAUTION! Refers to a possible limitation of functionality or risk of use.
NOTE! Contains important information about the product and provides further tips.
The person responsible for operation must commit to adhering to all the legislative
requirements, preventing accidents, and doing everything so as to avoid damage to people
and materials.
Intended use, conditions of use. The HBLC sensor and controller is made to measure and control
refrigerant. If HBLC is to be used in a different way or with another purpose, and if the operation of the
product in this function is determined to be problematic, prior approval must be obtained from HB
Products
Prevention of collateral damage: Make sure that qualified personnel assess any faults and take necessary
precautions before attempting to make replacements or reparations, so as to avoid collateral damage.
Disposal instructions: HBLC is built so that the modules can easily be removed and sorted for disposal.

Instruction manual - HBLC –Sensor & regulator (012-UK) 4 / 12
WE INCREASE
UPTIME AND EFFICIENCY
IN THE REFRIGERATION INDUSTRY
Introduction
HBLC is an intelligent sensor with a built-in
microprocessor. It is designed to control
refrigerant levels in both low pressure and high
pressure systems. It emits a 4-20 mA signal,
which is proportional to the sensor's set range of
measurement.
Apart from the 4-20 mA signal, the sensor also
has a built-in controller.
The controller can be set-up with all the
parameters necessary for controlling a
modulating motor valve.
The sensor can be delivered with a cable for
direct supply to and control of motor valves.
Measurement Principle
The sensor is a capacitative sensor. The capacitative measurement principle is based on the electrical
properties in the proximity of a capacitor. A capacitor is an electrical component that is capable of building
and sustaining an electrical charge
Principally, a capacitor consists of two plates.
When a charge is applied to a plate, the other
plate will be charged with the opposite polarity
and retain the charge until it has been grounded.
The magnitude of the charge (the capacitance)
that can be generated depends, among other
things, on what is found between the plates.
The substance between the plates is referred to
as a dielectric.
Rather than two plates, the sensor for level
measurement is shaped as a cylindrical rod.
When liquid covers the sensor, the measured
capacity is changes.
The conductivity of a material can vary depending
on temperature, chemical composition, and the
homogeneity of the material, and therefore it can
in some cases require a different factory
calibration.
HB Products sensors are calibrated so that they differentiate between conductive and non-conductive
liquids.
In refrigeration systems, the oil and liquid CO2and HFC are not regarded as conductive fluids, whereas
refrigerants such as ammonia and brine are regarded as conductive.
Design
The sensor consists of a mechanical part and an electronic part. These are easily separated by loosening 2
grub screws, or for mechanisms with mounting tabs, by pressing the electronic part in towards the
mechanical part and turning the housing counter-clockwise until a wave washer pushes it from the
mounted position. The electronic part is designed in accordance with IP65 waterproof rating and so as to
withstand vibrations.
The mechanical part is produced in AISI304/PTFE and tested to withstand high pressure.
Software
The sensor is supplied with the latest firmware.
The sensor is configured with a configuration tool, "HB Tool", using a PC. It is capable of determining the

Instruktionsmanual - HBLC –Sensor & regulator (012-UK) 5 / 12
WE INCREASE
UPTIME AND EFFICIENCY
IN THE REFRIGERATION INDUSTRY
version which was supplied.
The latest version of the tool is backwards compatible.
It is not possible to update the software on a sensor which has already been supplied.
Technical Data
Supply:
Voltage: 24 V AC/DC ±10%*
Current draw: Max 50 mA
Power consumption: 30 VA*
Plug: M12, 5 pins
DIN 0627
Valve control:
Analogue output: 4-20 mA
Output function: P control
Alarm output: Max 1 A (24W)
Cable length: 3 m
Cable size: 2 x 0,75 mm2
Cable glands: PG7 / M8
Installation conditions:
Ambient temperatures: -30…+50°C
Refrigerant temperature: -60…+80°C
Max. operational pressure: 100/150 bar
Waterproof rating: IP65
Vibrations: IEC 68-2-6 (4g)
Authorisations:
EMC Emission: EN61000-3-2
EMC Immunity: EN61000-4-2
GOST R: No 0903044
*Power consumption is including consumption on
Siemens MVS661 valve.
Mechanical specifications:
Thread connection: ¾” NPT or BSPP
Sensor length: 300 mm
Materiale –mekaniske dele: AISI304
Materials –electronic parts: Nylon 6 (PA)
Housing design: Front
Configuration & indication:
Configuration With a PC
LED indication Green, yellow, and
red
Cable (included):
M12 cable –5 m: HBxC-M12/5
Cable size: 5 x 0,34 mm2
Cable glands: PG7 / M8
Plug type: Angle - 90°
Cable type: PUR-OB grey
Cable approval: CSA
Accessories:
Configuration tool: HB Tool
HBLC can be connected to other modulating 24 V
DC valves.
Design and Function
HBLC is designed for refrigerant level control in chillers, separators, coolers, and capacitors. If the sensor is
installed in an overflow pipe, it is important that there is adequate air around the sensor, so that gas
pockets do not form. The sensor is based on the capacitive measurement principle, which requires a
metallic connection to the overflow pipe or to the pipe segment where it is installed.
NOTE! All terminals are protected against incorrect termination with a supply voltage of up to
40V. If the supply voltage is greater than 40 V, the electronics will be damaged.
Please note! Supply Voltage may differ from the data given in the manuals. Applicable will
always be the sensor label.

Instruktionsmanual - HBLC –Sensor & regulator (012-UK) 6 / 12
WE INCREASE
UPTIME AND EFFICIENCY
IN THE REFRIGERATION INDUSTRY
The HBLC sensor also has a built-in controller. The parameters for controlling a modulating motor valve can
easily be set up in a configuration tool (HB Tool).
HBLC connected to a modulating valve –an alternative to low pressure float control.
An economiser with an HBLC connected to the modulating valve, type Siemens MVS661.
Installation Guide
The following applies to the design of the system:
1) It must be mounted vertically.
2) HBLC can be mounted on an overflow pipe or a pipe segment where flow and turbulence
are minimised.
3) The sensor is installed with a standard cable without a sheath. If EMC is higher than
described in EN 61326, a sheathed cable must be used.

Instruktionsmanual - HBLC –Sensor & regulator (012-UK) 7 / 12
WE INCREASE
UPTIME AND EFFICIENCY
IN THE REFRIGERATION INDUSTRY
CAUTION! In case of welding work on the unit, please make sure that proper earthing is carried
out to avoid damaging the electronics.
Electrical connection
HBLC: With common supply and control cable.
HBLC/C: With separate supply and control cable to the modulating valve.
HBLC/S: with separate supply and control cable to stepper motor:
Note! HBLC uses the overflow pipe or the pipe segment as reference material. Therefore, use
either conductive sealing material or make sure that the Teflon tape does not prevent a
metallic connection.
Note! The sensor element may not touch the tank or other metal parts in the installed
position. If so, the sensor will not give a correct signal.

Instruktionsmanual - HBLC –Sensor & regulator (012-UK) 8 / 12
WE INCREASE
UPTIME AND EFFICIENCY
IN THE REFRIGERATION INDUSTRY
Please note! Supply Voltage may differ from the data given in the manuals. Applicable will always be the
sensor label.
”Run In” signal is used as a signal to indicate whether the system is running (start/stop function). It can be
(de)activated in the tool.
Mounting Guide
HBLC is installed on an overflow pipe or a pipe segment matching the sensor’s installation length.
Conductive sealing material or Teflon tape is applied to the thread, although one must ensure that there is
metallic contact between the sensor and the overflow pipe. The sensor is tightened with a torque
corresponding to the thread type and operational pressure.
For the installation of HBLC, there is required a 2.5mm
Allen key, a shifting spanner, as well as gasket material
depending on the thread type.
Loosen the two set screws that secure the electronic part to the
mechanical part.

Instruktionsmanual - HBLC –Sensor & regulator (012-UK) 9 / 12
WE INCREASE
UPTIME AND EFFICIENCY
IN THE REFRIGERATION INDUSTRY
Separate the electronics from the mechanical part.
Apply liquid gasket / Teflon to the conical thread.
Install and mechanically tighten in the vessel, and
tighten depending on the thread type and size (80-150Nm).
Mount the electronic part again and secure with two set
screws.
LED Indication & Calibration
LED indication:
1) Green LED indicates 24 V DC supply; it blinks during operation. If "run-in" is not used, this function
must be deactivated in the tool.
2) Yellow LED indicates control.
The blink sequence indicates if the valve is closing or opening.
3) Red LED indicates high or low level alarm, depending upon the setup.
LED signal
ON/OFF/Frequency
Functionality
Green
ON
Supply voltage connected
Flash
Run In start signal / in operation.
OFF
No supply voltage
Yellow
ON
Activation of valve control / and during calibration
OFF
Valve control not active
Red
ON
Alarm, high or low level, depending upon the setup.
Flash
Does not detect and sensor probe
OFF
No alarm
Yellow +
Red
Flash
Power supply not sufficient

Instruktionsmanual - HBLC –Sensor & regulator (012-UK) 10 / 12
WE INCREASE
UPTIME AND EFFICIENCY
IN THE REFRIGERATION INDUSTRY
Calibration:
0% or 100% calibration can be carried out independently of each other. HBLC level sensor is delivered pre-
calibrated. For normal use, calibration is not necessary. If the signal changes over time, we recommend a
0% calibration with an empty overflow pipe or container.
Instruction for 0% calibration:
1) The sensors calibration function shall be connected via the HB tool. See instruction for PC
connection and configurations parameters in separate manuals.
2) Connect the power cable.
3) Empty container/overflow pipe
4) Activate "R" for 5 seconds to activate "calibration mode" = Yellow LED turns on (ON) during the 5
seconds activation, and goes off (OFF) when the calibration mode is activated.
5) Activate "R" once = Yellow LED blinks once. The green LED then blinks to confirm calibration.
6) Connect PC Tool again and disconnect the calibration function in tool.
7) Connect the power cable.
"Calibration mode" is complete and the sensor is then running normally.
Instruction for 100% calibration:
1) The sensors calibration function shall be connected via the HB tool. See instruction for PC
connection and configurations parameters in separate manuals.
2) Connect the power cable.
3) Full container/overflow pipe up to a 100% level.
4) Activate "R" for 5 seconds to activate "calibration mode" = Yellow LED turns on (ON) during the 5
seconds activation, and goes off (OFF) when the calibration mode is activated.
5) Activate "R" twice = Yellow LED blinks twice. The green LED then blinks to confirm calibration.
6) Connect PC Tool again and disconnect the calibration function in tool.
7) Connect the power cable.
"Calibration mode" is complete and the sensor is then running normally.
Installation of HB Configuration Tool
See separate manual.
PC Configuration
See separate manual.
Setup and Connection of Valve
See separate manual.
NOTE! To be able to change the control parameters, you need a special USB/M12
configuration cable, as well as a configuration tool installed on a PC

Instruktionsmanual - HBLC –Sensor & regulator (012-UK) 11 / 12
WE INCREASE
UPTIME AND EFFICIENCY
IN THE REFRIGERATION INDUSTRY
Fault Detection
General:
Fault
Reason
Correction of fault
No LED is on / not operating.
No supply to the sensor or
defective cable/plug
Check and find faults in the power
supply, or replace the supply
cable.
Yellow and red LED flash.
Power supply is not sufficient.
Install proper power supply.
Valve open and close to fast.
Refrigerant I boiling in standpipe
Increase “filter” settings and
eventually increase P-band as
well.
No contact activation
There may be dirt between the
electronic housing and the
mechanical housing.
Separate the two parts and clean
the spring tip. Remember to
apply silicone grease to the spring
tip so as to avoid problems with
moisture
Delay in sensor activation
May be caused by gas and
bubbles in the system.
Check if the sensor is placed
optimally so that gas is avoided.
The valve is not performing the
control function.
Wiring not done correctly, or
wrong dip switch setup.
Connect the valve correctly
and/or configure the valve's dip
switches according to the
instructions.
The valve is not performing the
control function well enough.
Oil has accumulated in the level
indicator glass which cannot
escape.
Drain the level indicator of oil
and, if necessary, clean the oil
from the rod.
There is no agreement between
the output signal and the level
in the level indicator.
The sensor is incorrectly
calibrated.
Perform calibration.
Practical measurement of output signals:
4-20 mA signal: Function and stability of the 4-20 mA signal can be controlled by connecting a hand-held
multimeter. The output signal must be between 3.6 mA and 22 mA. If not, the electronics are defective.
Sensor Repair
The sensor electronics are completely embedded and can therefore not be repaired.
In case of faults with the sensor, it will typically only be necessary to replace the electronics.
Complaint cases are handled by the HB Products dealers/distributors.
Their complain procedures must be followed before returning the sensor.
NOTE! Fault detection in the electronics and/or replacement of the electronics can be carried
out without releasing pressure on the system or removing the mechanical part of the sensor

Instruktionsmanual - HBLC –Sensor & regulator (012-UK) 12 / 12
WE INCREASE
UPTIME AND EFFICIENCY
IN THE REFRIGERATION INDUSTRY
Spare parts
Position
Type
Specification
Part number
1
Mechanical parts
¾” NPT / 314 mm/NH3
HBLC-NH3-3.1-2-MEK
¾” BSPP / 314 mm/NH3
HBLC-NH3-3.1-6-MEK
¾” NPT / 314 mm/ CO2/HFC
HBLC-CO2/HFC-3.1-2-MEK
¾” BSPP / 314 mm/ CO2/HFC
HBLC-CO2/HFC-3.1-6-MEK
2
Electronic parts
Direct output (no cable)
HBLC-EL
For modulating valve
HBLC/C-EL
For stepper motor
HBLC/S-EL
Further Information
For further information, please visit our website, www.hbproducts.dk, or send an email
Other manuals for HBLC
2
Table of contents
Other HB Products Controllers manuals
Popular Controllers manuals by other brands
Muller
Muller 858 Operating and assembly instructions
Hanna Instruments
Hanna Instruments BL 983320-0 user manual
Kramer
Kramer K-NET RC-53D user manual
Vivo
Vivo DESK-V120EB instruction manual
NAVITAS
NAVITAS 440A Installation & service manual
Cisco
Cisco AIR-WLC4402-50-K9 Installation and configuration guide
