manuals.online logo
Brands
  1. Home
  2. •
  3. Brands
  4. •
  5. HDX
  6. •
  7. Indoor Furnishing
  8. •
  9. HDX SL-THDUS-006C User manual

HDX SL-THDUS-006C User manual

ITEM#SL-THDUS-006C
SKU#1001844191
Use and Care Guide
6-Shelf Storage Unit
Assembly
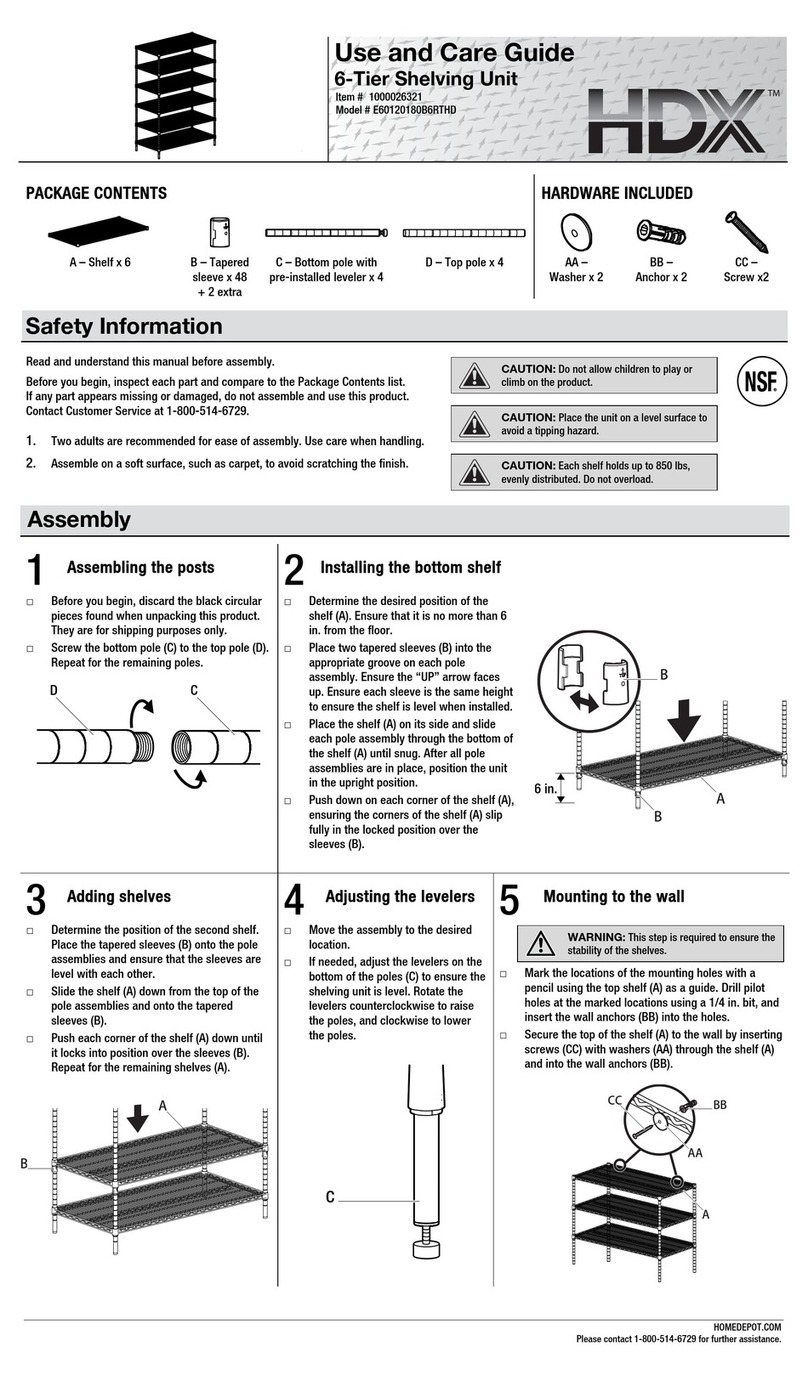
A - Shelf x 6
Assembling the posts
PACKAGE CONTENTS
DC
Screw a bottom pole (C) to middle pole (D), middle pole (D) to top
poles (E). Repeat for the remaining bottom, middle & top poles.
Locate the desired position of the bottom shelf (A). Ensure that it is
no more than 6 inch from the floor.
Place two tapered sleeves (B) into the appropriate groove on each
pole assembly. Make sure the “UP”arrow is facing up.
Place the shelf (A) on its side and slide each pole assembly with
tapered locks through the bottom of the shelf (A) until snug.
Make sure that the shelf corner cylinders are positioned
over the slip sleeves.
After all pole assemblies are in place, position the unit in the upright
position.
Push down on each corner of the shelf (A), ensuring the shelf (A) is
in a fully locked position.
★Please read the manual carefully before you start assembling★
★Please inspect box contents to ensure you have received all components★
Note: The black circular plastic tops in between the shelves are used only for
packaging purposes. They are NOT NEEDED. Please discard.
1Assembling the bottom shelf
2
C - Bottom Poles with Levelers
Pre-installed x 4
D - Middle Poles with Connector
Pre-installed x 8
E - Top Poles with Pole Connector & Caps
Pre-installed x 4
B - Tapered
Sleeves x 48
Spare Plastic
Tapered Sleeves x 2
F - Washer x 2 G - Anchor x 2 H - Screw x 2 I - Plastic tie x 2
IF
F
G
H
black circular
plastic tops
B
Note:
The tapered sleeves must be at the same height for each pole
to ensure the shelf sit on the sleeves levelly.
up
down
NSF
UPSIDE (level side)
HOMEDEPOT.COM
Please contact 1 (855) 439-4663 for further assistance.
customer[email protected]
Between 9 a.m and 4 p.m(Central Time) Monday to Friday
ED
Adding shelves
Locate the desired position of the next lowest shelf and place the
tapered sleeves (B) on to the pole assemblies.
Slide the shelf (A) down from the top of the pole assemblies and
onto the tapered sleeves (B).
Push down on each shelf (A) corner, ensuring the shelf (A) is in
a fully locked position.
Repeat for the remaining shelves (A).
3
Safety Information
Adjusting the levelers
Move the assembly to the desired location.
If required, adjust the levelers on the bottom of the bottom poles
(C) to ensure the assembly is level. Rotate the levelers
counterclockwise to raise the poles, clockwise to lower the poles.
1. Two adults are recommended for ease of assembly. Use care when
handing.
2. Assembly recommended on a soft surface, such as carpet, to a
scratching flooring finish.
3. Discard the black circular plastic pieces. These are used to separate
the shelves for shipping purposes.
4
Tip resistant kit
CAUTION: Do not allow children to climb or
play in or around the shelves.
CAUTION: Each shelf holds up to 250 lbs,
evenly distributed. Do not overload.
Fix to wall to prevent tipping over.
Screw anchor (G) in wall at the height of the top shelf.
Put washer (F) over screw (H), install the screw (H) to the wall and
use plastic tie (I) to connect the washer (F) & the unit.
5
C
Will update the instruction sheet later
Favor de leer el manual con atención antes de comenzar el ensamble
Favor de revisar el contenido de la caja para asegurarse que se han recibido todos los componentes
Nota: las cubiertas circulares de plástico negro entre los estantes sólo se usan para propósitos de empaque.
NO SE NECESITAN. Favor de desecharlas.
Asegurarse que la flecha "UP" esté hacia arriba.
Asegurarse que los cilindros de las esquinas del estante estén colocados
sobre los manguitos
deslizantes.
6
D- Postes medios con conector
Pre-instalados x 8
F- Arandela x 2 G- Anclaje x 2 H- Tornillo x 2 I- Amarre plástico x 2
Arriba
Equipo resistente a la inclinación
los manguitos ahusados deben estar a la misma altura para
cada poste,para asegurar que el estante se asiente nivelado en los manguitos.
Nota:
Atornillar un poste inferior (C) al poste medio (D), el poste medio (D) a los
postes superiores (E). Repetir para los dem s postes inferiores, medios
y superiores.
Atornillar el anclaje (G) en la pared a la altura del estante superior.
Colocar la arandela (F) sobre el tornillo (H), instalar el tornillo (H) a la pared y usar el
amarre pl stico (I) para conectar la arandela (F) y la unidad.
las cubiertas circulares
de plástico negro
Fijar a la pared para prevenir que se caiga
Ensamblaje
á
HOMEDEPOT.COM
Póngase en contacto con el 1 (855) 439-4663 para asistencia adicional.
customer[email protected]
Entre las 9 a.m y las 4 p.m (Hora del Centro) de lunes a viernes
á
1001844191
SL-THDUS-006C
250
DCED
C
B
NSF
UPSIDE (level side)
INVERTIDO (lado del suelo)
Abajo
IF
F
G
H
48
Unidad de almacenaje de
6 estantes

This manual suits for next models

1

Other HDX Indoor Furnishing manuals

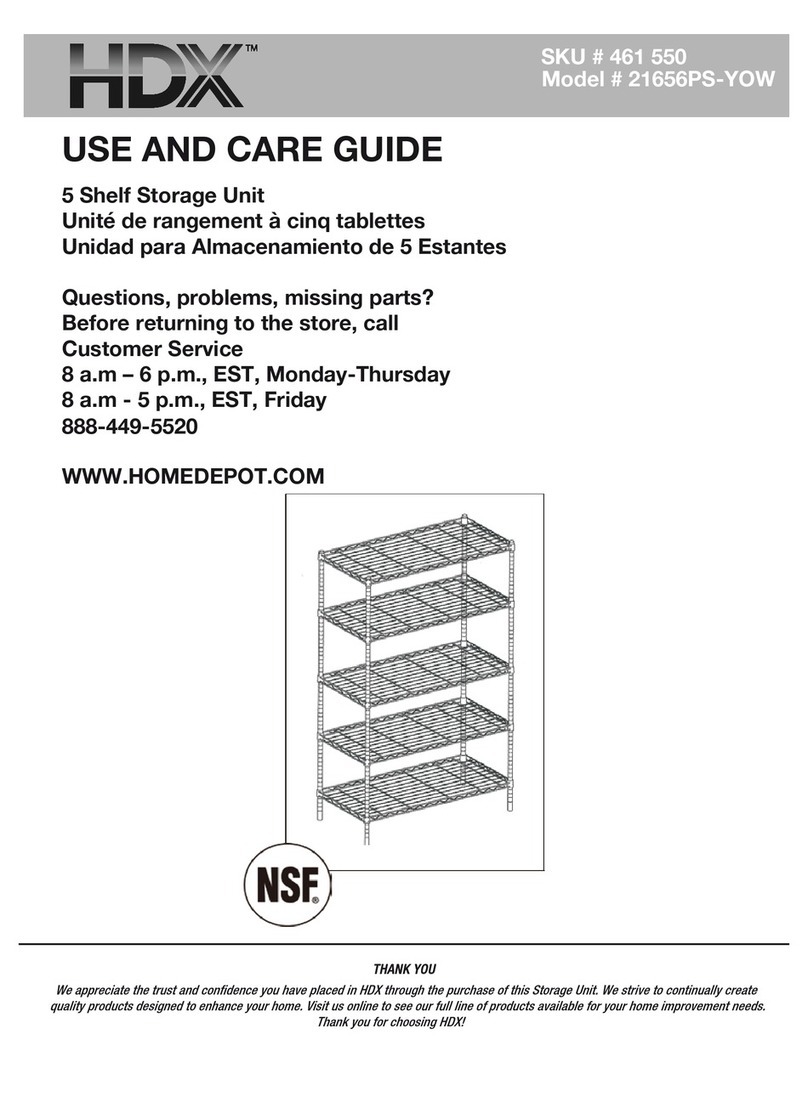
HDX 21656PS User manual

HDX

HDX 21656PS User manual

HDX E60120180B6RTHD User manual

HDX

HDX E60120180B6RTHD User manual

HDX 21436WPS User manual

HDX

HDX 21436WPS User manual

HDX SL-THDUS-006B User manual

HDX

HDX SL-THDUS-006B User manual

HDX HD24CRCPS User manual

HDX

HDX HD24CRCPS User manual

HDX 21656PS-YOW User manual

HDX

HDX 21656PS-YOW User manual

HDX 221874 User manual

HDX

HDX 221874 User manual

HDX E45120180B6RTHD User manual

HDX

HDX E45120180B6RTHD User manual

HDX 1001663098 User manual

HDX

HDX 1001663098 User manual

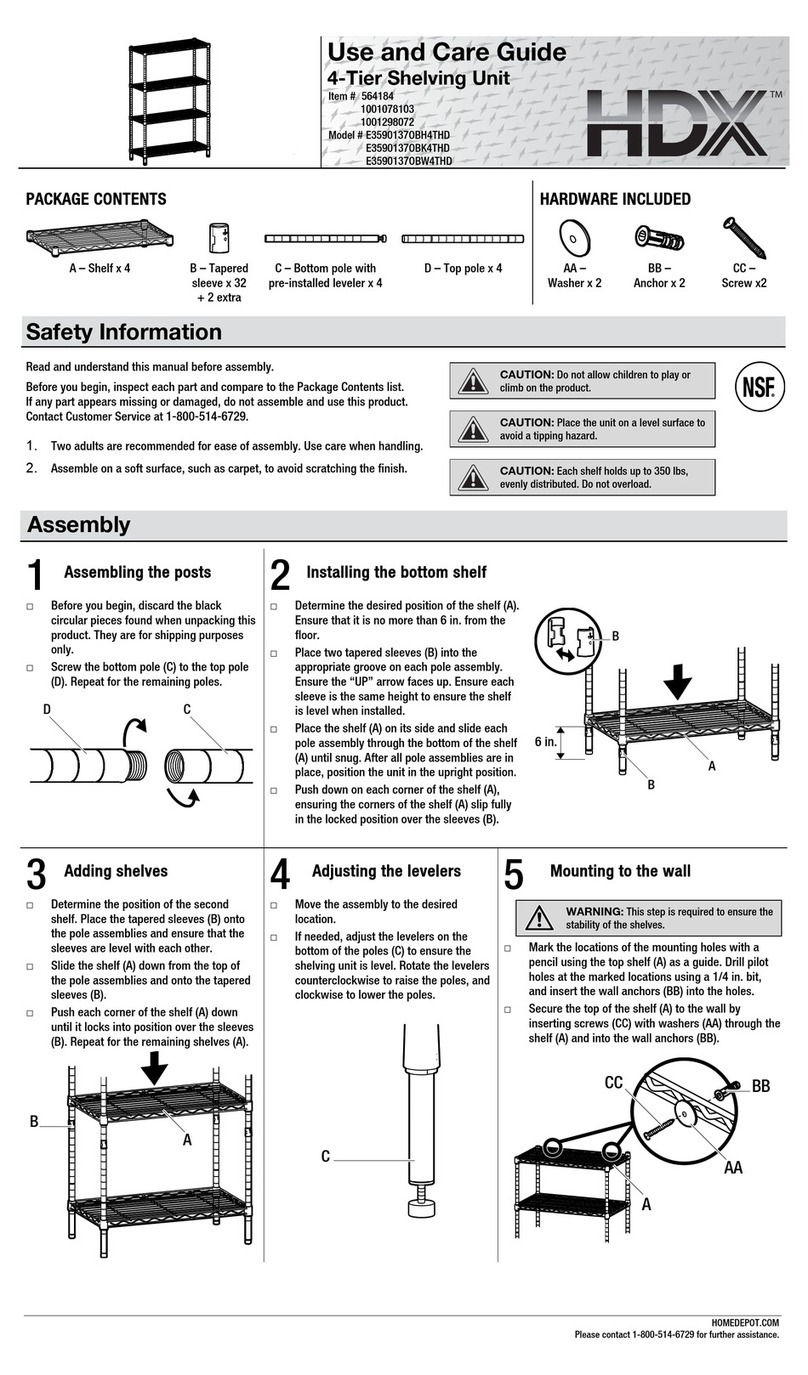
HDX E3590137OBH4THD User manual

HDX

HDX E3590137OBH4THD User manual

HDX E4090180BK5RTHD User manual

HDX

HDX E4090180BK5RTHD User manual

HDX 21436BPS User manual

HDX

HDX 21436BPS User manual

HDX C-295BRD User manual

HDX

HDX C-295BRD User manual

Popular Indoor Furnishing manuals by other brands

Regency LWMS3015 Assembly instructions

Regency

Regency LWMS3015 Assembly instructions

Furniture of America CM7751C Assembly instructions

Furniture of America

Furniture of America CM7751C Assembly instructions

Safavieh Furniture Estella CNS5731 manual

Safavieh Furniture

Safavieh Furniture Estella CNS5731 manual

PLACES OF STYLE Ovalfuss Assembly instruction

PLACES OF STYLE

PLACES OF STYLE Ovalfuss Assembly instruction

Trasman 1138 Bo1 Assembly manual

Trasman

Trasman 1138 Bo1 Assembly manual

Costway JV10856 manual

Costway

Costway JV10856 manual

moss DESIGN Caisson Credenza Assembly instructions

moss DESIGN

moss DESIGN Caisson Credenza Assembly instructions

Aquaglide FULL DECK 15.0 owner's manual

Aquaglide

Aquaglide FULL DECK 15.0 owner's manual

AREBOS AR-HE-SW30 user manual

AREBOS

AREBOS AR-HE-SW30 user manual

Till-Hilft Fulda 87005.330 Assembly instructions

Till-Hilft

Till-Hilft Fulda 87005.330 Assembly instructions

Twoey Outside 2010 quick start guide

Twoey Outside

Twoey Outside 2010 quick start guide

Hettich Easys 200 operating instructions

Hettich

Hettich Easys 200 operating instructions

The bedboss RELAX 404 Series owner's manual

The bedboss

The bedboss RELAX 404 Series owner's manual

Oeseder Möbelindustrie Bern 991 720 Assembly instructions

Oeseder Möbelindustrie

Oeseder Möbelindustrie Bern 991 720 Assembly instructions

Costway HW68469 user manual

Costway

Costway HW68469 user manual

Next ALIX A27743 Assembly instructions

Next

Next ALIX A27743 Assembly instructions

BROSA Hans Assembly guide

BROSA

BROSA Hans Assembly guide

Prodigg MINIKA PBA015T-FUR installation manual

Prodigg

Prodigg MINIKA PBA015T-FUR installation manual

manuals.online logo
manuals.online logoBrands
  • About & Mission
  • Contact us
  • Privacy Policy
  • Terms and Conditions

Copyright 2025 Manuals.Online. All Rights Reserved.