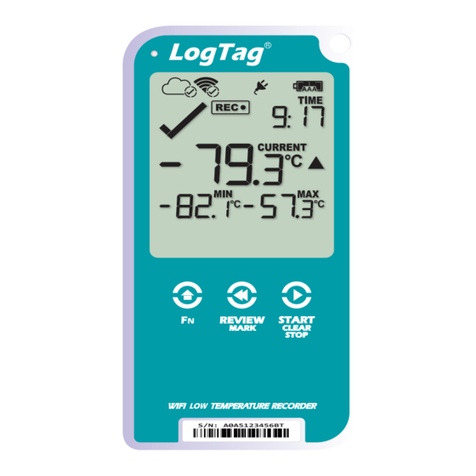
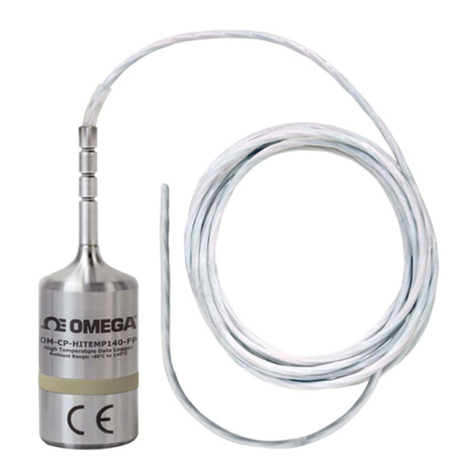
Healthmark TEMP-WiFi-TP User manual

Instructions for Use:
Brand Name of Product
TEMP-WiFi-TP
Generic Name of Product
Wifi temperature data logger
Product Code Number(s)
TEMP-WiFi-TP
Purpose of Product
This device measures the temperature of baths in which it is situated and transmits data to a
PC via WiFi. Temperature is monitored in real time on a large and easy to read display.
This device also allows management to record, track and document the temperature
reprocessing baths from their office PC.
Range of Applications for Product
Ultrasonic cleaners, pre-cleaning sinks, soaking trays, disinfecting solutions.
Key specifications of product
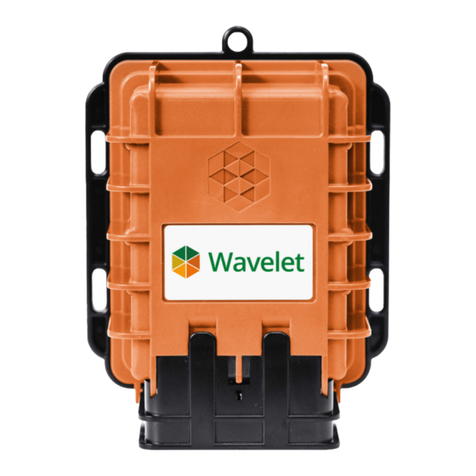
Theromologger
Mounting Bracket
Waterproof Probe
Software Installation USB Stick
Runs on 802.11b compatible networks
Shipping & Storage
Shipping Conditions & Requirements
Storage Conditions
Packaging Conditions
Shelf Life
Instructions for Using Product
Description of Use (s)
This device measures the temperature of baths in which it is situated and transmits data to a
PC via WiFi.
Preparation for Use
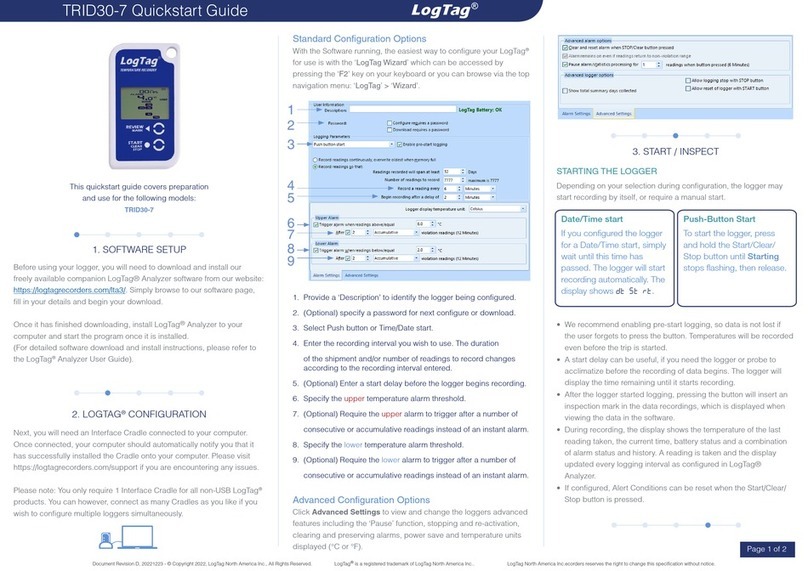
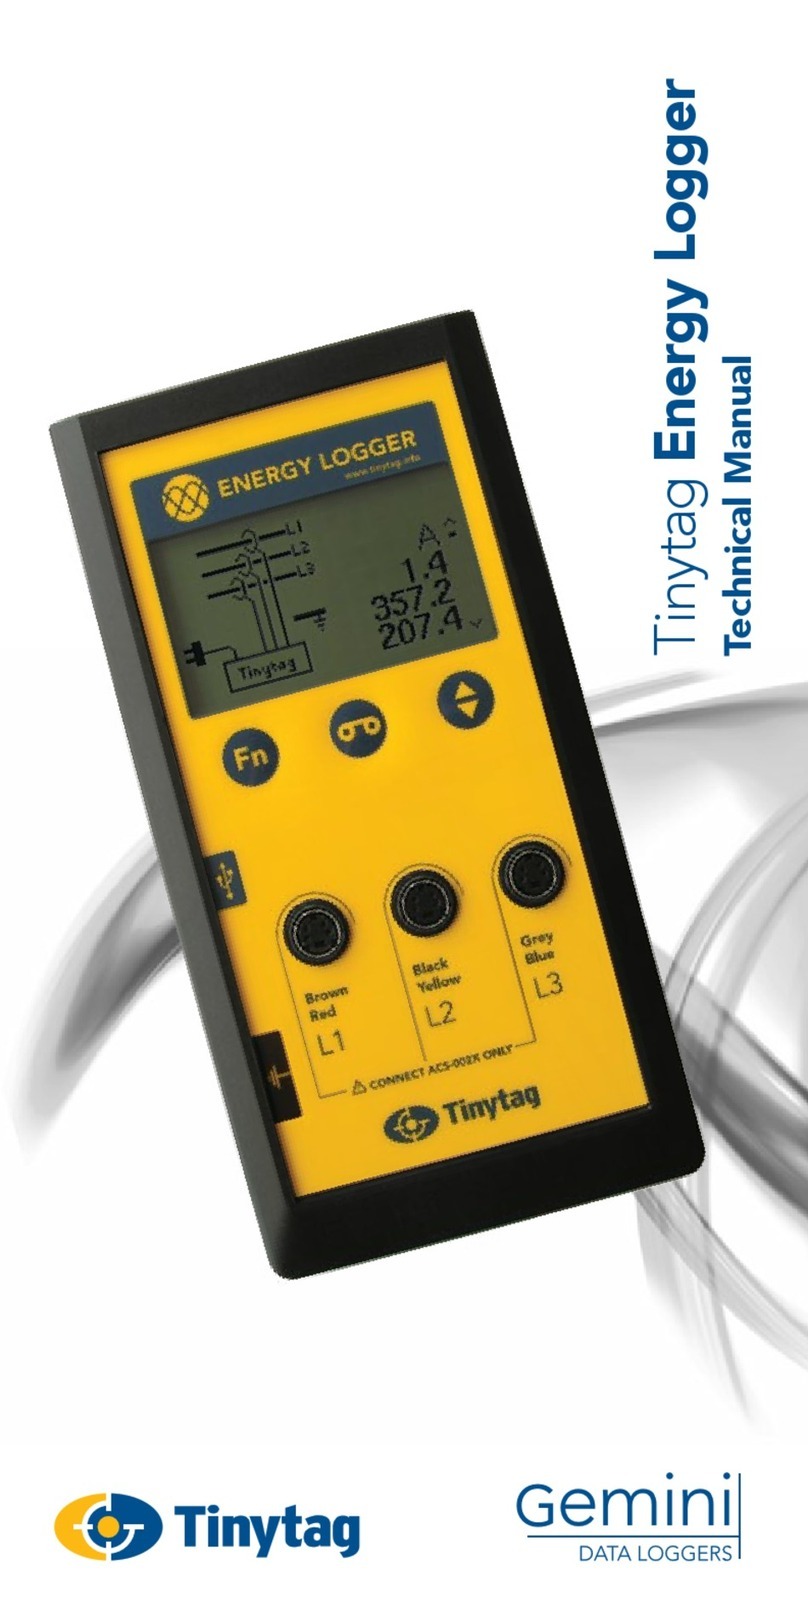
1. Plug the temperature probe into the thermologger.
2. Your sensor is already reading the temperature, but it will not be configured or
connected to your WiFi network until you complete the product set-up.
3. Your sensor is set-up using the included software package called EL-WiFi which is
available on the supplied USB stick.
4. Plug the supplied USB install stick in an open USB slot on your PC. Two folders will
be on the USB stick.
5. Select the “Temp-WiFi” folder when installing software. (Temp-DL is a software for
another product and will not work with the Temp-WiFi-TH)
6. Your sensor will arrive partly charged, but ideally you should charge it for 24 hours
before use for optimum performance.
7. To charge, connect the supplied USB cable to the data logger and your PC. Charging
will begin automatically.
Diagrams (drawings, pictures):
USE THESE PICTURES ALONG WITH THE NUMBERED STEPS BELOW FOR
ACCURATE SET UP
1.

2.
3.
4.
5.
6.
7.
8.
9.

10.
11.
12.
13.
14.
15.
16.
17.

18.
19.
20.
21.

Steps for Use of Product
1. When you plug the thermometer into your PC, you will see the “new hardware
detected.” The driver should automatically install. If not, you may need assistance
from your IT department.
2. Browse to the USB drive.
3. Open the folder titled “Temp-WiFi” on the drive.
4. Double click the “Setup” icon to launch the installation of the software.
5. When presented the option, select “Next” from the installation window.
6. When presented the option, select “Install” from the installation window.
7. You might have to wait a few minutes for the install to take place
8. This window will inform you where the “Temp-WiFi” software will be installed on
your computer. If you are satisfied with the folder described, select “Next”. If you
would like to have the software installed in a different folder, select the “Change”
button to the right of the screen.
9. Once completed, click “Finish” to close the install window.
YOU ARE NOW DONE WITH THE SETUP
10. There should now be an EasyLog Wi-Fi icon on your desktop.
11. Once EasyLog Wi-Fi icon is selected you will see a screen to set-up sensor, view
sensors or view previously saved data.
12. To set up sensor select “Set-up Sensor” icon and connect your sensor to the PC with
the USB cable provided.
13. To find a wireless network for the sensor to connect to click “Next” to search for
networks.
14. Select the wireless network you wish to connect to and click “Next”. You will need a
Wi-Fi access code for this step.
15. Wi-Fi temp program will link to wireless network.
16. To view and adjust a temperature sensor, click “view sensor” from the home screen.
17. Viewing and adjusting sensor general settings:
Give the sensor a unique identity
Select temperature scale
Select sample rate (This will set how often the sensor takes readings.)
To determine an accurate sample rate use an appropriate reference that relates
to your specific need for the Temp WiFi.
Select how often the sensor will communicate with the PC, each
communication reduces battery life.
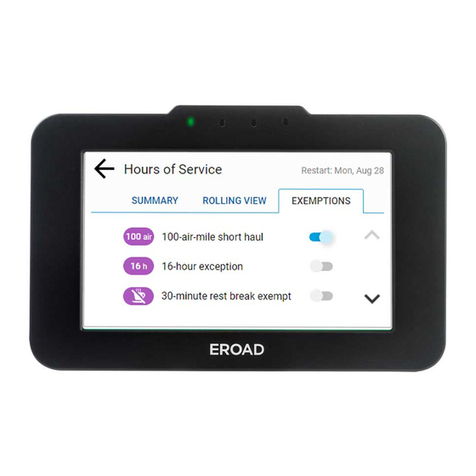
18. Temperature Alarm will appear when the alarm is triggered whether it’s a low alarm or
high alarm.
19. When you see the “Set-up Complete” screen you may disconnect your USB cable. All
future settings can now be adjusted without a physical connection.
20. Now position the monitor in the location that you want to monitor. To view the signal
strength, press the button on the sensor three times.
21. For more information and instructions on using the sensor and software, click the “i”
button on the home screen.
Interpretation of Results
Contraindications of Test Results
Documentation
Special Warnings and Cautions
Recharging: The sensor will automatically start recharging while connected to a PC.
The battery life of your sensor depends on the regularity of the transmissions.
Be sure when mounting the sensor that it is secure and in an area that won’t get wet.
The probe is designed to be submerged in liquid, but the thermologger is not.
Disposal
Reprocessing Instructions
Point of use:
Preparation for decontamination:
Disassembly Instructions:
Cleaning –Manual:
Cleaning –Automated:
Disinfection:
Drying:
Maintenance, inspection, and testing:

Reassembly Instructions:
Packaging:
Sterilization:
Storage:
Additional Information:
Related Healthmark Products
Other Product Support Documents
Reference Documents
Customer Service contact:
Healthmark Industries Company, Inc
33671 Doreka
Fraser, MI 48026
1-586-774-7600
hmark.com
2013-08-07 mdibattista
