Healthy Choice CG112 User manual

Model: CG112
Batch: PR4375
PLEASE READ AND RETAIN THESE INSTRUCTIONS FOR FUTURE REFERENCE.
THIS APPLIANCE IS INTENDED FOR HOUSEHOLD USE ONLY.

1
The illustrations used in the manual are to illustrate the operation method and structure of
the product. Where there is a small difference between the physical item and the
illustrations, please take the physical as the standard.
ABOUT THIS PRODUCT:
Choosing the correct grind is very important for the most flavorful, prefect cup of freshly
brewed coffee. Coffee that is ground too fine for a particular brewing process will result in
over-extraction and bitter taste while coffee that is ground too coarse for a particular
brewing process will result in under-extraction and weak, watery taste. Using the correct
coffee grind will create a full-bodied flavor with exceptional taste, whether one likes a
stronger or weaker cup of coffee.
This Electric Burr Coffee Grinder features a patented consistent grinding system with 95%
consistency rating, as well as a patented anti-splash of coffee powders during the grinding
process. Enjoy from 1-10 cups of ground coffee per use with a full selection of 31 grinding
settings ranging from highly coarse all the way to Turkish fine.
We recommend using settings 1-2 for fine ground coffee for cezve, 3-5 for medium-fine
ground coffee for espresso, 6-10 for medium ground coffee for siphon, 11-20 for medium
ground coffee for classic drip, 17-25 for medium-coarse for pour over and 26-31 for coarse
ground coffee for French press. Following this guide will ensure perfect results per brewing
method, every time.
This easy-to-use coffee grinder has simple digital touch controls and a built-in timer. The low
grinding speed reduces both static and heat while running at low noise operation levels, to
avoid over-heating the coffee beans and overly noisy grinding. With 165 watts of motor
power to grind efficiently and consistently with added overheat protection, this coffee
grinder is perfect for professional results in your home or office kitchen.
Clean-up is a breeze with the included cleaning brush. The stainless-steel conical burr can be
easily be removed and cleaned with the included brush.
With a whole bean top container capacity of 275 grams and a ground coffee bottom
container capacity of 100 grams, making enough coffee grounds in one go is no issue with
this dynamic and efficient Electric Burr Coffee Grinder.

2
ABOUT GRINDING COFFEE:
The proper grind gives the most flavorful cup of coffee. The grind size and amount depend
on the method by which the coffee is to be brewed. Generally, the finer the grind the more
quickly the coffee should be prepared. That is why coffee ground for an espresso machine
extraction is much finer than coffee to be brewed in a drip system.
Coffee that is ground too fine for a particular brewing process - (For example, fine espresso
grind used in a filter drip coffee machine) will result in over-extraction and bitter, pungent
tasting coffee. Conversely, coffee that is too coarse for a particular brew method will result
in under-extraction and weak, watery coffee. If the correct grind is used, adding more coffee
simply makes a brew stronger without making it bitter.
In addition to providing a range of grind settings, coffee grinders provide a consistent grind.
This is important to ensure the extraction is consistent across all of the ground coffee
particles.
IMPORTANT SAFEGUARDS:
When using electrical appliances, basic safety precautions should always be followed,
including the following:
1. Read the instructions carefully before use.
2. Remove and safely disregard any packaging material and labels before using this product
for the first time. Ensure children and babies do not play with plastic bags or any packaging
materials.
3. Before use, check that your local voltage corresponds with the specifications shown on
the appliance nameplate located under the appliance.
4. Always operate the appliance on a horizontal surface which is level, stable and non-
combustible. Do not operate the appliance on or near combustible materials such as
tablecloths or curtains.
5. Do not place the appliance on or near a hot gas or electric burner, or in a heated oven.
6. Never connect this appliance to an external timer or separate remote-control system.
7. Never use this appliance with an extension cord or power board. Ensure it is plugged into
a dedicated power point and without any other appliances on the same outlet.
8. Do not turn on the power until the appliance and parts are in place as required.
9. To protect against electrical shock, fire or personal injury: do not immerse power cord,
plug or appliance in water or other liquid. Do not expose the appliance to dripping or
splashing and ensure that no objects filled with liquids such as vases are placed on the
appliance.

3
10. To reduce the risk of severe injury to persons or damage to the appliance, keep hands
and utensils out of the coffee bean box while grinding, and when the appliance is plugged
in.
11. This appliance is NOT to be used by children or by persons with reduced physical,
sensory or mental capabilities. Close supervision is necessary when any appliance is used
near children and these individuals. Children should be supervised to ensure they do not
play with the appliance.
12. Unplug from outlet when not in use, before putting on or taking off parts or cleaning. To
unplug, grasp the plug and pull from the outlet. Never pull from the power cord.
13. Do not operate any appliance with a damaged cord or plug, or after the appliance
malfunctions or is dropped or damaged in any manner.
14. Do not use any accessories or attachments not authorized. The use of attachments not
recommended by the manufacturer, such as spatulas or tampers, may result in fire, electric
shock or injury.
15. For household countertop use only. Do not use outdoors. Not for commercial use.
16. Do not let cord hang over edge of table or counter, or contact hot surface, including the
stove.
17. This appliance is only used for roasted coffee bean grinding. Do not use the appliance for
other than intended use (such as hard seeds, spice, nuts, etc.).
18. Always operate the burr grinder with the lid securely in place.
19. The capacity of the powder jar cannot exceed the maximum mark.
20. The burr grinder is sharp. Avoid contact with the burr and moving parts. Handle with
care.
21. Check the coffee bean box for the presence of foreign objects before using.
22. Every appliance is inspected strictly during mass production, and tested with coffee beans
for grinding, which may cause slight traces of use or residual coffee grounds. Practical tests
using machines taken at random are conducted and this may explain any slight marks or
coffee residue showing prior to use.
23. Do not attempt to repair, replace, alter or modify components of the appliance as this
may cause electric shock, fire or injury, and will void the warranty.
24. Do not leave the appliance unattended while in use.
25. Prior to each use, inspect appliance for cracks or other damage. Do not use if any parts
are damaged. Contact Customer Service.

4
Short cord instructions:
Do not use with an extension cord. A short power supply cord is provided to reduce the risks
resulting from being entangled in or tripping over a long cord.
Before first use:
Before using the coffee grinder, wipe the housing and Coffee bean box with a clean damp
cloth. Wash the coffee powder jar and the coffee powder jar lid in hot soapy water, then
rinse and dry.
PRODUCT, PARTS AND ACCESSORIES:
A. Coffee Bean box lid
B. Coffee Bean box
C. Removable upper conical burr
D. Coarseness adjustment ring
E. Control panel
F. Stainless steel plate
G. LED display
H. Cup selection button
I. Timer button
J. START/STOP button
K. Cleaning brush
L. Coffee powder lid
M. Coffee powder jar
N. Rubber mat
The rubber mat can be placed underneath the coffee powder jar for added stability.

5
SET THE COFFEE BEAN BOX:
How to remove the Coffee bean box
1. Make sure the coffee grinder is unplugged.
2. Press the Coffee bean box release lever located at the opposite of the grinding size
markings.
3. Turn the Coffee bean box counter-clockwise until the unlock icon aligns with the
arrow and lift it up.
How to assemble the Coffee bean box
1. Make sure the top part of the conical burr is clear. If not, please use the brush provided
to clean the top part of the burr.
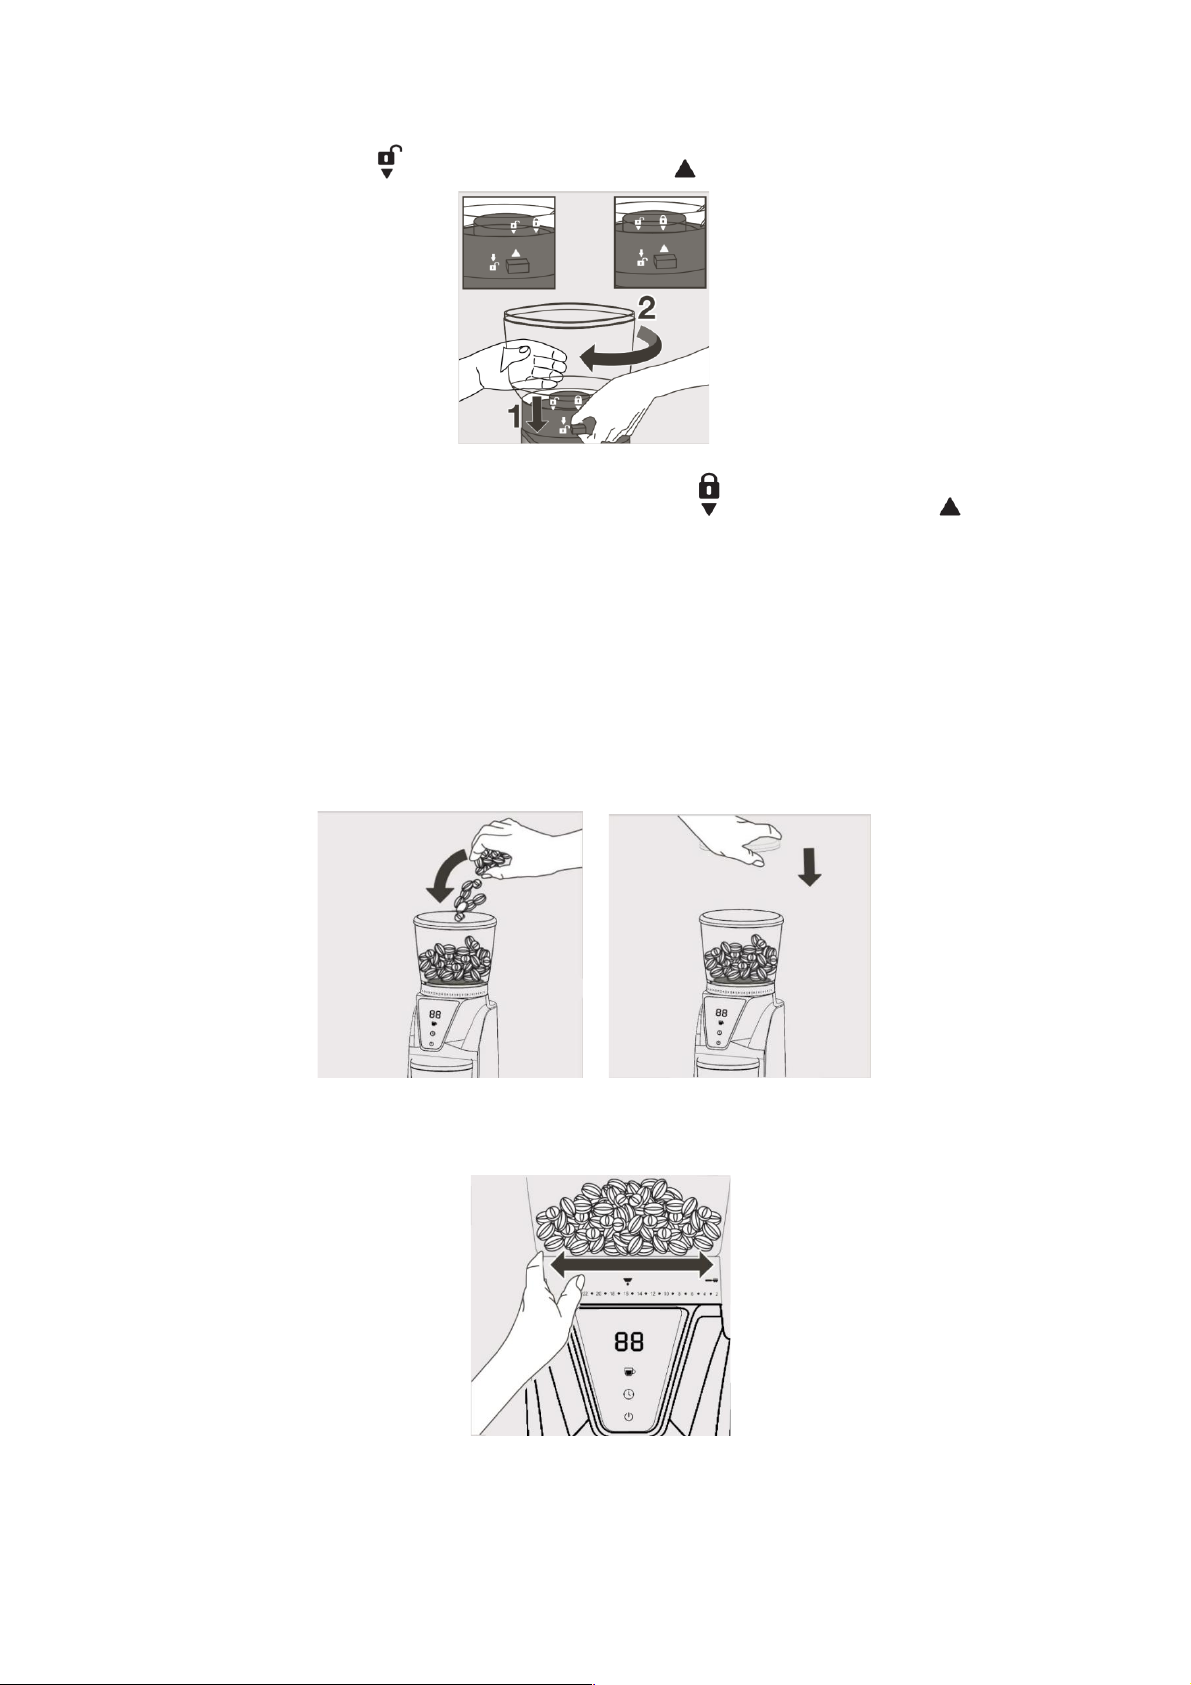
6
2. Align the unlock icon on the base with the arrow on the Coffee bean box.
3. Turn the Coffee bean box clockwise until the lock icon aligns with the arrow .
NOTE: If the coffee bean box is not assembled properly, the coffee grinder will not work.
SET THE COFFEE GRIND SIZE:
1. Put the coffee powder jar at the correct position. Use the included rubber mat
underneath it for added stability.
2. Fill coffee beans into coffee bean box, close the lid.
3.The coffee grinder has 31 grind size options. To adjust the grind size, rotate the coffee
bean box and adjust from fine to coarse according to the type of coffee you want.

7
GRIND SIZE SETTING RECOMMENDATIONS
Coffee Type
Cezve
Espresso
Siphon
Drip
Coffee
Pour Over
French
Press
Grind Size
Fine
Middle
Fine
Middle
Middle
Middle
Coarse
Coarse
Grind Setting
1-2
3-5
6-10
11-20
17-25
26-31

8
OPERATION INSTRUCTIONS:
Connect the unit to power.
The unit will beep, and the screen will be on. The display will show 01.
If no button is pressed within 3 minutes, the screen will go off and the unit will be in standby
mode.
The power button can be pressed to turn the unit on.
Ensure that the coffee powder jar and its lid are correctly placed in the body of the
appliance. The rubber mat can be placed underneath the coffee powder jar for added
stability.
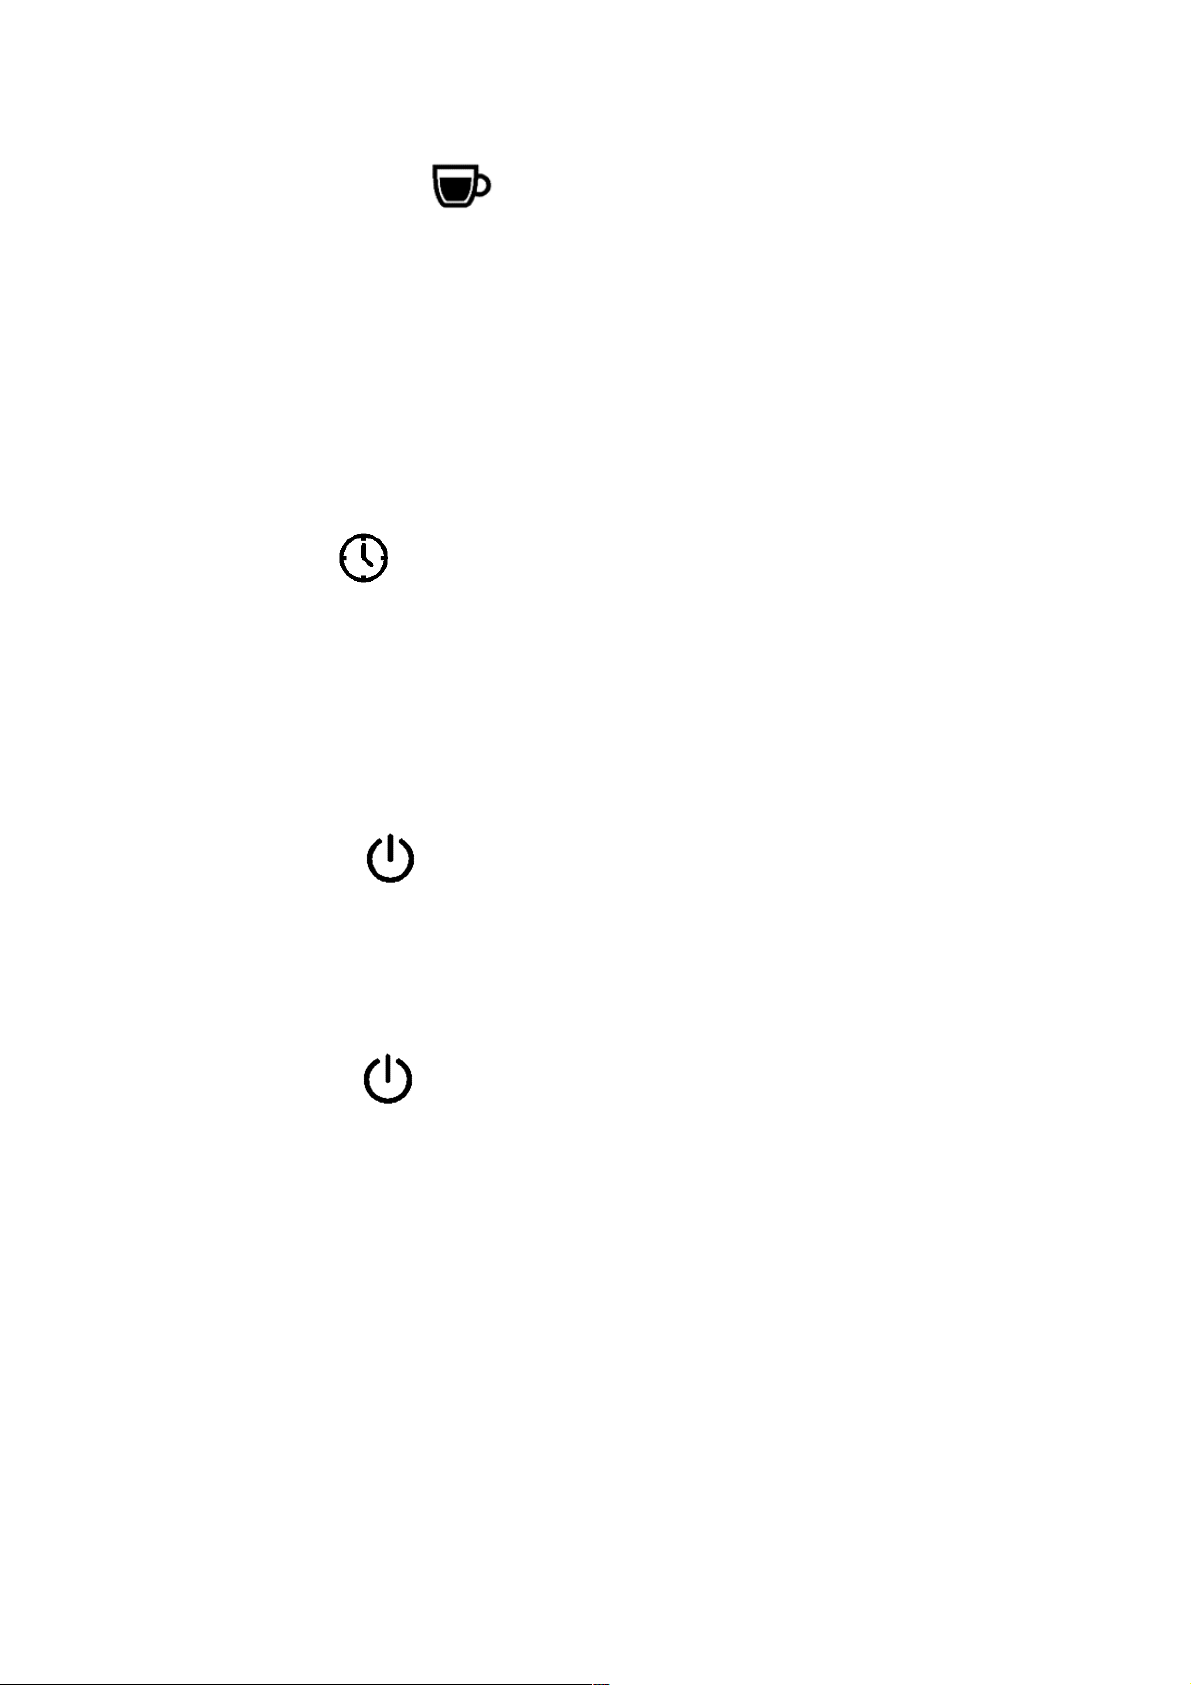
Control panel:
This unit has 3 buttons below
- Cup selection button, cup setting from 1 to 10 cups.
- Timer button, grinding time setting from 1 to 40 seconds.
- Start / stop button.
1. Add coffee beans into the coffee bean box.
2. Select the coarseness by rotating the coarseness adjustment ring.
3. The LED display will show "01”, which means entering "Cup selection mode" and it
prepares one cup of ground coffee.
9
4. Cup selection button:
Press the cup selection button repeatedly to change the number of cups.
The display will show the number of cups.
The setting range is 1-10 cups.
Press the Start/Stop button to start grinding.
The Start/Stop button can be pressed during operation to stop grinding.
5. Timer button:
When it is pressed, the display will show "40".
Then press “START/STOP” button to start, the display will show a countdown from 40,
39,38,37.......
The max grinding time is 40 seconds. The unit will stop grinding after 40s automatically or
press “START/STOP” button again to stop while grinding.
6. Start/Stop button
After selecting the Cup selection button or Timer button, press the Start/Stop button to
start grinding.
Press the Start/Stop button again to stop grinding.
7. Start/stop button
This button is also for pulse mode. With a long press on it, the display timer will count up to
a maximum of 40 seconds. When you release the button, the grinder will return to standby
mode.
Note:
For your appliance to run correctly, ensure that:
■ The lid to the coffee bean box is correctly closed.
■ The coffee powder jar and its lid are correctly placed in the body of the appliance. The
rubber mat can be placed underneath the coffee powder jar for added stability.
■ This appliance is equipped with an overheat protective device. If the appliance overheats,
it will switch off automatically. In this case let it cool down for 30 minutes then restart.

10
CLEANING:
Regular cleaning helps the burrs aachieve consistent grinding results.
■ To keep all your coffee`s aroma and to avoid a degradation of the ground coffee, empty
the ground coffee container after each use.
■ Always unplug from the power outlet before cleaning.
■ Never place the grinder, power supply cord or plug in water or under running water.
■ Do not use strong detergents or abrasive pads to clean the appliance.
■ Clean the lids, coffee bean box, coffee powder jar in warm, soapy water.
■ No parts are dishwasher safe.

11
■ To remove the upper burr, hold of the upper mill and turn counter-clockwise, then raise it
vertically to remove.
■ Clean the upper burr with the cleaning brush.
■ Carefully clean the inside of the coffee bean box with a damp cloth.
■ To replace the upper burr, insert the burr and turn it once in the clockwise direction. For
proper alignment, residual coffee and coffee grounds in the lower burr will need to be
cleared.
12
TROUBLESHOOTING:
Code in display
Issue
Solution
E1
No bean holder or bean holder is
not connected tightly.
Assembly the bean holder or
tighten the bean holder until the
micro switch is closed, once
bean holder is close then error
code E1 in display disappears.
E2
Total operating is 5 cycles, it
powered off automatically to
protect the unit.
Unplug power cord.
Wait for the motor to cool down
for at least 40 minutes and
restart.
Motor is overheating.
SPECIFICATIONS:
220V-240V 50-60Hz
DC 165W
This manual suits for next models
1
Table of contents


