HE&M V100LM-3 Instruction Manual

1
OPERATION –
V100LM-3

2
HOW TO ENERGIZE THE SAW
1. Pull the Main Disconnect lever located on the High Voltage Junction Box to the “ON”
position to energize the saw.
NOTE: It is recommended that this entire control operations section be
read completely before energizing the control. Follow the step by step
instructions below while working with the control and saw.
2. Verify that the “Emergency Stop” button located on top left corner of the
control console is raised up in the off position. (If it is pressed down, turn
the button clockwise to raise it.)
4. To Energize the Control Panel, press the green “POWER” button.
The light above the “POWER” button will illuminate indicating that the
control is energized. When the “POWER” button is activated, the
hydraulic pump will start and all control console switches will become
active.
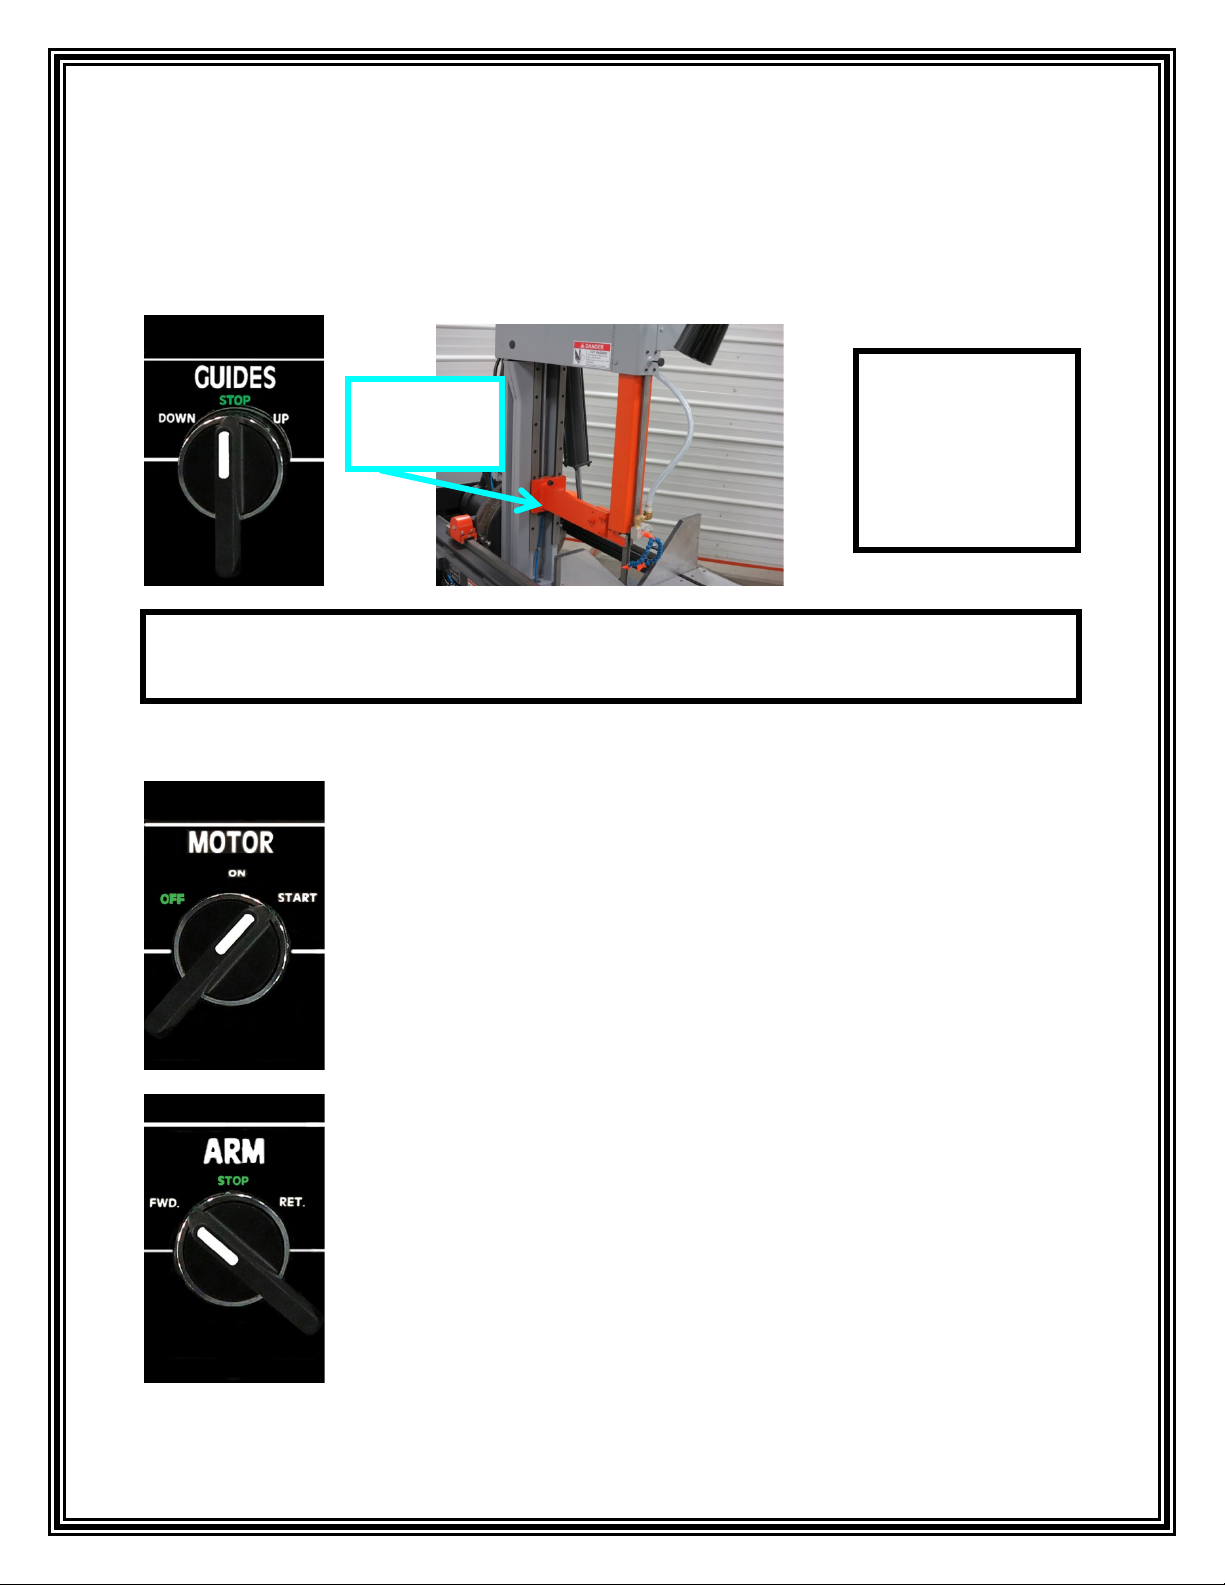
3. Verify that the Motor
Switch, Arm Switch, and
Guides Switch are in the
green OFF/STOP position.
NOTE: This is a safety
feature; the saw will not
start if certain switches are
not in the correct position.
3
MOTOR RESET
HOW TO DE-ENERGIZE THE CONTROL
The control circuit must be de-energized in a particular way if it is to remain de-energized for an
extended period of time, (over two hours). This will allow the saw to rest and not drift from
square or put strain on the components.
1. Retract the arm by placing the “ARM” switch in the “RET” position.
2. After retracting the arm from the cutting area press down on the “Emergency Stop” button
located on the top left corner of the control console.
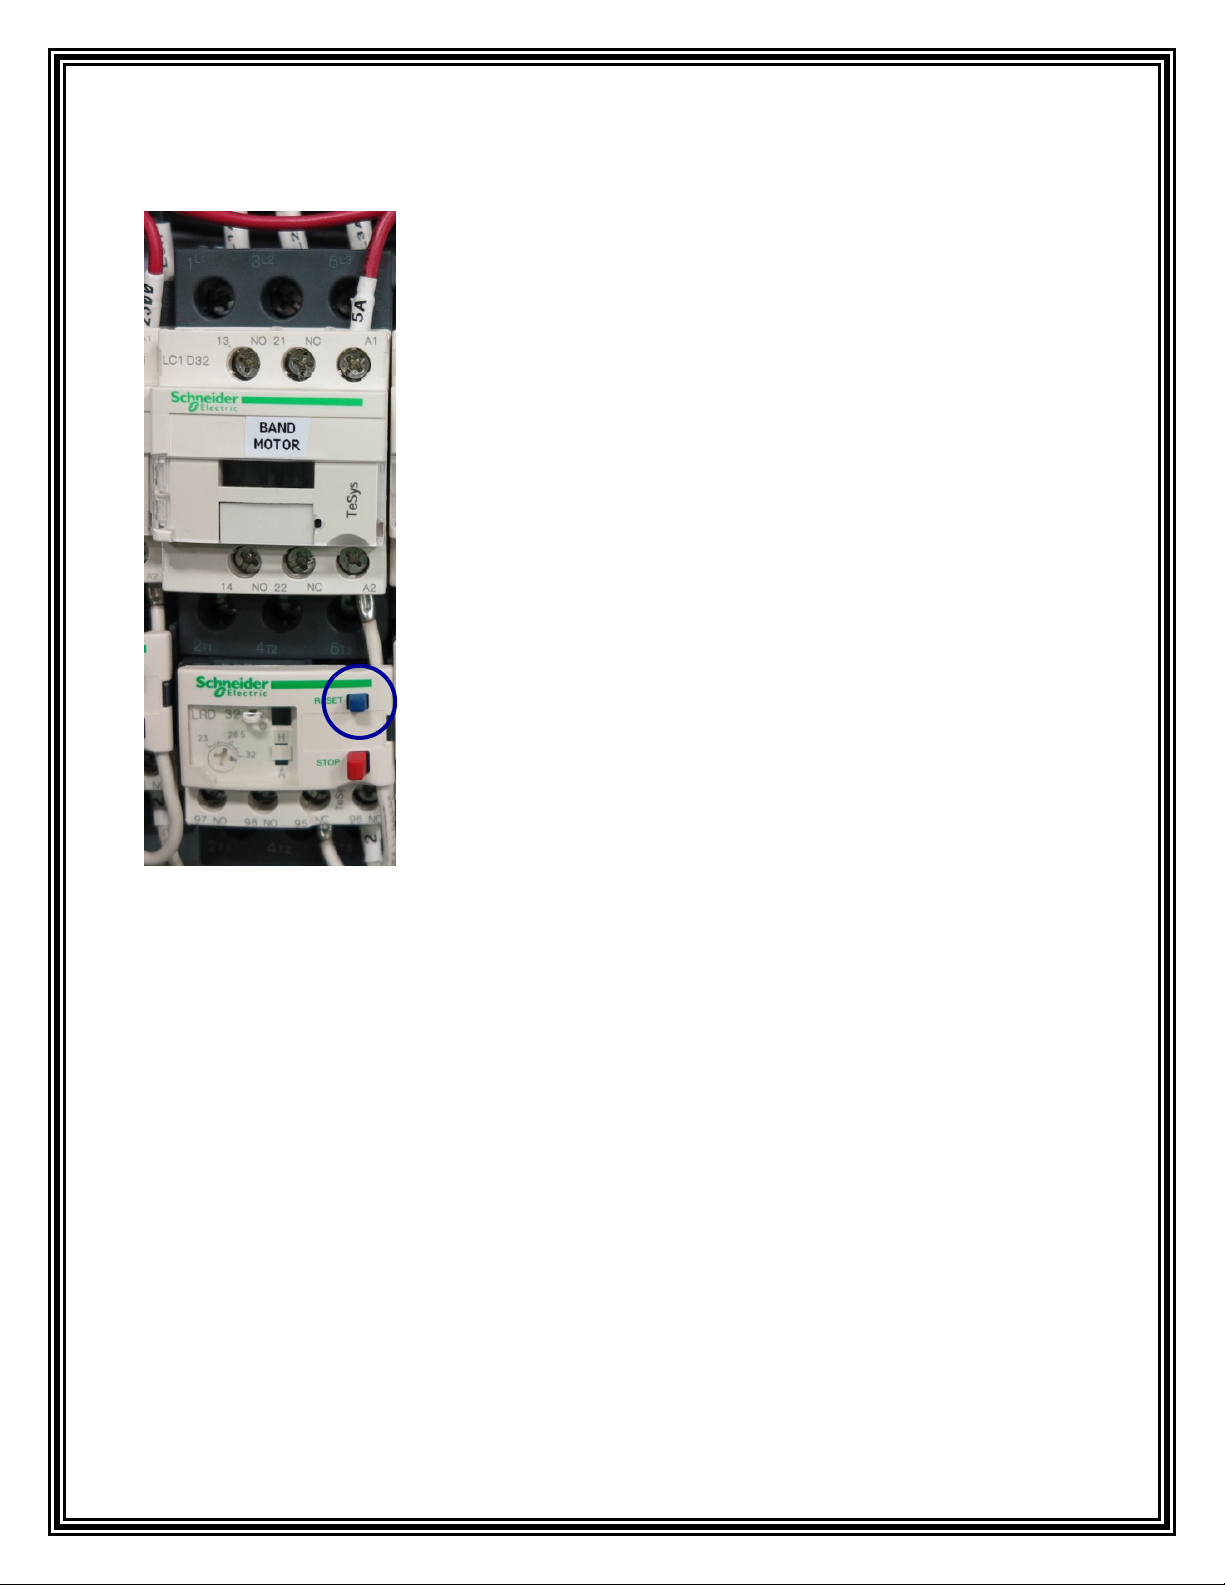
MOTOR RESET BUTTON
If the saw appears to have power but the motor won’t start, it
could be the “MOTOR RESET BUTTON” has tripped off. This
button acts like a circuit breaker. To reactivate it, tap the blue
“MOTOR RESET BUTTON” several times. The “MOTOR
RESET BUTTON” may be located in the saw Electrical Box or
in the Main Disconnect Box.
4
MANUAL CUT
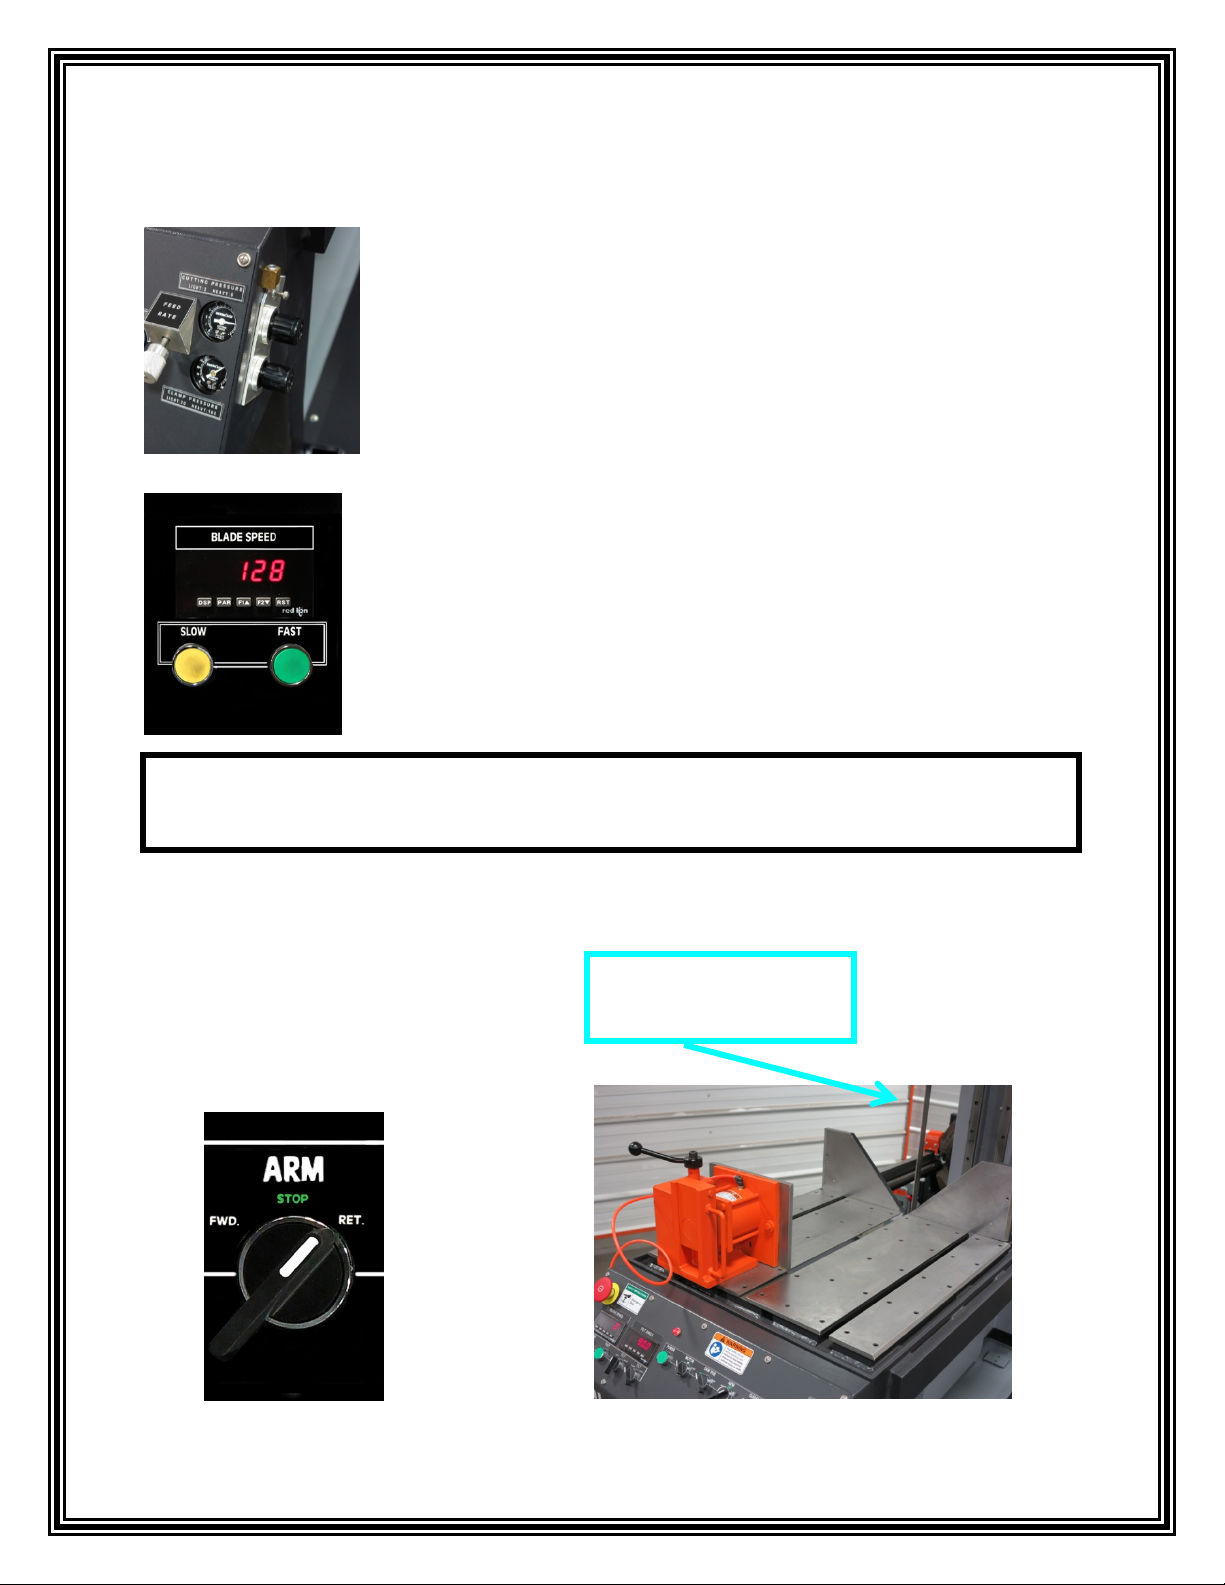
3. Move the arm back away
from the cutting area by
placing the “ARM” switch in
the “RETRACT” position.
Arm Retracted away
from the cutting area.
2. Adjust the Blade Speed by using the “SLOW” and “FAST”
buttons on the Control Panel.
1. Adjust the Cutting Pressure. Check the Cutting Pressure gauge to
make sure it is set at the proper pressure. If not then adjust the
Cutting Pressure using the knob located on the side of the control
panel.
For information on Cutting Pressure refer to Cutting Pressure
and Clamping Pressure section in this manual.
NOTE: The Blade Speed and Traverse Rate (Feed Rate & Cutting Force) should be set
properly for the type of blade and material prior to starting the manual cut operation.

5
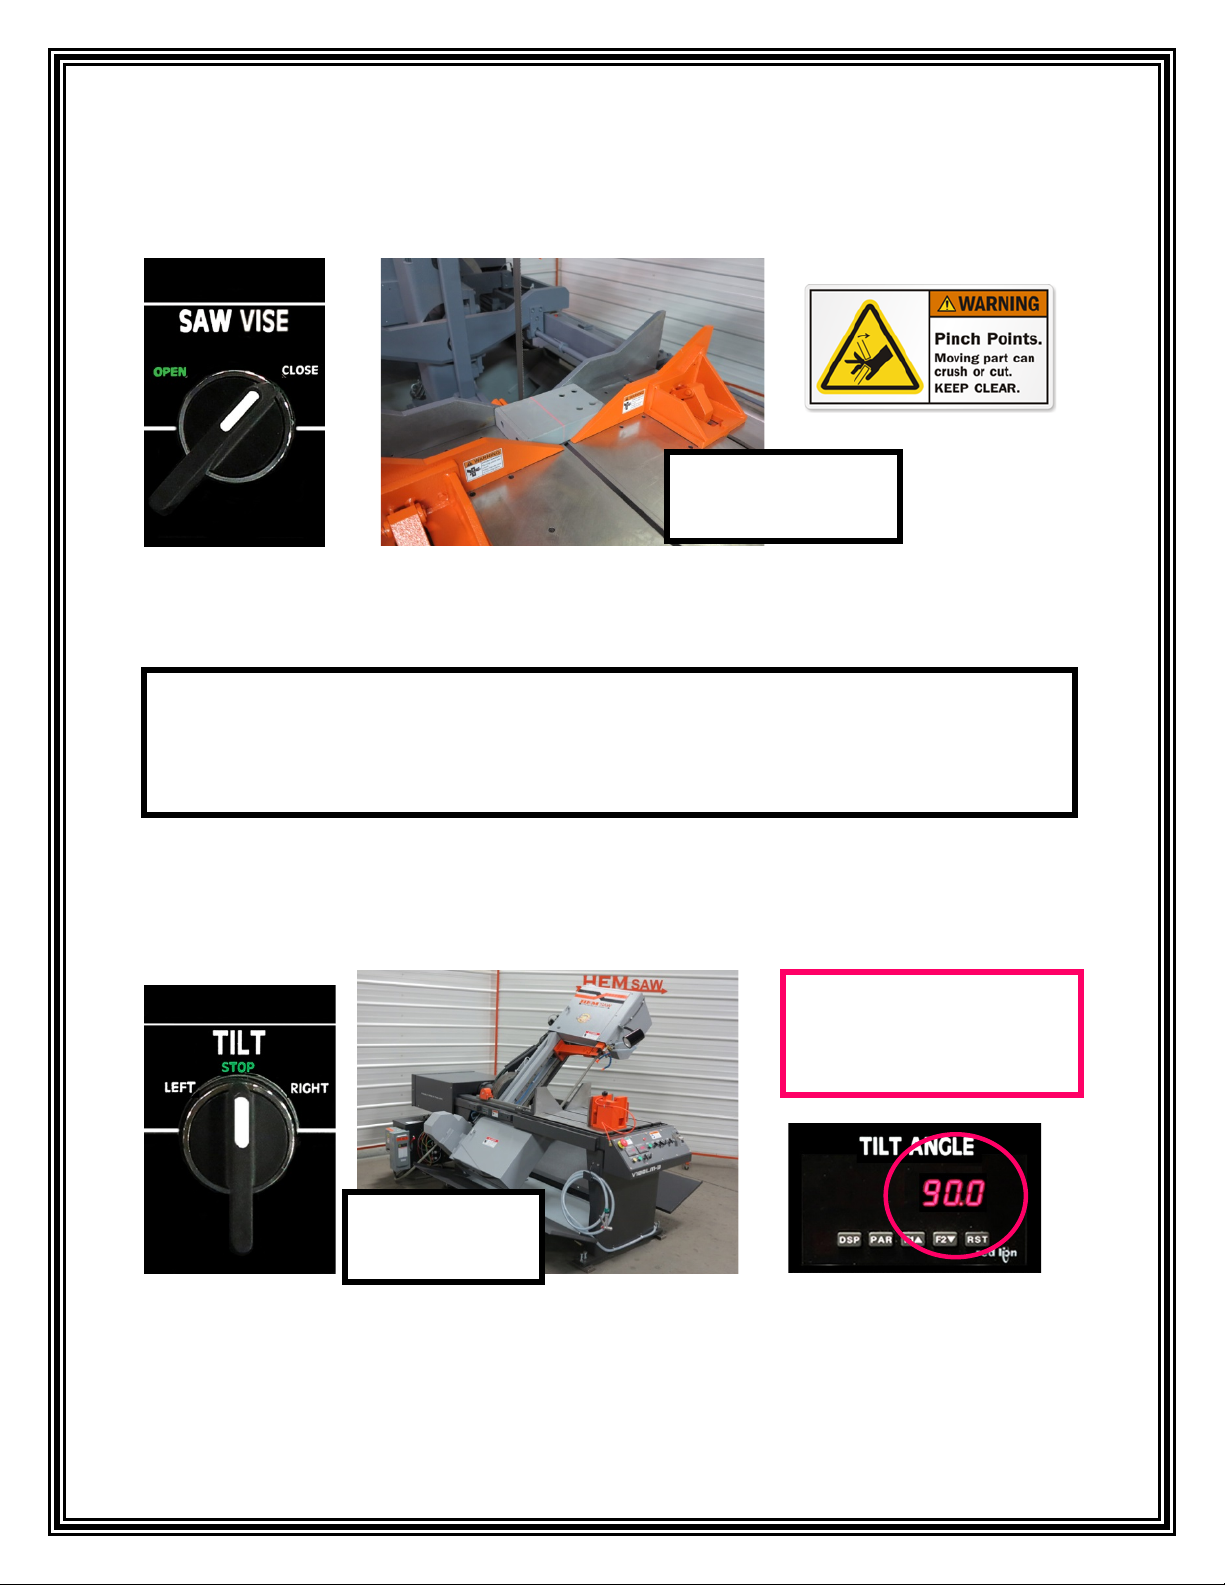
4. Open the Saw Vise and any other vises (if available) by placing the “SAW VISE” switch in
the “OPEN” position. This will back the vises up approximately 1”. If the vises need to be
opened further, turn the Locking Handle on the vises themselves in a counter-clockwise
motion to loosen. Pull the vises back to the desired position and turn the Locking Handle in a
clockwise motion to lock the vise into place. The vises only need to be opened wide enough
to allow the material to pass through.
Saw Vise Open
CUTTING AREA
SAW BLADE
2nd VISE (optional)
FIXED SIDE
(For Left to Right Material Flow)
2nd VISE
(optional)
ADJUSTABLE
SIDE
SAW VISE
FIXED SIDE
SAW VISE
ADJUSTABLE
SIDE
6
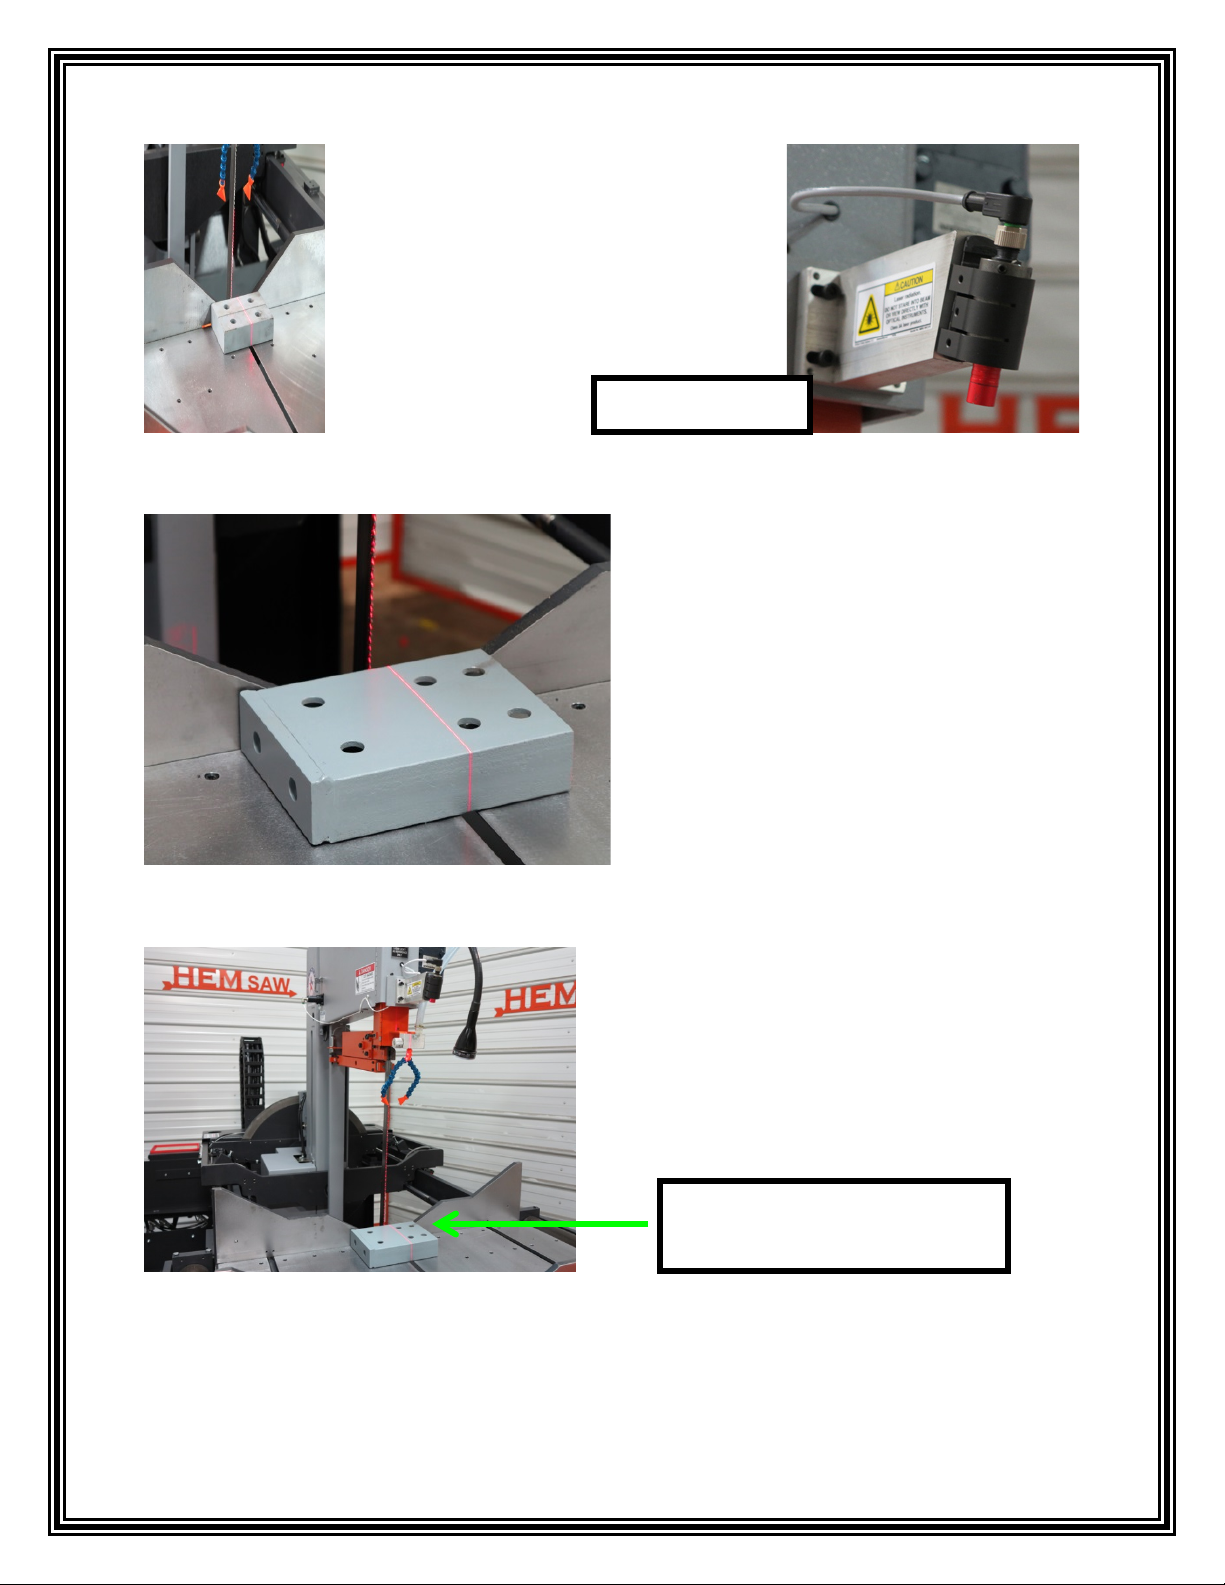
5. If the saw is equipped with the
optional Laser Light, turn it on by
pressing the Laser Light button on
the Control Panel.
6. A beam will illuminate the cutting
area for approximately 1 minute. A line
on the material will display the blade’s
path.
NOTE: When the laser light alignment
beam is activated, turn the work light
off to allow for better laser visibility.
LASER LIGHT
7. Place the material flat on the
cutting area against the fixed side of
the vise or vises (if available) and
position the material to the desired
cut.
Placed Material Against
Fixed Side of Vise
7
8. Once the material is in the correct position close the saw vise and any other vises (if
available) by placing the “SAW VISE” switch into the “CLOSE” position.
Vises closed on
material
9. Use the “TILT DIRECTIONAL” switch to adjust the arm to the desired angle.
Arm Tilted to
the Right
The LED Tilt Angle
Readout will display the
angle as the arm moves.
NOTE: If either of the Vises moves backward when closed, place the Saw Vise switch
into the “OPEN” position and reposition the vise manually. When the vise is positioned
correctly, turn the Locking Handle clockwise to lock the vise into position and then
turn the Saw Vise Switch into the “CLOSE” position to clamp onto the material.
8
10. Use the “GUIDES” switch to adjust the guide arm up and down to accommodate different
material heights. In general the guide arm is adjusted as close to the material as possible
without touching it or making contact with the vises.
11. Turn the spring-loaded “MOTOR” switch to the "START" position
and release. It will spring back to the “ON” position and the blade will
begin rotating.
CAUTION!!!! Make sure the guide arm will clear the material and vises while in forward cut motion especially
on left and right angle cuts.
Guide Arm is
down close to
material, but can
still clear the
material and
vises.
GUIDE
ARM
12. To begin cutting, place the ARM Switch into the “FORWARD”
position. The arm will start to move toward the material. The rate at
which it moves can be adjusted by turning the Feed Rate Knob on the
Control Panel. This can be adjusted during the cut. (Refer to the section
“CUTTING PRESSURE & FEED RATE” in this manual for more
information on adjusting the Feed Rate.)

9
13. The band motor will start to increase in speed. The blade speed will increase to the selected
speed previously set. When the blade reaches the speed previously set, the arm will begin to
move forward. After the forward limit switch has been triggered the forward movement of the
arm will stop.
14. Place the “ARM” Switch into the “RET” position until the blade is
clear of the material and fixed vises.
16. Open the Saw Vise and any other vises (if available) by placing the
“SAW VISE” switch in the “OPEN” position. The vises only need to
be opened wide enough to release the material. Remove the material
from the cutting area.
NOTE: The arm will only begin to move forward once the blade has achieved the desired
speed as set. The cutting parameters can be changed during the cut by increasing or
decreasing the blade speed and traverse rate (Cutting Pressure & Feed Rate).
15. When the Manual Cut is completed, turn the “MOTOR” switch on
the Control Panel to the “OFF” position to stop the blade.
Table of contents
Other HE&M Saw manuals


Popular Saw manuals by other brands


Porter-Cable
Porter-Cable 423MAG instruction manual

Bosch
Bosch GCB 18 V-LI Professional Original instructions

Cengar
Cengar CL50 operating instructions

Bosch
Bosch GCO 14-24 J Original instructions

Parkside
Parkside PAAS 12 A2 Translation of the original instructions

Hitachi
Hitachi C 10FCH2 Handling instructions


