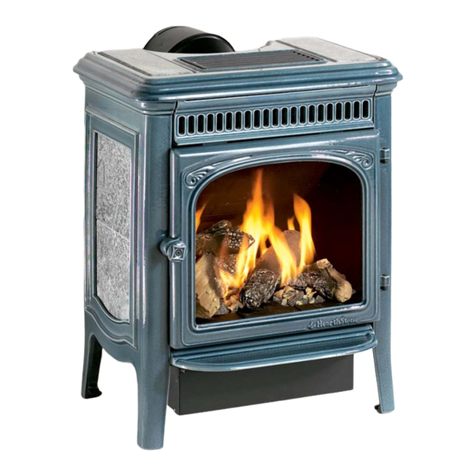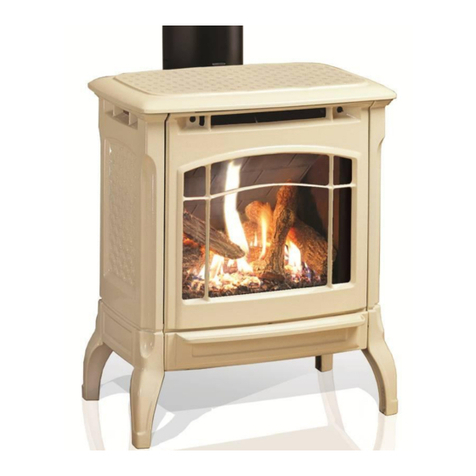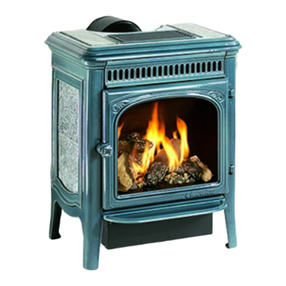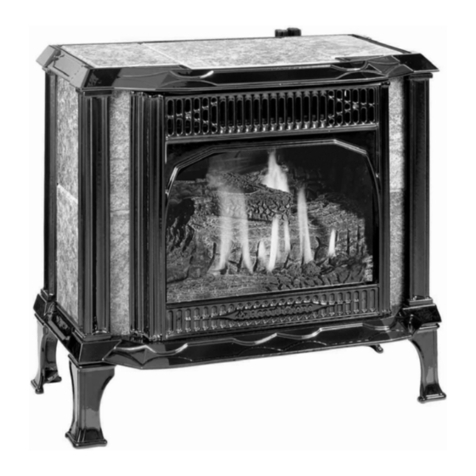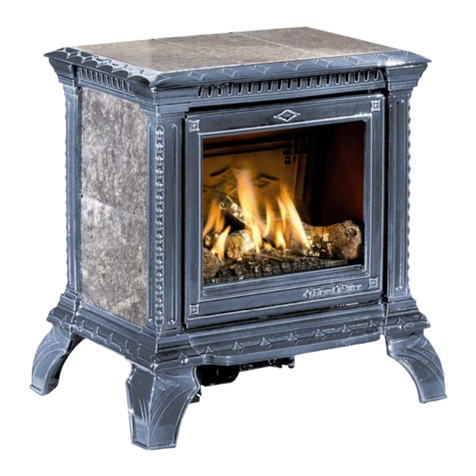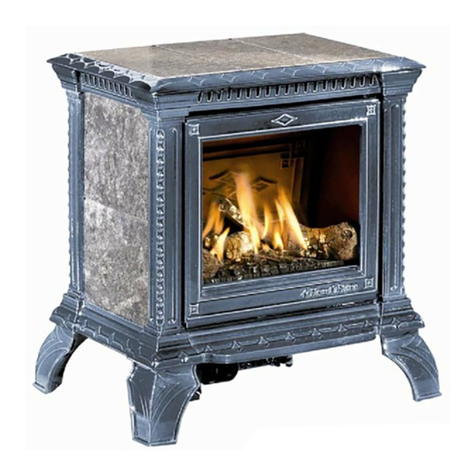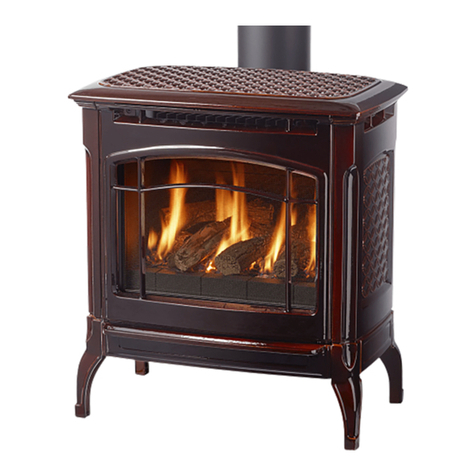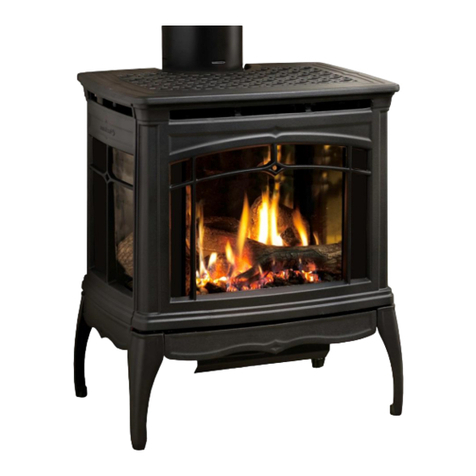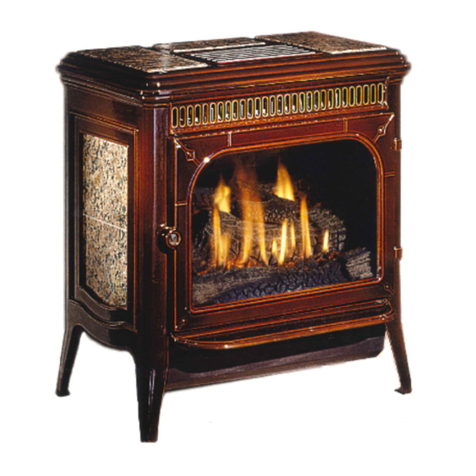
HearthStone Quality Home Heating Products, Inc. Luno Model #8160
5
OWNER’S INFORMATION
The installation must conform with local codes or, in
the absences of local codes, the current National Fuel
Gas Code, ANSI Z223.1 (NFPA 54) or CAN/CGA B149
Installation Code.
(Installer l’appareil selon les codes
ou règlements locaux, ou, en l’absence de tels
règlements, selon les Codes d’installation CAN/CGA-
B149.)
Contact your dealer for any necessary warranty
service.
This stove is warranted by:
Hearthstone
Quality Home Heating Products,
Inc
®
317 Stafford Ave.
Morrisville, Vermont 05661
DAILY OPERATION
The Luno is easily operated by the homeowner once it
is installed and adjusted by qualified service personnel.
The unit can be controlled automatically via the
programmable remote control, or manually by placing
the Remote Control Receiver switch in the ‘ON’ position
during the heating season. When using the remote T-
stat transmitter (switch in the ‘REMOTE’ position), set
it to the desired room temperature and the unit will
cycle on and off as required. If you select the ‘ON’
position the unit will run (burn) regardless of room
temperature. You can vary the rate of heat output by
adjusting the variable output control located on the
gas control valve to meet the heating requirements of
the season. Choosing a low flame setting will result in
longer burn cycles at a reduced output, while choosing
a high flame setting will result in a shorter, hotter burn
cycle. Through trial and error, the homeowner can
select the optimum flame size for their setting and
application.
During the summer non-heating season, switch the
remote receiver to “OFF”, and turn off the pilot. This
will improve the overall efficiency of the unit as the
fuel used by the pilot is wasted. When putting the unit
back into service, follow the lighting instructions
described on page 17.
When the unit is first lit, especially when cool, it is
normal to experience some condensation on the inside
of the window glass. This condensation will evaporate
within the first few minutes of operation. If you note
continuous condensation on the window glass or
dripping water from any part of the unit or venting
system (chimney), immediately discontinue operation
of the unit and contact qualified service personnel.
Clean the area around, under, and behind the unit on
a regular basis to prevent the accumulation of dust
and lint.
The Luno requires minimal routine maintenance and
care. Ensure the Luno is cool and off while cleaning,
or servicing. Have qualified service personnel inspect
the unit, and venting system once a year to insure that
they are clean, free of obstructions, safe, and in good
working order. If service or maintenance is required,
ensure qualified service personnel perform it.
SERVICE CAUTION
If you believe your Luno is in any way, not performing
properly, immediately discontinue operation until the
unit is inspected and approved by qualified service
personnel. Prior to servicing the unit, turn the valve
control knob clockwise to “OFF”. The unit should be
cool prior to servicing and cleaning. Use of any
components not supplied by Hearthstone on the stove
voids all warranties. Do not substitute
components.
CAUTION: REPLACE ANY SHIELD, DOOR, OR
SAFETY SCREEN COMPONENT REMOVED FOR
SERVICING, PRIOR TO OPERATING THE UNIT.
WARNING: Failure to position the parts
in accordance with these diagrams or failure
to use only the parts specifically approved
with this appliance may result in property
damage or personal injury.
Conditionally approved for purchased mobile home
installation. This appliance may be installed in an aftermarket
permanently located, manufactured (mobile) home, where
permitted by local codes.
This appliance is only for use with the types of gas indicated
on the rating plate (NG and LP). This appliance is factory set
to burn Natural Gas (NG), but is easily converted for use with
Liquid Propane (LP) with the included conversion kit. Only a
qualified service technician should convert this stove.
Cet appareil peut être installé dans un maison préfabriquée
(mobile) déjà installée à demeure si les règlements locaux le
permettent.
Cet appareil doit être utilisé uniquement avec les types de
gas indiqués sur la plaque signalétique. Ne pas l’utiliser avec
d’autres gas sauf si un kitde conversion certifié est installé
