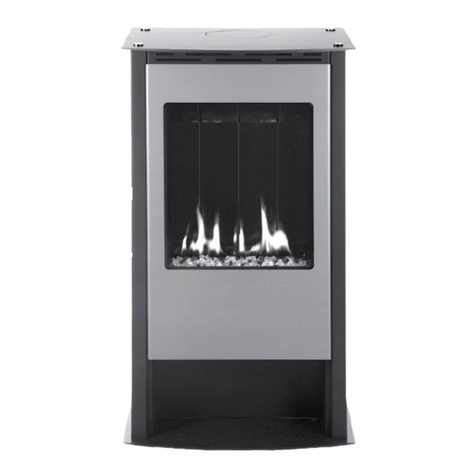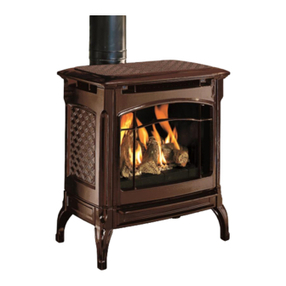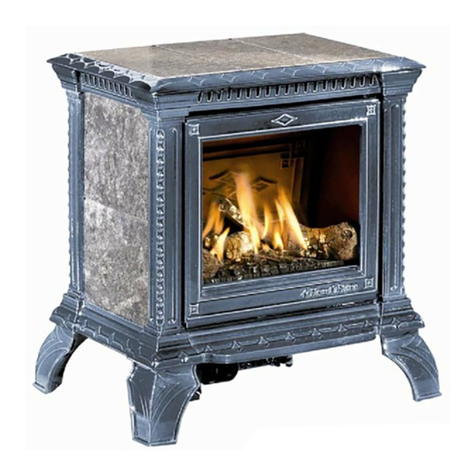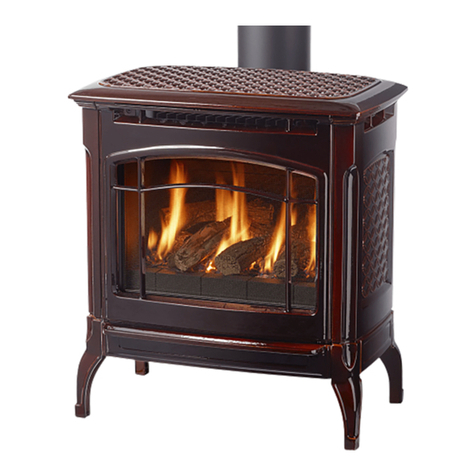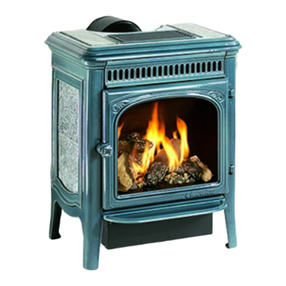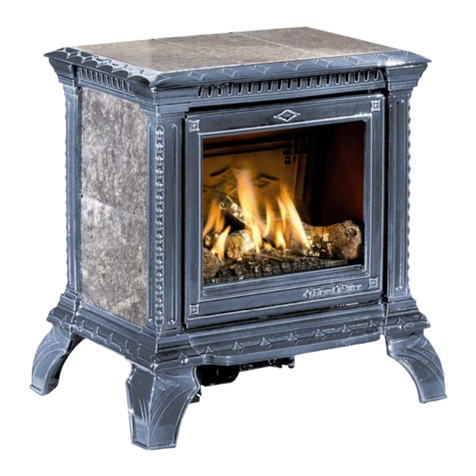
Hearthstone Quality Home Heating Products, Inc STERLING-Ht Model 8532
4
OWNER’S INFORMATION
The installation must conform with local codes or, in
the absences of local codes, the current National Fuel
Gas Code, ANSI Z223.1 (NFPA 54), or CAN/CGA
B149 Installation Code. (Installer l’appareil selon les
codes ou règlements locaux, ou, en l’absence de tels
règlements, selon les Codes d’installation CAN/CGA-
B149.)
Warning: Do not use this appliance if any part has
been under water. Immediately call a qualified
service technician to inspect the heater, and to
replace any part of the control system that has
been under water. (Ne pas se servir de cet appareil
s’il a été plongé dans l’eau, complètement ou en
partie. Appeler un technicien qualifié pour inspector
l’appareil et remplacer toute partie du système de
contrôle et toute commande qui ont été plongés dans
l’lau.)
Certified for use by:
Board of State Examiners of Plumbers and Gasfitters
100 Cambridge Street, Room 1511
Boston, Massachusetts 02202
LIGHTING INSTRUCTIONS
The gas control knob is located on the top of the
stove, in the rear, right-hand corner.
1. Set the on/off/T-stat switch or thermostat to the
off position.
2. Unplug the blower accessory, if so equipped
3. Push in and turn gas control knob clockwise to
“OFF”. (If not previously lit, the knob should be
in this position.)
4. Wait (5) five minutes to clear out any gas. If you
then smell gas, STOP! Smell all around the
appliance area for gas. Be sure to smell next to
the floor because some gases (LPG) are heavier
than air and will settle on the floor. If you smell
gas immediately follow the What To Do If You
Smell Gas! warning on the cover of this Manual.
If you do not smell gas, go to the next step.
5. Turn gas control knob counterclockwise to
“PILOT”.
6. Push in control knob all the way and hold in.
(You should hear the clicking of the igniter in the
firebox) Verify ignition of the pilot. Continue to
hold the control knob in for about 20 seconds
after the pilot is lit. Release the knob and it will
pop back out. Pilot should remain lit. If the pilot
goes out, repeat the operation.
If knob does not pop out when released, stop
and immediately call a qualified service
technician or gas supplier.
If the pilot will not stay lit after several tries,
turn the gas control knob “OFF” and call a
qualified service technician or gas supplier.
7. Turn gas control knob counterclockwise to
“ON”.
8. Select “ON” or “T-STAT” position on the
on/off/t-stat switch.
9. Plug in the blower accessory, if so equipped.
10. Set thermostat to “ON” and set the desired
temperature setting.
Normally, if the “T-STAT” position was selected, the
main burner is cycled on and off by the Thermostat
or the “on”, “off” switch located on the bottom of the
Thermostat body.
TO TURN OFF THE GAS TO THE APPLIANCE
Turn the gas control knob clockwise to “OFF”
position. If shutting the unit off for the non-heating
season, this will improve the overall efficiency of the
unit as the heat from the pilot is wasted in the
summer. When putting the unit back into service
follow the lighting instructions described on this
page.
VARIABLE OUTPUT CONTROL
The gas control valve is equipped with a variable
output control. This control varies the rate of heat
produced by the unit by varying the gas pressure to
the ember burner.
DAILY OPERATIONS
The homeowner can easily operate the Sterling gas-
fired heater. The unit comes with a standard
thermostat. Remote thermostats, or wall switches are
available for purchase from your local Hearthstone
dealer. Once the thermostat is installed and properly
adjusted, the desired room temperature is maintained.
By adjusting the variable output control located on
the gas control valve, the rate of heat output can be
varied to meet the heating requirements of the season.
Choosing a low flame setting will result in longer
burn cycles at a reduced output, while choosing a
high flame setting will result in a shorter, hotter burn
cycle. Through trial and error, the homeowner can
select the optimum flame size for their setting and
application. Also available is a variable speed blower.
(Kit# 95-57320)
