manuals.online logo
Brands
  1. Home
  2. •
  3. Brands
  4. •
  5. Heartwood
  6. •
  7. Indoor Furnishing
  8. •
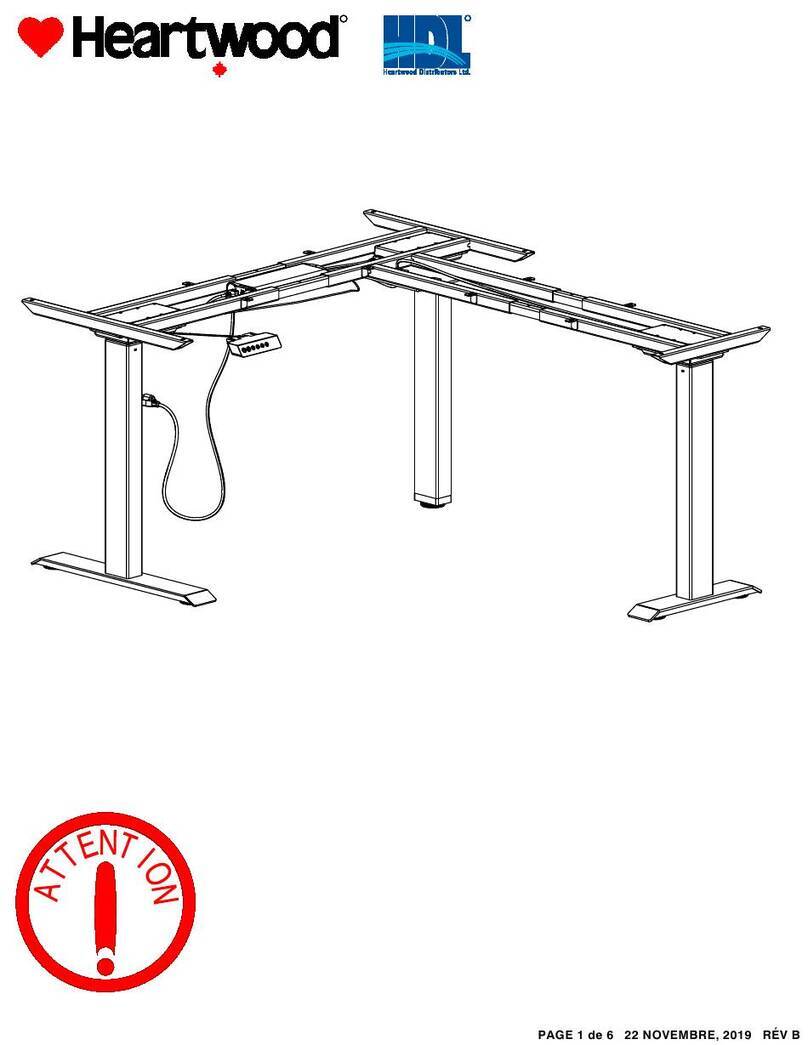
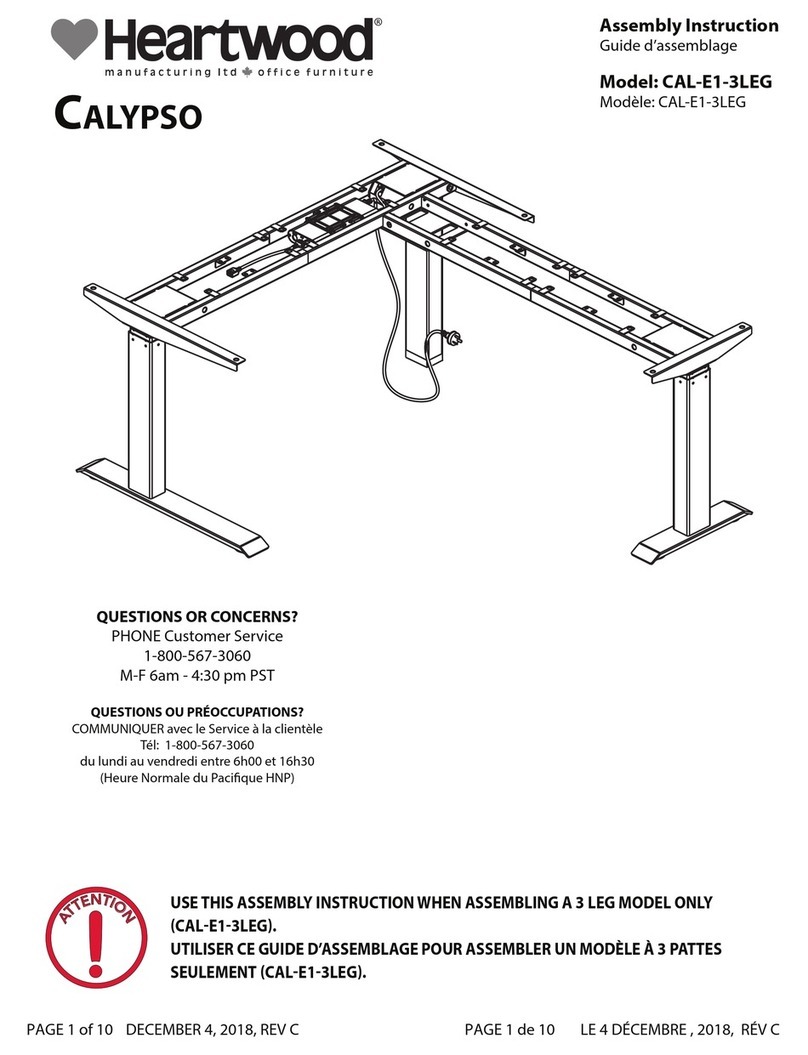
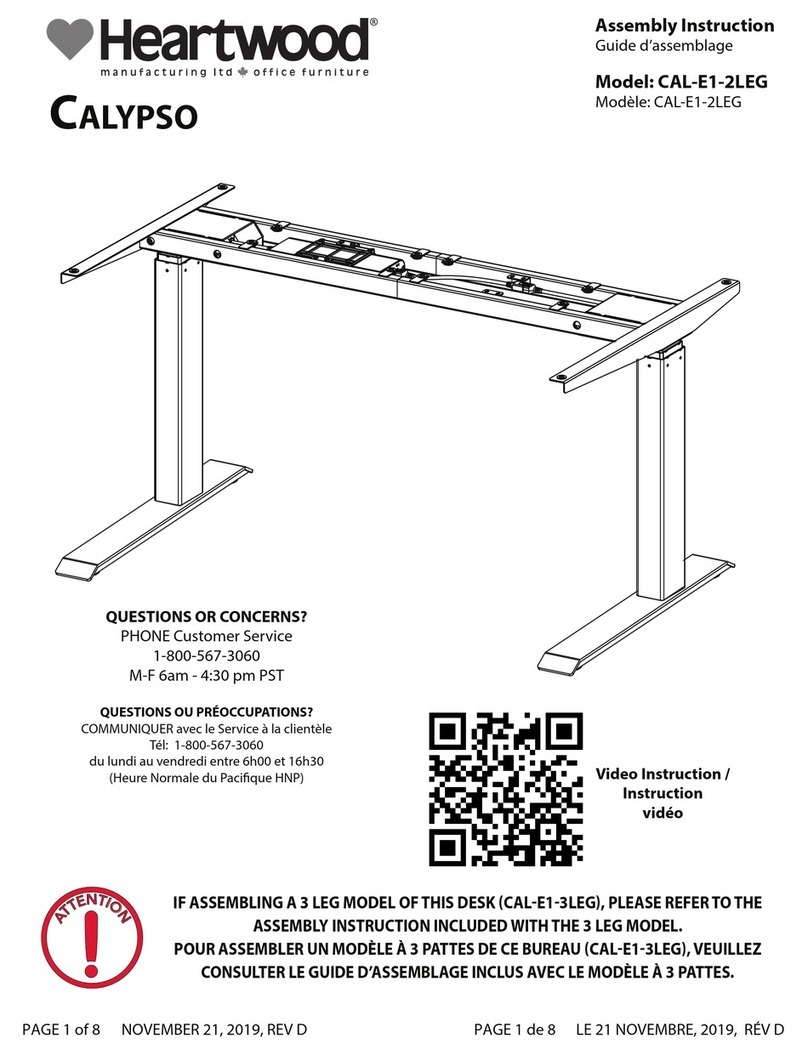
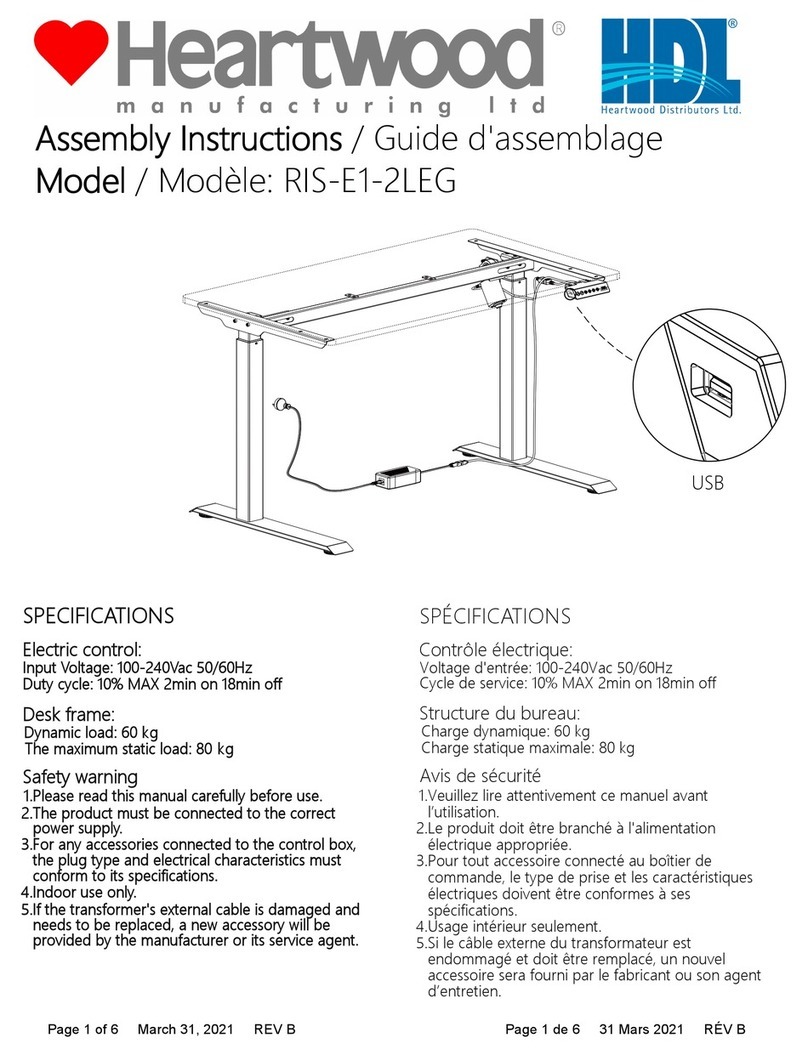
  9. Heartwood 900-CRANK-SL User manual

Heartwood 900-CRANK-SL User manual

15
2
•Turn over the desk frame with the crossbar facing up.
•Pull the handle outward first to adjust the desk height.
•There are two adjustable foot pads under each foot. If the floor
isn't even, simply turn the pad to adjust the height to make the
desk stable.
1
1
2
Level Adjustment / Réglage du niveau
Tip: Use a bubble level to check if the desktop is even.
Bubble Level / niveau à bulle
3
Model / Modèle: 900-CRANK-SL
Assembly Instructions
Guide d'assemblage
QUESTIONS OR CONCERNS?
Please contact Customer Service
Tel 1-800-567-3060
M-F 6am - 4:30 pm PST
[email protected]
QUESTIONS OU PRÉOCCUPATIONS?
Communiquer avec le Service à la clientèle
Tél 1-800-567-3060
Du lundi au vendredi entre 6h00 et 16h30
(Heure Normale du Pacifique HNP)
[email protected]
•Retournez la structure du bureau avec la barre transversale vers le haut.
•Tirez d'abord la poignée vers l'extérieur pour régler la hauteur du bureau.
•Il y a deux coussinets réglables sous chaque patte. Si le plancher n'est pas
égal, tournez simplement le coussin pour ajuster la hauteur afin de stabiliser le
bureau.
Conseil: utilisez un niveau à bulle pour vérifier si le dessus de bureau est au niveau.
1 2
PPreface / Introduction
Other Safety Instructions / Instructions de sécurité supplémentaires:
CAUTION
•L'utilisation à l'extérieur est interdite.
This manual height adjustable standing desk consists of a heavy-duty steel desk frame, and a manual height adjustment
system. Please read and completely understand this manual before installation in order to make sure the safe and correct use of
the system and maintain the longevity of the overall construction.
Safety and Warnings / Précautions et mises en garde:
•n ailure to copl it te saet and installation instructions in tis anual a result in serious bodil ar.
•Tis product sould not be used b cildren under  ears old. ildren older tan  sould still be supervised and given clear
instructions concerning te sae use o tis appliance and be ade to understand te azards involved. ildren sall not pla
it tis appliance.
•ersons it reduced psical ental abilities and or lac o experience and noledge ust not use te product unless te're
under supervision understand te azards involved or te ave been torougl instructed in te use o te apparatus b a
person o is responsible or te saet o tese persons.
•leaning and aintenance ust onl be perored b capable dults o are ailiar it tis product.
•sers sould ae sure tat te never sit on te destop in order to prevent serious bodil injur.
Ce bureau assis-debout à hauteur réglable manuellement comporte une structure en acier robuste et un système de réglage
manuel de la hauteur. Veuillez lire et comprendre parfaitement ce manuel avant l'installation afin de garantir une utilisation sûre
et correcte du système.
•Le nonrespect des instructions de sécurité et d'installation de ce anuel peut entraner des blessures graves.
•e produit ne doit pas tre utilisé par des enants de oins de  ans. Les enants de plus de  ans doivent toujours tre
surveillés et recevoir des instructions claires concernant l'utilisation en toute sécurité de cet appareil et tre aenés à
coprendre les risues encourus. Les enants ne doivent pas jouer avec cet appareil.
•Les personnes aant des capacités psiues entales réduites ou anuant d'expérience et de connaissances ne doivent
pas utiliser le produit à oins u'elles ne soient sous surveillance coprendre les dangers encourus ou avoir reu une
oration approondie sur l'utilisation de l'appareil par une personne responsable de la sécurité de ces personnes.
•Le nettoage et l'entretien ne doivent tre eectués ue par des adultes copétents et connaissant ce produit.
•Les utilisateurs doivent s'assurer de ne jaais s'asseoir sur le bureau ain d'éviter des blessures graves.
•lear up all obstacles itin te eigt adjustent range.
•n attepts to reconstruct te des rae aren't alloed.
•on't add anting to te adjustable junctions o te des rae.
•utdoor use is proibited.
•Éliinez tous les obstacles dans lespace de réglage de la auteur.
•Toute tentative de reconstruction de la structure n'est pas autorisée.
•N'ajoutez rien aux jonctions réglables de la structure.
Specifications
Spécifications
1
Capacité de poids
70kg (154lbs)
Operation Temperature
Température de fonctionnement
(-5°C~+40°C)
Required Tools
Outils requis
2
Bubble Level Allen Wrench (included) Drill Phillips screwdriver
3A Shipping Blanket to protect the desk and floor
Une couverture pour protéger le bureau et le plancher
Things you need to know
before installation
Ce qu’il faut savoir avant
l’installation
4 Please check all of the components shown in the component checklist. If any of the components are missing or
damaged, contact your point of purchase for a replacement.
Veuillez vérifier toutes les composantes indiquées dans la liste des composantes. Si l'une des composantes est
manquante ou endommagée, contactez votre point d'achat pour un remplacement.
Disposal: The product with this mark indicates that this product shouldn't be disposed with other household
wastes throughout the EU. To prevent possible harm to the environment or human health from uncontrolled waste
disposal, recycle it responsibly to promote the sustainable reuse of material resources. To return your used device,
please use the local recycle service or contact your point of purchase to withdrawn the product.
Mise au rebut: Le produit avec cette mention indique que ce produit ne doit pas être éliminé avec d'autres
déchets ménagers. Pour prévenir d'éventuels dommages à l'environnement ou à la santé humaine de l'élimination
incontrôlée des déchets, recycler de manière responsable pour promouvoir la réutilisation durable des ressources.
Pour vous débarrasser de votre appareil usagé, veuillez utiliser un service de recyclage local ou contacter votre lieu
d’achat pour retourner le produit. This page can be torn so that it's easier for you to match the components with the images.
3 4
Preparation / Préparation Checklist and Installation / Liste et installation
Suggested Tools
Outils suggérés
A (x1)
Crossbar / Barre transversale
E (x2)
Side Bracket / Support latéral
H (x2)
Foot / Patte
G (x1)
Drive Rod Module /
Module de tige d’entraînement
B (x1)
Lifting Column / Colonne de levage
C (x1)
Lifting Column / Colonne de levage
D (x1)
Crossbar Spacer /
Entretoise de barre transversale
F (x1)
Sync Rod / Tige de synchronisation
Weight Capacity
Niveau à bulle Clé Allen (incluse) Perceuse Tournevis cruciforme
Cette page peut être enlevée afin qu'il vous soit plus facile de faire correspondre les composantes avec les images.
5 6
S-A (x16)
Hex Head Screw / Vis à tête hexagonale
S-B (x4)
Phillips Head Screw / Vis à tête Phillips
S-C (x10)
Phillips Head Screw+ 1 Spacer /
Vis à tête Phillips avec entretoise
Now let's start the installation.
Débutons l’installation.
S-E (x1)
Allen Wrench / Clé Allen
S-D (x10)
Anti-Vibration Pad / Coussin anti-vibration
S-E
Shipping Blanket / Couverture
A
Assembling the Crossbar /
Assemblage de la barre transversale
•Please prepare a spacious area for installation and put a shipping blanket on the area to prevent scratches on the
floor and the frame.
•Loosen the hex head screws that fix the adjustable junction, but don't completely take out the screws.
Note:The drawing of the crossbar is the backside of it.
•Veuillez préparer l’espace pour l'installation et mettre une couverture au sol pour éviter les rayures sur le plancher
et la structure.
•Desserrez les vis à tête hexagonale qui fixent la jonction réglable, mais ne retirez pas complètement les vis.
Note: le dessin de la barre transversale est l'arrière de celle-ci.
7 8
S-E
S-A
B
C
D
A
Installing the Side Brackets /
Installation des supports latéraux
.
•Attach the side bracket to the end of the lifting column using
the 2 screws as shown, using the Allen wrench
•Repeat the same process to assemble the other side bracket.
E
S-A S-E
E
S-A
S-E
Note: Maintain the lifting columns in a FACE
DOWN position during installation. This will
aid in the remaining assembly steps.
B
•Fixez une extrémité de la barre transversale et l’entretoise de barre transversale à la colonne de levage avec 2 vis
à l'aide de la clé Allen tel qu’illustré.
•Fixez l'autre extrémité de la barre transversale à la colonne de levage avec 2 vis à l'aide de la clé Allen .
•Attach one end of the crossbar and crossbar spacer to the lifting column with 2 screws
using the Allen wrench as shown.
•Attach the other end of the crossbar to the lifting column with 2 screws using the Allen wrench .
ADS-A
S-
E
S-A
C
S-
E
ADBS-A
S-
E
S-A
C
S-
E
Note: Maintenez les colonnes de levage en
position de face vers le bas pendant
l'installation. Cela facilitera les étapes
d'assemblage restantes.
•Fixez le support latéral à l'extrémité de la colonne de levage
avec 2 vis à l’aide de la clé Allen tel qu’illustré.
•Répétez le même processus pour assembler l'autre support latéral.
E
S-
E
S-
A
9 10
Assembling the Sync Rod /
Assemblage de la tige de synchronisation
3
•Turn the left knob clockwise as shown to loosen the sync rod .
•Attach the end of the sync rod as shown to the motor spindle in red line position
and turn the left knob counterclockwise to tighten the connection. knob
1
F
knob
1
2
2
F
•Tournez le bout gauche dans le sens des aiguilles d'une montre comme illustré
pour desserrer la tige de synchronisation .
•Fixez l'extrémité de la tige de synchronisation tel qu’illustré à la tige du moteur
à la position de la ligne rouge et tournez le bout gauche dans le sens
antihoraire pour resserrer la connexion.
F
•Turn the right knob counter clockwise as shown to loosen the sync rod.
•Insert the other end of the sync rod into the column as shown.
•Tournez le bout droit dans le sens antihoraire tel qu’illustré pour desserrer la tige de
synchronisation.
•Insérez l'autre extrémité de la tige de synchronisation dans la colonne tel qu’illustré.
11 12
S-E
1
3
2
Assembling the Desktop /
Assemblage du dessus de bureau
S-D
•Align the previously drilled screw holes with the
mounting holes on the crossbar. Insert and
tighten the 10 screw Ss
-C from below.
Phillips
screwdriver
Tournevis
cruciforme
S-C
•Place the assembled frame on the back of the desktop as shown and then adjust the width of
the crossbar to suit the size of the desktop.
•Tighten all the hex head screws on the crossbar to finish the adjustment.
•Re-tighten the sync rod by turning the knob clockwise as shown.
•After tightening the screws, use a drill to make mounting holes on the backside of the desktop
through the 10 mounting holes on the side brackets.
Note: The depth of the mounting holes should be over 10mm and the diameter
should be less than 3mm.
Drill
Perceuse
•Placez la structure assemblée sur l’envers du dessus de bureau tel qu’illustré, puis ajustez la
largeur de la barre transversale en fonction de la taille du dessus de bureau.
•Serrez toutes les vis à tête hexagonale de la barre transversale pour compléter le réglage.
•Resserrez la tige de synchronisation en tournant le bout dans le sens des aiguilles d'une
montre tel qu’illustré.
•Après avoir serré les vis, utilisez une perceuse pour faire des trous de montage sur l’envers
du dessus de bureau à travers les 10 trous de montage des supports latéraux.
Note: la profondeur des trous de montage doit être supérieure à 10mm et le diamètre doit
être inférieur à 3mm.
•Attach the anti-vibration pad to the
surface of the crossbar at the ten positions
shown.
S-D
•Fixez le coussin anti-vibration à la
surface de la barre transversale aux dix
endroits tel qu’illustré.
S-D
•Alignez les trous de vis précédemment percés
avec les trous de montage de la barre
transversale. Insérez et serrez les
10 vis par le bas .
S-C
13 14
Installing the Feet / Installation des pattes
•Place the foot on the bottom of the lifting column. Align the mounting holes on the foot with
the screw holes on the lifting column.
•Fix the foot with 4 screws using the Allen wrench .
•Repeat the same process to assemble the other foot.
S-A
H
S-E
•Loosen the screw using the Allen wrench to adjust the drive rod module to fit the
width of the desktop.
•Insert the drive rod module into the gearbox as shown and tighten the screw to finish the
adjustment.
•Fix the drive rod module onto the back of the desktop with screws as shown.
3
2
1
S-E
G
S-B
Drill
Perceuse
S-E G
S-B
•Desserrez la vis à l'aide de la clé Allen pour ajuster le module de tige
d'entraînement à la largeur du dessus de bureau.
•Insérez le module de tige d'entraînement dans la boîte de transmission tel qu’illustré et
serrez la vis pour compléter le réglage.
•Fixez le module de tige d'entraînement à l'endos du dessus de bureau à l'aide des vis
tel qu’illustré.
S-E
G
S-B
HS-A S-E
•Placez la patte au bas de la colonne de levage. Alignez les trous de montage de la patte
avec les trous de vis de la colonne de levage.
•Fixez la patte avec 4 vis à l'aide de la clé Allen .
•Répétez le même processus pour assembler l'autre patte.
HS-A S-E

Other Heartwood Indoor Furnishing manuals

Heartwood ATHENA ATH-E1-3LEG User manual

Heartwood

Heartwood ATHENA ATH-E1-3LEG User manual

Heartwood CALYPSO CAL-E1-3LEG User manual

Heartwood

Heartwood CALYPSO CAL-E1-3LEG User manual

Heartwood CALYPSO CAL-E1-2LEG User manual

Heartwood

Heartwood CALYPSO CAL-E1-2LEG User manual

Heartwood CALYPSO CAL-E1-2LEG User manual

Heartwood

Heartwood CALYPSO CAL-E1-2LEG User manual

Heartwood ATL-E1-1LEG User manual

Heartwood

Heartwood ATL-E1-1LEG User manual

Heartwood Hazel MONTESSORI CLIMBING TRIANGLE User manual

Heartwood

Heartwood Hazel MONTESSORI CLIMBING TRIANGLE User manual

Heartwood RIS-E1-2LEG User manual

Heartwood

Heartwood RIS-E1-2LEG User manual

Popular Indoor Furnishing manuals by other brands

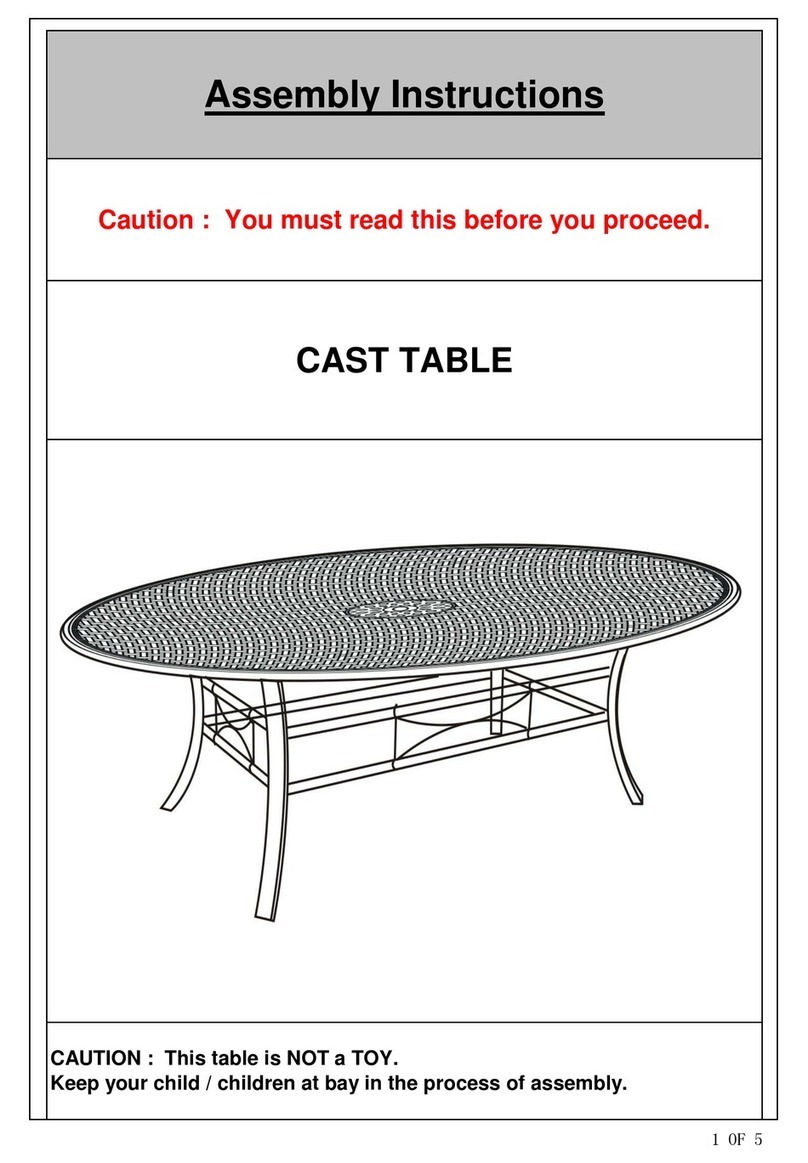
Costco CAST TABLE Assembly instructions

Costco

Costco CAST TABLE Assembly instructions

AMQ ACTIV-Pro user guide

AMQ

AMQ ACTIV-Pro user guide

Home Decorators Collection FRA60647AHSSTBA Use and care guide

Home Decorators Collection

Home Decorators Collection FRA60647AHSSTBA Use and care guide

Jysk MALAGA 5213301 Assembly instructions

Jysk

Jysk MALAGA 5213301 Assembly instructions

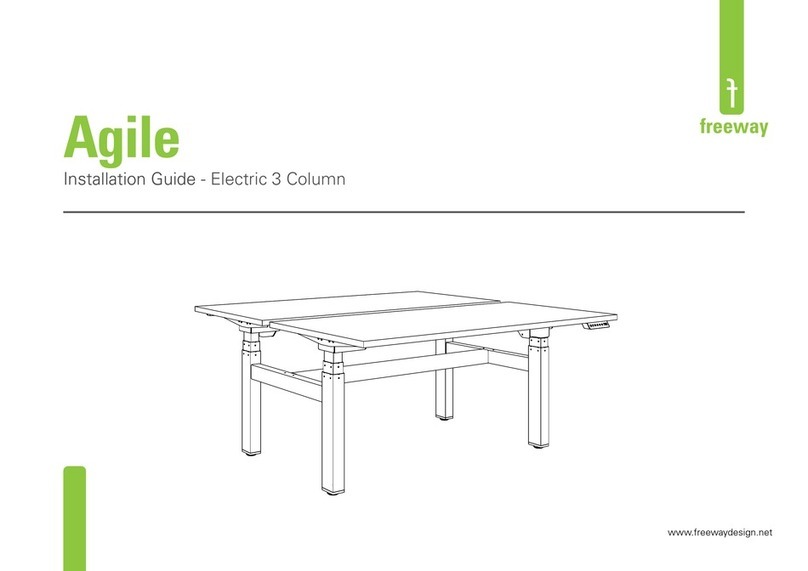
FREEWAY Agile Electric 3 Column installation guide

FREEWAY

FREEWAY Agile Electric 3 Column installation guide

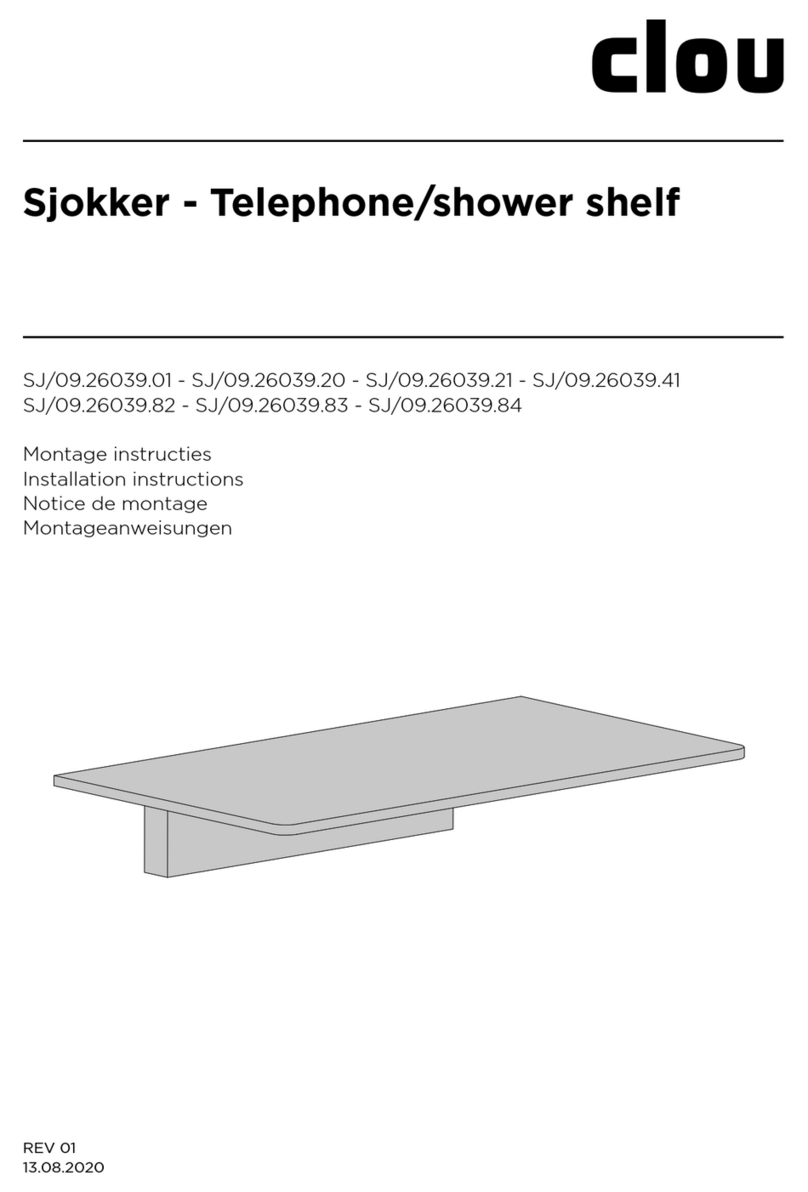
Clou Sjokker SJ/09.26039.82 installation instructions

Clou

Clou Sjokker SJ/09.26039.82 installation instructions

DREAMS SEOUL TV BED OTTOMAN UPGRADE manual

DREAMS

DREAMS SEOUL TV BED OTTOMAN UPGRADE manual

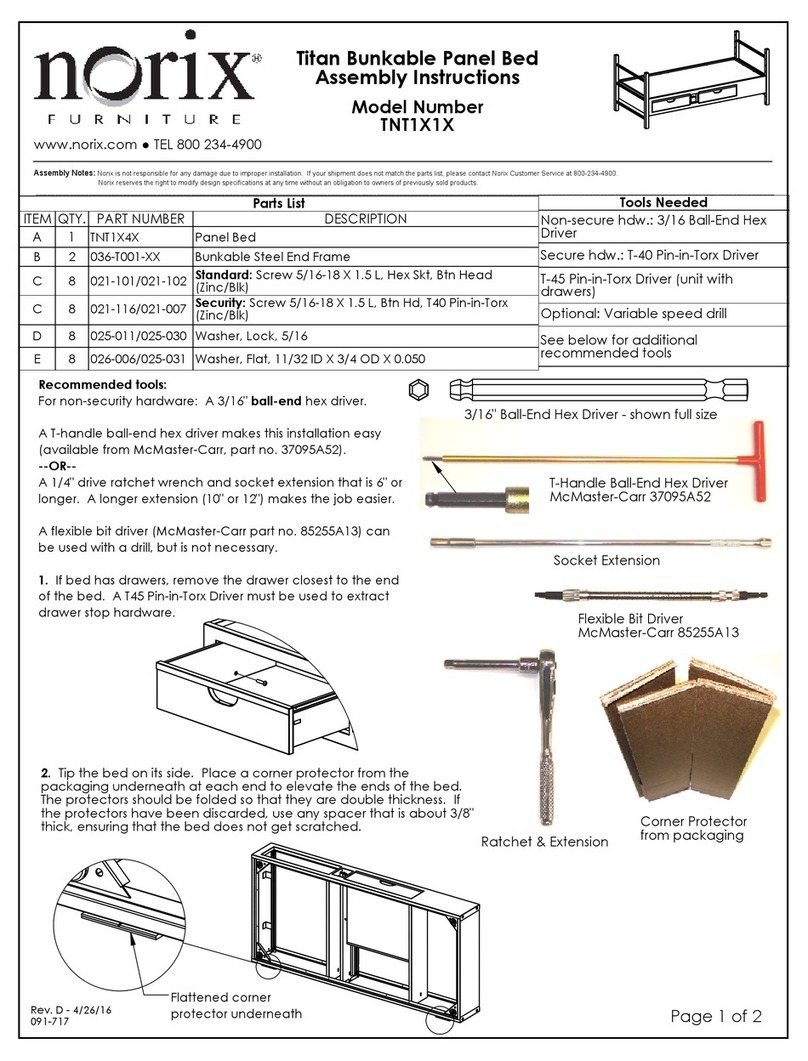
norix TNT1X1X Assembly instructions

norix

norix TNT1X1X Assembly instructions

Uberhaus RFVA-0014 Operator's manual

Uberhaus

Uberhaus RFVA-0014 Operator's manual

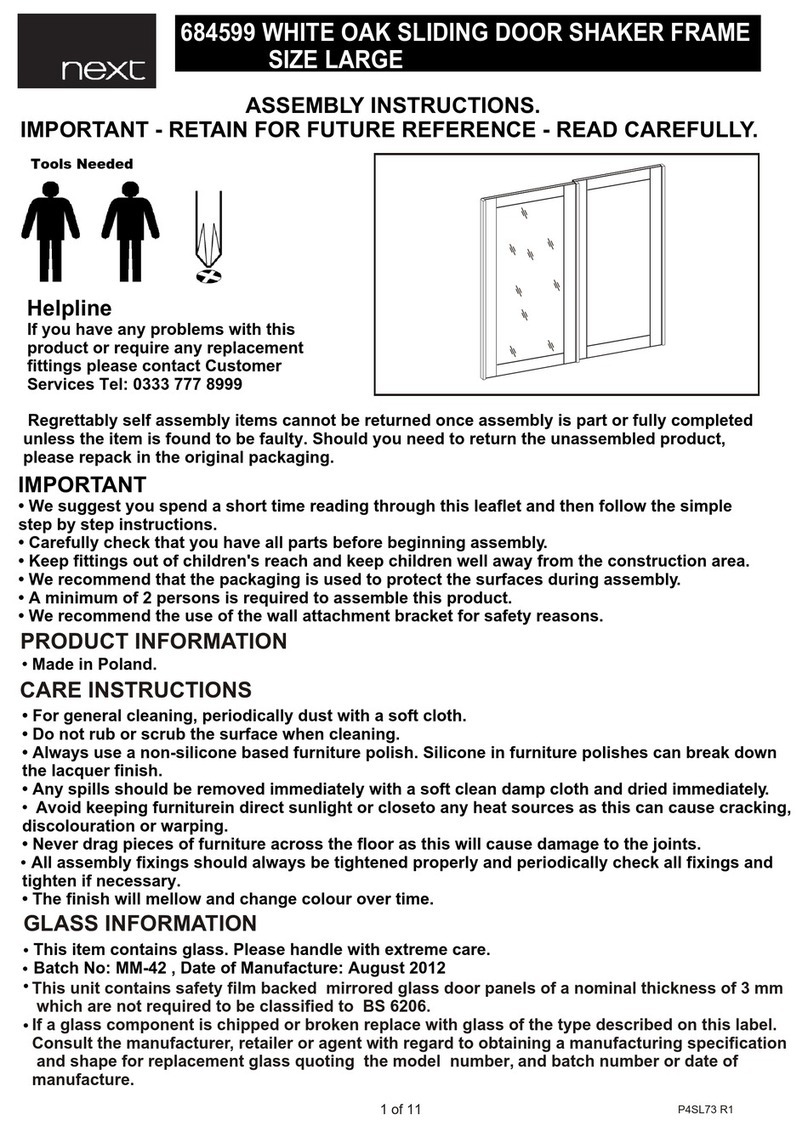
Next 684599 Assembly instructions

Next

Next 684599 Assembly instructions

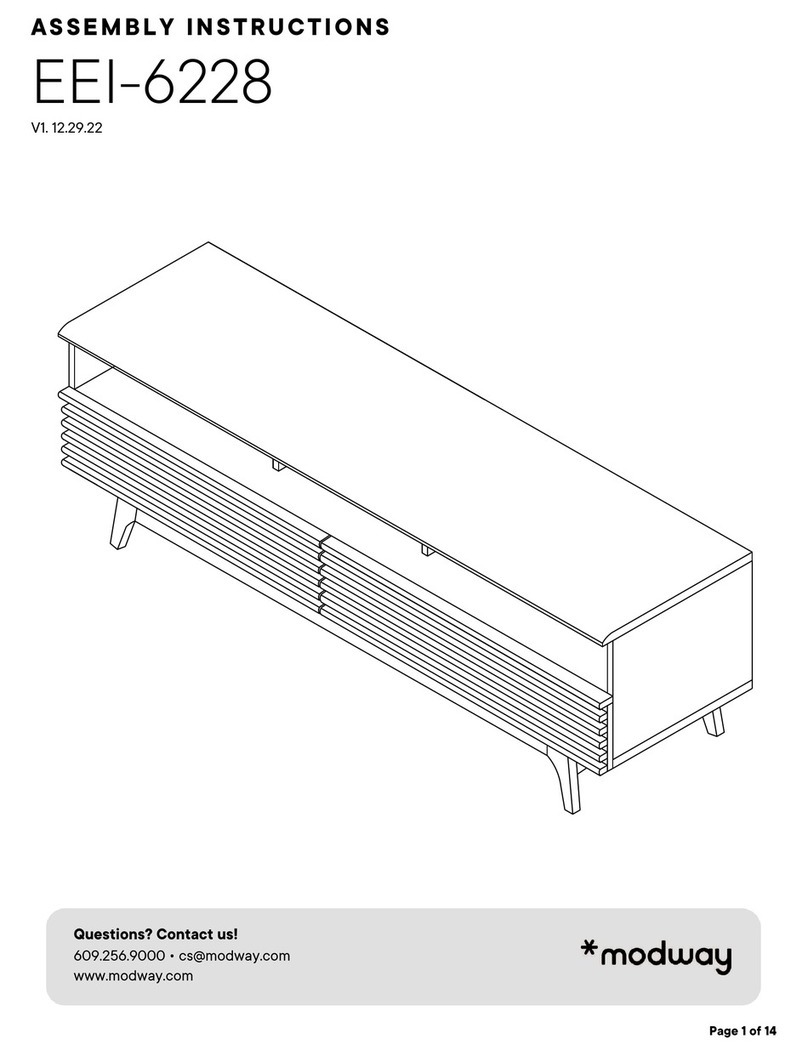
modway Render EEI-6228 Assembly instructions

modway

modway Render EEI-6228 Assembly instructions

Argos Home Venetia manual

Argos

Argos Home Venetia manual

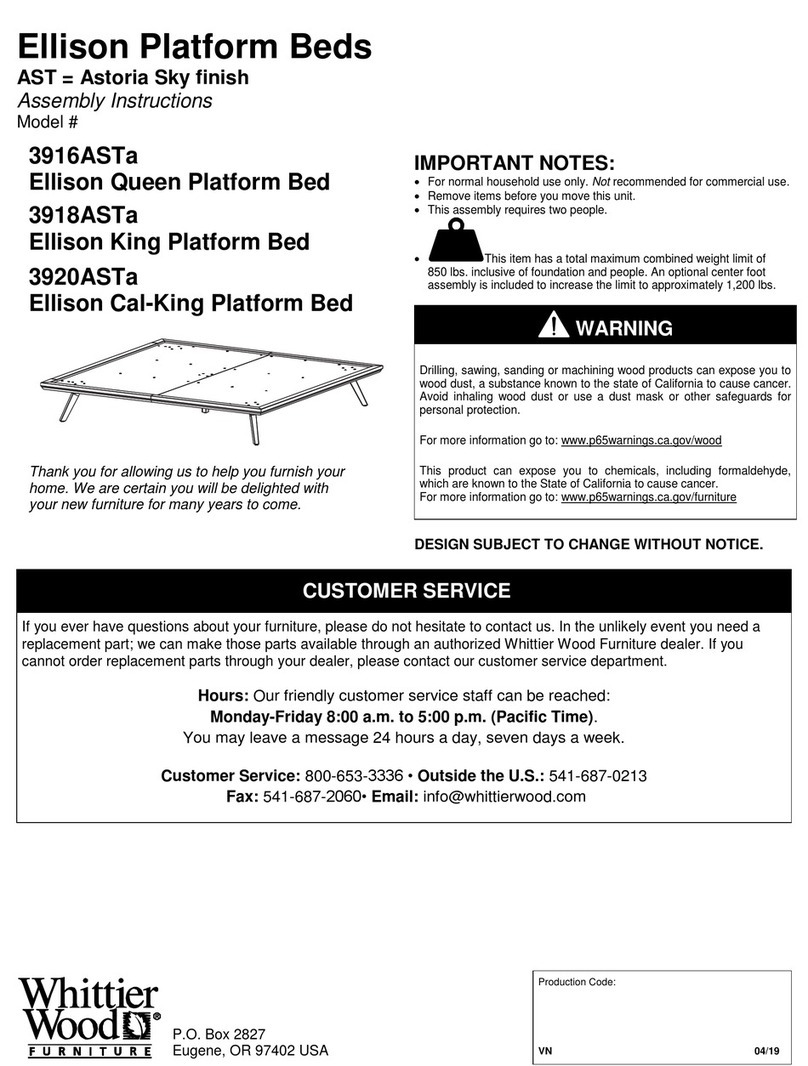
Whittier Wood Furniture Ellison Queen 3916ASTa Assembly instructions

Whittier Wood Furniture

Whittier Wood Furniture Ellison Queen 3916ASTa Assembly instructions

Living Spaces Jaxon 218098 owner's manual

Living Spaces

Living Spaces Jaxon 218098 owner's manual

Strictly Beds & Bunks Eldon Assembly instructions

Strictly Beds & Bunks

Strictly Beds & Bunks Eldon Assembly instructions

Spacetronik SPE-223H installation guide

Spacetronik

Spacetronik SPE-223H installation guide

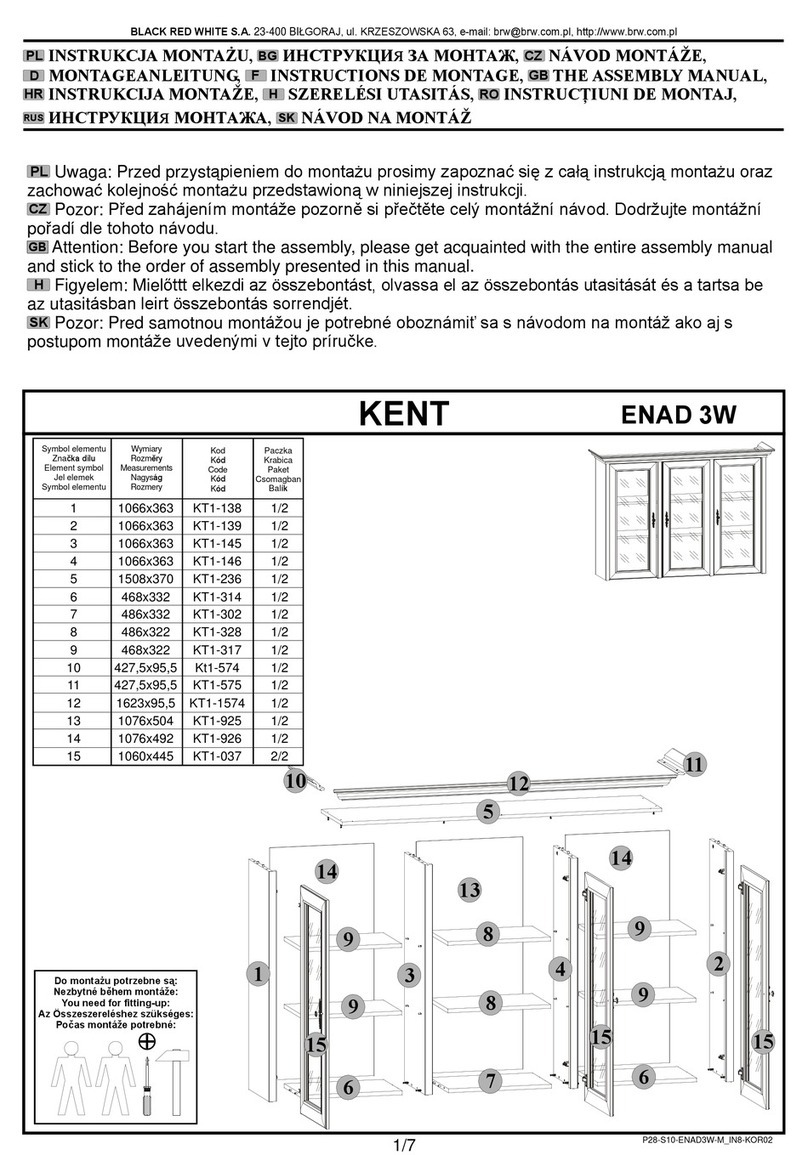
BLACK RED WHITE KENT ENAD3W Assembly manual

BLACK RED WHITE

BLACK RED WHITE KENT ENAD3W Assembly manual

Office Star Products TSX1121 operating instructions

Office Star Products

Office Star Products TSX1121 operating instructions

manuals.online logo
manuals.online logoBrands
  • About & Mission
  • Contact us
  • Privacy Policy
  • Terms and Conditions

Copyright 2025 Manuals.Online. All Rights Reserved.