Manual Fuel Filling Mode
This mode is used after the first installation of the unit or if the unit shuts down because the fuel
tank ran out of the diesel and the display shows error code E-10. This mode is not available if the
unit was previously running with successful shutdown. To make this mode available again, you
have to disconnect the main main power cords first to reset the settings.
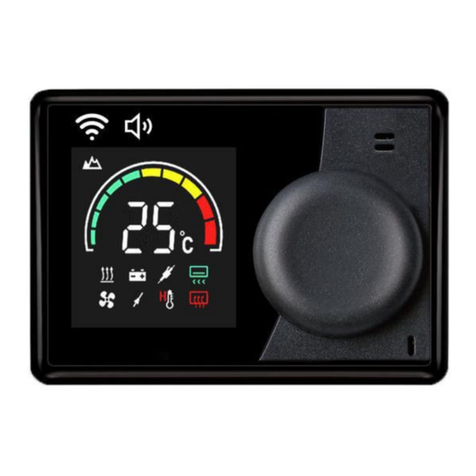
To start manual filling, short press together the POWER and RIGHT button on the Wired Switch.
The LCD will display “ H oF” which indicates that the fuel filling mode is OFF. Short press the
LEFT button to turn this mode into ON state. Display shows “H oN” and pump starts pumping the
fuel thru the fuel line. To turn OFF this mode, short press the RIGHT button and then short press
the POWER button to escape this mode.
Note: This process can only be done while you visually control the position of the diesel on the transparent fuel line. You must
manually stop this mode before the fuel reaches the fuel inlet of the heating unit, otherwise the burner will be fulfilled with the fuel
and the next startup will be unsuccessful with a lot of the white or black smoke. If you can not check this, do not use this mode
and fulfill the lines with the normal Startup mode that automatically initiates the burning process once the fuel reaches the heate
r.
Parameter Settings Mode
This mode can be accessed in both ON and OFF state. Long press LEFT button on the Wired
Switch to enter into settings state. If no button is pressed in 15 seconds, the display will
automatically jump into the normal mode and you have to start again.
● Clock Settings
Set the exact time in the 24h format. For example “19:21”. Use the LEFT and RIGHT button
on the Wired Switch to adjust the digit. Use the POWER button on the Wired Switch to
confirm the value and jump into the next digit or settings.
● Timed Start-up (1)
Set the countdown to automatically start up the heater from the OFF state. The display
shows “1 oF”. Once you change the value to “1 On” by pressing the LEFT button and
POWER button to confirm you can preset the exact time for the countdown in hours and
minutes. To get in the the next settings, press POWER button.
● Timed Shutdown (2)
Set the countdown to automatically shut down the heater from the ON state. The display
shows “2 oF”. Once you change the value to “2 On” by pressing the LEFT button and
POWER button to confirm, you can preset the exact time for the countdown in hours and
minutes. To get in the the next settings, press POWER button.
● Management of the Internal Settings ( - - - - )
Note: this mode is accessible only by the manufacturer of the unit and it is password protected. To jump back to the
normal screen, please wait a couple of seconds.


