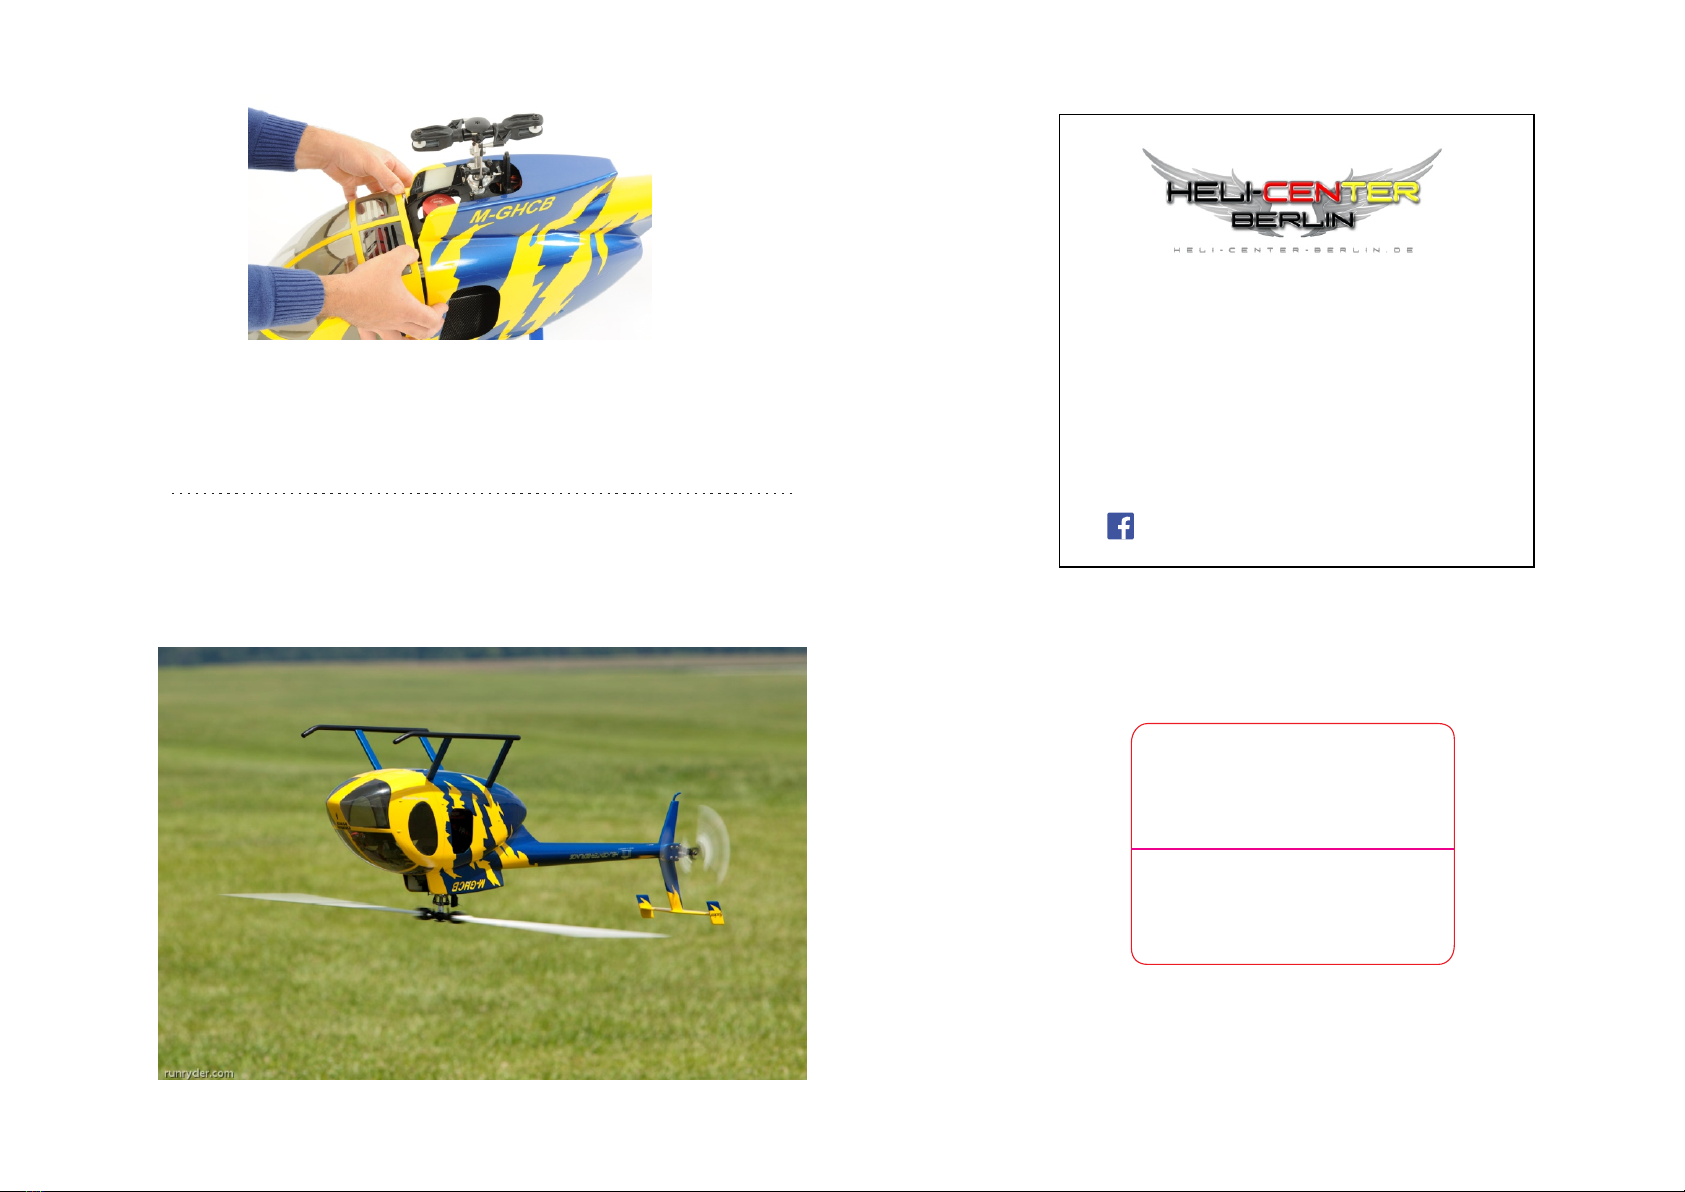
HELI-CENTER BERLIN Hughes 500 User manual

Montage-Anleitung Hughes 500
Manual Hughes 500

1.Lieferumfang / Scope of delivery
2. Befestigen Sie die beiden Landegestelle
mit Inbusschraube M3x14 (4x) und U-Scheibe 3,2x9 (8x).
3. Bereiten Sie die Logo 600 SE Mechanik wie Bild gezeigt vor.
4. Tauschen Sie das CFK-Leitwerk gegen die
CFK-Heckgetriebeplatte aus.
Attach the two landing gear´s with Screw M3x14 (4x) and
Washer 3,2x9 (8x)
Prepare the Logo 600 SE mechanic as picture shown before. Replace the Carbon Tail fin against the Carbon
Tail gear plate.

7. Montage der oberen Rumpfbestigungsbolzen 8. Bevor Sie die Mechanik in den Rumpf schieben
schützen Sie bitte den oberen Rumpfbereich mit
Klebeband.
5. Obere Rumpfbefestigung (a)
Elektronik-Befestigungsplatte (b)
Mechanik-Befestigung (c)
6. Befestigen Sie Chassisbefestigung-Platten
Inbusschraube M3x8 (4x)
abc
mit
Mounting the upper Bolts
Upper Mounting Bolts (a)
Elektronic-Plate (b)
Mechanic-Plate´s (c)
Attach the Mechanic Plate with Screw M3x8 (4x)
Before you push the mechanic into the fuselage
Please protect the upper area with Tape.

9. LOGO Mechanik vor dem Einbau in den
Hughes 500 Rumpf.
10. Ziehen Sie die obere Rumpföffnung vorsichtig
auseinander, damit die Servo´s in den Rumpf passen.
11. Schieben Sie die eingebaute Mechanik bis an
den Anschlag nach hinten.
12. Jetzt können Sie den Heckrotor montieren.
Linsenkopfschraube M3x16 2x
(Ersatz für Original Stützstrebenschraube)
!
Nicht im oberen Bereich
anfassen zum aus einander
ziehen !
Nur in diesem
Bereich ziehen !
Sockethead Screw M3x16 (2x)
(Replace for original Tailboom brace screw)
LOGO mechanics prior to installation in the
Hughes 500 fuselage.
Pull the upper fuselage opening careful apart to match
the servo's in the fuselage.
Only pull In this area !
Do not pull in this area !
Slide the Mechanic to end of the Fuselage. Now you can install the the Tailrotor.

13. Montieren Sie den Heckrotor und Zahnriemen
mit Inbusschraube M3x45 (4x), Stopmutter M3 (4x)
und Unterlegscheibe 3,2x9 (8x).
14. Schieben Sie die Mechanik nach vorne,
bis auf Höhe der 4 Befestigungspunkte der
Carbon-Box
15. Verschrauben Sie das Chassis unten mit Inbusschraube M3x10 (4x), Scheibe 3,2x9 (4x) ,oben schieben sie die
8mm Distanzhülse zwischen Rumpf und Befestigungsbolzen und befestigen sie die mit Linsenkofschraube M3x16
Install the Tailrotor and move the Belt over the pulley
as shown in the picture. Use Screw M3x45 (4x),
Stopnut M3 (4x) and washer 3,2x9 (8x).
Slide the mechanics forward
to the height of four attachment points of the
Carbon-Box
Screw the frame bottom with screw M3x10 (4x),and washer 3,2 x9 (4x),then push the 8mm standoff between
fuselage and mounting bolts and secure them with the Socketheadscrew M3x16

17. Befestigung des Leitwerks mit
Stopmutter M3 (4x) und
Unterlegscheibe 3,2x7 (8x)
18. Montage Riemenandruckrolle
Mounting the Tail Fin with
Stopnut M3 (4x) and washer 3,2x7 (8x)
Mounting Belt tensioner Always start below with mounting the pins
19. Immer die unten stifte zuerst ansetzen.
16. Spannen Sie jetzt den Zahnriemen, indem Sie
den Heckrotor nach hinten ziehen und fixieren Sie
die Position mit den 4 Inbusschrauben.
Tighten the timing belt by pull the tail rotor back and
fix the position with the 4 screws.
19. Im zweiten Schritt leichten Druck auf die obere
Kanten ausüben, bis die oberen beiden Stifte ein-
rasten.
In the second step, a slight pressure on the upper
Edge exercise until the top two pins into place.
Heli-Center-Berlin
Patrick Magnus
Unter den Eichen 84a
D-12205 Berlin (Germany)
Tel: +49(0)30 832 27 657
Fax: +49(0)30 832 71 30
e-Mail: PatrickMagnus@Heli-Center.Berlin.de
Web : www.Heli-Center-Berlin.de
Facebook/HeliCenterBerlin
GFK-Teile sind reine Handarbeit.
Unregelmäßigkeiten in Form, Farbe,
Oberflächenbeschaffenheit und
handwerklicher Ausführung, sind
unvermeidbar und geben keinen
G r u n d z u r R e k l a m a t i o n .
Glass-fiber parts are hand-made.
Slight irregulations in form, colour
or surface are inevitable and will
not be considered as a basis for
a n y w a r r a n t y c l a i m s .
Other HELI-CENTER BERLIN Toy manuals

Popular Toy manuals by other brands

ESM
ESM Focke-Wulf Fw 190 instruction manual

Madcow Rocketry
Madcow Rocketry FG Mini BB2 Assembly

HobbyZone
HobbyZone FireBird Freedom instruction manual

Top Gun Pro Heli
Top Gun Pro Heli Rapier 450 instruction manual

Tamiya
Tamiya FAIREY SWORDFISH Mk.II manual

Carrera RC
Carrera RC 370301016 Assembly and operating instructions

Eduard
Eduard Zoom B-26B-50 Invader seatbelts STEEL Assembly instructions

Insight Editions
Insight Editions NEW YORK EMPIRE STATE BUILDING Building instructions

Glow Bricks
Glow Bricks Lego 123 Sesame Street 21324 installation guide

MTHTrains
MTHTrains PREMIER AC4400CW DIESEL ENGINE Operator's manual

Troy-Bilt
Troy-Bilt Pilatur PC-21 instruction manual

marklin
marklin 37006 user manual


