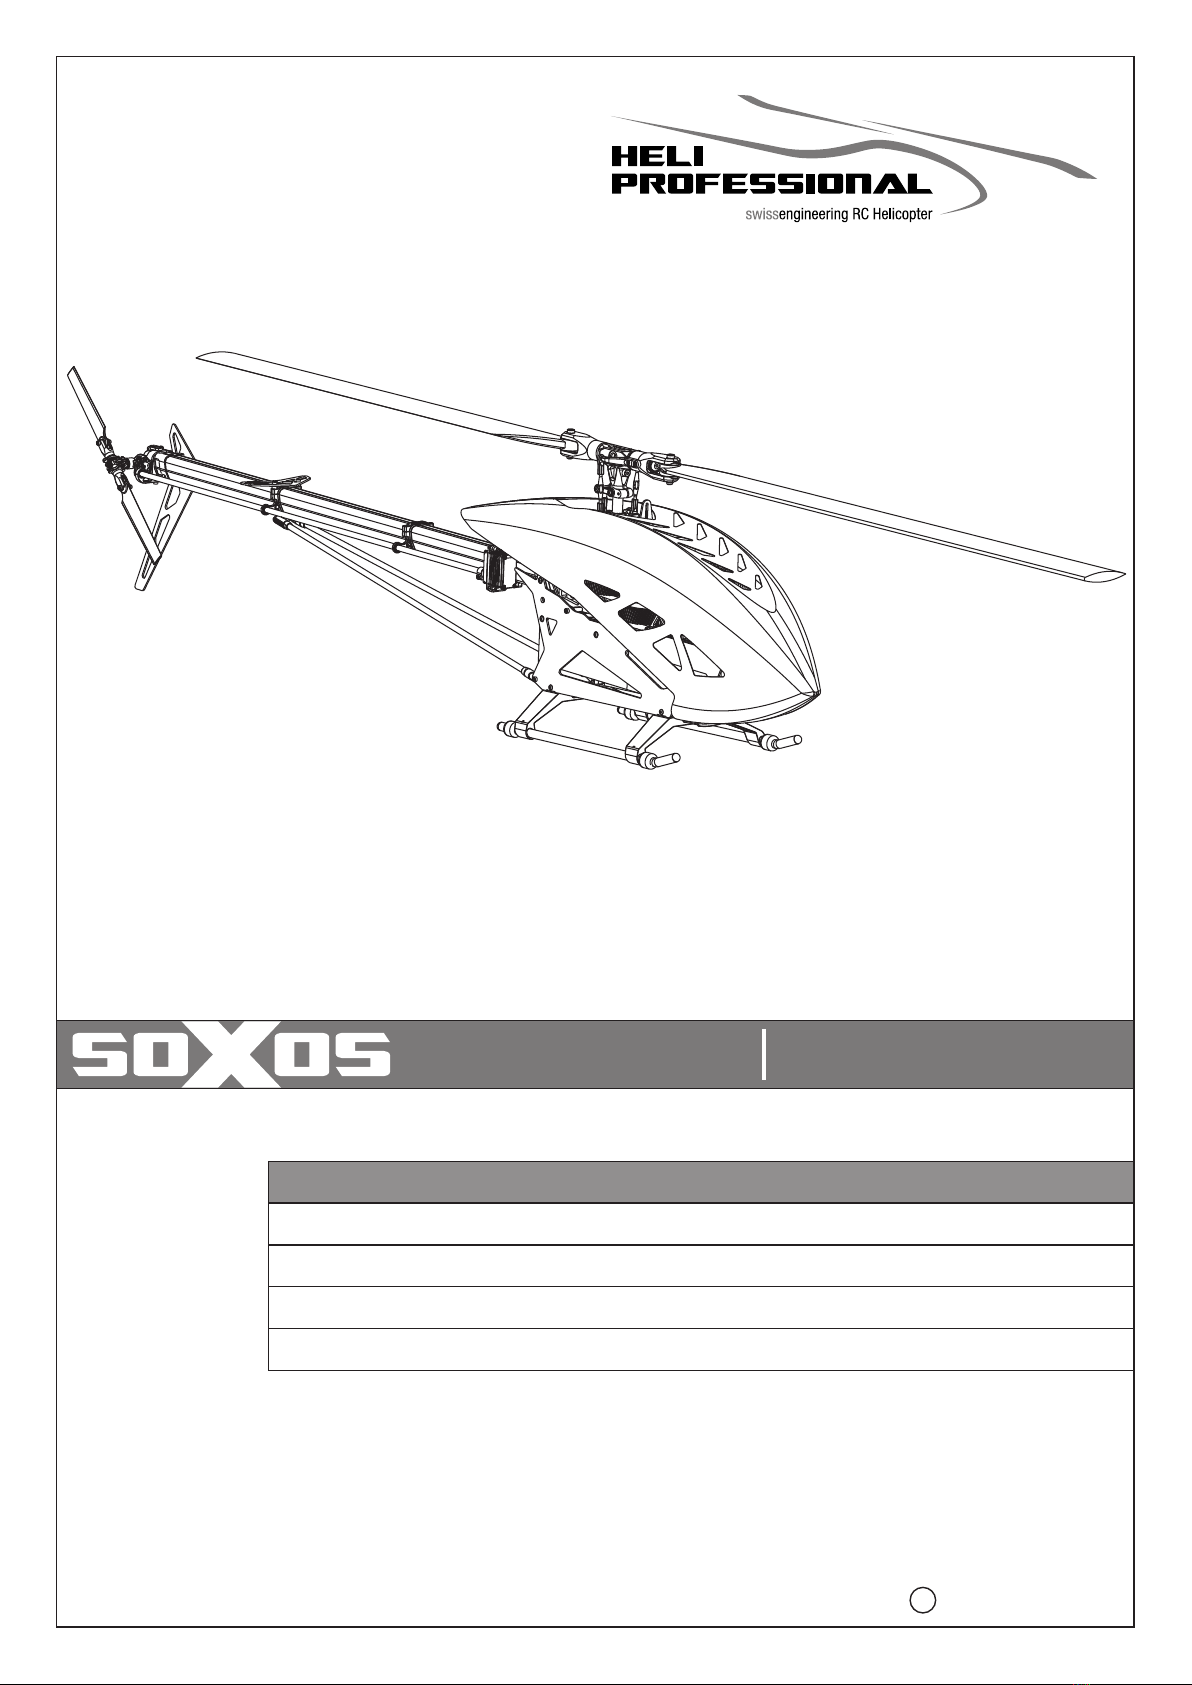
SEHR GEEHRTER KUNDE
BESTEN DANK, DASS SIE SICH FÜR DEN SOXOS STRIKE 7.1 ENTSCHIEDEN HABEN.
Bevor Sie mit dem Zusammenbau oder der Inbetriebnahme beginnen,
lesen Sie diese Anleitung bitte sorgfältig durch!
DEAR CUSTOMER,
THANK YOU FOR CHOOSING THE SOXOS STRIKE 7.1 MODEL HELICOPTER.
Before beginning with the assembly or operating the helicopter,
please read this manual thoroughly!
! !
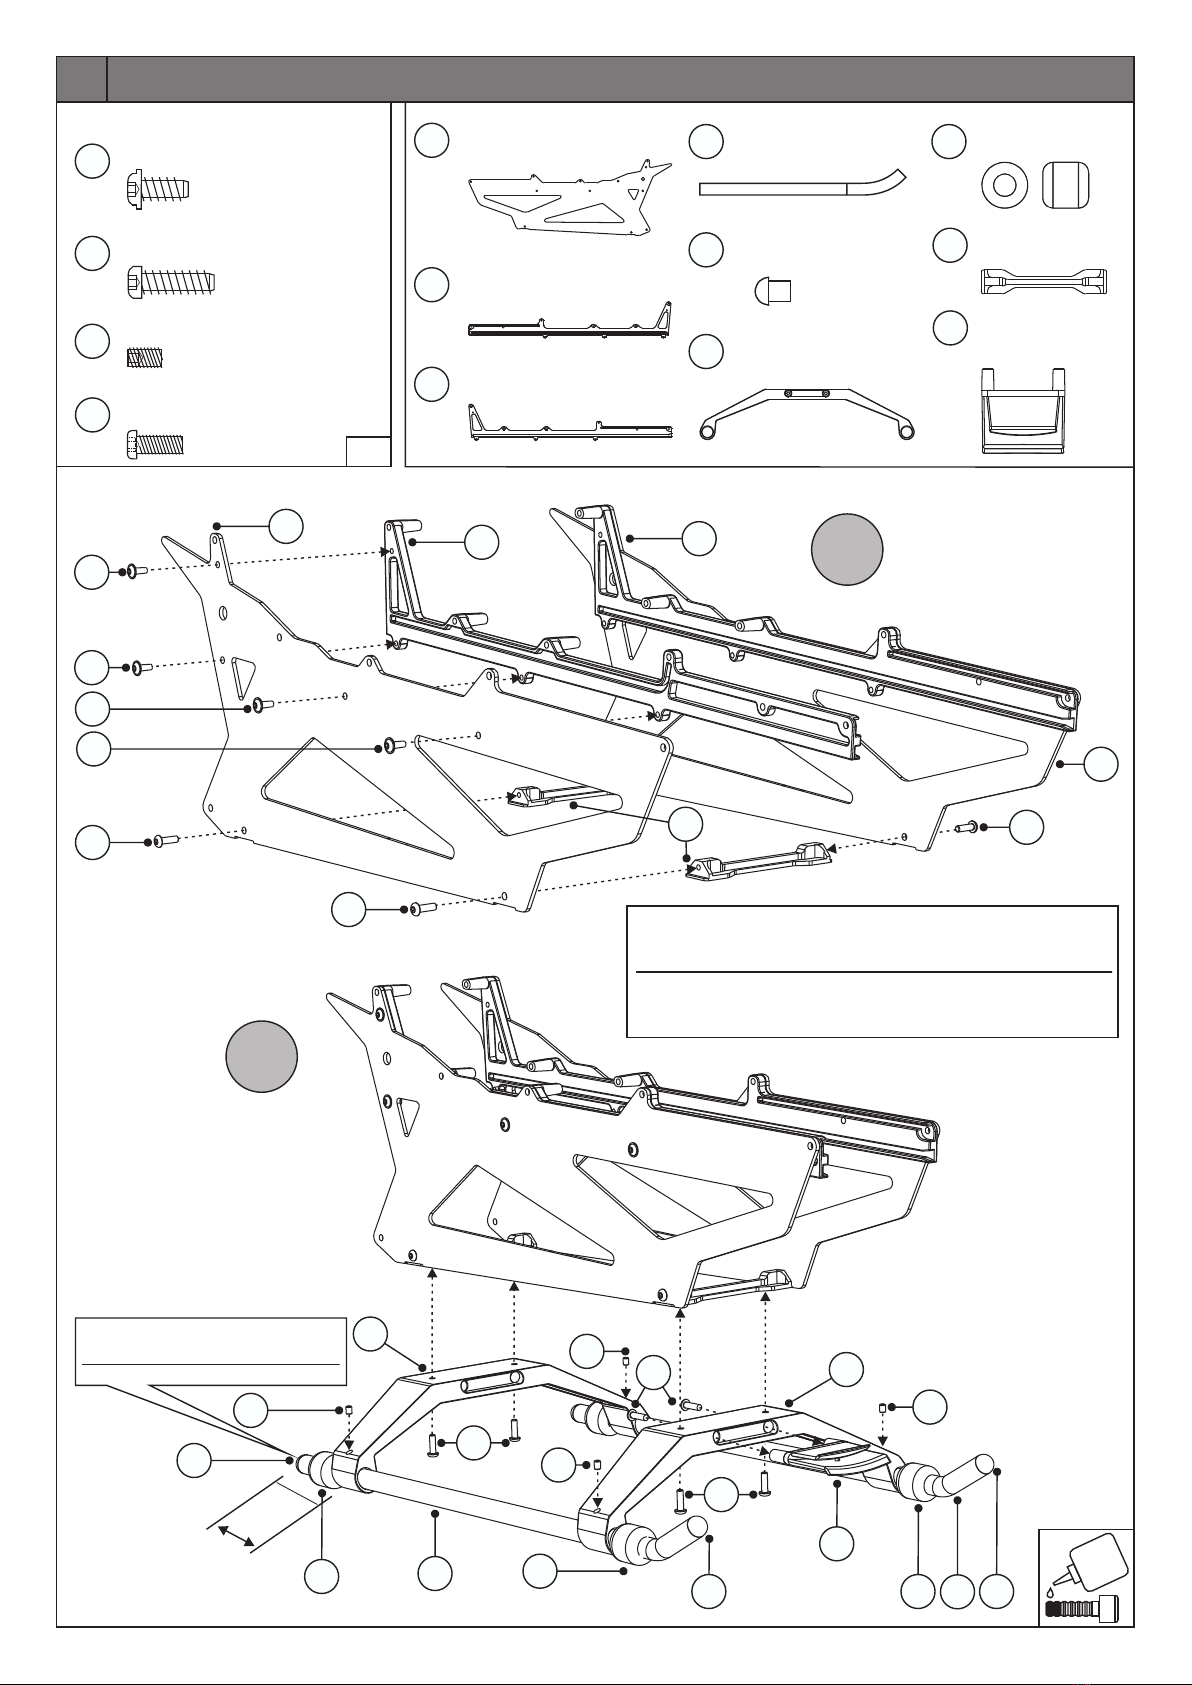
Sicherheitshinweise: Safety Instructions:
Ein Modellhubschrauber ist kein Spielzeug, sondern ein
sehr leistungsfähiges Flugmodell, das bei unsachgemässer
Bedienung und Wartung grossen Schaden an Mensch und
Material verursachen kann. Kinder und Jugendliche sollten
einen Modellhubschrauber nur unter Aufsicht eines sach-
kundigen Erwachsenen bedienen. Heli Professional kann
für Haftungs- und Nachfolgeschäden von und mit Erzeug-
nissen aus dem Lieferprogramm nicht aufkommen und
lehnt deshalb jegliche Haftung ab, da ein ordnungsgemäßer
Betrieb oder Einsatz unsererseits nicht überwacht werden
kann. Zudem bitten wir Sie, sich an die Bedienungsanleitung
zu halten und nur Originalersatzteile von Heli Professional
zu verwenden.
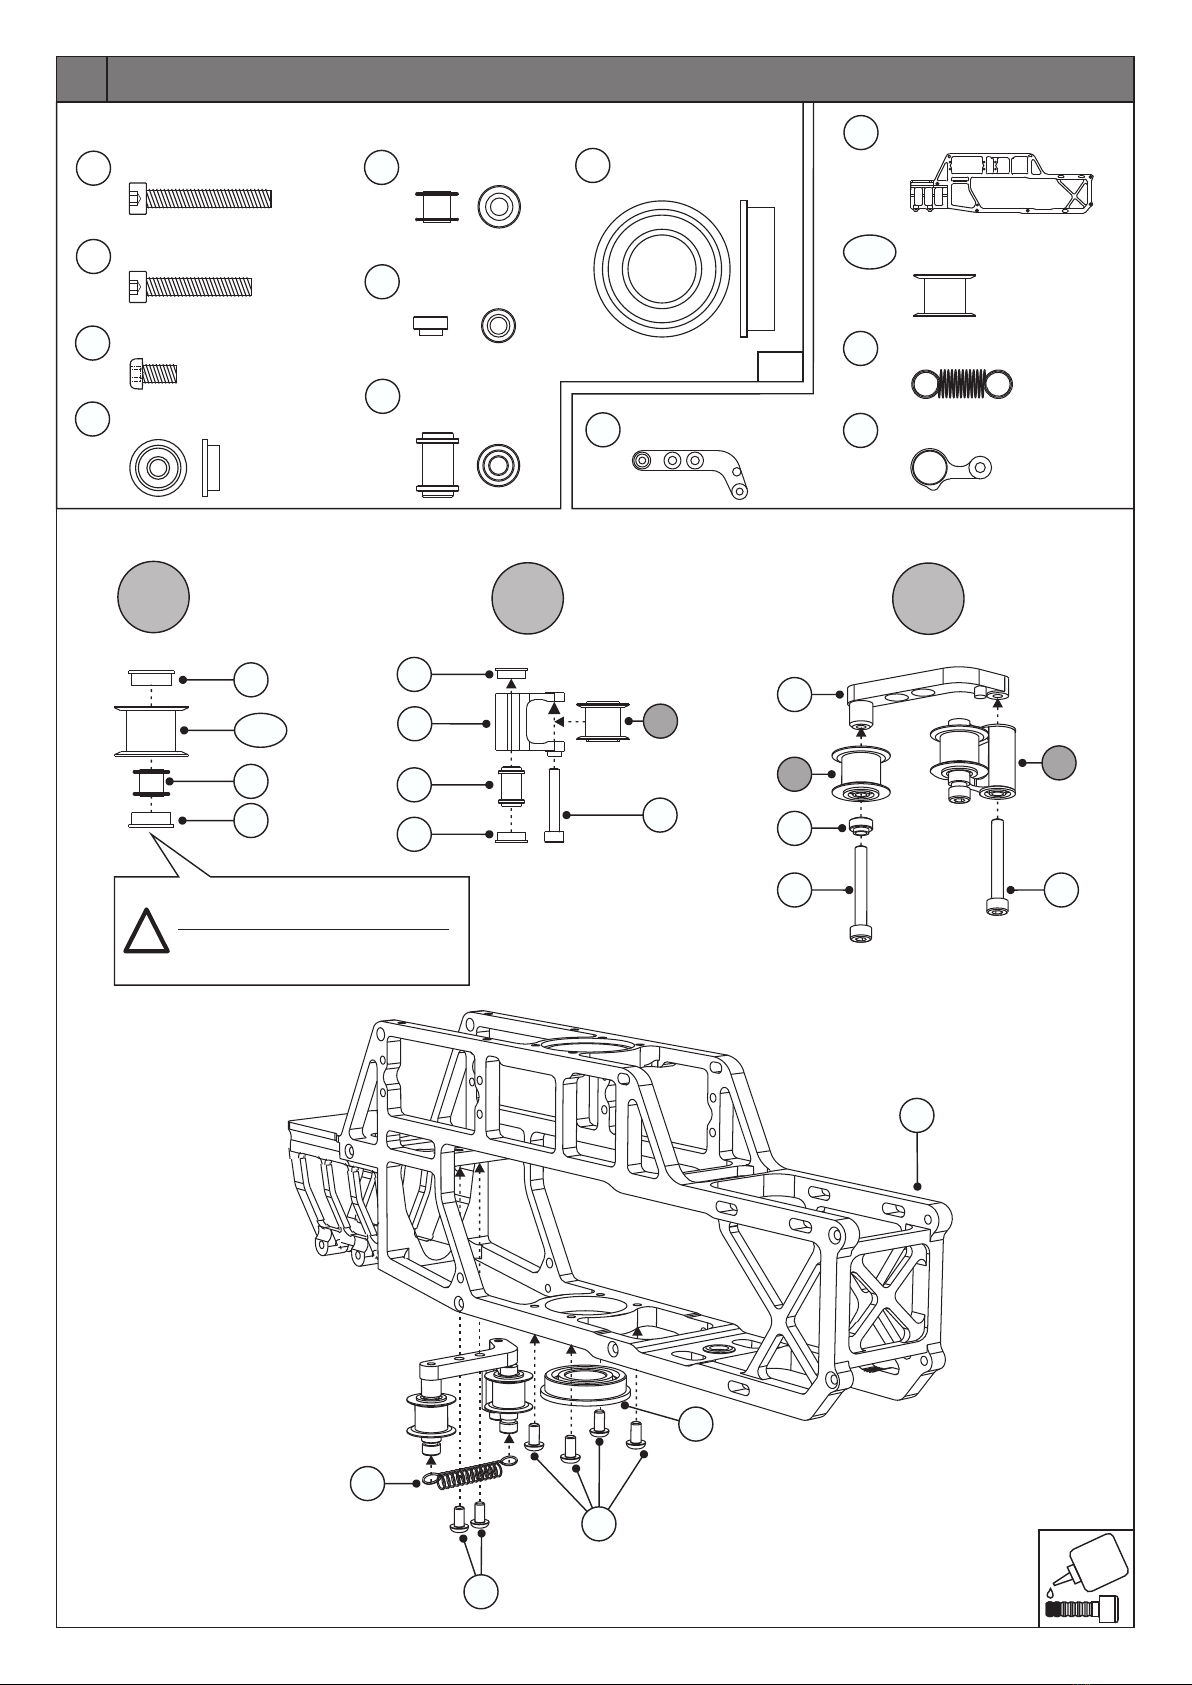
Technische Daten/Specifications
Hauptrotordurchmesser/Main Rotor Diameter: ca. 1570mm (mit 690mm lätter / with 690mm Blades)B
Gewicht (ohne Komponenten und Blätter):
Weight (without components and blades): ca. 2180g
Höhe/Height: ca. 340mm
Länge/Length: ca. 1380mm
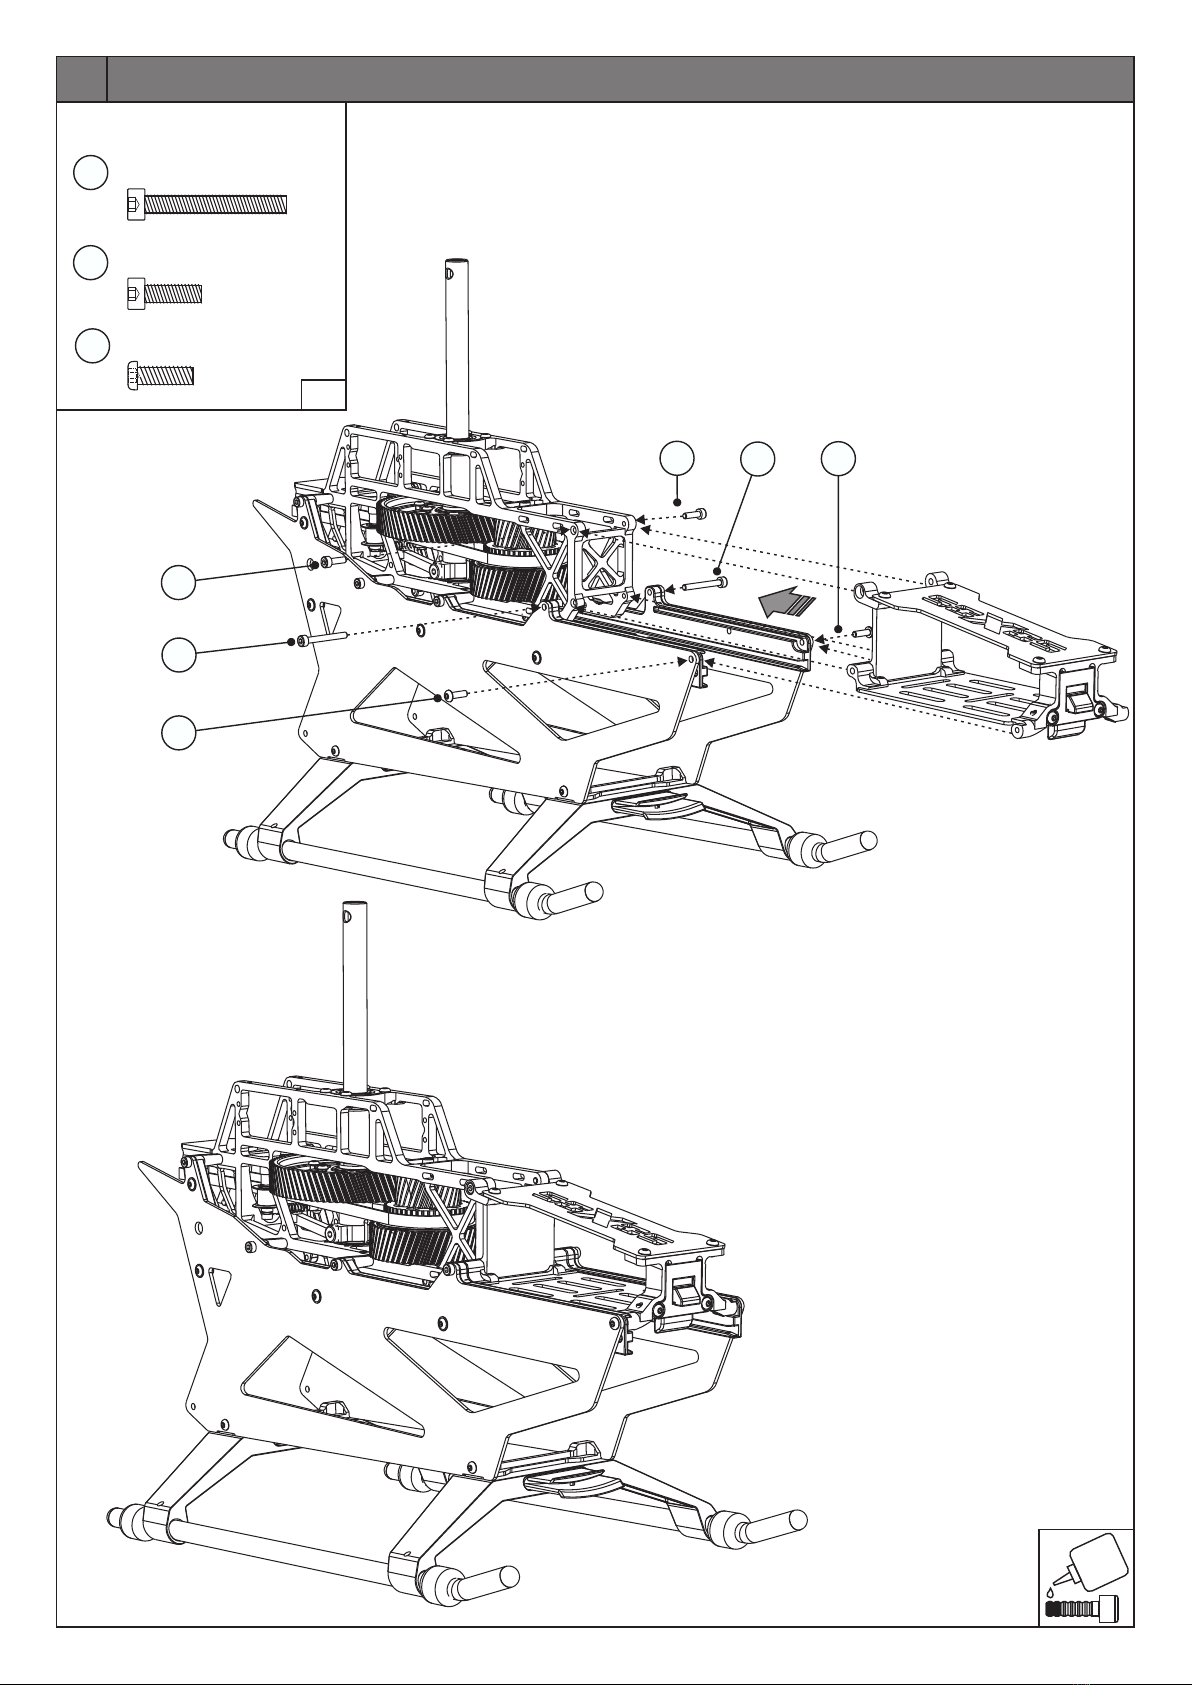
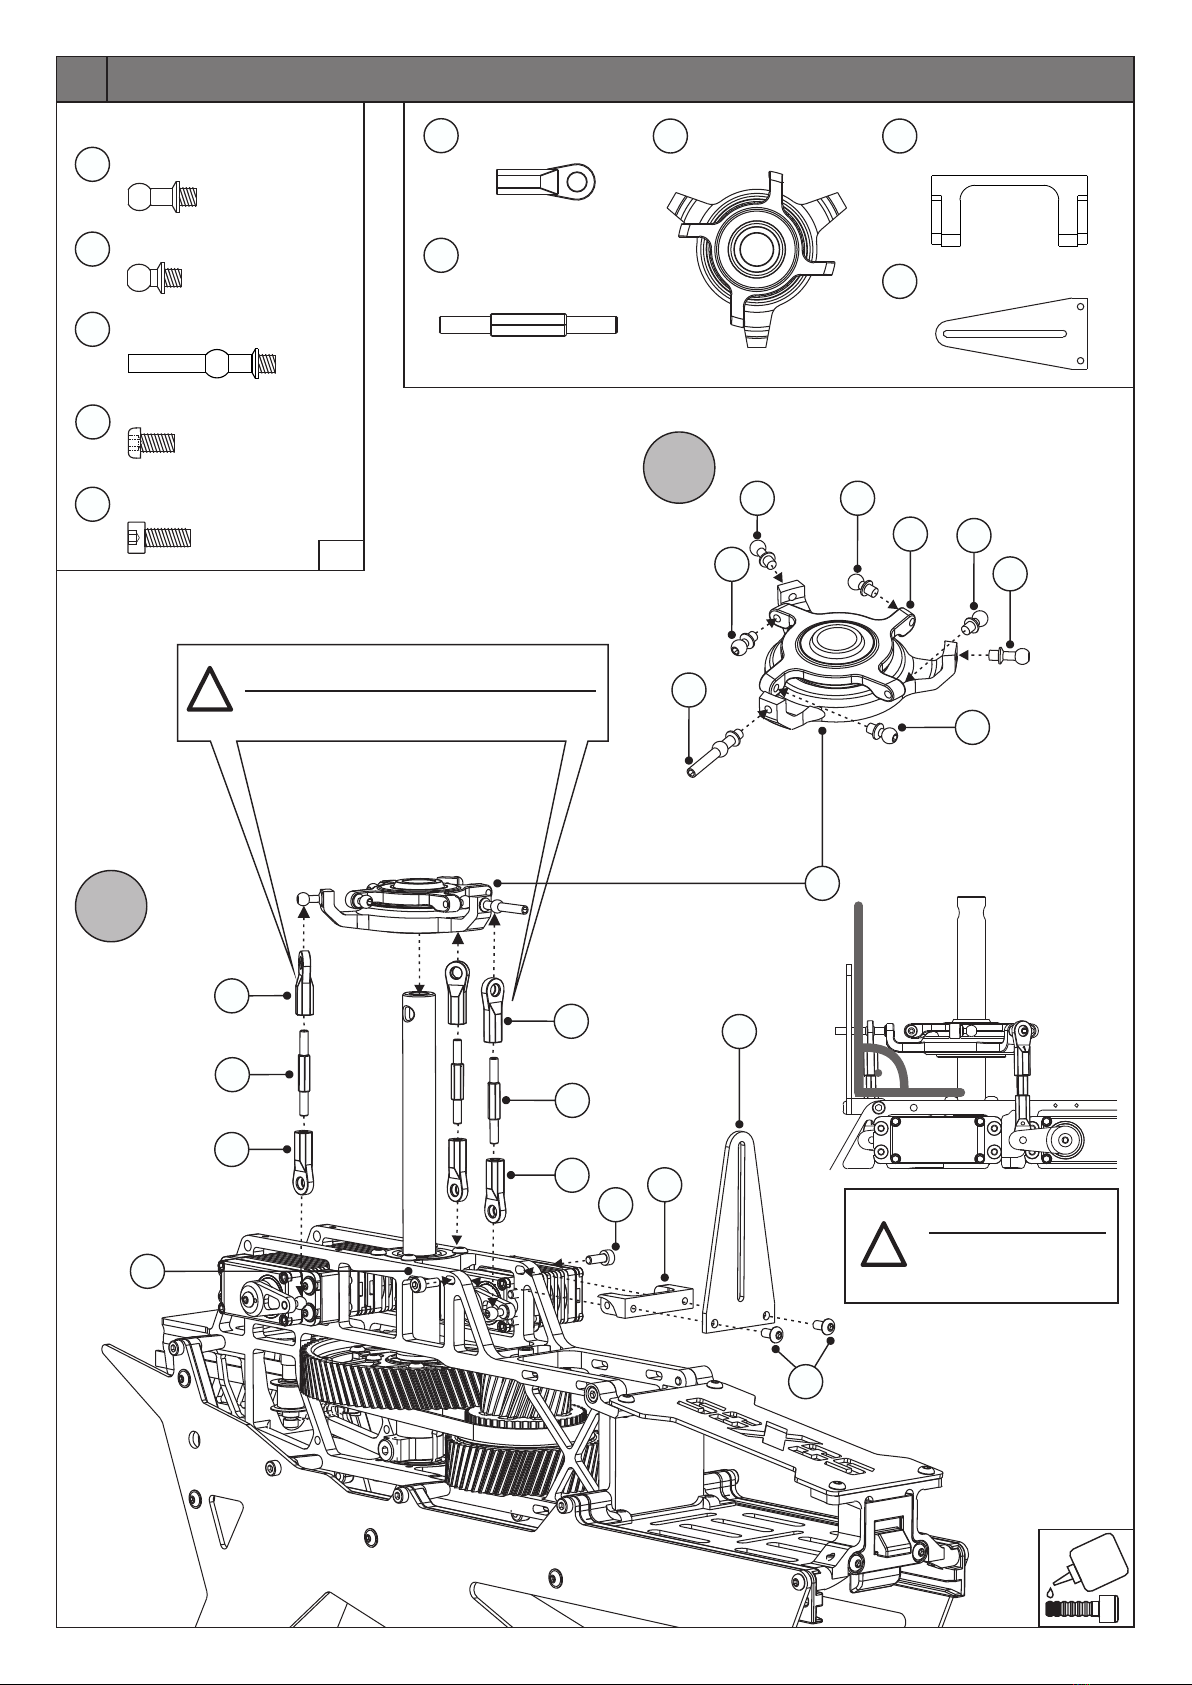
Übersetzung Hauptrotor:
Gear ratio main rotor:
Gewicht 12S Setup (ohne Antriebsakku):
Weight 12S Setup (without batteries):
1:10.06
1:7.94 -
ca. 3690g
A model helicopter is a very powerful flying device and not a
toy. Disregarding our instructions, inappropriate use, and
insufficient maintenance by persons lacking necessary
competence may result in injuries for the user and can cause
damage to the surroundings and to the model. Children and
adolescents should operate a model helicopter only under
supervision of an experienced adult. Heli Professional will not
accept responsibility for any damage caused by their products
and rejects any liability as we are not in a position to supervise
proper operation, handling, and maintenance by the user.
Furthermore, we ask you to follow our operating and
assembly instructions carefully and to use only original Heli
Professional parts.
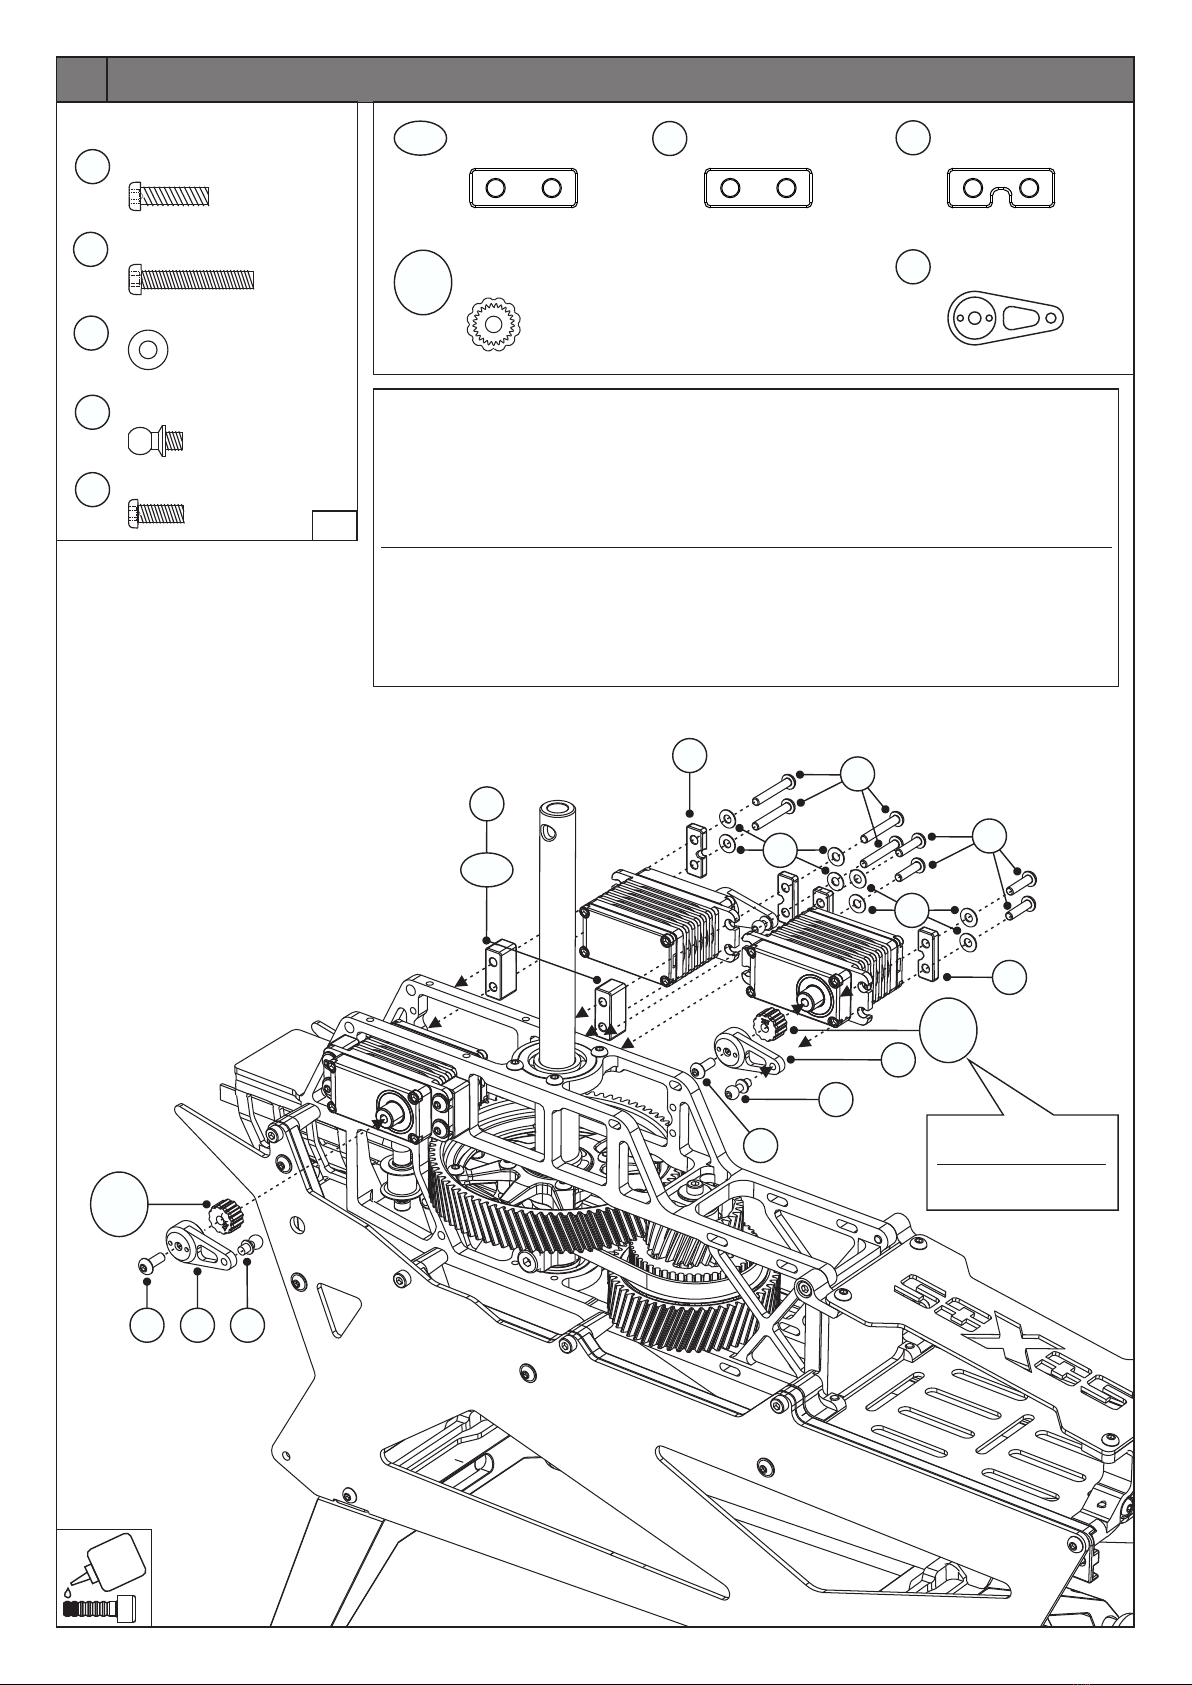
19 Zähne/Ratio: 7.94
Getriebe Übersetzungen: Ritzel sind kompatibel für 6mm und 8mm Motorwellen
Gear Options: Pinions are suitable for 6mm and 8mm motorshafts
15 Zähne/Ratio: 10.06
16 Zähne/Ratio: 9.43
17 Zähne/Ratio: 8.87
18 Zähne/Ratio: 8.38
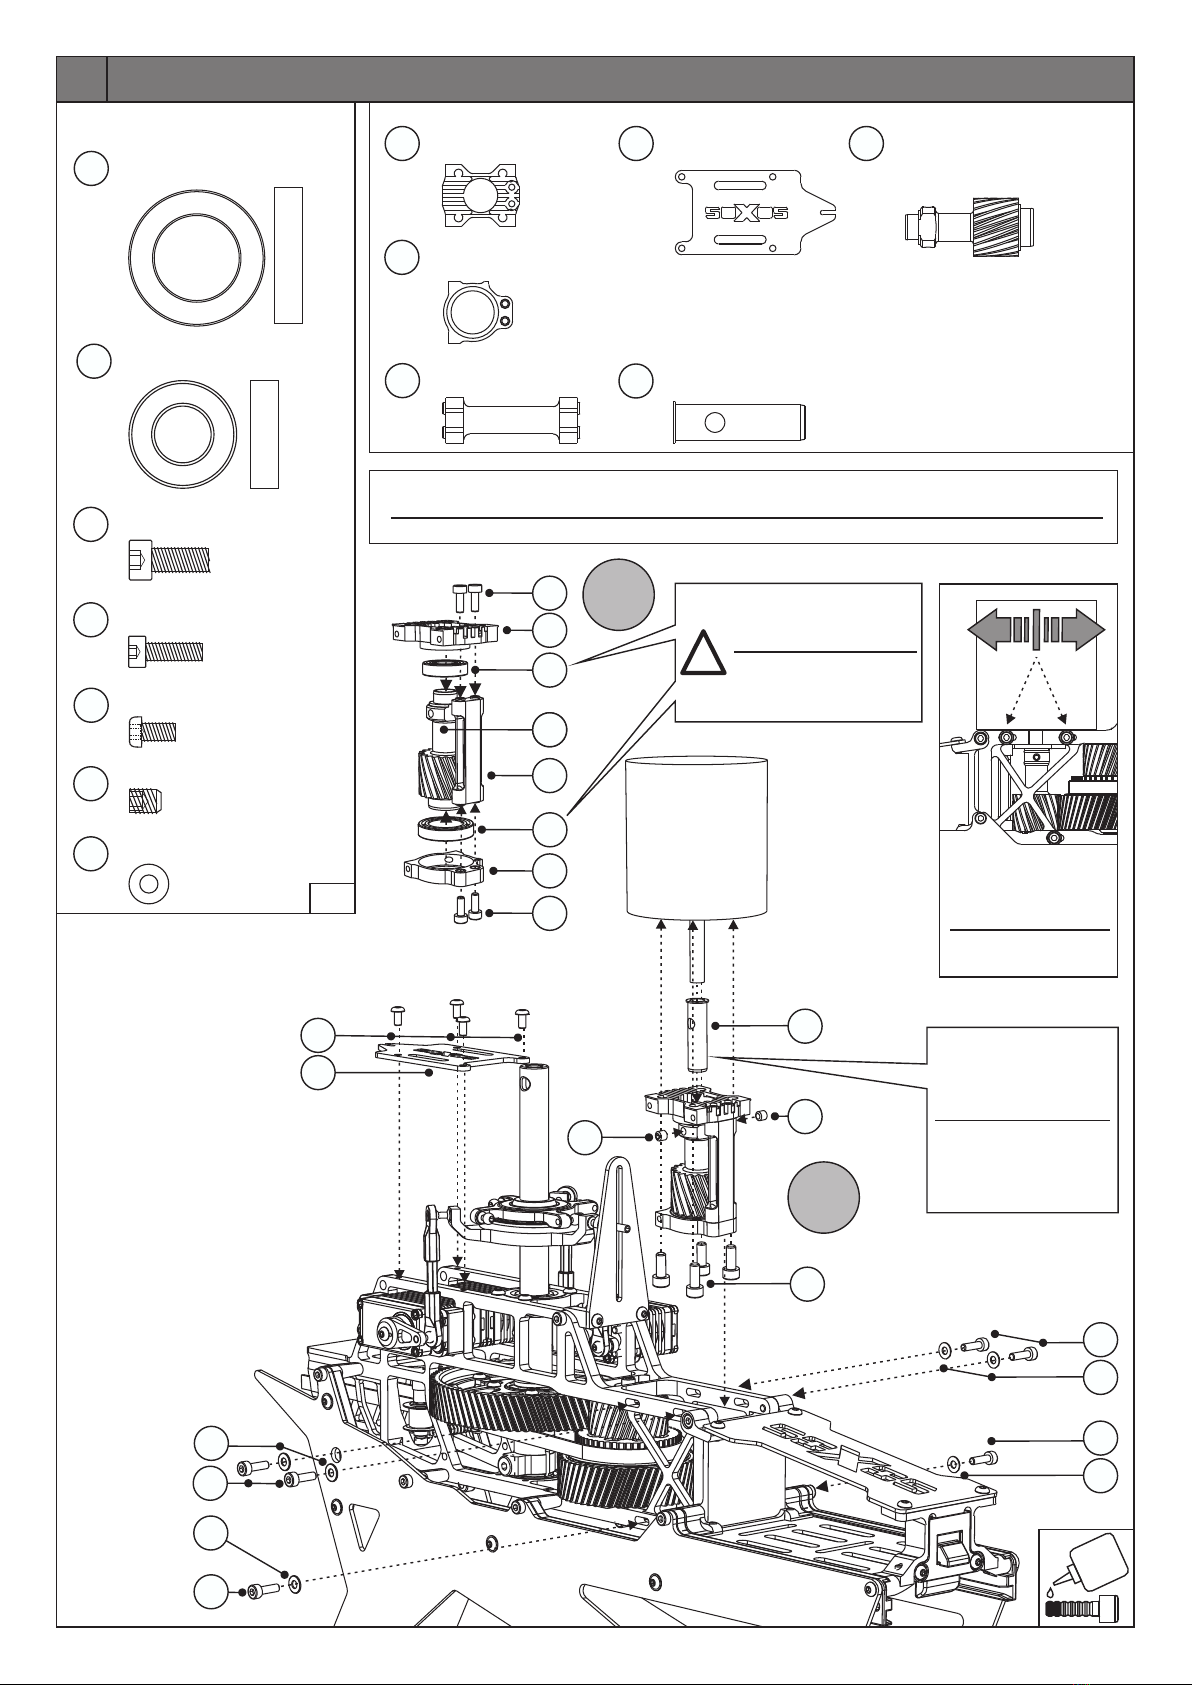
Übersetzung Heckrotor:
Gear ratio tail rotor: 1:5.05
Heckrotorblätter/Tail blades: 105mm
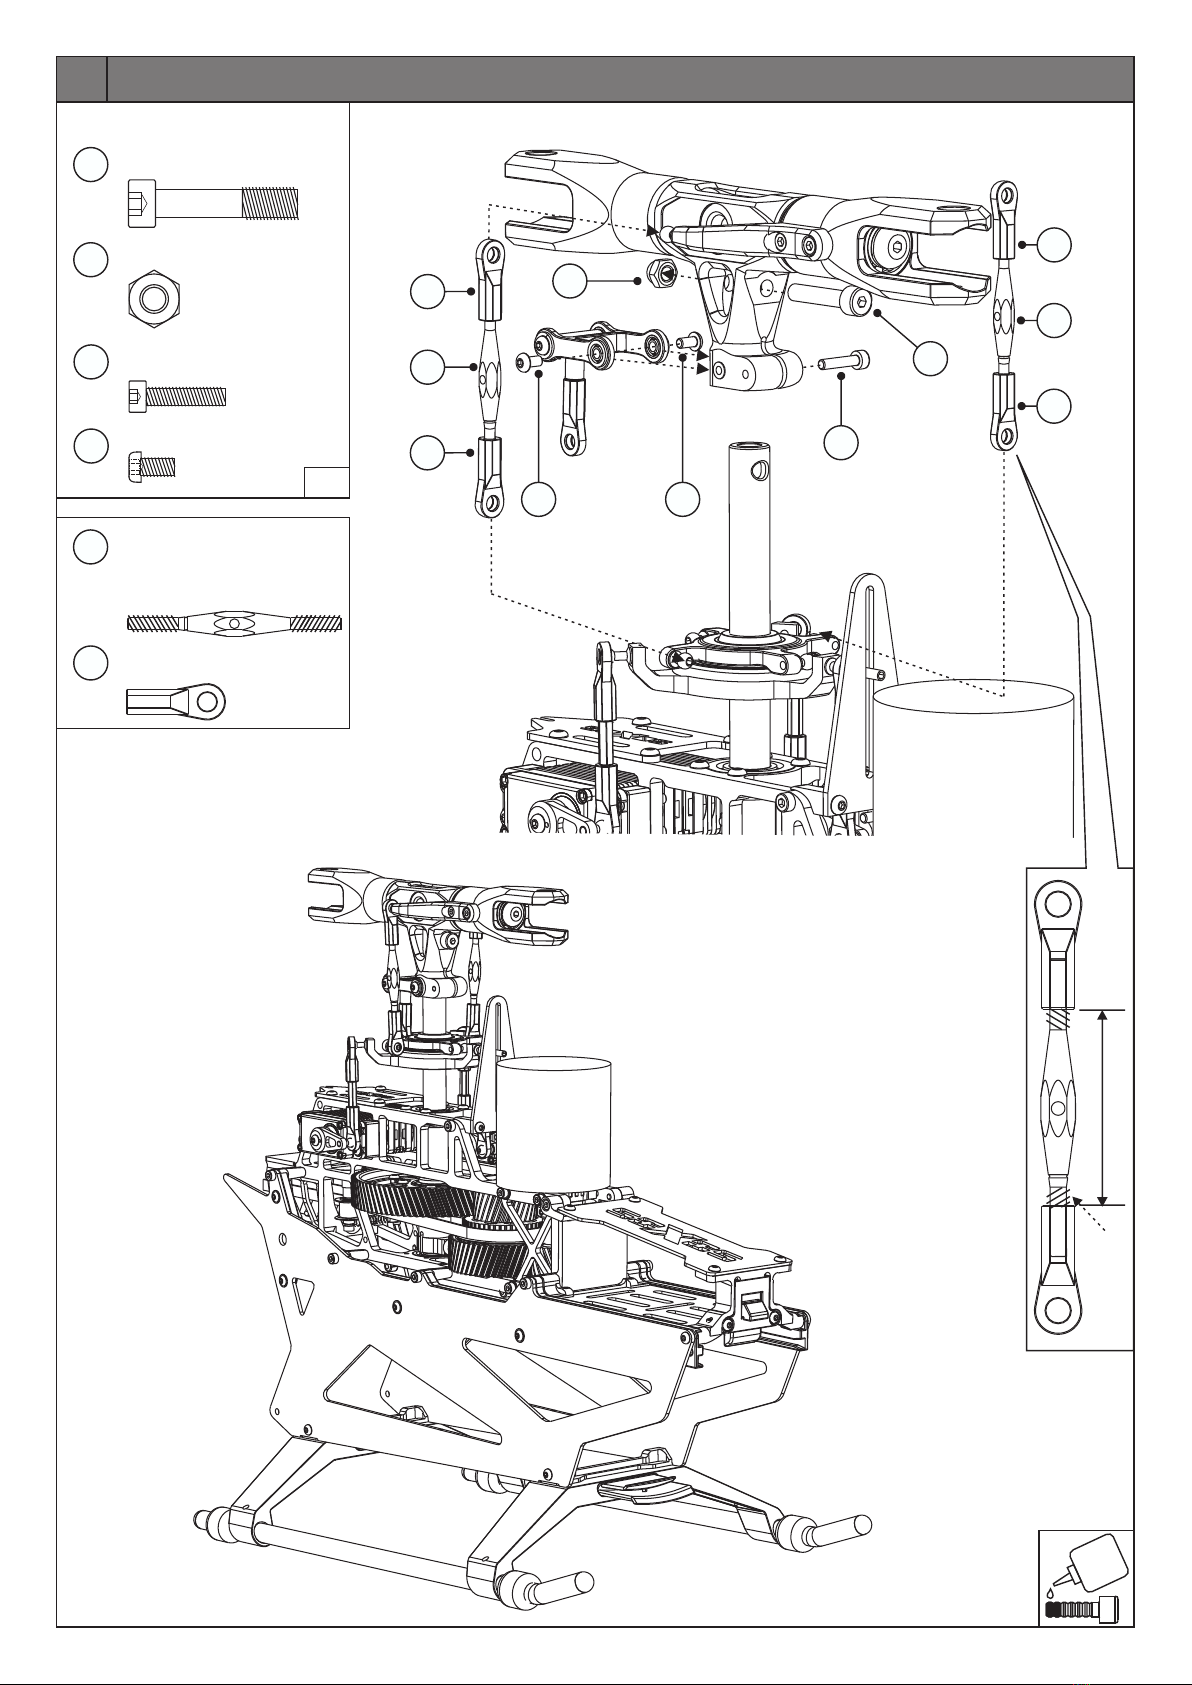
Rotorblätter/Main blades: 685mm - 710mm
Maximum size of the motor:
Maximale Grösse des Motors: Ø 63mm, Höhe 64mm, Motorwellenlänge von 20 - 56mm
Ø 63mm, height 64mm, motor shaft length from 20 - 56mm
Maximum dimension of the battery:
Maximale Abmessung des Antriebs-Akkus: Breite 62mm, Höhe 68mm, Länge 350mm
Width 62mm, Height 68mm, Length 350mm