Helwett Packard 8325P Owner's manual

HPE Aruba Networking
8325P Switches and
Accessories
Start Here: Installation, Safety, and Regulatory
Information
Published: 2024
Edition: 1

|2
Copyright Information
© Copyright 2023 Hewlett Packard Enterprise Development LP.
Open Source Code
This product includes code licensed under certain open source licenses which require source
compliance. The corresponding source for these components is available upon request. This offer is
valid to anyone in receipt of this information and shall expire three years following the date of the final
distribution of this product version by Hewlett Packard Enterprise Company. To obtain such source
code, please check if the code is available in the HPE Software Center at
https://myenterpriselicense.hpe.com/cwp-ui/software but, if not, send a written request for specific
software version and product for which you want the open source code. Along with the request, please
send a check or money order in the amount of US $10.00 to:
Hewlett Packard Enterprise Company
Attn: General Counsel
WW Corporate Headquarters
1701 E Mossy Oaks Rd, Spring, TX 77389
United States of America

All Product Documentation
For the latest release of hardware and software documentation for HPE Aruba Networking switches and
accessories, including the HPE Aruba Networking 8325P Switches Installation and Getting Started Guide
which provides detailed installation instructions, visit the Aruba Support Portal at the following link:
https://asp.arubanetworks.com/downloads.
See the rest of this guide for important pre-setup information.
CAUTION: There are no user-serviceable parts in the HPE Aruba Networking power supplies. For switch
or accessory service needs, contact an authorized HPE Aruba Networking representative.
Applicable Products
Model Description
S0G07A HPE Aruba Networking 8325P-32C 32p 100G QSFP+/28 Front-to-Back 6 Fans 2 DC PSU TAA
Bundle
S0G08A HPE Aruba Networking 8325P-32C 32p 100G QSFP+/28 Back-to-Front 6 Fans 2 DC PSU TAA
Bundle
S0G09A HPE Aruba Networking 8325P-32C 32p 100G QSFP+/28 Front-to-Back 6 Fans 2 AC PSU TAA
Bundle
S0G10A HPE Aruba Networking 8325P-32C 32p 100G QSFP+/28 Back-to-Front 6 Fans 2 AC PSU TAA
Bundle
S0G12A HPE Aruba Networking 8325P-32C 32-port 100G QSFP+/QSFP28 TAA Switch
S0G27A HPE Aruba Networking X3B1 650W 100-240VAC Front-to-Back Power Supply Unit
S0G28A HPE Aruba Networking X3B1 650W 100-240VAC Back-to-Front Power Supply Unit
S0G29A HPE Aruba Networking X3B4 850W 48VDC Front-to-Back Power Supply Unit
S0G30A HPE Aruba Networking X3B4 850W 48VDC Back-to-Front Power Supply Unit
JL630A Aruba 8325-32C Front-to-Back Fan
JL631A Aruba 8325-32C Back-to-Front Fan
To view the 8325 Start Here Guide, see 8325 Start Here Guide.
Installation Precautions and Guidelines
To help avoid personal injury or product damage when installing your switch, read the following
installation precautions and guidelines.
|1

|2
This section provides precautions and guidelines to observe when installing your switch. For full
installation instructions, see the HPE Aruba Networking 8325P Switches Installation and Getting Started
Guide.
WARNING:
nDo not mount the switch on a wall, under a table, or under any other horizontal surface.
nMount devices installed in a rack or cabinet as low as possible. Put the heaviest devices at the
bottom and progressively lighter devices positioned higher.
nTo prevent the rack or cabinet from becoming unstable and/or falling over, ensure that it is
adequately secured.
nThe product is not considered serviceable by an operator. Do not attempt to remove the top cover
or service the unit.

|3
CAUTION:
nDo not ship any switch in a rack without checking for restrictions in the HPE Aruba Networking
8325P Switches Installation and Getting Started Guide. Otherwise, you may void the switch
warranty.
nEnsure that the power source circuits are properly grounded. Then connect the switch to the
power source by using the power cord supplied with the switch. For more information on power
cords, see Power Cords.
nWhen installing the switch, ensure that the AC outlet is near the switch. Make it easily accessible in
case the switch must be powered off.
nEnsure that the power cord and network cables at the switch mounting location do not create a
tripping hazard.
nDo not install the switch in an environment where the operating ambient temperature exceeds its
specification. See the environmental operating temperature information in the latest HPE Aruba
Networking 8325P Switches Installation and Getting Started Guide.
nEnsure that the switch does not overload the power circuits, wiring, and over-current protection at
your installation site. To determine the possibility of overloading the supply circuits, add the
ampere ratings of all devices installed on the same circuit as the switch. Then compare the total
with the rating limit for the circuit. The maximum ampere ratings for a device are usually printed
near the device's AC power connectors.
nAvoid blocking any ventilation openings on the sides, rear, or front of the switch.
nEnsure that the airflow around the switch is not restricted. Leave at least 3 inches (7.6 cm) for
cooling. For the airflow direction, see the latest HPE Aruba Networking 8325P Switches Installation
and Getting Started Guide.
nIf a power supply must be removed, and then reinstalled, wait at least 5 seconds before re-
installation. Otherwise, damage to the switch may occur. The power supply needs this time to
bleed off any retained power.

|4
Power Cords
HPE Aruba Networking includes the power cord intended for use with your HPE Aruba Networking
switch and power supply. Different countries or regions may require different power cords. For a list of
the power cords that apply to your 8325P switches, see the section that lists power cords in the latest
edition of the HPE Aruba Networking 8325P Switches Installation and Getting Started Guide.
CAUTION:
Only HPE Aruba Networking-approved power cords may be used with HPE Aruba Networking devices.
See the power cord documentation provided in the latest version of the HPE Aruba Networking 8325P
Installation and Getting Started Guide. Lost or damaged power cords must be replaced only with HPE
Aruba Networking-approved power cords. If your installation requires a different power cord than the
one supplied with the switch and/or power supply, be sure that the cord is adequately sized for the
current requirements of the switch. In addition, use a power cord that displays the mark of the safety
agency that defines the regulations for power cords in your country or region. The mark is your
assurance that the power cord can be used safely with the switch and power supply.
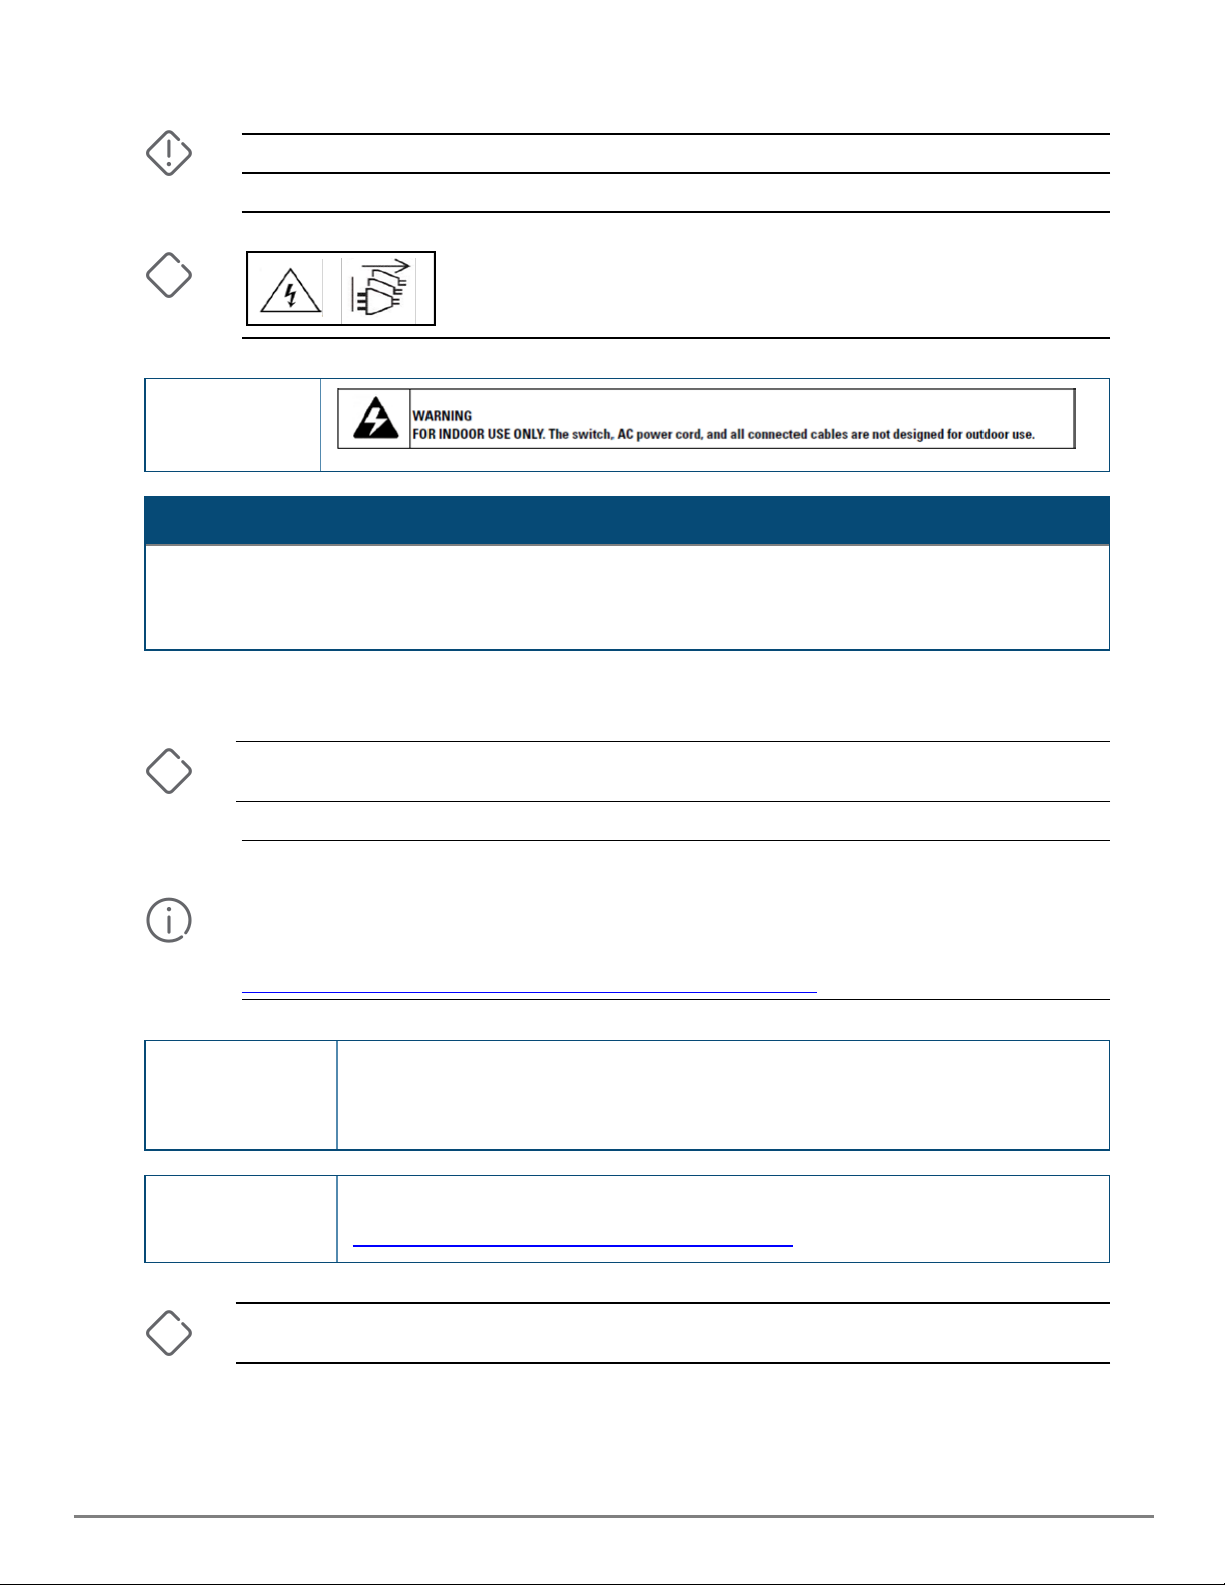
WARNING:
Do not use a damaged or non-recommended power cord with your switch. Using such power cords
voids the switch and power supply warranty. It can also cause serious electrical problems, including
injury or death to personnel, and damage to the switch and other property. If you cannot verify that you
have a power cord approved for use with your switch model, contact your authorized HPE Aruba
Networking dealer or sales representative for assistance. Remove the power cord from the switch
before mounting or dismounting the switch.
HPE Aruba Networking 8325P Switch Safety and
Regulatory Information
NOTE: For important safety, environmental, and regulatory information, see Safety and Compliance
Information for Server, Storage, Power, Networking, and Rack Products, available at
http://www.hpe.com/support/Safety-Compliance-EnterpriseProducts.
Electrical Switches: S0G07A, S0G08A, S0G09A, S0G10A, S0G12A
Per S0G27A and S0G28A power supplies
AC Voltage 100–240 V
Maximum current 10 A
Frequency range 50–60 Hz
Maximum power 650 W
Per S0G29A and S0G30A power supplies
Table 1: Electrical Information for HPE Aruba Networking 8325P Switch Power Supplies

|5
Electrical Switches: S0G07A, S0G08A, S0G09A, S0G10A, S0G12A
DC input range (nominal) -48 V
DC input range -36 – -72 V
Maximum current 28–14 A
Maximum power 850 W
Safety EN 62368-1 2nd Ed; EN 62368-1 3rd Ed; UL 62368-1 3rd Ed; CSA C22.2 NO.
62368-1:2019 3rd Ed; GB 4943.1:2022; CNS 15598:2020; IEC 62368-1:2014 &
2018 w/all known national deviations.
Lasers EN 60825-1:2014 / IEC 60825-1: 2014 Class 1
Class 1 Laser Products / Laser Klasse 1
EMC EN 55032:2015/A11:2020, Class A
EN 55032:2017/A11:2020
EN 61000-3-2: 2019/A1:2021
EN 61000-3-3: 2013/A2:2021
CISPR 24:2010
CISPR 32:2015 Class A
CISPR 35:2012 & 2016
FCC CFR 47 Part 15:2020, Subpart B Class A
ICES-003 Class A 2020 Issue 7
VCCI-32:2016 Class A
AS/NZS CISPR 32:2015 +AMD:2020 Class A
CNS 15936
BSMI
RoHS EN 63000:2018
Table 2: Safety and Regulatory Information for HPE Aruba Networking 8325P Switch Models
NOTE: Environmental and other switch specifications, such as acoustics data, are included in the HPE
Aruba Networking 8325P Switches Installation and Getting Started Guide.
Japan Power Cord Warning

|6
Power Supply Instructions
WARNING: During the installation, ensure that AC or DC power is NOT connected to the Power Supply.
CAUTION: Shock hazard
To completely remove power from the switch, disconnect all power
cords.
Interior Wiring
Warning
Brazil Statement
Este equipamento deve ser conectado obrigatoriamente em tomada de rede de energia elétrica que possua
aterramento (três pinos), conforme a Norma NBR ABNT 5410, visando a segurança dos usuários contra choques
elétricos.)
Battery Statements
CAUTION: These switches use a lithium battery. Do not attempt to replace the battery. Return the switch
to HPE Aruba Networking for battery replacement.
IMPORTANT: The only indicator of battery failure is the failure of the switch's internal clock to keep the
correct time across a reboot or power cycle. If a battery failure occurs, contact your authorized HPE
Aruba Networking representative for assistance. Batteries are not customer-serviceable and battery
failures should be referred only to HPE Aruba Networking-authorized service personnel.
For important safety, environmental, and regulatory information, see the Safety and Compliance
Information for Server, Storage, Power, Networking, and Rack Products, available at
http://www.hpe.com/support/Safety-Compliance-EnterpriseProducts.
ATTENTION ll y a danger d'explosion s'il y a remplacement incorrect de la batterie.
Remplacer uniquement avec une batterie du même type ou d'un type équivalent
recommandé par le constructeur. Mettre au rebut les batteries usagées conformément
aux instructions du fabricant.
ATTENTION The battery supplied with this product may contain perchlorate material. Special
handling may apply in California and certain other states. See
http://www.dtsc.ca.gov/hazardouswaste/perchlorate website for more information.
CAUTION: A risk of explosion exists if a battery is replaced by an incorrect type. Dispose of used
batteries according to the battery disposal regulations for your country or region.

|7
Japan VCCI Class A Statement
Korea EMC Class A Statement
FCC Class AStatement
This equipment has been tested and found to comply with the limits for a Class A Digital device,
pursuant to part 15 of the FCCRules.
United Kingdom Marking
European Community
The product herewith complies with the requirements of Directive 2014/35/EU relating to electrical
equipment designed for use within certain voltage limits, Directive 2014/30/EU relating to
electromagnetic compatibility, Directive 2011/65/EU on the restriction of the use of certain hazardous
substances in electrical and electronic equipment, and carries the CE marking accordingly.
NOTE: For Conducted and Radiated Immunity in accordance with EN55035, the HPE Aruba Networking
8325P switch products are limited to Performance Criteria A with shielded cable for HPE Smart Rate
ports.
Belarus Kazakhstan Russia Marking

|8
For manufacturer and local representative information, see Safety and Compliance Information for Server,
Storage, Power, Networking, and Rack Products at http://www.hpe.com/support/Safety-Compliance-
EnterpriseProducts.
India
This product conforms to the relevant Essential Requirements of TEC, Department of
Telecommunications, Ministry of Communications, Govt of India, New Delhi-110001.
China
The NAL Label can be found near product packaging regulatory label.
Preview of Installing an HPE Aruba Networking
8325P Switch
IMPORTANT: This section previews the steps for installing the S0G07A, S0G08A, S0G09A, and S0G10A
switches. To find detailed switch installation steps, information on configuration tools, and other
instructions and information, see the HPE Aruba Networking 8325P Installation and Getting Started
Guide.
To install an HPE Aruba Networking 8325P switch, complete the following steps:
1. Prepare the installation site.
2. Unpack the switch and verify that you have received the correct parts.
3. Verify that the airflow for the power supplies and fans is correct for your application.
4. Connect power to the switch and wait for the health LED to turn green after the switch passes the
self-test, then remove power from the switch.
5. Mount the switch.
WARNING: Do not mount the switch on a wall, under a table, or under any other horizontal
surface.
6. Connect the switch to a power source.
7. (Optional) Install transceivers.
8. Connect the network cables.
9. Configure the switch for network operation.

|9
Documentation Feedback
To help improve HPE Aruba Networking documentation, please send documentation suggestions,
submitting your feedback, include the document title, part number, edition, and publication date
located on the front cover of the document. For online help content, include the product name, product
version, help edition, and publication date located on the legal notices page.
Table of contents
Other Helwett Packard Switch manuals
Popular Switch manuals by other brands

Lucent
Lucent Cajun P550 installation guide

J & V Technology
J & V Technology JSVER-HB3022 user manual

Minicom
Minicom MINICOM 232 IP user guide

epcom TITANIUM
epcom TITANIUM KIT-TT4PVTURBOX quick start guide

SMC Networks
SMC Networks SMC7724M Management guide

Cisco
Cisco SFS 7012 InfiniBand Hardware user's guide

D-Link
D-Link KVM-410 - Single Port KVM Switch user manual

Moxa Technologies
Moxa Technologies EDS-528E Series Quick installation guide

Draytek
Draytek VigorSwitch 2540 Series quick start guide

MyQ
MyQ LiftMaster CAPAC installation manual

LITETRONICS
LITETRONICS BSC02 user guide

Sentera Controls
Sentera Controls MTV-1-CP Mounting and operation instructions