PRIMAAX®EX / PRIMAAX®for Volvo Vehicles
17730-254 7 Important Safety Notice
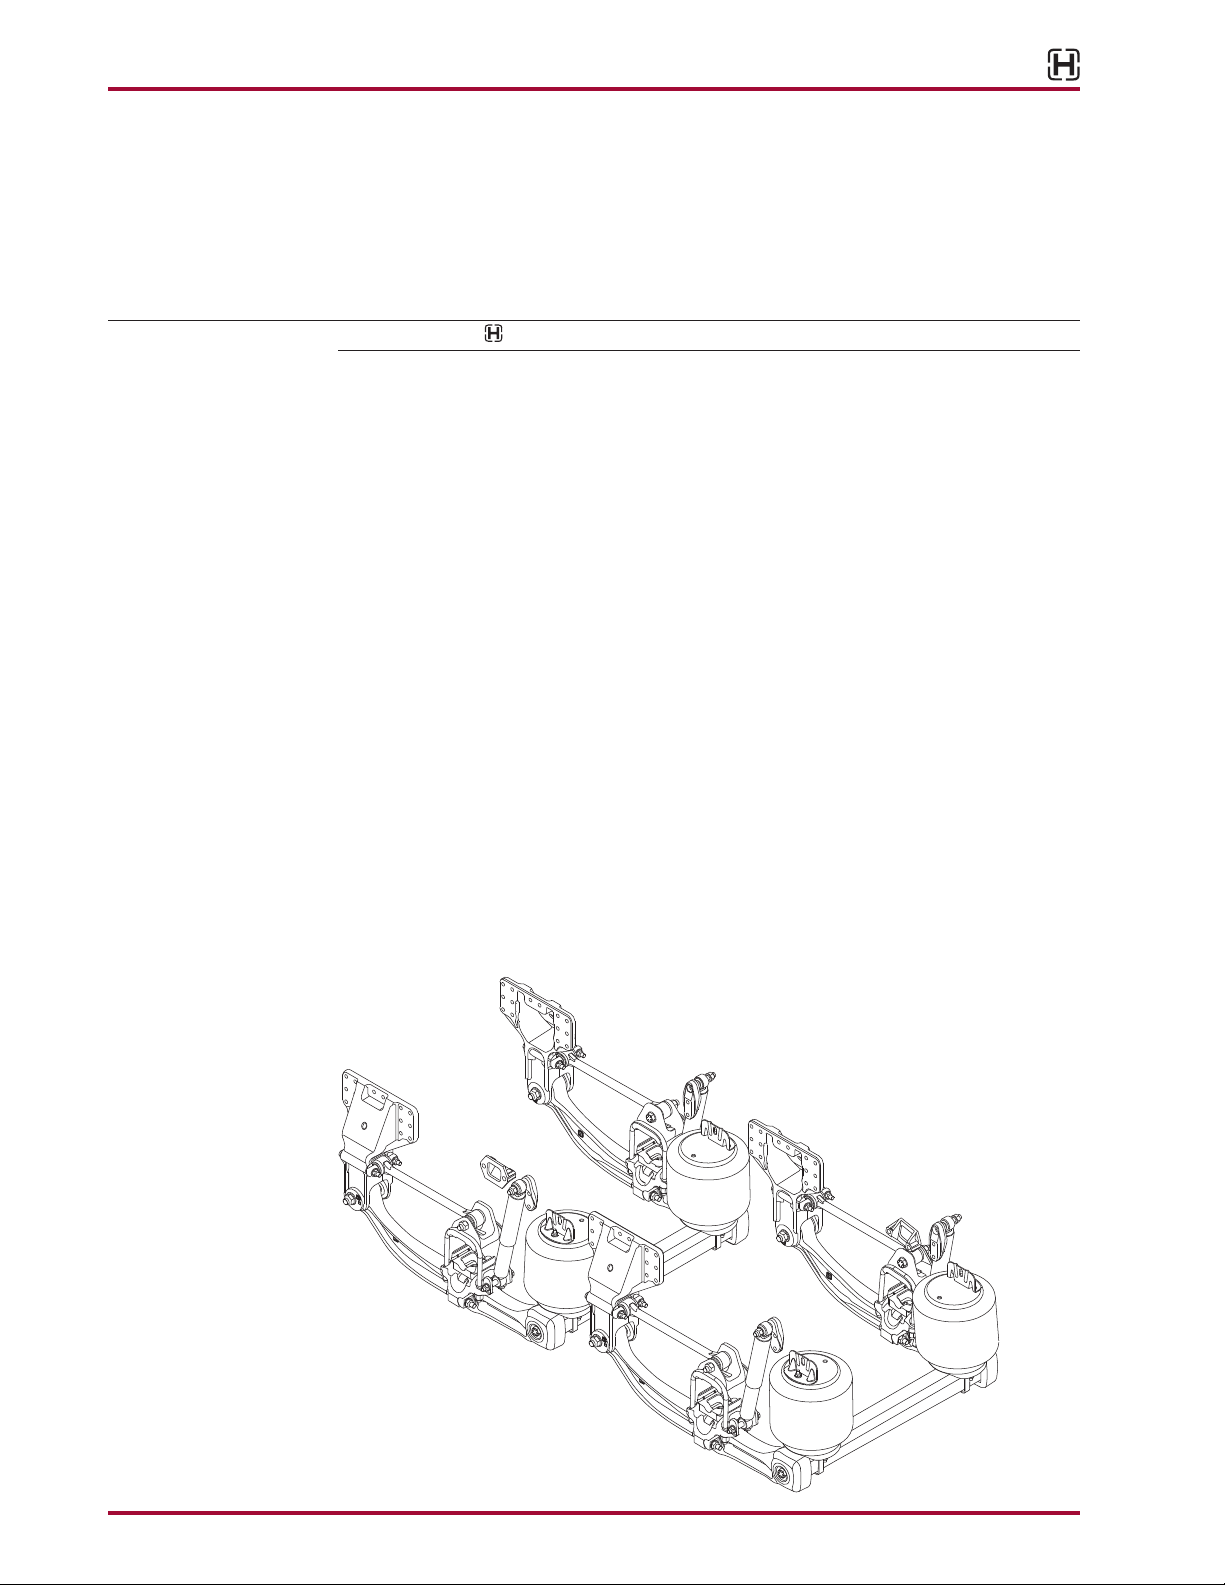
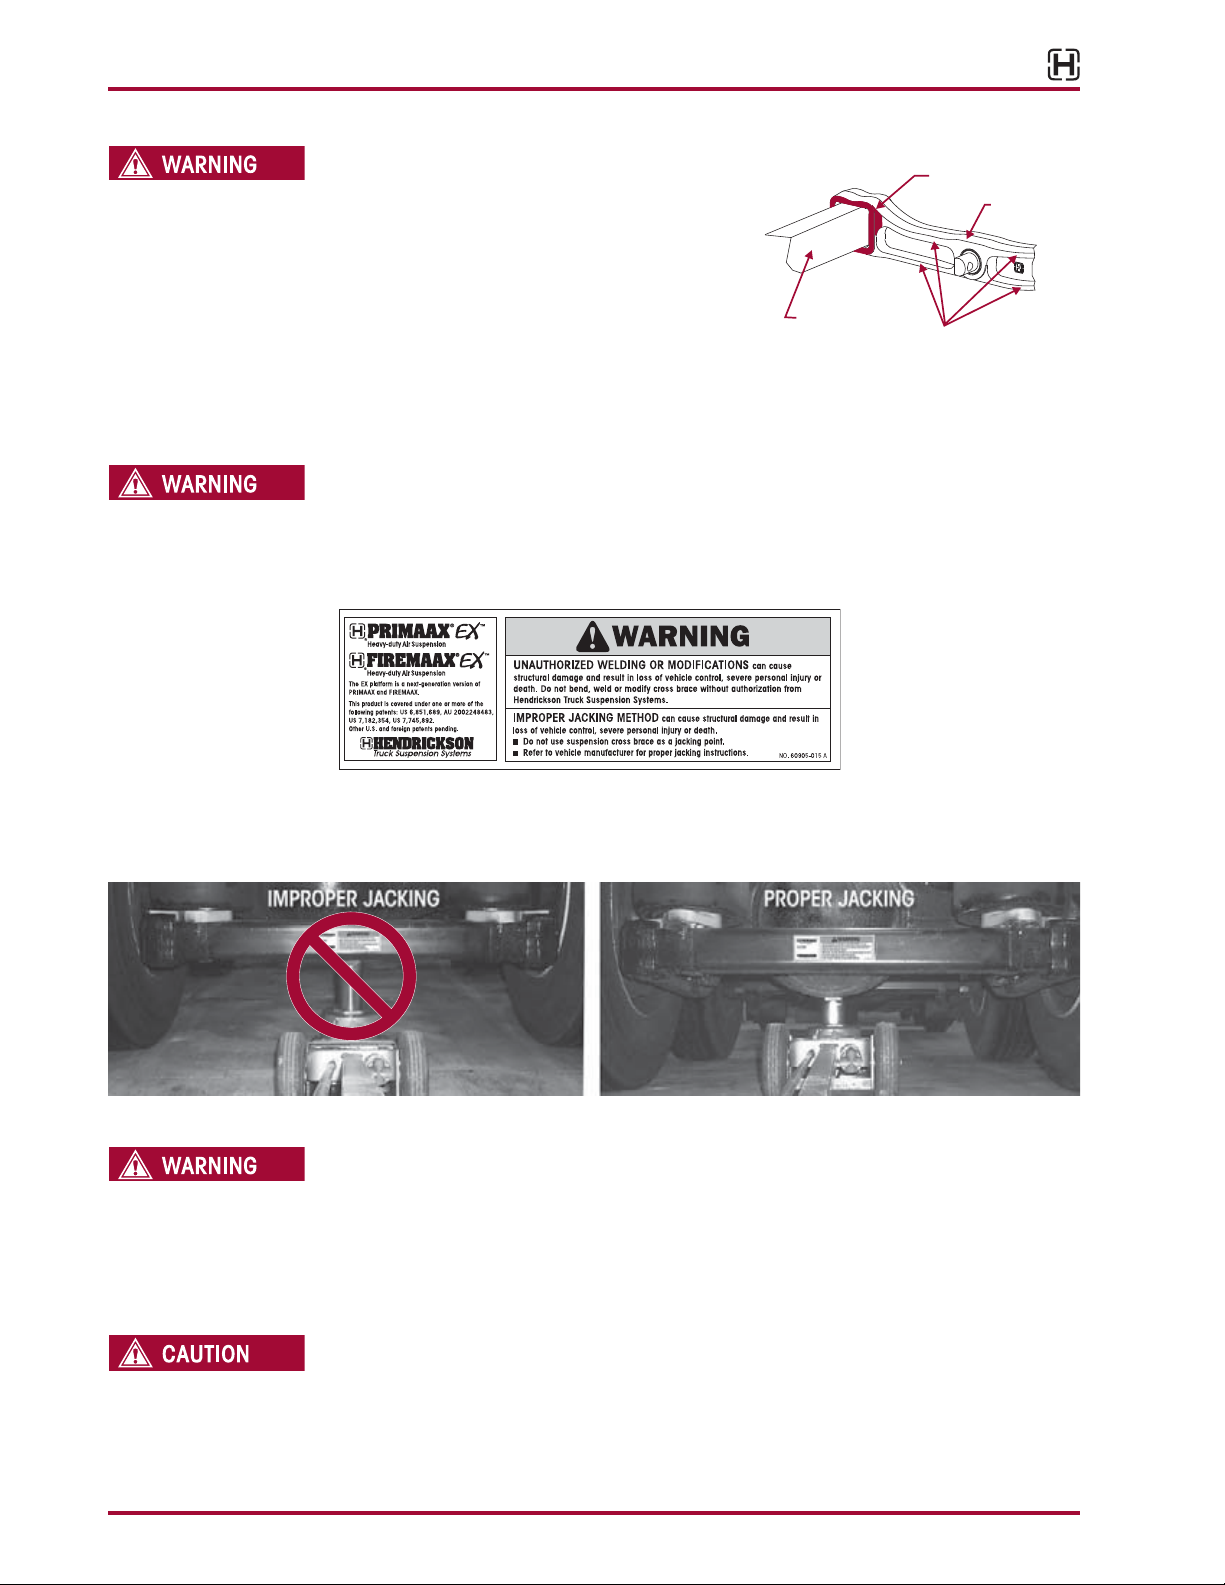
TRANSVERSE TORQUE RODS
PRIMAAX EX / PRIMAAX SUSPENSIONS INCORPORATETRANSVERSE RODS FOR VEHICLE STABILITY.IF
THESE COMPONENTS ARE DISCONNECTED OR ARE NON-FUNCTIONAL,THE VEHICLE SHOULD NOT
BE OPERATED. FAILURE TO DO SO CAN RESULT IN ADVERSE VEHICLE HANDLING, LOSS OF VEHICLE
CONTROL, POSSIBLE TIRE CONTACT WITH THE FRAME, PREMATURE COMPONENT DAMAGE, OR
SEVERE PERSONAL INJURY.
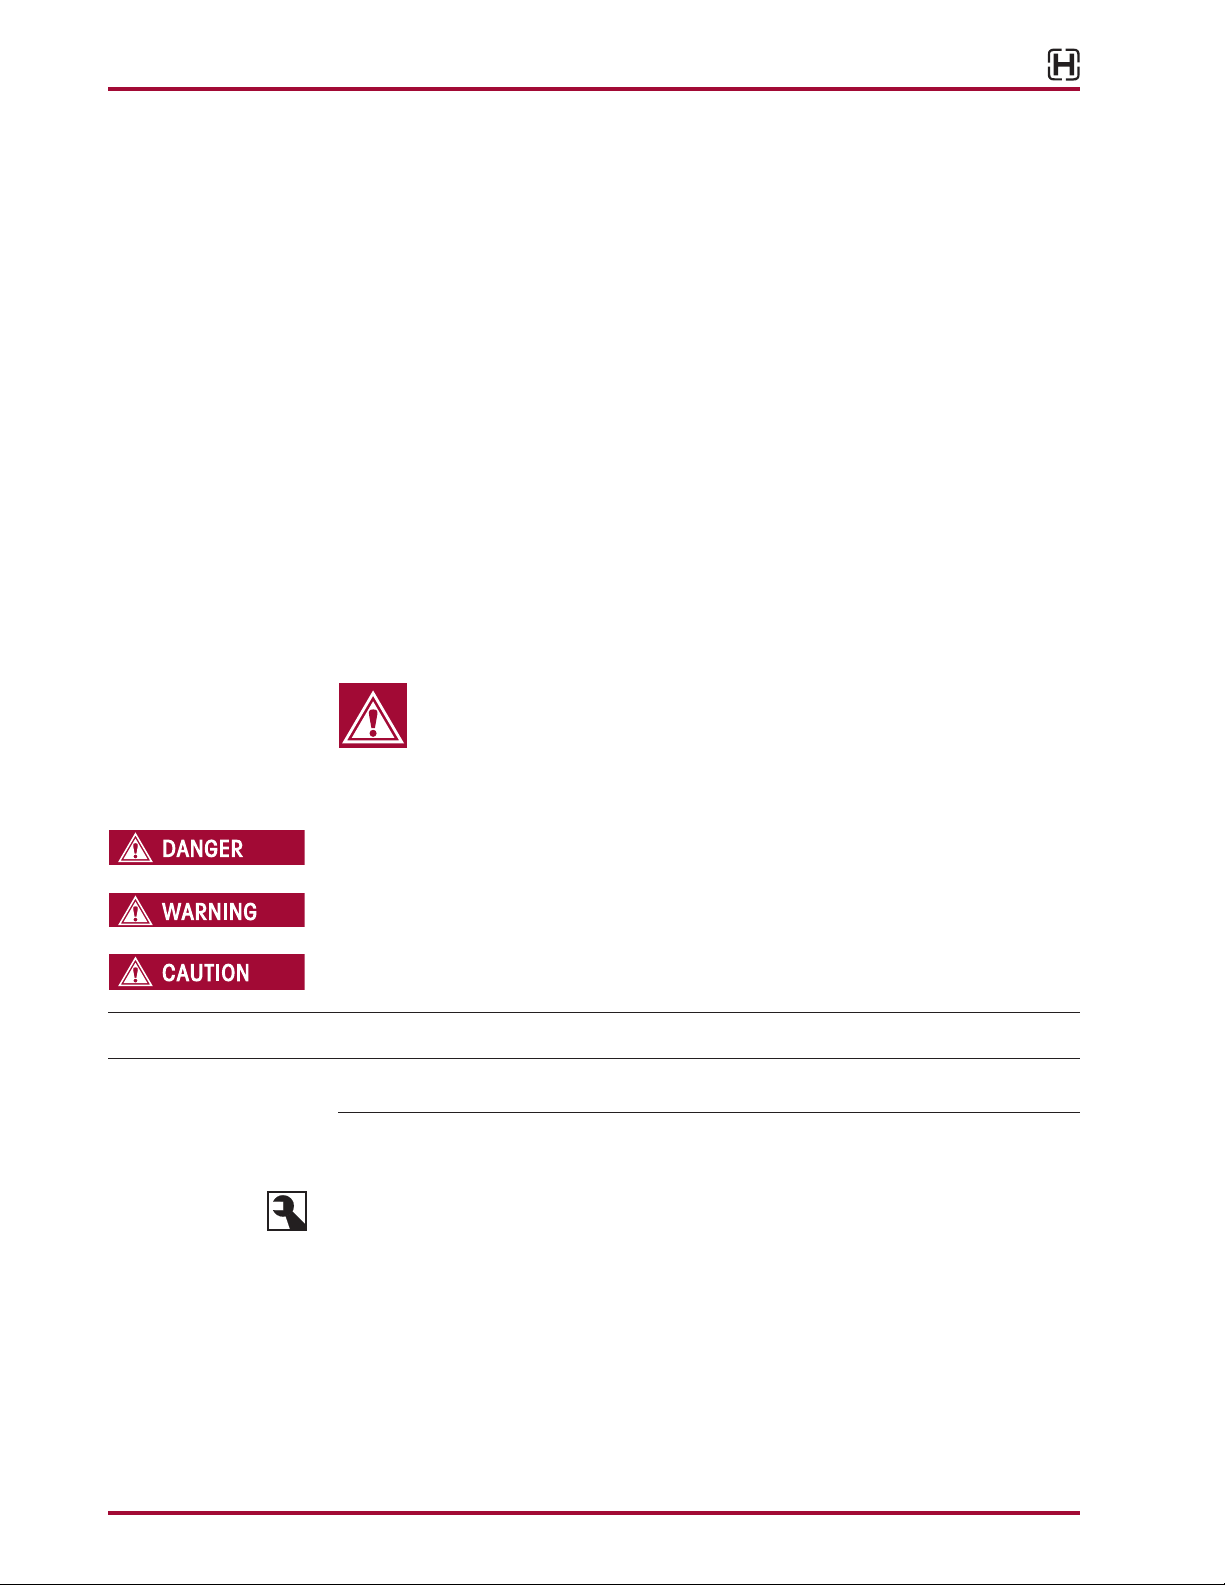
AIR SPRING INFLATION AND DEFLATION
PRIOR TO DISASSEMBLY OF THE SUSPENSION, AIR SPRING ASSEMBLIES MUST BE DEFLATED.
UNRESTRICTED AIR SPRING ASSEMBLIES CAN VIOLENTLY SHIFT. DO NOT INFLATE AIR SPRING
ASSEMBLIES WHEN THEY ARE UNRESTRICTED. AIR SPRING ASSEMBLIES MUST BE RESTRICTED
BY SUSPENSION OR OTHER ADEQUATE STRUCTURE. DO NOT INFLATE BEYOND PRESSURES
RECOMMENDED BY AIR SPRING MANUFACTURER, CONTACT HENDRICKSON TECHNICAL SERVICES
FOR DETAILS. IMPROPER USE OR OVER INFLATION MAY CAUSE AIR SPRING ASSEMBLIES TO BURST,
CAUSING PROPERTY DAMAGE AND/OR SEVERE PERSONAL INJURY.
PRIOR TO AND DURING DEFLATION AND INFLATION OF THE AIR SUSPENSION SYSTEM, ENSURE ALL
PERSONNEL AND EQUIPMENT ARE CLEAR FROM UNDER THE VEHICLE AND AROUND THE SERVICE
AREA, FAILURE TO DO SO CAN CAUSE SERIOUS PERSONAL INJURY, DEATH, OR PROPERTY DAMAGE.
AIR SPRING INFLATION
INFLATE THE SUSPENSION SLOWLY AND MAKE SURE THAT THE RUBBER BLADDER OF THE AIR
SPRING INFLATES UNIFORMLY AND IS NOT BINDING. FAILURE TO DO SO CAN CAUSE DAMAGE TO
THE UPPER AIR SPRING MOUNTING BRACKET AND VOID WARRANTY.
AIR SPRING LOWER MOUNTING STUDS
IF THE AIR SPRING IS BEING REMOVED, IT IS MANDATORY TO LUBRICATE THE LOWER AIR SPRING
FASTENERS WITH PENETRATING OIL AND REMOVE WITH HANDTOOLS TO PREVENT DAMAGE TOTHE
LOWER AIR SPRING MOUNTING STUD. FAILURE TO DO SO CAN CAUSE COMPONENT DAMAGE AND
VOID WARRANTY.
AIR SPRING PRESSURE RETENTION
SOME VEHICLE APPLICATIONS, SUCH AS VEHICLES EQUIPPED WITH OUTRIGGERS, RETAIN SOME
PRESSURE IN THE AIR SPRINGS AT ALLTIMES.PRIOR TO PERFORMING ANY MAINTENANCE,SERVICE,
OR REPAIR OF THE SUSPENSION, VERIFY EACH AIR SPRING IS COMPLETELY DEFLATED. FAILURE TO
DO SO COULD RESULT IN SERIOUS PROPERTY DAMAGE AND/OR SEVERE PERSONAL INJURY.
FAILURE TO PRESS THE AIR SPRING AGAINST THE UNDERSIDE OF THE FRAME WHILE TIGHTENING
THE UPPER AIR SPRING BRACKET CAN RESULT IN COMPONENT DAMAGE AND PERSONAL INJURY
OR PROPERTY DAMAGE.
WORK SITE DUMPING
WHEN THE TRUCK/TRAILER BODY/BOOM/AND OR ATTACHMENT IS LIFTED IT IS MANDATORY TO
COMPLETELY EXHAUSTTHE AIR FROM THE REAR SUSPENSION SYSTEM TO HELP PROVIDE STABILITY
WHEN LIFTED. FAILURE TO DO SO CAN RESULT IN LOSS OF VEHICLE CONTROL, ROLL-OVER,
OR VEHICLE INSTABILITY, POSSIBLY CAUSING SEVERE PERSONAL INJURY, PROPERTY DAMAGE,
OR DEATH. FIRST RAISE ANY AUXILIARY AXLES AND THEN EXHAUST ALL PRESSURE FROM REAR
TRACTOR / TRAILER AND TRUCK AIR SUSPENSION SYSTEMS PRIOR TO RAISING THE BODY / BOOM
OR ATTACHMENTS. FOLLOW THE VEHICLE MANUFACTURER’S OPERATING INSTRUCTIONS FOR
MAINTAINING PROPER STABILITY.
PERSONAL PROTECTIVE EQUIPMENT
ALWAYS WEAR PROPER EYE PROTECTION AND OTHER REQUIRED PERSONAL PROTECTIVE
EQUIPMENT TO HELP PREVENT PERSONAL INJURY WHEN PERFORMING VEHICLE MAINTENANCE,
REPAIR OR SERVICE.