Herschel t1 User manual

T1 Wireless Thermostat
WIRELESS
THERMOSTAT
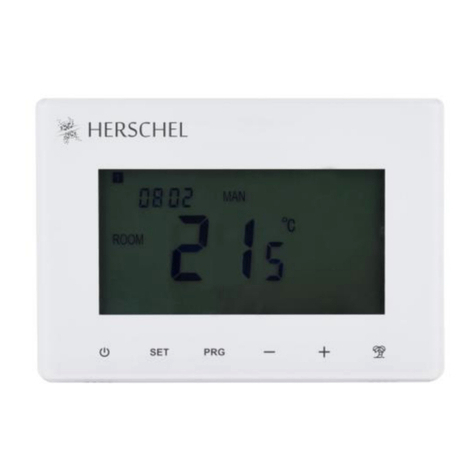
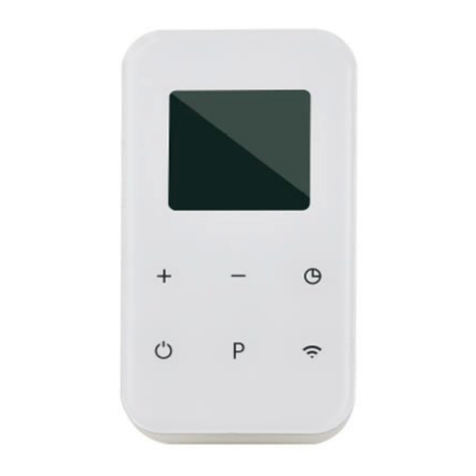
The Herschel iQ T1 Thermostat is a modern control
specifically designed to regulate Herschel Infrared
Heaters when paired with the iQ R1 wireless receiver.
When used in conjunction with the iQ HUB, it can also be
controlled remotely via the internet using an app.
T1 features 3 manual modes and 7 x 1 day
programming. T1 will operate your Herschel heater(s) by
turning them ON if the room temperature is lower than
the desired temperature and will turn them OFF once the
desired temperature is reached or exceeded.
The T1 is designed to be easy to operate and
incorporates the latest energy-saving features including
Herschel’s open window technology and an adaptive
start function ensuring your room is always at the right
temperature with the least energy use.
The T1 can be paired to more than one R1 wireless
receiver, meaning multiple heaters within the room can
be controlled by the T1 Thermostat. Multiple heaters can
also be wired to a single R1 receiver so long as 10 amps
is never exceeded per R1.
Please read these instructions in conjunction with the R1
Wireless Receiver instructions. Both devices T1 and R1
must be “paired” to each other for the T1 to operate.
NOTE: The T1 cannot control Herschel infrared panel
heaters without the R1 Wireless Receiver.
Key features
• Battery operated
• Easy to use and install on a wall, or freestanding
• 7 x 1 day programmable
• 3 modes including holiday mode
• Open window function
• Adaptive start
• Wireless 433Mhz
• CE, Rohs, RED approved
• Wireless distance: 200m (in open places)
• 12 month warranty
The T1 can be wall mounted using the mounting
plate and fittings included or can be free standing
using the stand included. If possible, choose a
location where the unit cannot be interfered with by
unauthorised people and far enough away from the
Herschel infrared heaters to allow it to sense an
average room temperature.

T1 (Gen 3) WIRELESS THERMOSTAT
Displays & Buttons
Operating Instructions
1. Insert the batteries
2. To pair with the R1:
•Turn off the T1 controller
•Long press “boost” button on the R1 until LED1
is flickering
•Long press MENU button on T1 until a code
shows on the screen. Then press MENU button
again.
3. To pair with internet hub (if purchased):
•Place hub into “waiting for pairing” (see hub
instructions)
•Turn Off the T1 controller
•Long press MENU button on T1 until a code
shows on the screen. Then press the MENU
button again.
•The code on T1 will flash until pairing with the
hub is complete. The LED 2 on the Hub will also
stop flashing.
Time and Day setting
1. Turn T1 on.
2. Press the MENU button for 3 seconds until the
minutes display flashes. Press the Up or Down
arrow buttons on the display to change the
value (each press = 1 minute).
3. Press the MENU button again to change the
hour display. Press the Up or Down arrow
buttons to change the value (each press = 1
hour). This is a 24 hour clock.
4. Press the MENU button again to change the
day. Press the Up or Down arrow buttons to
select
On/Off
Weekday
Clock
Temperature
Display
Heating
On
Mode
Programming
Function
Select
Mode
& Adjust
Clock
Return

T1 (Gen 3) WIRELESS THERMOSTAT
1 –7 for Monday –Sunday (so 1 is Monday, 2 is
Tuesday etc).
5. Press the Return button once you have selected
the right day.
Mode temperature settings
The T1 has 3 temperature modes. Use these modes if
the 7 day schedule is not required, or to override the
schedule –for example select “Comfort” if you are at
home all day, or “Energy Saving” to economise on
heat, or “Away” when you are on holiday.
The comfort mode is displayed as a symbol (e.g.
25.5°C).
The energy-saving mode is displayed as a
symbol (e. g. 20.5°C).
The holiday mode is displayed as a symbol (e.g.
10°C).
To set Mode temperature:
•Press the MENU button, the Comfort Mode
temperature symbol will be displayed.
Change the temperature using the Up and Down
buttons. “SET” is displayed indicating you have
changed the setting.
•Press MENU again to display the Energy Saving
mode temperature . Change the temperature
using the Up and Down buttons. “SET” is
displayed indicating you have changed the setting.
•Press MENU again to display the Holiday (Away)
Mode temperature . Change the temperature
using the Up and Down buttons. “SET” is
displayed indicating you have changed the setting.
•Return to the main page by pressing the Return
button.
To select a mode at any time, press the MENU button.
This selection will override the schedule or current
temperature setpoint. For example by selecting
Holiday mode (using the MENU button) the T1 will
maintain your holiday temperature setting until
another mode is selected.

T1 (Gen 3) WIRELESS THERMOSTAT
Program Mode
The T1 has a 7 x 1 day timer (Monday to Sunday) with
4 periods per day. Set Period 1 as the temperature
for the morning. Period 2 is the fallback temperature
for the daytime. Period 3 is the temperature required
for the evening and period 4 is the overnight
temperature.
Unlike conventional heating, Herschel Far infrared
directly heats the room (the “Thermal Mass”). For
areas in frequent use it is more economical to avoid
temperatures dropping too low as the heater will need
to be on for a much longer period to restore
temperatures. We recommend overnight setback
temperatures of no lower than 14°C and daytime
temperatures of 16°C and above.
To select Program Mode press MENU until PRG is
displayed as the mode. The schedule will then operate
until another mode is selected.
To set the 7 days program
The default program you will receive with your T1 is:
To alter this schedule:
•Press the PRG button for 3 seconds to start the 7
x 1 day program setting. The First period of the
First day is selected.
All days
Period 1
0600 20℃
Period 2
0900 16℃
Period 3
16:00 20℃
Period 4
23:00 16℃
•Press the Up or Down button to change the time of
the first period of the day’s program.
•Press PRG again to move to the temperature
setting of the first period and use the Up and Down
buttons to adjust the temperature.
•Press PRG again to move to the second period of
the first day’s program. Repeat the above
procedure to finish setting the other periods of the
first day’s program.
•Press PRG again to move to the first period of the
second day.
•Once setup is complete, press Return to get back
to the main display.
Temperature can always be overridden manually by
pressing the Up and Down buttons. The temperature
will remain at this setting until the next programmed
change occurs. For example, using the default
schedule in the previous table, if it was 18:00 on a
Monday the thermostat would be set to 20°C. If you
wished to increase the temperature to 21°C, press the
Up button to increase temperature to 21°C. The
thermostat would then retain this setting until 23:00
when the period 4 schedule would reduce the set
temperature to 16°C.
Parameter Settings
The T1 has several special operating parameters you
can set, these are:
Temperature Calibration to adjust the unit to
compensate temperature up or down by up to 8°C. For
example if you have another control in the room which

T1 (Gen 3) WIRELESS THERMOSTAT
reads differently from the T1, or if you have to place
the T1 close to the radiator and don’t want to have the
T1 stop the heat before the rest of the room has
warmed up (negative adjustment needed). Or perhaps
the T1 is placed in a cold area (e.g by a window) and
you want the T1 to stay on less so the rest of the room
does not overheat (positive adjustment needed).
Open Window on / off
Open Window is an energy saving feature. When the
room temperature is 14°C and above, if the thermostat
senses a fall in temperature of 2°C or more within a 15
minute period, the T1 will turn off the heater(s) for one
hour and “OP” will show in the display. This is to avoid
wasting electricity where a window or door is likely to
have been opened. Whilst you can always override
this by adjusting the temperature Up or Down or
pressing the BOOST button on the R1, you can also
switch off the function totally (see how to change the
Parameter Settings below).
Adaptive Start
Adaptive Start is another energy saving feature
designed to smooth-out heating consumption when
large jumps in temperature exist between the current
set temperature and the next scheduled temperature
(implies large energy use). Herschel’s adaptive start
function will compare the currently sensed
temperature against the next scheduled setpoint and if
the difference is more than 5°C it will start the heater
earlier. You can use Parameter Settings to turn off
Adaptive start totally.
How change Parameter Settings:
•Turn off the T1.
•Press MENU and UP button together for 3
seconds. This brings up each available parameter
in turn as shown in the table below. The parameter
is changed by pressing the Up or Down button and
the next parameter selected by pressing MENU.
Failsafe Mode
If the T1 is paired to the hub and fails to receive any
commands for more than 30 minutes, the T1 will
operate on its current settings until a new command is
received.
If the T1 loses signal with the R1 for more than 30
minutes, the R1 will default to 18°C.
This feature ensures that heaters can still operate
sensibly and safely in case of failure or signal issues
with the hub or T1.
Menu
Description
Range
Default
01
Temp.
calibration
-8 ℃/
+8 ℃
0℃
02
Open Window
0:Off
1:On
1
03
Adaptive start
0:Off
1:On
On
04
Software info.
-
-
05
Software info.
-
-

T1 (Gen 3) WIRELESS THERMOSTAT
Dimensions (mm):
Length: 119.8 x Height: 85.2 x Depth: 24.1
Mounting Options:
Stand-alone:
Wall-mounted:
Technical Information:
Certifications:
EN60950 Information Equipment Safety
EMC ETSI EN301 489
Radio ETSI EN300220
EMC EN61000-6-3: 2007 + A1: 2011 EMC
EN61000-3-2:2014
EMC EN61000-3-3: 2013
EMC EN61000-6-1:2007
ISO 9001: 2008 Compliant Manufacture
EN60730-2-9:2010 with EN60730-1:2011
(Safety of Automatic Electrical Controls)
RoHS 2011/65/EC
REACH 1907/2006/EC
Frequency 433 MHz
Power Supply 2*AAA battery
Set Point Range 5~30℃
Ambient 0~50℃
Relative Humidity 85%
Backlight White
Sensor NTC 10K, 3950ohms at 25℃
Accuracy ± 0.5℃(step control by +0.5℃)
Protection Class IP20
Housing ABS to UL94-5 fire retardant
plastic
Table of contents
Other Herschel Thermostat manuals
Herschel
Herschel XLS User manual
Herschel
Herschel T-MKS User manual

Herschel
Herschel XLS User manual
Herschel
Herschel iQ Heating Controls T2 User manual
Herschel
Herschel iQ T2 User manual

Herschel
Herschel MD2 User manual

Herschel
Herschel iQ T1 User manual
Herschel
Herschel MD2 User manual
Herschel
Herschel T-MKW User manual
Herschel
Herschel T-PL User manual
Popular Thermostat manuals by other brands

TOTALINE
TOTALINE Intellistat owner's manual
Honeywell
Honeywell CT41A installation instructions
BASETech
BASETech 1539300 operating instructions

Honeywell
Honeywell PRESTIGE THX9321 manual

Honeywell
Honeywell WebStat T7351F Application selection and cross-reference guide

Carrier
Carrier TB-NAC installation instructions

