Herschel XLS User manual

T-MT Mains powered
wifi thermostat
Herschel XLS Heating Controls
T-MT Mains powered Wifi thermostat
Installation and operating instructions
Technical Information
Power Supply: Mains 120-240V
Installation: Wall-mounted using recessed back-box (not supplied)
Setpoint Range: 5-40°C
Protection Class: IPX0
Wireless: 433Mhz (RF) and 2.4GHz (Wifi). Range: 35m
Accuracy: +/-0.1°C
Hysteresis (control lag): +/-0.5°C
Programming: 7 day program, 4 periods per day
Energy saving: Open Window, Adaptive Start
Smartlife App Control
App-Features: Cloud backup of heating program
Energy Monitoring
Works with Alexa and Google Assistant
Warranty: 2 years
Certifications: CE, RoHS, EMC, RED, LOT20
Compliance
Hereby, Herschel Infrared Ltd declares that the radio equipment type T-MT Wireless
Thermostat is in compliance with Directive 2014/53/EU.The full text of the EU declaration of
conformity is available here.

T-MT Mains powered
wifi thermostat
Safety
Use in accordance with the EU and national regulations.For indoor use only.Keep
your device completely dry.This product must be installed by acompetent person
and in accordance with all the EU and national regulations.
Always isolate the AC mains supply before installing or working on any
components that require 230VAC 50 Hz mains.
This appliance is rated IPX0and must be installed outside of the splash
zones in bathrooms.
T-MT Mains powered Wifi thermostat
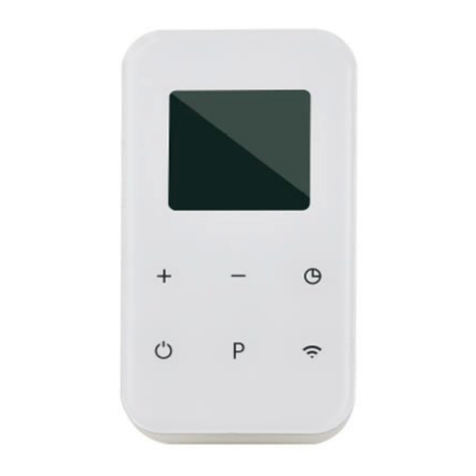
Herschel T-MT is amains powered compact thermostat control designed to work
exclusively with Herschel XLS heaters with their built-in SMART-R receiver.
T-MT also has Wifi capability to allow you to control your heating remotely via the
SmartLife App or by voice control using Alexa or Google Assistant.Cloud backup of
the heating schedule is provided when using the App and energy use can also be
monitored through the App.
T-MT features amanual temperature mode, a 7x1 day program mode and aholiday
(or Away) mode.All modes will operate your Herschel heater(s) by turning them ON
if the room temperature is lower than the desired temperature and will turn them
OFF once the desired temperature is reached or exceeded.
The T-MT is designed to be easy to operate and incorporates the latest energy-
saving features including Herschel’s open window technology and an adaptive start
function ensuring your room is always at the right temperature with the least
energy use.
The T-MT can be paired to more than one heater meaning multiple heaters within
the room can be controlled with the same T-MT thermostat.
Please read these instructions in conjunction with the Herschel XLS panel
instructions.

T-MT Mains powered
wifi thermostat
Wall Mounting onto
Back box & mains power
1. Gently open the T-MT case using aflat-
headed screw driver.
2. The T-MT is aClass II electrical appliance
and does not require an Earth connection.
Please ensure when connecting the unit
to the mains, that any Earth wire is either
removed or insulated to prevent it
accidentally touching the live or neutral
terminals since this will damage the unit
and invalidate your warranty.
Ensure wiring clamps are fully opened
(unscrew anti-clockwise) before inserting
mains wires.
Place Brown Live mains wire into the
clamp marked “L” and the Blue Neutral
wire into the clamp marked “N” and
tighten both clamps securely.
IMPORTANT:Ensure mains power
is switched off before connecting
Installation
T-MT must be wall-mounted using mains power.
If possible, position the T-MT at least 2m away from the Herschel XLS heater.
3. Screw the rear casing of the T-MT onto the back box using bolts provided.When
positioning the rear of the casing on the wall, be sure to position the vents at
the bottom.
4. Place the front face of the T-MT over the rear casing and snap shut.

T-MT Mains powered
wifi thermostat
Display & Buttons
Operating Instructions
Pairing the T-MT with the Heater
1. Double press the Pairing button on the SMART-R box of the heater.The green
pairing status LED will start to flash and the heater is ready for pairing.
2. Ensure power is available to the T-MT, but that the power button on the unit is
switched off.“OF” is shown on the display.
3. Long-press the SET button on the T-MT and the word “PAIR” will flash on the
display.
4. When pairing has completed successfully, the green pairing status LED on the
SMART-R box will become asteady green and the word “PAIR” on the T-MT will
disappear.
5. You should not experience any difficulty in pairing, but in case you do, please
ensure the T-MT and Heater are within range of each other and try the above
process again.
6. Press the Power button on the T-MT to start using it to control the heater.
1. Day of week
2. Time
3. Temperature
4. Heating on symbol, Holiday
Mode Symbol, Window Open
Enabled Symbol, Windown
Open Alert Symbol
5. Operating Modes
6. Holiday (Away) Days remaining
7. Program number being run
8. Power On / Off
9. SET button
10. PRG Program button
11. Minus ‘-’ button
12. Plus ‘+’ button
13. Holiday Mode

T-MT Mains powered
wifi thermostat
Managing your heating using your T-MT Controller
All the following steps can be performed using either the Smartlife App or the
controller keypad.However the Smartlife App makes the controller very simple and
convenient to operate.We recommend using the App to program the T-MT.If you
do not intend using the App, please jump ahead to the section “Controlling the T-MT
with its keypad”.
About the Smartlife App
The Smartlife App is constantly evolving and future versions may have some
differences to these printed instructions which were correct at time of printing.You
can always find the most up to date version of the instructions by checking the T-MT
controller product page on the Herschel website, where there is alink to the most
up to date instructions.
Scan the QR code below to download the Smartlife App from the App Store or
Google Play.
Alternatively, search “Smart Life” on Google Play or the App Store & look for this
icon.
Downloading & Installing the Smartlife App
After installing and opening the Smartlife App, you must register an account using an
email address and password and accept the terms of use.

T-MT Mains powered
wifi thermostat
To add your T-MT controller
Turn the T-MT off using the power button.Long-press PRG until the Wifi symbol
flashes.
Tap ‘+’ top right of App Select “Small Home Appliances”
and then “Thermostats (Wifi)”
If this is your first
thermostat you are adding
you will be asked to enter
your Wifi password.
You will not have to do
this when you add
subsequent thermostats
to the App.
Operations available on the App
From the main screen of the Smartlife app, you can
access management features also available from the
keypad of your T-MT:
-Power On /Off (turns off the T-MT and the
heater)
-Temperature override (Orange circle with +and –
buttons)
-Manual Operation
-“Smart” Operation (Program Mode)
-Holiday Mode
-Settings
-Controller Keypad lock
Give your T-MT aname
and access the main
screen.

T-MT Mains powered
wifi thermostat
Explanation of operating modes
Smart /PRG mode
Your Herschel Select XLS heater works most efficiently when it is set up to run
against aprogram controlled by the T-MT thermostat.This program will always
ensure your room reaches the temperature you want at the time you want it, each
day of the week.This is represented by the “Smart” function on the App, and by
the PRG function on the T-MT keypad.So usually you will want to set up and run
the unit in Smart /PRG mode.To enable Smart mode on the T-MT, touch the
“Smart” icon on the App main screen and alter the program settings in “Settings”.
Manual /MAN mode
Selecting Manual (MAN) mode allows you to set and maintain aconstant
temperature that does not vary with the time of day.Once you set atemperature
using Manual mode, the T-MT will maintain this temperature until you give the T-
MT another command.Select Manual mode by touching the “Manual” icon on the
App main screen and alter the temperature up or down using the +and –buttons.
Override
You can always override the Programmed or Manual set temperatures to be
higher or lower by using the +or –keys on the App main screen or T-MT keypad to
change the temperature.When operating on Smart /PRG mode, the T-MT will
maintain the override temperature until the next programmed period (when the
next programmed temperature will be set).Under Manual mode, the override
temperature will remain set until you change it again manually.
Holiday Mode
There is also aHoliday (HOL) mode which allows you to save energy by setting a
lower temperature while you are away.The HOL mode has aday-counter feature
allowing you to set the number of days you are away.
Select Holiday mode by touching the “Holiday” icon on the App main screen.Select
Days away using the slider and set your holiday temperature using the +or –
buttons.When holiday mode ends, the control will default to aconstant 18˚C
target temperature operation.

T-MT Mains powered
wifi thermostat
Other App functions
Settings
“Settings” on the App allow you to change:
-The Smart /PRG mode program schedules and temperatures;
-Temperature units (Centigrade or Fahrenheit);
-Calibration (Calibration is explained later in this manual);
-Adaptive start On or Off (Adaptive Start is explained later in this manual);
-Open Window Technology On or Off (Open Window is explained later in this
manual);
-Energy Savings Statistics:Energy consumption over the week/month including
peak days.
Keypad Lock
The “Lock” function on the App main screen locks the keypad of the T-MT so no one
can operate the controller from the device itself, until keypad lock is removed.
Device Details
You can alter other details about your T-MT including enabling Alexa or Google
Assistant or sharing control of your device with other members of your family by
tapping the pencil icon at the top right of the App main screen.
If you begin to use Smartlife to control other Home Automation devices, then you
can also integrate your T-MT control into other home automation tasks that you set
up in Smartlife from the Device Details screen.
Setting Time & Calibration
1. Press the SET button on the T-MT
for 3seconds to enter the settings
mode.Day 1of the week will begin
to flash on the display.
2. Use the +or -keys on the T-MT to
set the day of the week. (e.g. if 1is
Monday and today is Wednesday,
press +until 3flashes in the
display.)
Controlling the T-MT with its keypad
3. Press SET again to advance to change the minutes and use the +or –keys again to
adjust.
4. Press SET again to advance to change the hour and use the +or –keys to adjust (it
is a24 hour clock).

T-MT Mains powered
wifi thermostat
5. Press SET again to Calibrate the temperature of the T-MT to match another
thermostat.Calibration is not usually necessary and we explain its use later.If you
need to Calibrate, perform this step here.
6. Press SET again to change the temperature scale from Celsius to Fahrenheit.
7. The T-MT automatically saves your changes as you enter them.
8. If you use the T-MT with the Smartlife App, your controller and phone will
automatically synchronise time and date settings, making this step unnecessary
using the Smartlife App.
Selecting &Using Operating Modes
To select Manual (MAN) or Programming (PRG) modes, press the PRG button until the
mode you require is shown at the top of the display.
Manual Mode
Select the Manual mode by clicking the PRG button until MAN is shown on the display.
Use the +or –buttons to set the temperature you want the T-MT to maintain in the
room.
Note that the T-MT will maintain this temperature 24 x 7 until you switch to another
mode.
Programming the T-MT
To change the program defaults, proceed
as follows.
Mon -Fri Sat -Sun
Period 1 06:30 21°C 08:00 21°C
Period 2 08:00 18°C 10:00 18°C
Period 3 18:00 21°C 18:00 21°C
Period 4 22:30 16°C 23:00 16°C
Program Mode
The T-MT comes with the following
program defaults which you can keep or
change.

T-MT Mains powered
wifi thermostat
Set time & temperature for each day
Long-press PRG and the display will
change to enable input of the time and
temperature of the 4periods for each day
of the week, starting with the first period
on day 1. Change the day of the week
using +or –buttons.
Press “PRG” again. The Time will flash at
the top left of the display.
Holiday Mode
Holiday (Away) mode allows you to set
acooler fallback temperature to
maintain in the house to save energy
but avoid frozen water pipes.The
mode has acountdown timer in which
you can set up to 99 days away.
The T-MT will revert to afixed 18˚C
setting when holiday mode completes.
Use +or –buttons to change the time.
Press PRG to advance to the temperature setting which will then flash.
Use +or –buttons to change the temperature.(This will not change Celsius or
Fahrenheit, only the set temperature digits).
Press PRG to advance to the next period.
Repeat the above steps to complete the 4periods for each day.The next day will
automatically then be available to set.
For 7days of the week this means atotal of 28 programming steps.
After the final programming entry, the next click of PRG will return the unit to normal
operation.
To set the Holiday countdown timer, long press on the Holiday (Palm Tree) button on
the key pad.The “HOL” Mode is displayed and the set temperature will begin to flash.
Set the temperature to be maintained while you are away using the +and –keys.
Press the Holiday button again to adjust the number of days you are away using +
and –keys.

T-MT Mains powered
wifi thermostat
Press the Holiday button again to save and exit.The days number will count down
daily until your entered number of days has elapsed.The unit will return to atarget
temperature of 18˚C at the end of the countdown period.
To quit an active holiday mode, press the “PRG” button and select Manual or
program modes.
Open Window Function
If the T-MT detects atemperature drop of more than 3°C within 15 minutes, the
controller will power-off the heater.“OF” will appear on the screen and the text
“Alarm! Open Window!” will be displayed.Pressing the Power button on the unit will
resume normal operation, or waiting for 30 minutes will also restore normal
operation.
Open Window detection will only work if the feature is activated and shown as an
Open Window icon on the display (see display schematic on page 2). To activate the
Open Window function, press “SET” and ‘+’ together for 3seconds.To deactivate the
Open Window function, repeat the process.
Adaptive Start
Adaptive start is an intelligent energy-saving feature which will turn on the heating in
advance of the next scheduled time if the current temperature is more than 5°C
below the next target temperature.(This avoids wasteful loads on the heater).
Adaptive Start will only work if the feature is activated and shown as aTimer icon on
the display (see display schematic on page 2). To activate the Adaptive Start feature,
press “SET” and ‘-’ together for 3seconds.To deactivate, repeat the process.
Keypad Lock
To activate the keypad lock, press SET and Holiday Mode buttons together for 3
seconds. A shut padlock icon will appear on the screen.Press SET and Holiday Mode
buttons together again for another 3seconds to deactivate the keypad lock.
Energy monitoring
The T-MT can monitor the energy consumption of the heaters paired with it.To set
up energy monitoring:
•Power off the thermostat
•Press and hold the “+” button until the “SET” digits flash on the screen.
•Adjust the number to match the total power (in kW) that this thermostat
connects to.(e.g. if more than one heater, add their power together).Click “Off”
again to store the figure.

T-MT Mains powered
wifi thermostat
Using this feature with the SmartLife App gives you amore comprehensive record of
the energy use over time and you can also integrate with other SmartLife devices
using the “Smart” feature in the App.
Factory Settings
To restore to factory settings, power off the thermostat, press and hold the “Holiday”
button for 5seconds until the screen starts to flash.
Calibration
Calibration is aprocess to alter the temperature of the T-MT up or down in order to
align the unit with another thermostat.The T-MT can be calibrated 5°C up or down
from the default of 0(no calibration).
Calibrating UP (i.e. +1 °C etc) means the T-MT will display ahigher temperature than
the present one being shown.Use this when you think the T-MT is under-reading
compared with another thermostat.
Calibrating DOWN (i.e. - 1 °C etc) means the T-MT will display alower temperature
than the present one being shown.Use this when you think the T-MT is over-reading
compared with another thermostat.
When adjusting the T-MT Time &Temperature settings using the SET button,
calibration is the final setting you can change.The default is 0. Use +or –keys to
adjust this figure up or down.
You can also change calibration using the Smartlife App.
You can always check current consumption details by pressing the “-” and “+” button
together for 3seconds.The display will show:
1. Heating hours
today
2. Energy
consumption
yesterday (in kW)
3. Energy
consumption today
(in kW).

T-MT Mains powered
wifi thermostat
2 Year Warranty
Register your product at the Help & FAQs section of your local Herschel website..
Within two years from date of purchase Herschel will repair or replace the T-MT
where the fault is due to defects in materials or workmanship.This warranty is for
standard domestic use only and excludes commercial uses.In the event of awarranty
claim please visit the Customer Service area of the Herschel Website and follow the
Warranty Claim process.You will need proof of purchase.
Note your serial number here.

T-MT Mains powered
wifi thermostat
Commandes de chauffage Herschel XLS
Thermostat Wifi alimenté sur secteur T-MT
Notice d'installation et d'utilisation
Informations techniques
Conformité
Par la présente, Herschel Infrared Ltd déclare que l'équipement radio de type T-MT Mains
powered Wifi thermostat est conforme à la directive 2014/53/EU. Le texte intégral de la
déclaration de conformité de l'UE est disponible ici.
Alimentation électrique: Secteur 120-240V
Installation: Montage mural à l'aide d'une boîte d'encastrement
(non fournie)
Gamme: 5-40°C
Classe de protection: IPX0
Sans fil: 433Mhz (RF) et 2.4GHz (Wifi). Portée : 35m
Précision:+/-0.1°C
Hystérésis:+/-0.5°C
Programmation:7 day program, 4 periods per day
Economie d'énergie:Open Window, Adaptive Start
Smartlife App Control
Caractéristiques de l'application:Sauvegarde dans le cloud du programme de
chauffage
Surveillance de l'énergie
Fonctionne avec Alexa et Google Assistant
Garantie:2 ans
Certifications: CE, RoHS, EMC, RED, LOT20

T-MT Mains powered
wifi thermostat
Sécurité
Utiliser conformément aux réglementations européennes et nationales. Pour une
utilisation en intérieur uniquement. Gardez votre appareil complètement sec. Ce
produit doit être installé par une personne compétente et conformément à toutes
les réglementations européennes et nationales.
Isolez toujours l'alimentation secteur avant d'installer ou de travailler sur
des composants nécessitant une alimentation 230 VCA 50 Hz.
Cet appareil est classé IPX0et doit être installé en dehors des zones
d'éclaboussures dans les salles de bains.
Thermostat Wifi alimenté sur secteur T-MT
Herschel T-MT est un thermostat compact alimenté sur secteur conçu pour
fonctionner exclusivement avec les radiateurs Herschel XLS avec leur récepteur
SMART-R intégré.
T-MT dispose également d'une capacité Wifi pour vous permettre de contrôler votre
chauffage à distance via l'application Smartlife ou par commande vocale à l'aide
d'Alexa ou de Google Assistant.
Le T-MT dispose d'un mode de température manuel, d'un mode de programme 7x1
jours et d'un mode vacances (ou absence). Tous les modes feront fonctionner votre
(vos) radiateur(s) Herschel en les mettant en marche si la température ambiante est
inférieure à la température désirée et les éteindront une fois la température désirée
atteinte ou dépassée.
Le T-MT est conçu pour être facile à utiliser et intègre les dernières fonctionnalités
d'économie d'énergie, notamment la technologie de fenêtre ouverte de Herschel et
une fonction de démarrage adaptative garantissant que votre pièce est toujours à la
bonne température avec une consommation d'énergie minimale.
Le T-MT peut être associé à plus d'un radiateur, ce qui signifie que plusieurs
radiateurs dans la pièce peuvent être contrôlés avec le même thermostat T-MT.
Veuillez lire ces instructions en conjonction avec les instructions du panneau
Herschel XLS.

T-MT Mains powered
wifi thermostat
Montage mural sur
Boîtier arrière et
alimentation secteur
1. Ouvrez doucement le boîtier du T-MT à
l'aide d'un tournevis àtête plate.
2. Le T-MT est un appareil électrique de
classe II et ne nécessite pas de connexion
àla terre.Lors de la connexion de l'unité
au secteur, assurez-vous que tout fil de
terre est soit retiré, soit isolé pour éviter
qu'il ne touche accidentellement les
bornes sous tension ou neutres, car cela
endommagerait l'unité et annulerait votre
garantie.
Assurez-vous que les pinces de câblage sont
complètement ouvertes (dévissez dans le
sens inverse des aiguilles d'une montre) avant
d'insérer les câbles d'alimentation.
Placez le fil d'alimentation Brown Live dans la
pince marquée « L » et le fil bleu neutre dans
la pince marquée « N » et serrez fermement
les deux pinces.
IMPORTANT :Assurez-vous que
l'alimentation secteur est coupée
avant de brancher
Installation
Le T-MT doit être fixé au mur en utilisant l'alimentation secteur.
Si possible, placez le T-MT àau moins 2 m du radiateur Herschel XLS.
3. Vissez le boîtier arrière du T-MT sur le boîtier arrière àl'aide des boulons
fournis.Lors du positionnement de l'arrière du boîtier sur le mur, veillez à
positionner les évents en bas.
4. Placez la face avant du T-MT sur le boîtier arrière et fermez-le.

T-MT Mains powered
wifi thermostat
Affichage et boutons
1. Jour de la semaine
2. Heure
3. Température
4. Symbole de chauffage activé,
symbole de mode vacances,
symbole d'ouverture de fenêtre
activée, symbole d'alerte
d'ouverture de fenêtre
5. Modes de fonctionnement
6. Vacances (Away) Jours restants
7. Numéro du programme en
cours d'exécution
8. Marche / Arrêt
9. Bouton SET
10. Bouton PRG Program
11. Bouton '-' (moins)
12. Bouton plus '+'.
13. Mode vacances
Mode d'emploi
Couplage du T-MT avec le radiateur
1. Appuyez deux fois sur le bouton de jumelage sur le boîtier SMART-R de
l'appareil de chauffage.La DEL verte d'état d'appairage se met àclignoter et
le radiateur est prêt pour l'appairage.
2. Assurez-vous que le T-MT est alimenté en électricité, mais que le bouton
d'alimentation de l'appareil est éteint.L'écran affiche "OF".
3. Appuyez longuement sur le bouton SET du T-MT et le mot "PAIR" clignote à
l'écran.
4. Lorsque l'appairage est terminé avec succès, la DEL verte d'état d'appairage
de la boîte SMART-R devient verte fixe et le mot "PAIR" sur le T-MT disparaît.
5. Vous ne devriez pas rencontrer de difficultés pour l'appairage, mais si c'est le
cas, assurez-vous que le T-MT et l'appareil de chauffage sont àportée l'un de
l'autre et réessayez le processus ci-dessus.
6. Appuyez sur le bouton Power du T-MT pour commencer àl'utiliser pour
contrôler l'appareil de chauffage.

T-MT Mains powered
wifi thermostat
Gérer votre chauffage àl'aide de votre contrôleur T-MT
Toutes les étapes suivantes peuvent être effectuées àl'aide de l'application
Smartlife ou du clavier du contrôleur.Cependant, l'application Smartlife rend le
contrôleur très simple et pratique àutiliser.Nous vous recommandons d'utiliser
l'application pour programmer le T-MT.Si vous n'avez pas l'intention d'utiliser
l'application, veuillez passer directement àla section «Contrôler le T-MT avec son
clavier ».
À propos de l'application Smartlife
L'application Smartlife évolue constamment et les versions futures peuvent
présenter des différences par rapport àces instructions imprimées qui étaient
correctes au moment de l'impression.Vous pouvez toujours trouver la version la
plus récente des instructions en consultant la page produit du contrôleur T-MT sur le
site Web Herschel, où se trouve un lien vers les instructions les plus récentes.
Scannez le code QR ci-dessous pour télécharger l'application Smartlife depuis
l'App Store ou Google Play.
Vous pouvez également rechercher « Smart Life » sur Google Play ou l'App Store
et recherchez cette icône.
Téléchargement et installation de l'application Smartlife
Après avoir installé et ouvert l'application Smartlife,vous devez créer un compte à
l'aide d'une adresse e-mail et d'un mot de passe et accepter les conditions
d'utilisation.

T-MT Mains powered
wifi thermostat
Pour ajouter votre contrôleur T-MT
Éteignez le T-MT àl'aide du bouton d'alimentation.Appuyez longuement sur PRG
jusqu'à ce que le symbole Wifi clignote.
Appuyez sur « +» en haut à
droite de l'application
Sélectionnez « Petit électroménager »
puis "Thermostats"
S'il s'agit de votre premier
thermostat que vous
ajoutez, il vous sera
demandé de saisir votre
mot de passe Wifi.
Vous n'aurez pas àle faire
lorsque vous ajouterez
des thermostats ultérieurs
àl'application.
Operations available on the App
Depuis l'écran principal de l'application Smartlife,
vous pouvez accéder aux fonctionnalités de gestion
également disponibles depuis le clavier de votre T-
MT :
-Marche/Arrêt (éteint le T-MT et le chauffage)
-Dérogation de température (cercle orange avec
boutons +et -)
-Opération manuelle
-Fonctionnement «intelligent »(mode programme)
-Mode vacances
-Paramètres
-Contrôleur Verrouillage du clavier
Donnez un nom àvotre T-
MT et accédez àl'écran
principal.

T-MT Mains powered
wifi thermostat
Explication des modes de fonctionnement
Mode intelligent/PRG
Votre chauffage Herschel Select XLS fonctionne plus efficacement lorsqu'il est
configuré pour fonctionner selon un programme contrôlé par le thermostat T-MT.
Ce programme garantira toujours que votre pièce atteigne la température
souhaitée àl'heure que vous souhaitez, chaque jour de la semaine.Ceci est
représenté par la fonction «Smart »sur l'App, et par la fonction PRG sur le clavier
T-MT.Donc, généralement, vous voudrez configurer et exécuter l'unité en mode
Smart /PRG.Pour activer le mode intelligent sur le T-MT, touchez l'icône
«Smart »sur l'écran principal de l'application et modifiez les paramètres du
programme dans «Paramètres ».
Mode manuel /MAN
La sélection du mode Manuel (MAN) vous permet de régler et de maintenir une
température constante qui ne varie pas avec l'heure de la journée.Une fois que
vous avez réglé une température en mode manuel, le T-MT maintiendra cette
température jusqu'à ce que vous lui donniez une autre commande.Sélectionnez le
mode manuel en touchant l'icône «Manuel »sur l'écran principal de l'application
et modifiez la température vers le haut ou vers le bas àl'aide des boutons +et -.
Passer outre
Vous pouvez toujours remplacer les températures de consigne programmées ou
manuelles pour qu'elles soient supérieures ou inférieures en utilisant les touches +
ou -sur l'écran principal de l'application ou le clavier T-MT pour modifier la
température.Lorsqu'il fonctionne en mode Smart /PRG, le T-MT maintiendra la
température de dérogation jusqu'à la prochaine période programmée (lorsque la
prochaine température programmée sera réglée).En mode manuel, la
température de dérogation restera réglée jusqu'à ce que vous la modifiiez à
nouveau manuellement.
Mode vacances
Il existe également un mode Vacances (HOL) qui vous permet d'économiser de
l'énergie en réglant une température plus basse pendant votre absence.Le mode
HOL dispose d'un compteur de jours qui vous permet de définir le nombre de jours
d'absence.
Sélectionnez le mode Vacances en touchant l'icône "Vacances" sur l'écran principal
de l'application.Sélectionnez Jours d'absence en utilisant le curseur et réglez votre
température de vacances en utilisant les boutons +ou -. Lorsque le mode vacances
prend fin, la commande revient par défaut àun fonctionnement àtempérature
cible constante de 18˚C.
Other manuals for XLS
2
Table of contents
Languages:
Other Herschel Thermostat manuals

Herschel
Herschel MD1 User manual
Herschel
Herschel T-MT User manual
Herschel
Herschel T-BT User manual
Herschel
Herschel iQ T2 User manual
Herschel
Herschel T-PL User manual
Herschel
Herschel XLS User manual
Herschel
Herschel T-MKW User manual
Herschel
Herschel iQ Heating Controls T2 User manual
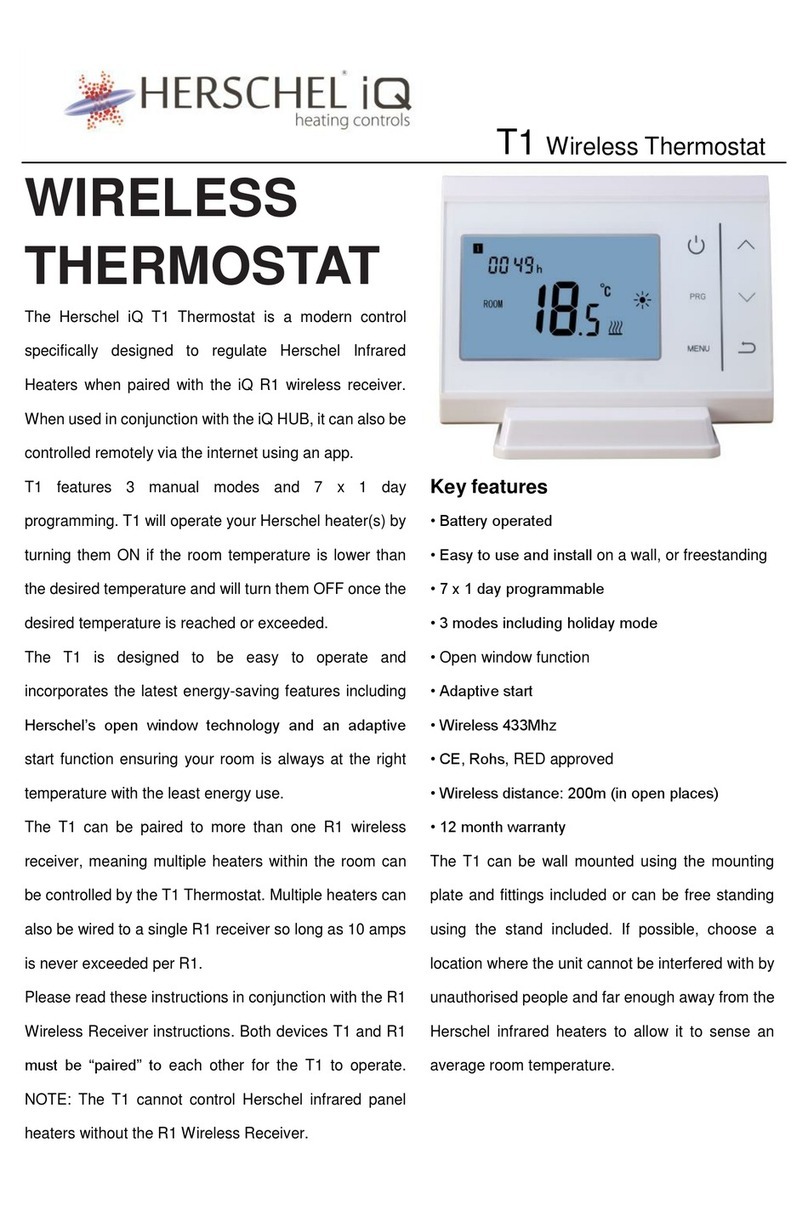
Herschel
Herschel t1 User manual

Herschel
Herschel XLS User manual
Popular Thermostat manuals by other brands
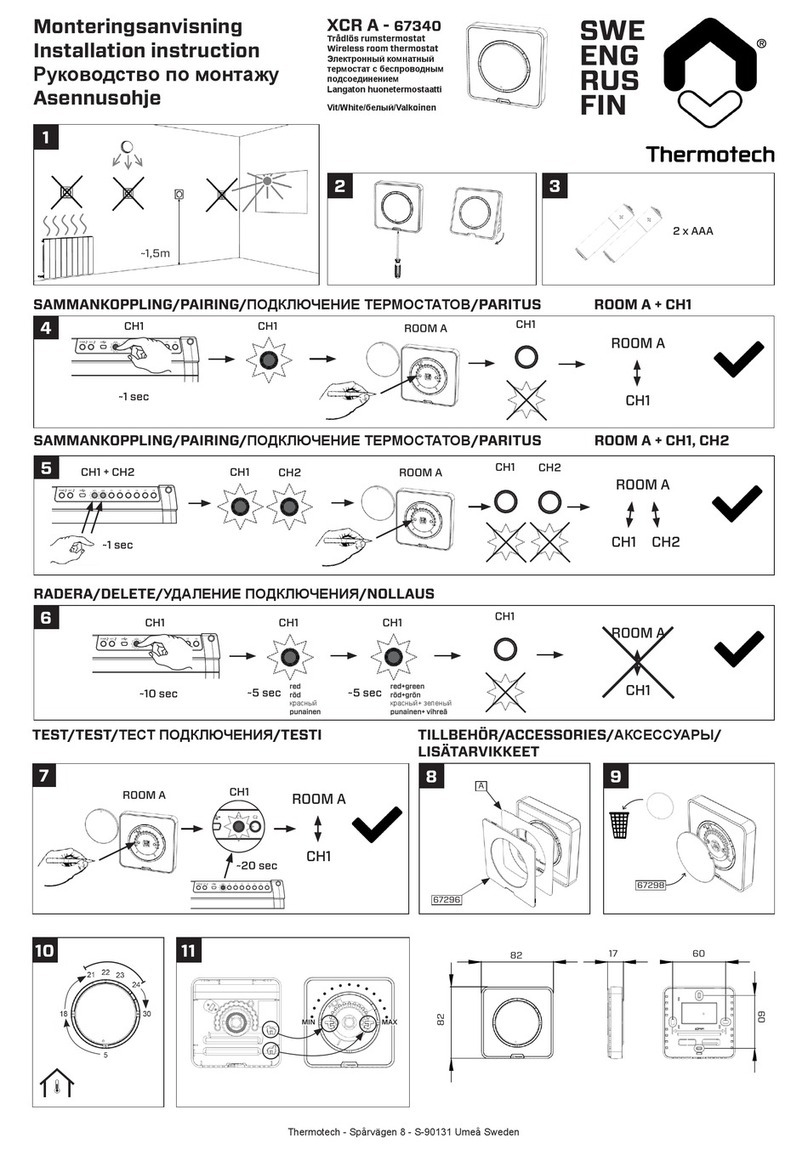
Thermotech
Thermotech XCR A installation instructions
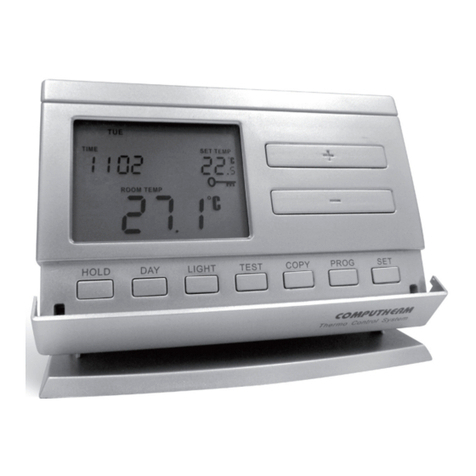
Computherm
Computherm Q8RF(TX) operating instructions
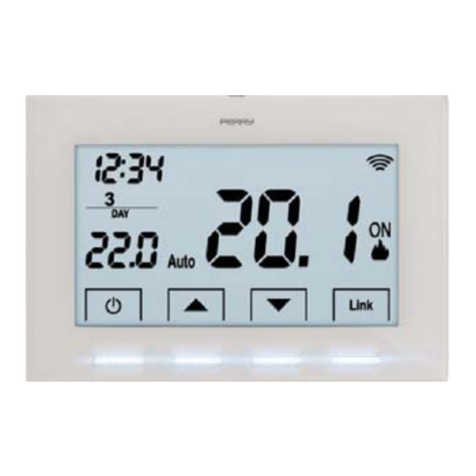
Elnur Gabarron
Elnur Gabarron CTM20 Installation and use manual
Bosch
Bosch CRC R-1 Installation and operating instructions
Danfoss
Danfoss RT 103 installation guide
Salus
Salus RXRT505 instruction manual
