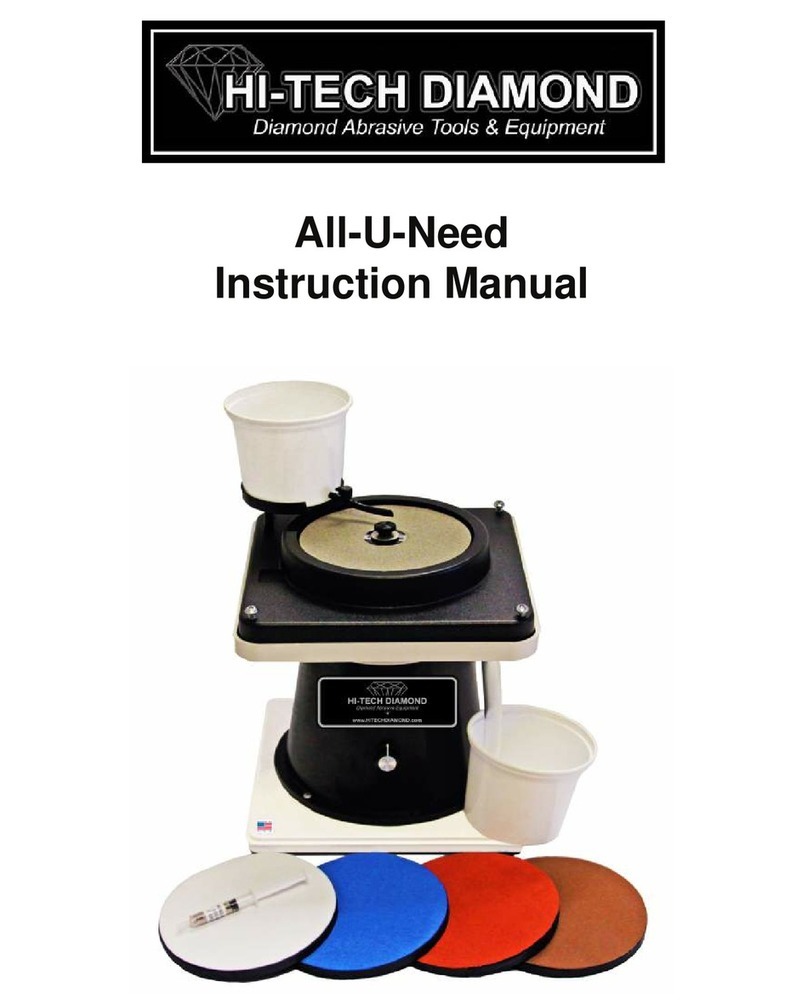
Hi-Tech Diamond SLANT CABBER User manual

The Villages® Gem & Mineral Society
OPERATING INSTRUCTIONS FOR SLANT CABBER
Created 03/29/2016, Revised 11/01/2017 Page 1 of 3
Introduction
The slant cabber is used to shape and polish cabochons like the wheel grinder. The advantage of the
slant cabber is you can polish a flat surface. The disadvantage is to change grits you have to clean the
disc you are using and mount the disc with the next grit you want to use
Due to the time between the purchases of our slant cabbers there is a slight difference between the two
models. The slant cabber consists of the blue base, a black shield and six discs with backing plates.
General Information:
1. The slant cabber uses discs that have diamonds impregnated on one flat side. These discs may
be made out of steel or a heavy paper.
2. The discs have to be mounted on a backing plate. The backing plate is a black molded composite
disc with a 1/2” arbor hole. The backing plate is required for the disc to fit the slant cabber
properly. If the disc you want to use does not have a backing plate, or if you contact a trainer or
workshop supervisor.
3. The Society has six discs. Three Grinding/Shaping discs with 80, 180, 325 grits (also called mesh)
and three Sanding/Polishing discs wit6h 600, 1,200 and 3,000 grits.
Set up for use:
1. Place a vinyl table cover on a table near a floor outlet where the slant cabber will be set up.
2. This equipment is light and can be carried by one person. Take the slant cabber and box of discs
off a rolling cart and place them on the table.
3. Place a waste bucket on the floor. Insert one end of the waste water drain tube into the short
tube on the side of the machine and the other end in the bucket. Make sure that the drainage
tube is clear of all blockages.
4. Install the disc shield on the machine. One edge of the shield is only about 1/4” high and the
other three edges are about 3/4” high. Slide the 1/4” edge between the arbor and the water
Water feed control knob
Water supply reservoir
On/Off and speed control knob
Waste water drain tube.
Make sure to place end of
tube in a small bucket
before filling the supply
tank with water
Flange Knob with Washer
Copper water feed tube
½” Arbor
The flange knob screws into it
Disc Shield
Waste water reservoir
Newer model
without copper tube

The Villages® Gem & Mineral Society
OPERATING INSTRUCTIONS FOR SLANT CABBER
Created 03/29/2016, Revised 11/01/2017 Page 2 of 3
feed tube and on older models under the aluminum bar that has the water feed control knob on
it. Older model push the bottom edge of the shield in and press it down into the waste water
reservoir. On the newer model press the shield into the black clips on the inside of the machine
5. Unscrew the black flange knob and cupped washer from the base. Place the disc you will be
using on the arbor. If the disc is not glued to the backing plate, make sure that the disc is
centered on the backing plate and then screw the flange nut firmly. Hand tightening is sufficient.
Do not tighten with screwdrivers or pliers. Over tightening will lead to a wobble in the disc and
prevent an even surface on the stone from forming.
6. Turn the disc by hand in a counter clockwise direction, it should turn freely.
7. Fill the water supply reservoir with water.
8. Plug in the machine. Make sure the cord is not causing a tripping hazard.
Operating:
1. SAFETY GLASSES MUST BE WORN WHEN USING THIS EQUIPMENT.
2. This equipment has a variable speed for spinning the disc. Turn on the speed control knob to
start the disc spinning. Set the speed of the disc at a sufficient speed for grinding the stone, but
not so fast that the equipment starts vibrating. The disc does NOT need to be at full speed to
use. If there is a vibration check to make sure that the disc is centered on the backing plate.
Improper centering may cause the disc to spin out of round
resulting in machine vibration. Listen to the cabber while it is
running, is it turning smoothly? If not and an improperly centered
disc is not the problem, notify the Workshop Supervisor.
3. The black knob located above the water supply reservoir or on the
end of the water tube is used to control the flow of the water over
the discs. On the new model the water control knob is on the end
of the white water tube. Open the water feed control knob to start
the water flowing and adjust it to a steady slow flow. Center the
flexible tube so water drips close to the center of the disc and is
evenly spread over the surface of the disc while it spins. The disc
should be completely wet at all times.
4. NEVER USE WITHOUT THE WATER FLOWING. Using a dry disc
causes damage to the disc and/or your stone.
5. Keep the stone moving, using LIGHT PRESSURE ONLY with a rolling
movement.
6. Grind across the complete face of the disc by constantly moving
your stone; do not stay in one place on the disc as it causes a flat
spot on the stone and a worn/damaged spot on the disc.
7. When finished with one disc, turn off the motor leaving the water on. Using a brush, clean the
disc then turn off the water and turn on the motor to spin the disc completely dry. Then mount
your next disc on the equipment. Turn on the water and continue with your work.
8. Always monitor the water level in the water supply water reservoir. Add water whenever the
reservoir is almost empty.
9. Make sure to empty the discharge bucket when it gets 3/4 full. Dump it outside the door in the
landscape bed. Be careful when you carry the discharge bucket so you do not spill water.
10. DO NOT LEAVE the machine running if it is unattended. SHUT IT OFF!
Note the individual in this
picture does not have safety
glasses on. This was for
training purposes only. If a
chip would fly off his stone
you can see that it could
easily hit his eye. (SAFETY
GLASSES MUST BE WORN.)
.

The Villages® Gem & Mineral Society
OPERATING INSTRUCTIONS FOR SLANT CABBER
Created 03/29/2016, Revised 11/01/2017 Page 3 of 3
Cleaning and Storing the Machine:
1. Turn off the machine leaving the water on. Using a brush, clean the disc, turn off the water and
turn on the machine to spin the disc completely dry. Remove the dry disc from the machine and
place in its clean, dry plastic bag.
2. Unplug the machine before cleaning it.
3. Turn the water feed on to drain the water supply reservoir. Use a sponge and bucket to soak up
any remaining water in the water supply reservoir.
4. Remove the disc shield and wash and dry it.
5. Wash the machine and flush out the waste water reservoir with clean water. Flush out the
waste water reservoir by taking a small bucket of water and pouring the water into the bottom
reservoir so all the sediment will get flushed down the drain tube. Once you see all the sediment
gone, you can move on to the next step. (Note: Monitor the waste bucket to make sure you do
not overflow it while flushing out the slant cabber.)
6. On the newer model use the short piece of tubing to blow out the water feed tube. This is to
prevent the water from calcifying in the tube and plugging it up.
7. Dry the machine with paper towels.
8. On the older model pull out the drain tube and coil it in where the disc is normally mounted.
Coil the electrical cord and place it in the machine. Place the disc shield loosely on top of the
cord and waste tube. On the newer model do not pull out the drain tube just coil it in the disc
shield.
9. Carry the cleaned machine and box of discs to the rolling cart and place it on the middle shelf.
10. Dispose of the dirty waste water outside (never down the sink).
11. Wipe the tablecloth, fold and put it in the storage room.
12. Wipe up any water on the table and floor including any water on your path to the door.
Other Hi-Tech Diamond Sander manuals
Popular Sander manuals by other brands

Chicago Electric
Chicago Electric 97593 Set up and operating instructions

Würth
Würth DMS 50 Translation of the original operating instructions

Meister
Meister MES 480 E Translation of the original instructions

HOLZMANN MASCHINEN
HOLZMANN MASCHINEN ZS640P user manual
Black & Decker
Black & Decker CYDS321 instruction manual

DeWalt
DeWalt D26453 instruction manual
