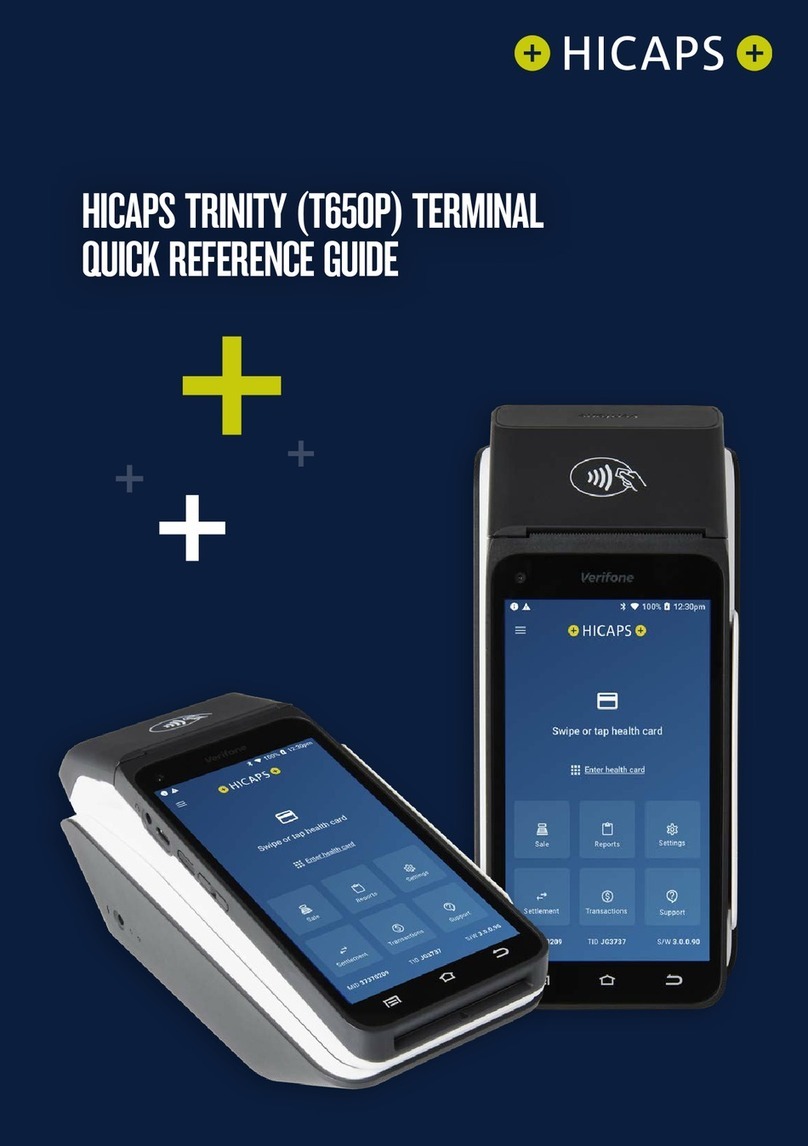
HICAPS TRINITY User manual

1
HICAPS TRINITY (T650P) TERMINAL
USER GUIDE

2
CONTENTS
1. Glossary of Terms 4
2. Getting to know your terminal 6
2.1 Diagram of HICAPS Trinity Terminal 6
Terminal base 7
2.2 Terminal Accessibility features 9
2.3 HICAPS Home Screen Navigation 11
2.3.1 HICAPS Trinity Terminal Home Screen 11
3. HICAPS 12
3.1 Registering a new provider 12
3.2 Modifying a provider 12
3.3 Deleting a provider 12
3.4 Processing a HICAPS claim 12
3.5 Processing a HICAPS quote 16
3.6 Cancelling a HICAPS claim 19
3.7 Manual daily transaction summary (HICAPS Totals) 21
3.8 Ordering terminal paper rolls 22
4.1 Sale 23
4.2 Sale – Manual Entry 25
4.3 Refund 28
4.4 EFTPOS Settlements 36
4.4.1 Manual EFTPOS settlement 36
4.4.2 Automatic settlement 37
5. Terminal functions 38
5.1 Accessibility 38
5.1.1 About the Terminal Accessibility Features 38
5.1.2 Enabling Voice to Text 38
5.1.3 PIN entry training mode 39
5.1.4 Changing Colour/Large Text 42
5.2 Support 44
5.2.1 Contact 44
5.2.2 Changing the paper roll 44
5.2.3 HICAPS logon test 45
5.2.4 Manager passcode 45

3
6. Terminal communications 46
6.1 Terminal communication methods 46
6.1.1 Connectivity 46
6.1.2 Claims processing and communications on the HICAPS Trinity terminal 46
6.2 Communications identiers 47
6.2.1 Mobile signal 47
6.2.2 Bluetooth® 47
6.2.3 Wi-Fi 47
6.2.4 Terminal battery charge 47
6.2.5 Powering and restarting the terminal – On/O/Restart 47
6.3 Communication settings 48
6.4 Bluetooth pairing 48
6.5 Conguring Wi-Fi 51
6.6 Completing a heartbeat 52
7. HICAPS response codes 54
7.1 Accessing HICAPS response codes 54
7.2 Accessing item level HICAPS response codes 55
8. Payment transactions error messages and corrective actions 57
8.1 Payment error messages 57
9. Merchant requirements to ensure EFTPOS transactions are valid 57
9.1 Manual transactions 57
10. Termination of EFTPOS merchant service 57
11. Contacts – HICAPS/EFTPOS 58
11.1 HICAPS Help Desk 58

4
1. GLOSSARY OF TERMS
Term Description
AEST (Australian
Eastern Standard Time)
The time zone used for automatic settlements on the HICAPS Trinity
terminal unless otherwise congured.
benet Value of rebate authorised by a Health Fund.
body part Two-digit alpha/numeric identifying the part on the body on which the
service was performed.
cancel Reverses a transaction processed through the terminal.
card A membership card issued by a Health Fund or an EFTPOS or credit card,
issued by a bank.
claim After treatment is provided, details are sent electronically via the
terminal to the Health Fund.
claim declined When a Health Fund declines to pay the request, a brief response
message will print with each declined item and/or claim.
claim receipt Either the terminal or the associated Practice Management System prints
a receipt, which must be signed by the patient to acknowledge services
and approve the transfer of payment to the provider.
claim to sale The terminal facility allowing you to start an EFTPOS transaction using
the Gap amount returned from the HICAPS Claim.
clinical code Two-digit alpha/numeric identifying the body part/primary condition/
diagnostic intervention on which the service was performed.
fallback The terminal was unable to contact the bank to process an EFTPOS
transaction, but the transaction has been approved/declined and will be
sent to the bank with the next transaction.
gap payment The amount remaining after the Health Fund has approved a benet for
the specied services.
heartbeat A short message sent by the terminal to the terminal management
system every hour. It sends statistical information and checks for updates.
HICAPS Health Industry Claims and Payments Service. The company responsible
for the switching of transactions to health funds from the terminal.
issue date The date the membership card was issued. Those cards with issue dates
have them printed on the bottom right-hand corner of the card.
item cost The amount charged for a given item of service.
item number Numeric code identifying the type of service performed.
Refer to the HICAPS website for a full list of approved service item
numbers by modality. https://www.hicaps.com.au/support/guides/item-
number-guides
member A customer of a Health Fund.

5
Term Description
MMF The Multi-Merchant Facility. This is a feature of the HICAPS terminal
which optionally allows you to settle the EFTPOS funds separately for
each provider.
patient ID A member listed on the card which identies a given patient within a
Health Fund membership.
Practice Management
System
The PC-based system which allows a transaction to be sent directly to the
HICAPS terminal.
Provider Practitioners who provide Health Services to patients.
provider number Is eight characters that uniquely identify each individual provider for
a specic location. Provider numbers that HICAPS use are issued by
Medicare Australia or Medibank Private.
Provider numbers are location specic, so you must have a provider
number for each location you wish to practice at.
quick settings panel A pull-down menu accessed on the terminal from the home screen,
or within apps, which contains easy access settings for a number of
commonly used settings, such as Wi-Fi, Bluetooth® etc. Swiping down
from the top of the terminal screen will reveal the terminal’s quick
settings panel.
refund Refunds a previous EFTPOS or credit approved transaction.
regular heartbeat Heartbeats that occur outside the congured maintenance window.
reversal Reverses an approved transaction on the same day the transaction was
processed.
RRN Receipt reference number (unique 12-digit eld)
swipe member card Pass the membership card through the card reader on the right-hand
side of the HICAPS terminal.
tooth number Two-digit FDI numeric identifying the tooth on which the service was
performed.

6
2. GETTING TO KNOW YOUR TERMINAL
2.1 Diagram of HICAPS Trinity Terminal
• Contactless Card Reader – tap health fund membership cards and customer payment
cards here. Digital cards are also read from the contactless reader.
• Battery/Charge Indicator LED – shows the battery level and charging status of the
terminal.
• Swipe Reader – use to swipe customer health fund membership or payment cards with
a magnetic strip.
• Raised Tactile Dots – surround the screen to assist with orientation of the digital
keypad for PIN entry. Horizontal dots represent columns and vertical dots represent
rows. (Refer to the Accessibility Guide for further information – see also hicaps.com.au/
accessibility).
• Chip Reader – insert payment cards here.
Raised Tactile Dots
Battery/Charge Indicator LED
Swipe Reader
Contactless Reader
Base Charging Port
and Indicator Lights
Volume Controls
Audio Jack
USB-C Charging Port
Power/Accessility
Button
Chip Reader

7
• Volume Controls – use these buttons to adjust the volume of sounds and alerts.
Thevolume buttons are used to adjust the volume of spoken instructions through
thein-built speaker or headphones.
• Power/Accessibility Button – used to power the terminal on and o or to restart
theterminal.
• USB-Charging Port – for a USB-C charging cable.
• Audio Jack – in accessibility mode, used by cardholders to assist with hearing audio
prompts.
• Base Charging Port and Indicator Lights – every terminal comes with a power pack
which connects into the side of the base.
– A solid white light indicates the base is being powered.
– A solid blue light indicates terminal connection with Bluetooth. A ashing blue light
indicates pairing mode.
Note: Any touch screen stylus can be used on the terminal screen.
Terminal base
Rear Camera
SpeakerCharging
Pads
• Rear camera – required to pair with terminal base
• Speaker – for audio prompts
• Charging pads – for charging the terminal

8
USB-A – currently not being used
Micro USB - currently not being used
Ethernet Port – used to connect the ethernet cable for receiving IP connectivity via an
active LAN cable being plugged into the base.
USB-A
Micro USB
Ethernet Port
RS-232

9
2.2 Terminal Accessibility features
Speaker for
audio prompts
Terminal Rear
Terminal Front
Chip Reader
Raised tactile dots
Volume Controls
Headphone Jack
for audio prompts

10
Trinity home screen
Home Back
HICAPS
Application
Menu
Sale
Settlements
Merchant ID Software Version
Terminal ID
Other
Transaction Types
Support Menu
Settings Menu
Reports
Navigation Bar

11
2.3 HICAPS Home Screen Navigation
Your HICAPS Trinity terminal has a touch screen like an Android smart phone. It responds
to gestures such as tapping and swiping.
• Tap – lightly touch to select or launch items
• Swipe – lightly drag your nger across a screen to swipe. For example, swipe down
from the top of the screen to access the apps panel.
• Touch and hold – touch and hold items to open more menus.
2.3.1 HICAPS Trinity Terminal Home Screen
• Navigation bar – includes indicators for Bluetooth, Wi-Fi and mobile connectivity,
battery charge status and time of day
• Settings menu – provides access to terminal and other settings
• Transaction types – provides access to HICAPS transactions to submit and cancel claims
or to request a quote. Provides access to the payment application and a range of
settings related to payments.
• Support menu – provides access to terminal and system information
• Terminal ID (TID) – the TID is displayed for easy terminal identication
• Software version – The software version is displayed to provide easy identication of
the current version installed on the terminal.
• Back – allows users to go back to a previous screen.
• Home – returns user to the HICAPS application.
• Merchant ID – shows the merchant identication number for the primary merchant on
the terminal.
• Settlement menu – provides access to the current and previous day’s settlements
• Sale – provides access to the payment application for sales and other non-HICAPS
transactions
• Reports – provides access to a range of NAB, HICAPS and transaction reports
• HICAPS application menu – provides access to transactions, settlements, reports,
settings, support and a terminal guide.

12
3. HICAPS
3.1 Registering a new provider
To add providers you will need to register their details by completing the online form
(Register a new provider), available on the HICAPS website www.hicaps.com.au/forms.
Once the completed form and supporting documents have been submitted and approved
by HICAPS, the provider updates will be sent to the associated health funds and the new
provider/s will automatically appear on your HICAPS Trinity terminal within 5 business
days. Once a new provider appears on the terminal, they will be able to transact. There is
no further action required.
3.2 Modifying a provider
To modify provider details, login to HICAPS Accounts Online.
You can refer to the HICAPS Accounts Online User Guide for more information on making
modications.
3.3 Deleting a provider
You can remove a provider that is no longer practising at your location from your
HICAPSTrinity terminal by completing the online form, available on the HICAPS
websitewww.hicaps.com.au/forms.
Once the completed online form has been submitted and approved by HICAPS, the removal
of the provider will be updated with the associated health funds and the requested
provider/s will automatically be removed from your terminal within 5 business days.
3.4 Processing a HICAPS claim
STEP 1
To process a HICAPS claim transaction from the home
screen, swipe or tap a patient’s Health Fund card on the
terminal. Alternatively for Health Funds that allow key
entry, you can manually enter the card number by tapping
Enter health card on the home screen.
Note: Some of the HICAPS participating health funds will
not be supporting Wi-Fi or mobile terminal claiming. Claims
processing is supported by all participating health funds
when the terminal is Bluetooth paired with the base, with an
ethernet cable connected. A list of the participating health
funds that support mobile transactions is available on
hicaps.com.au.

13
STEP 2
Select a health care provider from the list, or search for a
provider by entering part of the provider’s name or ID in the
search bar.
Note: This prompt will only be displayed if more than one
provider is loaded into the terminal.
STEP 3
Enter the Patient ID (this is the number next to their name
on the membership card) The Patient ID defaults to 01 on
the terminal. Tap Next to proceed.
Note: For digital membership cards, if the patient has
multiple members on their card they can get their Patient
ID by tapping the ellipse (°°°) on their device or from their
health fund’s app.
STEP 4
Select the claim item or search for items by number or
name. As you type in the Search eld at the top of the
screen, options will be displayed. Tap on the relevant item
to add it to the claim.

14
STEP 5
Enter clinical code if required, enter the amount for the
item and tap to proceed. When all details are complete,
tap Add to Claim.
Note: The item cost will display the amount that was last
used for that item. The rst time you use an item, you will
need to add an item cost amount.
The date of service defaults to the current date. Use the
calendar icon to select another date.
STEP 6
Summary of the claim is
shown, which can also add/
delete/modify items and
patients.
To add additional items, tap
Add Item and to make a claim
for an additional patient, tap
Add Patient.
When nished, tap Send to
Fund. The claim will be sent to
the member’s health fund for
assessment.
STEP 7
After the response from Health
Fund, there may be a gap
payment to be paid, it will
be displayed here. Tap Pay to
continue.
Note: Additional sales can be
added here. Tap on Additional
sale drop down menu to add
amounts for payment, which
will be added to the gap
amount.

15
STEP 8
Present payment card to nalise the transaction.

16
3.5 Processing a HICAPS quote
STEP 1
To start a HICAPS Quote transaction from the home screen,
swipe or tap the patient’s membership card to start the
transaction.
Alternatively, for health funds that allow key entry you can
manually enter the card number by tapping Enter health
card on the screen.
STEP 2
Tap Submit a claim at the top of the screen to open the
dropdown list and select Request a quote.
STEP 3
Select a health provider from the list, or search for a provider
by entering part of the provider’s name or ID in the search
bar.
Note: This prompt will only be displayed if more than one
provider is loaded into the terminal.

17
STEP 4
Enter the Patient ID (this is the number next to their name
on the membership card). The Patient ID defaults to 01 on
the terminal. Tap Next to proceed.
Note: For digital membership cards, if the patient has
multiple members on their card they can get their Patient
ID by tapping the ellipse (°°°) on their device or from their
health fund’s app.
STEP 5
Select the claim item or search for items by number or
name. As you type in the Search eld at the top of the
screen, options will be displayed. Tap on the relevant item
to add it to the claim.
STEP 6
Enter the amount for the item and tap >to proceed,
followed by Add to Quote.
Note: The item cost will display the amount that was last
used for that item. The rst time you use an item, you will
need to add an item cost amount.
The date of service defaults to the current date. Use the
calendar icon to select another date.

18
STEP 7
Summary of the quote is shown and can add/delete/
modify items and patients.
To add additional items, tap Add Item. To make a claim for
a dierent patient, tap Add Patient.
When nished, tap Send to Fund.
The quote will be sent to the member’s health fund for
assessment. A receipt with the quote and applicable gap
payment will print. The receipt will be clearly marked with
***QUOTE ONLY***.

19
3.6 Cancelling a HICAPS claim
STEP 1
To cancel a HICAPS claim transaction from the home
screen, swipe or tap a patient’s Health Fund card on the
terminal.
STEP 2
Tap Submit a claim at the top of the screen to open the
dropdown list and select Cancel a claim.
STEP 3
Select the claim you wish to cancel.
If the claim is not shown on the terminal, you can tap Enter
claim details manually.

20
STEP 4
If entering the claim manually, type in the RRN and benet
amount from the original transaction receipt and tap
NEXT.
STEP 5
Summary of the HICAPS claim will be shown. Check the
claim details and tap Cancel Claim to proceed.
STEP 6
Warning message will be displayed to conrm cancelling
of claim. Tap Cancel Claim to continue to cancel claim.
Once a claim is cancelled, the claim is reversed and there is
no way to reinstate the claim.
If you do not wish to cancel the claim tap Go Back.
Note: The terminal will produce two copies of the
cancellation receipt. The rst copy must be signed by the
Fund member and retained for your records, the second
copy is for the member’s records.
This manual suits for next models
1
Table of contents
Other HICAPS Touch Terminal manuals
