Hispacold ECOMASTER BASIC User manual

MH-082-00 Ecomaster Basic Manual PAGE 1 de 7
Ecomaster Basic
ECOMASTER BASIC
Passenger Air Conditioning Control
USER’S MANUAL
Versión 1.0
Edition 02/06

MH-082-00 Ecomaster Basic Manual PAGE 2 de 7
Ecomaster Basic
1.-OPERATING DESCRIPTION.
1.1 Summary of the Basic functions of the keys and indicator lights.
1.2 Starting up the forced air fan.
1.3 Starting up the air conditioner.
1.4 Changing the temperature selected.
1.5 Visualizing the interior temperature.
1.6 Visualizing compressor operation.
1.7 Ice protection. Visualizing icing temperature.
2.- ERROR DETECTION AND INDICATORS.

MH-082-00 Ecomaster Basic Manual PAGE 3 de 7
Ecomaster Basic
1. OPERATING DESCRIPTION.
1
2
3
4
5
6 7
8
9
1.1 Summary of Basic functions of the keys and indicator lights.
(3) Connect and disconnect the air conditioning system.
(4) Select the speed of the evaporator fans.
(5) Select the position of the outside air flaps.
(1) Decrease the temperature selected.
(2) Increase the temperature selected.
(6) Indicator light No.6 in the led bar. Indicates the temperature selected, current
interior temperature and ice. In diagnostic mode indicates the number of the error
detected.
(7) Indicator light No.7. Compressor connection. The compressor is connected if
this LED light is red.
(8) Indicator light No 8. Fan speed. Green light indicates that the fans are at low
speed. If red, the fans are at high speed. If not lit up, the fans are stopped.
(9) Indicator light No 9. Status of outside air flaps. Green indicates that air is
entering from outside. Red indicates that air is recirculation.

MH-082-00 Ecomaster Basic Manual PAGE 4 de 7
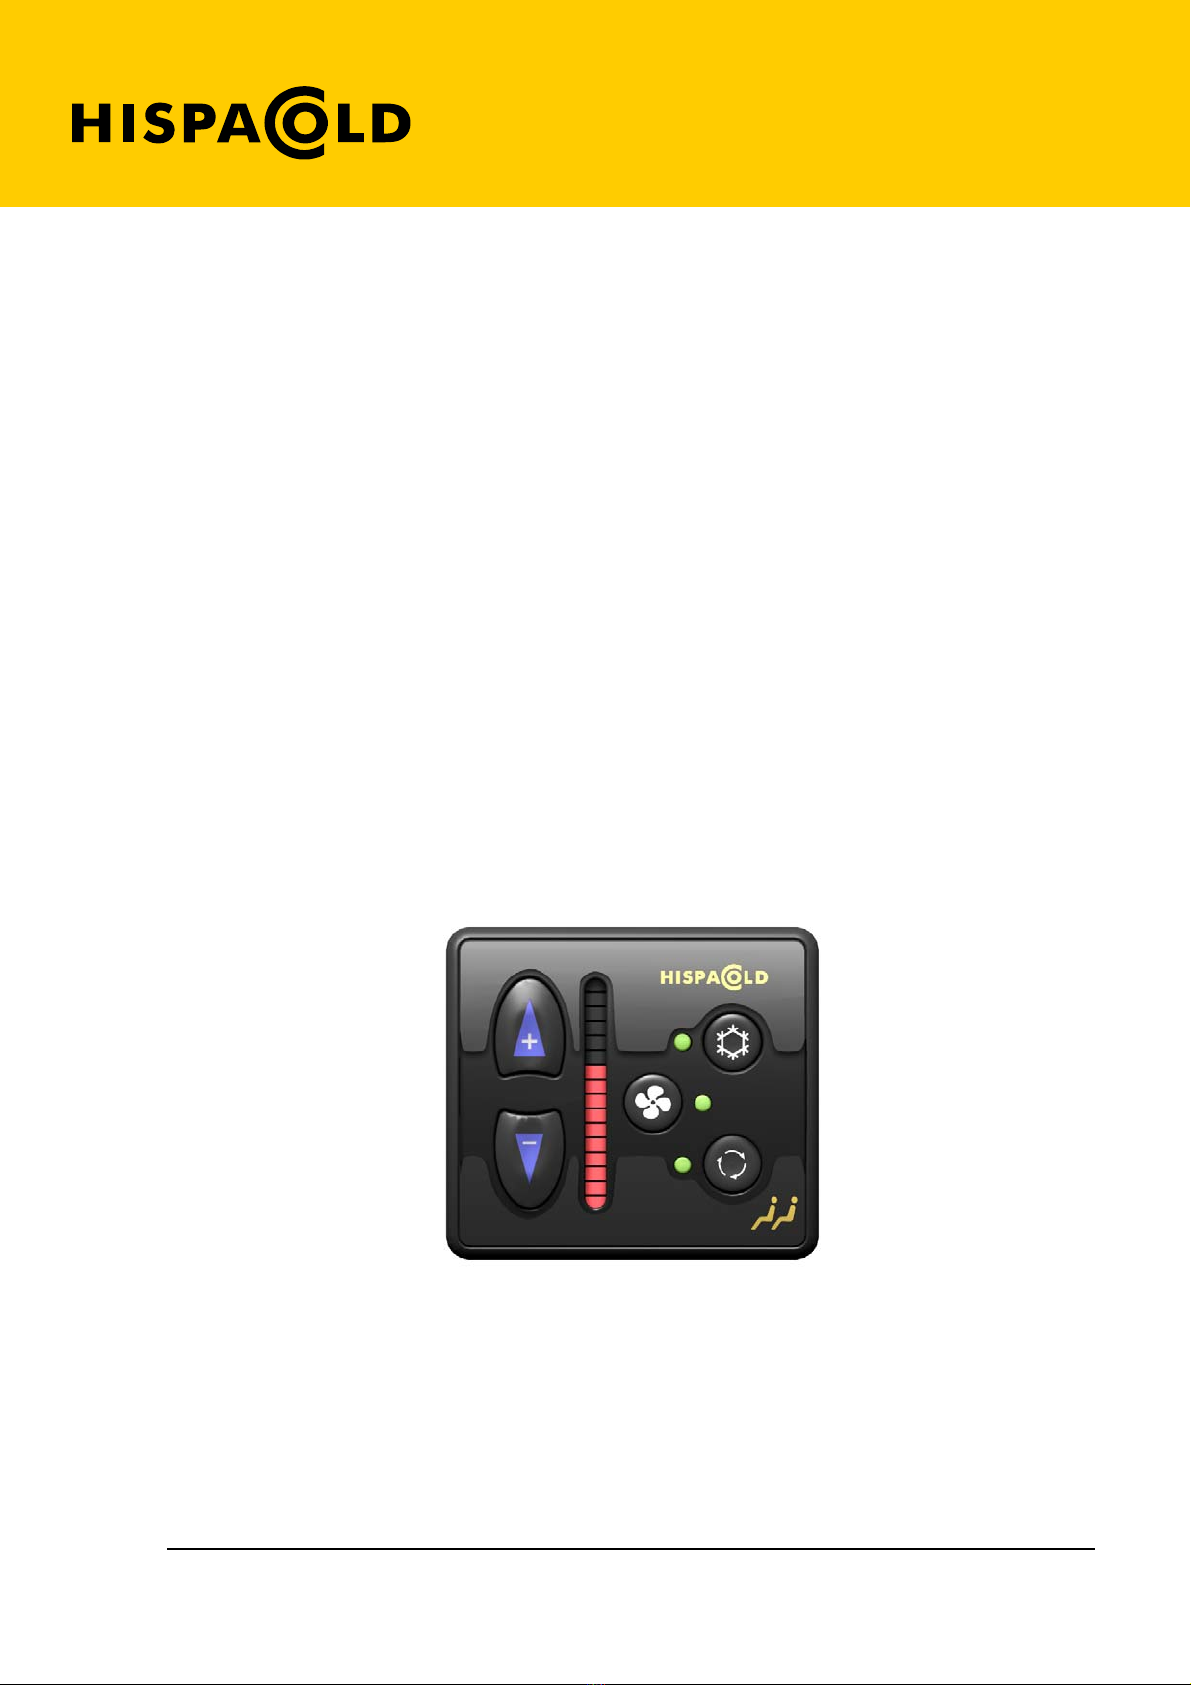
Ecomaster Basic
1.2 Start up of forced air fan.
To activate the forced air fan press the key .(4). When pressed once the evaporator fans will start up at
low speed. Pressing a second time will change the speed to high; pressing a third time will stop the fans.
When the fans are at low speed led No.8 located next to the key will light up in green; the light will turn
red if light speed is selected.
Note: fans may not start if the vehicle engine is stopped or if the alternator is not charging.
During fan operation the status of recirculation flaps can be selected by using the key (5). Each time
the key is pressed the position of the flaps changes from allowing the entry of outside air to the
recirculation position.
When the flaps are in recirculation mode, led No.9 located beside the key will light up in the red. If fresh
air in entering from outside, the led will light up in green.
1.3 Start up of the air conditioning.
To Start up the air conditioning simply press the , (3) after starting the engine. If the engine is not
running or there is a low battery level, then the air conditioning will not start when the key (3) is
pressed.
When first started led No.6 in the led bar Hill Light up indicating that the temperature selected is 22ºC. To
turn off the air conditioning simply press the key (3), again, turning off all the led lights in the bar.
When the air conditioning is started the flaps will automatically move to the recirculation position; this
position can be changed by pressing the key (5).
The control will record the last temperature, fan speed and flap status selected for up to 30 minutes after
stopping the engine or until the control no longer receives any power supply.
If the Ecomaster Basic is manually shut down by pressing the key (5),and then started up again by
pressing the same key, the control will begin to work at the temperature of 22ºC . However if the air
conditioning is stopped when the engine is turned off, (if no more than 30 minutes has passed since it
was shut down) then upon starting up again, the air conditioning will start at the same temperature, fan
speed and flaps status selected before to shutting off the engine.

MH-082-00 Ecomaster Basic Manual PAGE 5 de 7
Ecomaster Basic
1.4 Changing the temperature selected.
Upon activating the air conditioning a series of led lights in a bar will light up, indicating the temperature
selected.
The greater the number of led lights lit up, the higher the level of cold desired, and therefore the lower the
temperature selected; or conversely, the lower number of lights that are lit the higher the temperature
selected.
To select a lower temperature, i.e. colder temperatures, press the key (1). Each time you press the
key (1) another light in the led bar will light up.
To select a higher, or less cold, temperature, press the key . (2) Each time you press the key (2) a
light in the led bar will turn off.
The temperature selected corresponding to the number of led lights lit up as shown in the figure.
25º C 26º C
27º C
23º C 24º C
21º C 22º C
19,5º C 20º C
18,5º C
17,5º C 18º C
16,5º C 17º C
16º C
19º C
Interior sensor temperatura scale
1.5 Visualizing the vehicle interior temperature.
While the air conditioning is functioning the control will indicate interior temperature with a blinking led
light as shown in the table above ( if the thirteenth led from the top blinks, this indicates that the
temperature is 24ºC; if the seventh light blinks then the temperature is 19ºC, etc.).
If the temperature is above 27ºC the bottom led will blink; if the temperature is below 16ºC the upper led
will blink. If no led is blinking, this means there is an error in the interior temperature sensor.

MH-082-00 Ecomaster Basic Manual PAGE 6 de 7
Ecomaster Basic
1.6 Visualizing the compressor operation.
When the compressor is activated the led next to the key (3) will light up. The led will blink if the
control activates the compressor output but detects that there is no return from the pressure switches due
to disconnection of the compressor as a result of high or low pressure.
Note: There is a delay of 20 seconds between the time the compressor led lights up and activation
of the compressor.
1.7 Ice protection. Visualizing icing temperature.
If the system installed includes an ice sensor in the evaporator, the temperature measured by this sensor
can be visualized by simultaneously pressing the (2) and (1) the keys for 5 seconds, after the air
conditioner has been turned on..
The temperature registered by the de-icer will be shown for 20 seconds, with the LED blinking in the bar
as seen in the figure above.
If the temperature is over 11ºC, the lower LED will blink; if the temperature is below 0ºC the upper LED
will blink. Failure of any of the LED to blink means there is a fault in the de-icer gauge.
To protect against ice, the compressor will stop if the temperature measured is below 3ºC.
2. DETECTING AND INDICATING ERRORS
Every time the air conditioner is activated by pressing the (3) button, the control will perform a
diagnostic to detect errors or faults. If the control detects any of the following errors then one or various
LEDs will blink, as shown in the following table:
Led blinking Description
1 Error in the temperature gauge
2 Error in de-icer gauge
3 Short circuit in the compressor output
4 Short circuit in the evaporator fan output at low speed
5 Short circuit in the evaporator fan output at high speed
6 Short circuit in the re-circulation vents outputs
7 Short circuit in the evaporator fan PWM
8 Short circuit in the condenser fan PWM
The following warnings may also appear when errors are indicated:
Led nº 1
Led nº 16

MH-082-00 Ecomaster Basic Manual PAGE 7 de 7
Ecomaster Basic
Led blinking Description
9 No return to the pressure switches
10 Low battery
11 No signal to the alternator (engine off)
12 Internal error 1
13 Internal error 2
14 Internal error 3
By simultaneously pressing the (3) and (5) for 5 seconds at any time, the control will check and
indicate any errors or warnings.
Errors will be visualized for 20 seconds or until the (3) and (5) keys are simultaneously pressed for
5 seconds. 11 TR1- Re-circulation vents - +30 1 A
12 TR1+ Re-circulation vents + +30 1 A
Table of contents