1.800.480.6680www.pro-gard.com 3
(TYPE TITLE ON MASTER PAGE)
E.PositionthebarassemblywhereitismostcomfortablefortheOfcer,byslidingitforeandaftinthe
door opening. The slotted end clamp 3G9073, allows for a sliding motion, in order to better position
thegunrack.Thebaritselfshouldbepositionedcentered,intherooineofthevehicle.
For additional adjustment, it may require loosening or tightening of the 7/16” tap bolt in the end of
the bar, on the passenger side.
F.Pushupwardsrmlyonboththedriversideandpassengersideclampstoensuregenerous
engagementonthedoorsealandasnugttotheheadliner.Fromthepassengerside,tightenthe
end bolt with a torque wrench. Note: You must use a 5/8” crowfoot on the wrench to access the bolt
head, or 6” extension with a 5/8” swivel socket. Using this method, torque must be increased
to 10-12 Ft. Lbs. (See Fig. 2)
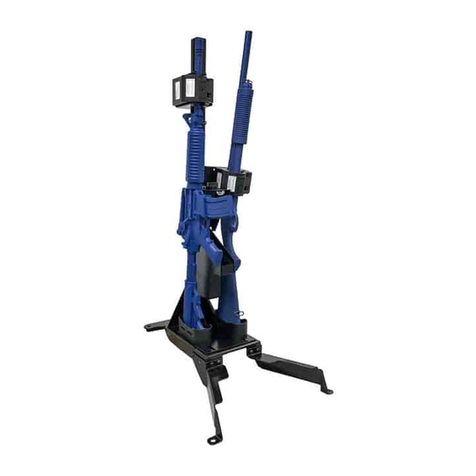
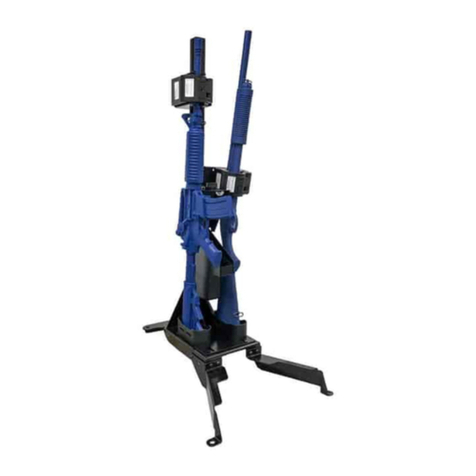
G. Gun Racks may need to be adjusted for a more
desirablet.AfteradjustingGunRacksand/or
Frame insure that all fasteners are tight.
Fig. 2
PASSENGER’S SIDE SHOWN
V. Gun Lock Momentary Switch and Timer Installation
A. Mount the release button (momentary switch) in
a concealed location that can be reached easily
bytheofcer,whileholdingontotheweapon.
B. Connect the red lead of the gun lock to one side
of the release button (momentary switch) and the
green wire from the timer. It will be necessary to
add appropriate gauge wire to accomplish this.
C. Connect a wire lead from the other side of the
release button (momentary switch) to the
red wire from the timer and either a switched or
un-switched power source on the fuse
block. This will allow the lockto operate with the
ignition key on, or off, respectively.
D. Pro-Gard suggests installing a 10 AMP fuse
between momentary switch and power source.
This must be done or you will void your warranty!
E. Connect the blue lead of the gun lock to AC chassis ground. Do not connect to the
factory aftermarket grounding post with other auxiliary equipment. It will be necessary to
add wire to accomplish this.
F. Install the Rear Cover using the supplied screws (3X146). (See Fig. 4)
VIII. Lock Head Operating Instructions
To release the weapon:
A. Grasp the weapon, but do not pull it against the lid of the gun lock.
B. While depressing and holding the release button (momentary switch), push and then pull the
weapon towards the lid of the gun lock to release it from the lock.
