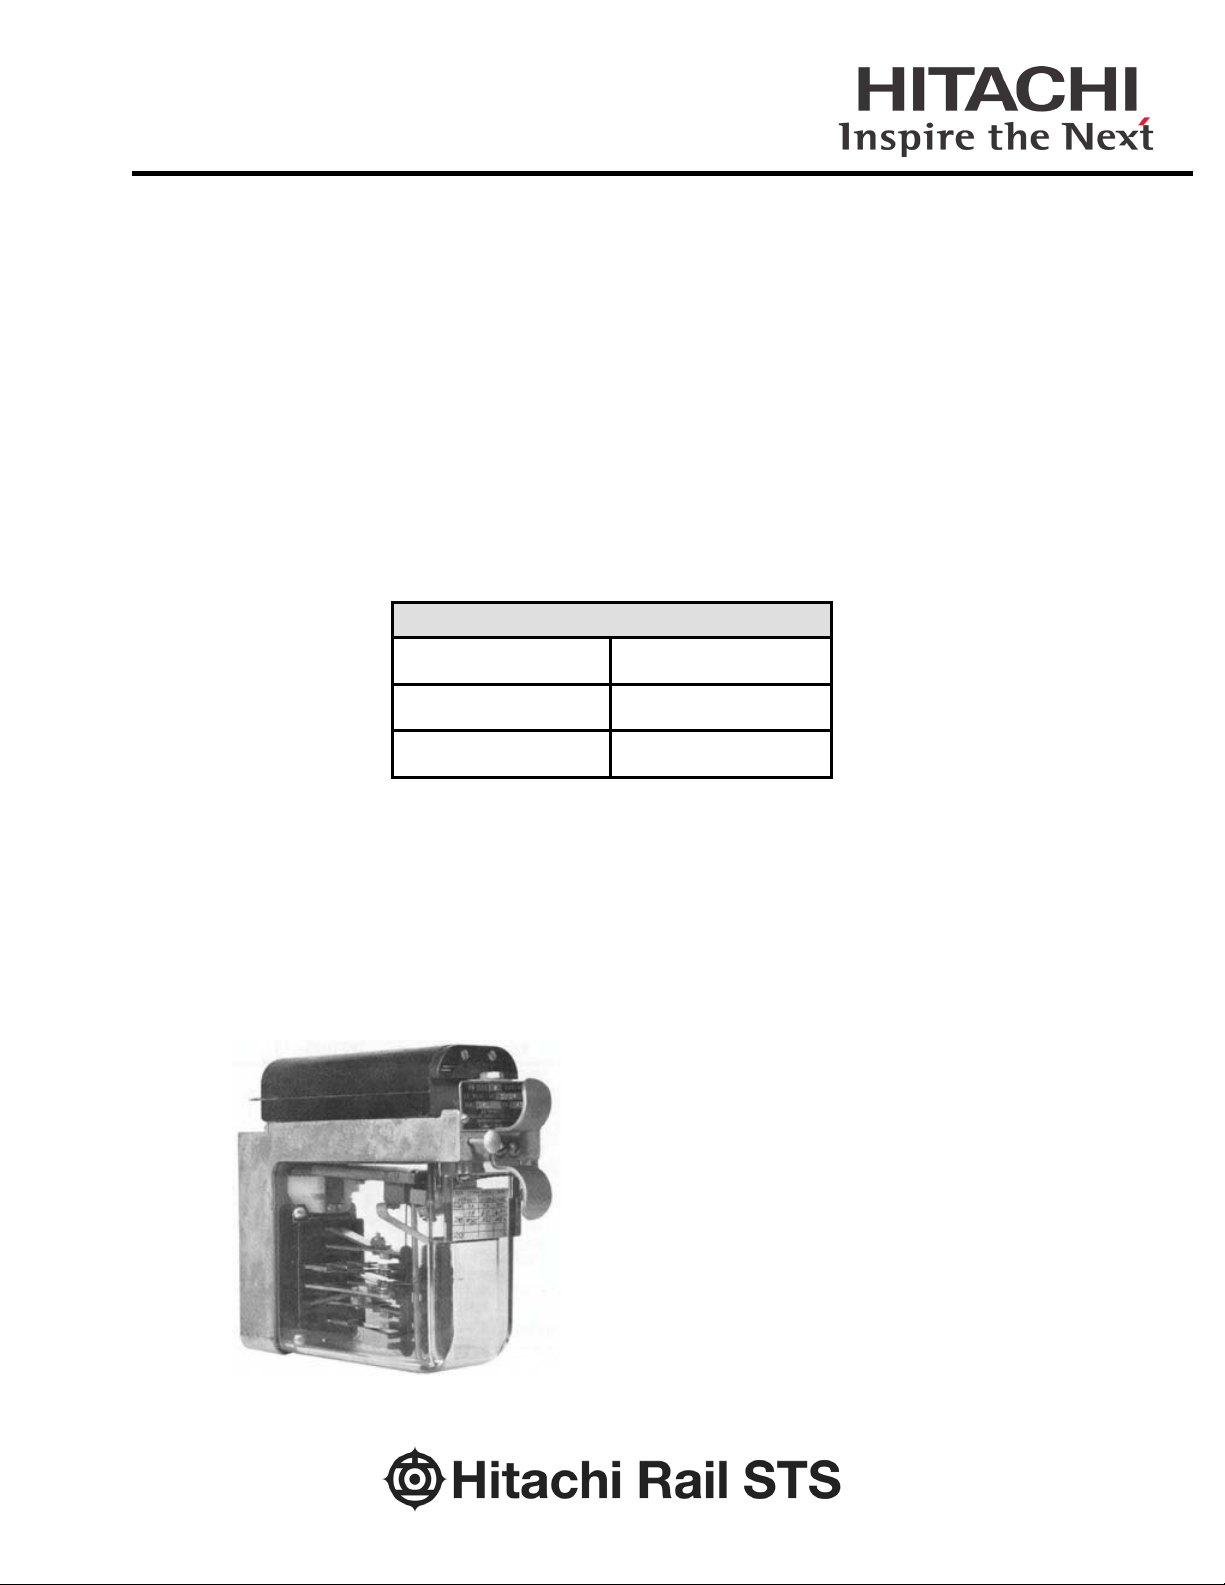
PN-150BE Biased High Efficiency Vital Relay
Copyright 2019 SM 4551L, Rev. 0 1, March 2019 iii
Table of Contents
1. GENERAL INFORMATION ...............................................................................................................1-1
1.1. Introduction ............................................................................................................................... 1-1
1.2. Description ................................................................................................................................ 1-1
1.2.1. General .........................................................................................................................1-1
1.2.2. Coils ..............................................................................................................................1-1
1.2.3. Contacts........................................................................................................................1-1
1.3. Specifications............................................................................................................................ 1-1
1.3.1. Electrical .......................................................................................................................1-2
1.3.2. Mechanical....................................................................................................................1-3
2. INSTALLATION.................................................................................................................................2-1
2.1. General ..................................................................................................................................... 2-1
2.2. Mounting Base.......................................................................................................................... 2-1
2.3. RELAY INDELING .................................................................................................................... 2-1
2.4. RECEPTACLE CONTACT SPRINGS ...................................................................................... 2-2
2.4.1. Old Style Base Only......................................................................................................2-2
2.4.2. Improved One Piece Base Only ...................................................................................2-2
2.4.3. Installing Wires in Receptacle Contact Springs............................................................2-3
2.4.4. Base Wiring for Series or Parallel Connected Coils .....................................................2-4
2.5. RELAY INSERTION ................................................................................................................. 2-4
3. FILED MAINTENANCE .....................................................................................................................3-1
3.1. Introduction ............................................................................................................................... 3-1
3.2. Periodic Performance Test ....................................................................................................... 3-1
3.2.1. Cleaning........................................................................................................................3-1
3.2.2. Service Requirements ..................................................................................................3-1
4. SHOP MAINTENANCE .....................................................................................................................4-3
4.1. Introduction ............................................................................................................................... 4-3
4.2. Cleaning and Inspection ........................................................................................................... 4-3
4.2.1. Armature Stop Pin Cleaning .........................................................................................4-3
4.2.2. Cleaning Relay Contacts ..............................................................................................4-4
4.3. Performance Test ..................................................................................................................... 4-5
4.4. REPAIRS AND REPLACEMENT ............................................................................................. 4-6
4.4.1. Disassembly..................................................................................................................4-6
4.4.2. Reassembly ..................................................................................................................4-6
4.4.3. General Parts Replacement .........................................................................................4-6
4.5. ADJUSTMENTS ....................................................................................................................... 4-7
4.5.1. Recommended Tools and Test Equipment ..................................................................4-7
4.5.2. Magnet and Magnet Extension .....................................................................................4-8
4.5.3. Permanent Magnet .......................................................................................................4-8
4.5.4. Indicator ........................................................................................................................4-8
4.5.5. Contact Adjustment ......................................................................................................4-8
4.5.6. Permanent Magnet Hold-Down Force ........................................................................4-11
4.5.7. Polarity).......................................................................................................................4-11
4.5.8. Drop-Away ..................................................................................................................4-12
4.5.9. Pick-Up .......................................................................................................................4-12