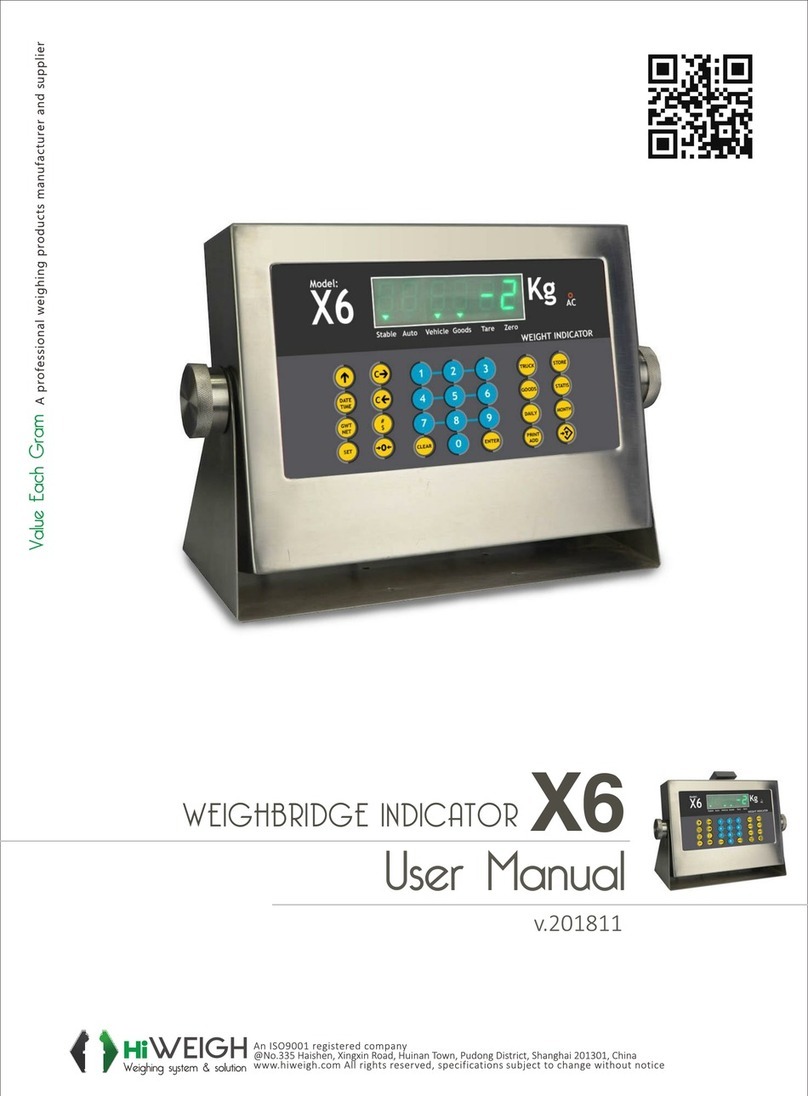
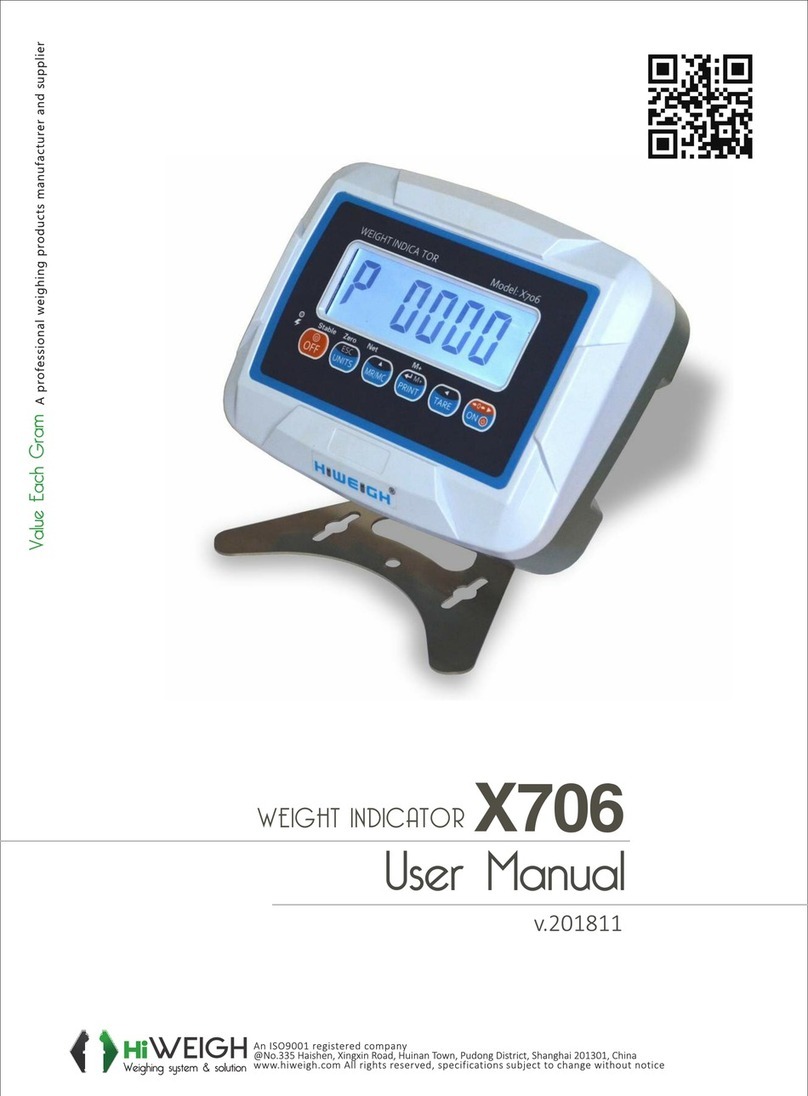
HiWeigh X704 User manual

X704
WEIGHT NDII CATOR


1
Safety precautions
WARNING!
▲Do not use X* Series indicators in hazardous area or in dusty environments.
▲Never flood the Indicator, immerse it in liquid or pour liquids on it.
▲Do not expose indicator to either direct sun light or any heat sources.
▲Do not open the indicator!
The warranty is void if this stipulation is ignored. The indicator may only be
opened by authorized persons.
DANGER!
Electric shock hazard!
▲Always unplug AC adapter before performing any work on the indicator
Hazard of electric shock if the power cable is damaged!
▲Check the power cable for damage regularly. Unplug the power cord im-
mediately if the power cable is damaged.
Disposal
In conformance with the European Directive 2002/96/EC on Waste Electrical and
Electronic Equipment (WEEE), this device may not be disposed of in domestic
waste. This also applies to countries outside the EU as per their specific regulations.
Please dispose of this product in accordance with local regulations at the collecting
point specified for electrical and electronic equipment.
If you have any questions, please contact the responsible authority or the distributor
from which you purchased this indicator.
Should this indicator be passed on to other parties (for private or professional use),
the content of this regulation must also be related.
The indicator has a rechargeable internal battery. The battery contains heavy
metals. Please observe the local regulations on the disposal of environmentally
hazardous materials.

2
INDEX
Specifications
4
Power source
4
Power consumption
4
Components included
4
Connection of indicator X704 to a loadcell
5
Requirements for an optimum installation
5
Installation
6
Keyboard description
6
Piece-counting function
7
Tare function
7
Weights accumulation
7
Functions setting
8
Advanced functions setting
9
Setting parameters
10
Guarantee
11

3
SPECIFICATIONS
Model
X704
Accuracy
III
Sensitivity
1.5~3.0mV/V
Linear
≤0.01% ≤0.01%F.S
Voltage
DC: 5V
Division
1/2/5 option
Speed
20 times per second
Internal resolution
300,00/600,00
POWER SOURCE
Input: AC 120~240V
Output DC 10V/600mA
POWER CONSUMPTION
1. Main system: Approx. 24.1mA
2. Main system (RS-232): Approx. 44mA
3. Standby: Approx. 19.2mA
4. Battery duration: Approx. 120
COMPONENTS INCLUDED
1. This user manual (please read it carefully before to use the indicador).
2. The indicator Series X704
3. The AC/Adaptor .
!Keep the original package. It could be useful in the future to transport the indicator.

4
CONNECTION OF INDICATOR TO A LOADCELL
Connector of 5 pins connector.
If working with 7-wire load cells, short connect SENSE+ with +E (pin1), SENSE- with -E(pin2).
REQUIREMENTS FOR AN OPTIMUM INSTALLATION
To obtain maximum performance and best results, we recommend to install the scale or
indicator according to the following requirements:
a) Don´t expose the indicator to direct sunlight.
b) Don´t submit it to atmospheres with corrosive gases.
c) Keep it in an environment free of dust and dirt.
c) Work at temperatures between 0º and 40º C.
e) Use the indicators in environments with humidity lower than 95% HR.
f) Keep it away from those equipments which produce magnetic interferences and
acoustical noise.
INDICATOR LOAD CELL
+E (1) ------------- +Excitation
-E (2) ------------- -Excitation
+S (3) ------------- +Signal
-S (4) ------------- -Signal
GND (5) ------------- (GND) shield

5
INSTALLATION
1. Place the platform on a firm and stable surface.
2. Before to connect the indicator, make sure that platform is empty.
KEYBOARD DESCRIPTION
Function 1. Press this key for 2 seconds to turn off the indicator.
Function 2. Press this key to confirm data in setting parameters mode.
Function 1. Press this key to turn on the indicator.
Function 2. To reset the weight to 0. The displayed weight value has to be less
than +/-2% of maximum capacity.
Function 3. To subtract the weight of a container and then obtain the net weight
of product (Tare function). The container´s weight must be higher than 2% of
maximum capacity.
Function 1. To enter to piece-counting function.
Function 2. To change the parameters in setting parameter mode.
Function 1. To accumulate weights.
Function 2. To print data.

6
PIECE-COUNTING FUNCTION
1. Press the key for 2 seconds, the display will show “0” “kg”
2. Press again the key, the display will show “C 10”
3. To select the sample value, press the key
4. Put on the platform the selected number of pieces.
5. Press the to confirm.
6. Display will show the number of pieces placed on platform.
7. Add the rest of pieces to be counted, the display will show the total number of pieces.
8. Press the key for 2 seconds, the indicator will return to normal weighing mode.
Note: The sample unit weight must be higher than 0,2d.
TARE FUNCTION
1. Place a container on the platform.
2. Press the key.
3. The balance will subtract the weight of container, display will show 0
4. Put the product to be weighed in the container.
5. Display will show the product´s weight (net weight)
Note: The container´s weight must be higher than 2% of maximum capacity.
WEIGHTS ACCUMULATION
1. Place the product on the platform.
2. Press the key to save in memory his weight.
3. Display will show the weighing number and weight´s product.
4. Remove the product from platform, display will show “0”
5. Place a new product on the platform.
6. Press again the key to accumulate the weighing.
7. Repeat this operation as many times as it is necessary.
8. Once finished the accumulation, press the key, to read the total weight.
9. Display will show : weighing times and total weight accumulated.
10. To clear, press the key for 2 seconds.
FUNCTIONS SETTING
1. To access to Functions setting, press the key and without release it press the
key, display will show the message “UF __1”.
2. Press the key to select the desired parameter, from “UF—1” to “UF---9”

7
Parameter
Function
Operation
UF-1
Check internal value and
battery voltage
Press , display will show the internal value,
pressing again this key, display will show the
battery voltage.
Press to exit.
UF-2
Parameter not available
UF-3
Auto power off setting
Press , display will show AOFF 00.
Press to change the parameter. .
Press to select the desired mode:
AOFF00 – Auto-power off disable.
AOFF01 – The indicator will auto power off in 1
minute if not use it. .
Press to exit.
UF-4
Standby setting
Press key
Press to change the parameter.
Press to select the desired mode.
Press to exit.
UF-5
Parameter not available
UF-6
Output RS-232
Optional
UF-7
Speed adjustment
Press key
Press to select:
1. Fast speed
2. Normal speed
3. Slow speed
Press to exit.
UF-8
Division range display
Press key.

8
Press to select the desired value.
Press to exit.
UF-9
Gravity value
Press the key, display will show the G value
of factory. If you want to change it according to
new place (Country), press and to
select the desired value.
Press to exit.
ADVANCED FUNCTIONS SETTING
1. To access to advanced functions setting, press the key and without release it press
the key, display will show “ECF __1”.
2. Press to select the desired parameter, from “ECF—1” to “ECF---3”
Parameter
Function
Operation
ECF-1
Check maximal load (span)
Press , display will show CALZ, empty the
platform and press again the key to put
display reading to zero
Press key
Press to enter the value.
Put a weight on the platform and press key
to confirm and exit.
ECF-2
Zero calibration
Press key, display will show CALZ, empty
the platform and press again the key to put
display reading to zero and exit.
ECF-3
Span calibration
Press key
Press key.
Press to enter the value of calibration
weight. .

9
Put the calibration weight on the platform and
press to confirm and exit.
SETTING PARAMETERS
1. To access to setting parameters, with indicator turned off, press and hold the and
without release it, press the key continuously during the initial countdown.
2. When countdown is finished, the display will show P0000, press the key until the third
digit flashes P0000, then press two times the key, the display will show P0020.
3. Press the key, the display will show LF1.
4. Use the key to select the LF1 or LF2 modes and press to enter to desired mode.
LF1; Calibration menu
o Press the key to enter to Calibration menu, the display will show CALZ
(zero calibration value), press the key to modify the calibration weight
value. Use the key to move a digit to the right and use the key to
increase the digit value. Once entered the value, place the calibration weight
on the weighing pan and then press . The value will flash continuously,
press again the to confirm. A series of dashed will be displayed - - - - - -
and immediately the calibration will be completed.
LF2; Parameters setup menu
o Press the key to enter to Parameters setup menu, the internal counts will
be displayed.
o Press the to continue.
o Display will show: 1 0 0 0 0 1
A B C D E F
This menu, should only be modified for special configurations.
If necessary to modify:

10
o A : Metrical system 0 : None 1 : kg 2 : T 3 : g
o B : American system 0 : None 1 : lb 2 : lb oz
o C : Other units 0 : None 1 : TW Kg 2 :HK Kg 3 : VISS
o D : Pieces 0 : Off 1 : On
o E : Dual range 0 : Off 1 : MULTI INTERVAL 2 : MULTIRANGE
o F : Calibration unit 1 : European 2 : American
- Press the key to continue
o Select the maximal capacity of the balance, taking in mind the decimals, for
exemple for 150 kg -20g
015000 (The last two zeros respecte the decimal points 150.00)
- Press the key to confirm
To select the decimal point, press the key to view the different options and
the to confirm.
- Press the to confirm.
- To configurate the resolution of the balance, press the key to view the different
options and the to confirm.
GUARANTEE
This indicator is guaranteed for one year from the delivery date. The guarantee cobres any
fabrication defect of the material.
During this period, HIWEIGH coves the manpower and the spare parts for the reparation of the
scale.
This guarantee does not cover the failures caused by an inappropriate use or overload.
The guarantee does not cover the freight cost (transport) necessary to repair the
indicator.


Table of contents
Other HiWeigh Accessories manuals
