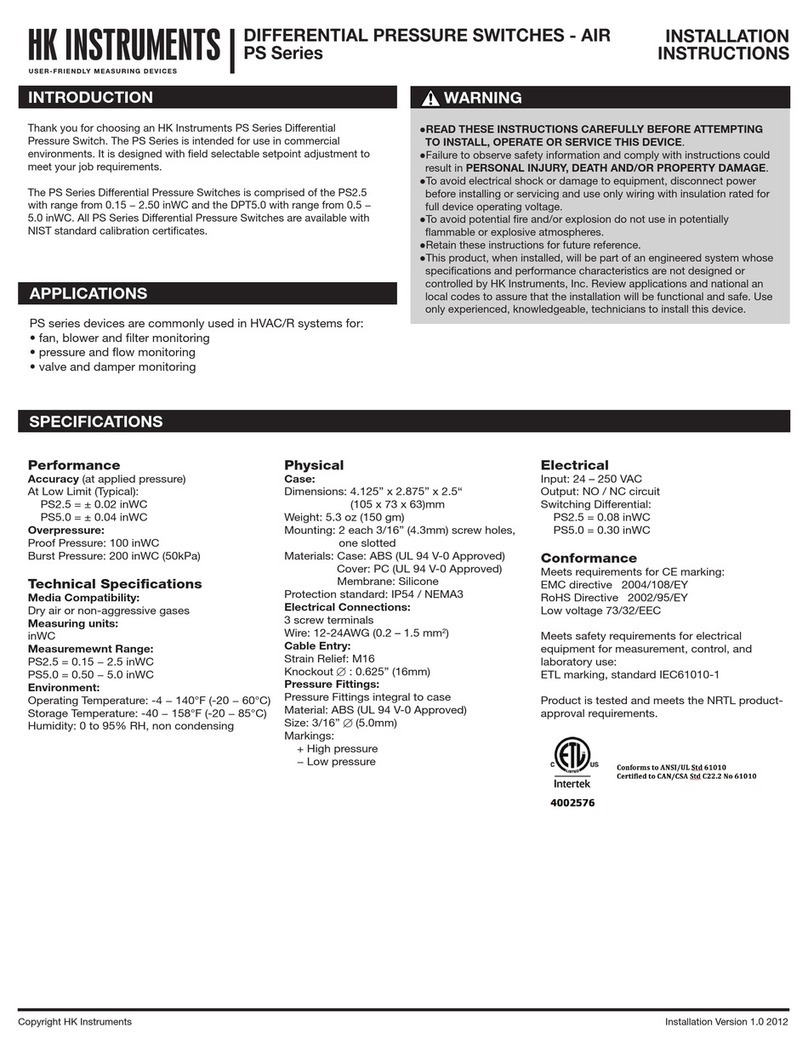
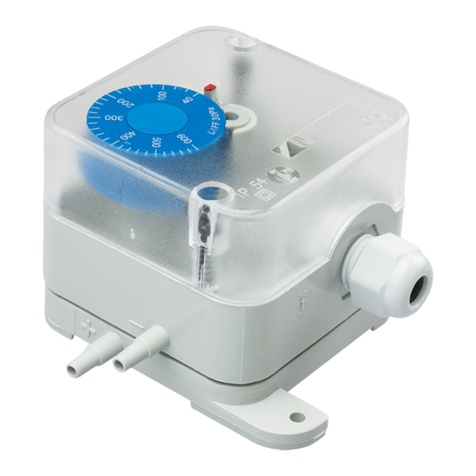
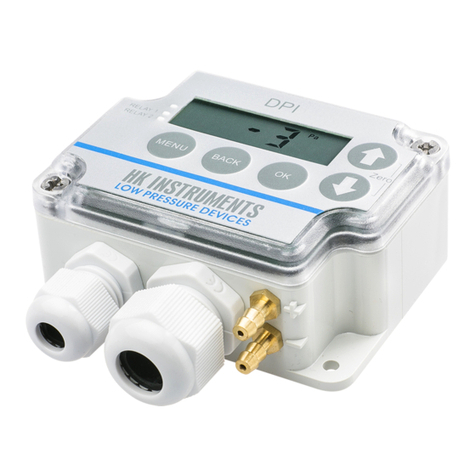
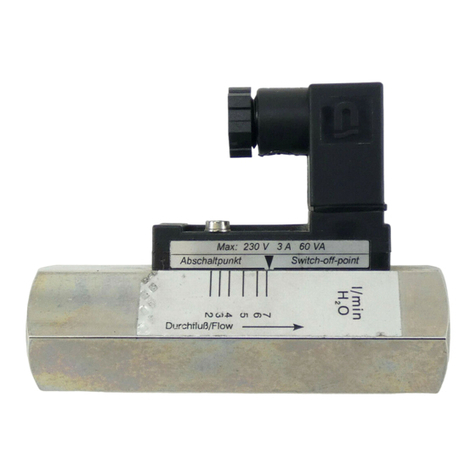
HK Instruments DPI Series User manual

Copyright HK Instruments 2022 www.hkinstruments. Installaon version 8.0 2022
INSTALLATION
INSTRUCTIONS
DIFFERENTIAL PRESSURE SWITCHES
DPI Series
• READ THESE INSTRUCTIONS CAREFULLY BEFORE ATTEMPTING
TO INSTALL, OPERATE OR SERVICE THIS DEVICE.
• Failuretoobservesafetyinformaonandcomplywithinstrucons
canresultinPERSONALINJURY,DEATHAND/ORPROPERTY
DAMAGE.
• Toavoidelectricalshockordamagetoequipment,disconnect
powerbeforeinstallingorservicinganduseonlywiringwith
insulaonratedforfulldeviceoperangvoltage.
• Toavoidpotenalreand/orexplosiondonotuseinpotenally
ammableorexplosiveatmospheres.
• Retaintheseinstruconsforfuturereference.
• Thisproduct,wheninstalled,willbepartofanengineeredsystem
whosespecicaonsandperformancecharacteriscsarenot
designedorcontrolledbyHKInstruments.Reviewapplicaons
andnaonalandlocalcodestoassurethattheinstallaonwill
befunconalandsafe.Useonlyexperiencedandknowledgeable
technicianstoinstallthisdevice.
• Fuseatloadsupply(normally6A,10A,16A)doesnotalwayslimit
therelayoutputloadcurrentto6A.RelayMaximumLoad(250Vx
6Ares.)
• Addanexternalfusetorelaycommonconnector.Useame-lag
fuse(max6A)thatisinaccordancewiththestandardIEC60127-2.
Theproductdoesn’thaveaninternalfusefortherelay.
CAUTION:Theproductmayonlybeconnectedtoovervoltage
categoryIIelectricitynetworkaccordingtoIEC60664-1.
SPECIFICATIONS
ThankyouforchoosinganHKInstrumentsDPIserieselectronicdif-
ferenalpressureswitch.TheDPIseriesisintendedforuseincom-
mercialenvironments.Itcombinestheadvantagesofanelectronic
dierenal pressure switch (on-o relay) and a mul-funconal
dierenal pressure transmier to meet your applicaon require-
ments.
The DPI series is comprised of the DPI±500 with bi-direconal
measurementrangesfrom±100to±500PaandtheDPI2500with
measurementrangesfrom100to2500Pa.
AllDPIseriesdevicesincludeonerelay,display,manualpushbuon
zeropointcalibraonandspanpointcalibraon.Oponalfeatures
includeasecondrelayandautozerocalibraon.
DPIseriesdevicesarecommonlyusedinHVAC/Rsystemsfor:
•fan,blowerandltermonitoring
•staircasepressuremonitoringandalarm
•pressuremonitoringincleanrooms
•boilerpressuremonitoringandalarm
SPECIFICATIONS
Performance
Accuracy:
±1.5%(±0.7%*)
%FSfromhighestpressurerange(including:
generalaccuracy,temperaturedri,linearity,hysteresis,
andrepeonerror)
*Canbeachievedwithspanpointcalibraon
Long term stability:
Typical1year
Withautozero:±1Pa
Withoutautozero:±8Pa
Thermal eects:
Temperaturecompensatedacrossthefullspectrumof
capability
Overpressure:
Proofpressure:25kPa
Burstpressure:30kPa
Zero point calibraon:
Automacwithautozero(-AZ)circuitor
Manual via menu
Response me:
0.5–10s,selectableviamenu
Technical Specicaons
Media compability:
Dryairornon-aggressivegases
Measuring units:
Pa,kPa,mmWC,inWC,mbarselectableviamenu
Measuring element:
Piezoresisve
Environment:
OperangTemperature:
Withoutautozero:-10...50°C
Withautozero:-5...50°C
Storagetemperature:-20...70°C
Humidity:0to95%rH,noncondensing
Physical
Dimensions:
Case:89x86.5x37.1mm
Weight:
150g
Mounng:
Case:2each4.3mmholes
Lid:2each4.3mmholes
Materials:
Case: ABS
Lid:PC
Ductconnectors:ABS
Tubing:PVC
Protecon standard:
IP54
Touchsensivebuonsonthelid:
Menu,Back,OK,downarrow,uparrow
Display:
31/2digitLCDbacklitdisplay
Size:46.0Wx14.5Hmm
Electrical connecons:
n/out:
Terminalblock(24V,GND,0–10V)
Wire:0.2–1.5mm2(16–24AWG)
Relay1:
Terminalblock(NC,COM,NO)
Wire:0.2–1.5mm2(16–24AWG)
Relay2:
Terminalblock(NC,COM,NO)
Wire:0.2–1.5mm2(16–24AWG)
Cable entries:
Strainrelief:M16&M20
Knockout:16mm
Knockout:20mm
Pressure ngs:
5.2mmbarbedbrass
+Highpressure
−Lowpressure
Electrical
Circuit:3-wire(24V,GND,0–10V)
Input:
Withoutautozero:21–35VDC/24VAC,±10%
Withautozero:24VACorVDC,±10%
Output:
Analog:0–10V
Relay1:250VAC/30VDC/6A
Relay2:250VAC/30VDC/6A
Adjustableswitchingpointandhysteresis
Zero/Spanoutputcalibratedwithin±0.025V
Resistanceminimum:1kΩ
Currentconsumpon:
35mA+relays(7mAeach)+AZcircuit(20mA)
+0–10Voutput(10mA)
Conformance
Meetsrequirementsfor:
CE: UKCA:
EMC: 2014/30/EU S.I.2016/1091
RoHS: 2011/65/EU S.I.2012/3032
LVD/EESR: 2014/35/EU S.I.2016/1101
WEEE: 2012/19/EU S.I.2013/3113
INTRODUCTION
APPLICATIONS
WARNING
RoHS
COMPLIANT

Copyright HK Instruments 2022 www.hkinstruments. Installaon version 8.0 2022
SCHEMATICS
DIMENSIONAL DRAWINGS
INSTALLATION
Figure 1a - Surface mounng
STEP 1: MOUNTING THE DEVICE
1)Mountthedeviceinthedesiredlocaon(seestep1).
2)Openthelidandroutethecable(s)throughthestrainrelief(s)and
connectthewirestotheterminalblock(s)(seestep2).
3)Thedeviceisnowreadyforconguraon.
WARNING!Applypoweronlyaerthedeviceisproperlywired.
1)Selectthemounnglocaon(duct,wall,panel).
2)Usethedeviceasatemplateandmarkthescrewholes.
3)Mountwithappropriatescrews.
Figure 1b - Mounng orientaon
Figure 1c - Applicaon connecons
24 V GND 0–10 V
Terminal block Terminal block for relays
NC COM NO NC COM NO
37.1
89.0
86.5
74.5
64.5
52.5
4.2
YES NO NO
Stac pressure Filter/Damper
monitoring
Fan/Blower
monitoring
Not
connected

Copyright HK Instruments 2022 www.hkinstruments. Installaon version 8.0 2022
STEP 2: WIRING DIAGRAMS CONFIGURATION CONTINUED
ForCEcompliance,aproperlygroundedshieldingcableisrequired.
1)Unscrewthestrainreliefandroutethecable(s).Useseparatestrain
reliefforthe0–10Voutputcableandtherelaycable(s).
2)Connectthewiresasshowningure2aand2b.
3)Tightenthestrainrelief.
Figure 2a - Wiring diagram 0–10 V output
Figure 2b - Wiring diagram relay(s)
STEP 3: CONFIGURATION
1)Selectthedesiredmeasurementunit.
2)Selectthedesiredmeasurementrange.
3)Selectthedesiredresponseme.
4)Conguretherelay(s).
5)Zerothedevice.
6)Calibratethespanpoint.
7)Connectthepressuretubes.Connectposivepressuretoport
labeled"+"andnegavepressuretoport"-".
Thedeviceisnowreadytobeused.
24 V
GND
P out
Power supply
24 VDC / 24 VAC
+
Output 0...10 V
V
+
SPAn
ZEro
rEL1/2
rESP
PSEL
UnIt
Pa, kPa, mmH2O, inchWC, mbar
Pressure range selecon
Response me
Relay menu(s)
Zero point calibraon
High point calibraon menu
rES
AdJ
High point calibraon
Reset high point calibraon
HYS
SP
dir
Relay acvaon menu
Relay setpoint
Relay hysteresis 0–50 % of range
FALL
rISE
Relay acvaon on increasing pressure
Relay acvaon on decreasing pressure
NC
COM
NO
Relay 1
NC
COM
NO
Relay 2
With the MENU buon you can enter the menu by pressing the buon for
3 seconds. You can exit the menu without making any
changes.
With the BACK buon you can return without making changes.
With the OK buon you can open new opons or confirm changes and return
to previous display.
With the buons you can scroll the menus.

Copyright HK Instruments 2022 www.hkinstruments. Installaon version 8.0 2022
NOTE! Always zero the device before use.
Tozerothedevicetwooponsareavailable:
1)Manualzeropointcalibraon
2)Autozerocalibraon
Does my transmier have an autozero calibraon? See the product
label.Ifitshows-AZinthemodelnumber,thenyouhavetheautozero
calibraon.
1)Manualzeropointcalibraon
NOTE:Supplyvoltagemustbeconnectedatleastonehour priorto
zeropointadjustment.
a)Disconnectbothpressuretubesfromthepressureportslabeled+
and–.
b)Pushbotharrowbuonsontopofthelidshortlyorgoto
conguraonmenuandselect“Zero”.
c)Thezeroingofthedevicewillproceedautomacallywhenthe
greenledontopofthelidturnsoand“Zero”textfollowedby
acounterfrom3to0secondsappearsonthedisplay.Thezeroing
iscompletewhenthegreenledturnsonagain.
d)ReinstallthepressuretubesensuringthattheHighpressuretube
isconnectedtotheportlabeled+,andtheLowpressuretubeis
connectedtotheportlabeled−.
NOTE:Thezeropointshouldbecalibratedviamanualzeropoint
calibraononehouraerinstallaonandatleastevery12months
duringnormaloperaons.
2)Autozerocalibraon
If the device includes the oponal autozero circuit, no acon is re-
quired.
Autozerocalibraon(-AZ)isanautozerofunconintheformofanauto-
maczeroingcircuitbuiltintothePCBboard.Theautozerocalibraon
electronicallyadjuststhetransmierzeroatpredeterminedmeinter-
vals(every 10minutes).Thefunconeliminatesalloutputsignal dri
due to thermal, electronic or mechanical eects, as well as the need
fortechnicianstoremovehighandlowpressuretubeswhenperform-
ing inial or periodic transmier zero point calibraon. The autozero
adjustmenttakes4secondsaerwhichthedevicereturnstoitsnormal
measuring mode. Duringthe 4 secondadjustmentperiod, theoutput
anddisplayvalueswillfreezetothelatestmeasuredvalue.
Transmiers equipped with the autozero calibraon are virtually
maintenancefree.
Thesellerisobligatedtoprovideawarrantyofveyearsforthedeliv-
eredgoodsregardingmaterialandmanufacturing.Thewarrantyperiod
isconsidered tostart on thedeliverydate ofthe product. If adefect
in raw materials ora produconaw isfound, the sellerisobligated,
whentheproductissenttothesellerwithoutdelayorbeforeexpira-
onofthewarranty,toamendthemistakeathis/herdiscreoneither
by repairing the defecve product or by delivering free of charge to
thebuyeranewawlessproductandsendingittothebuyer.Delivery
costsfor therepair underwarrantywillbepaidbythebuyerandthe
return costs by the seller. The warranty does not comprise damages
causedbyaccident,lightning,oodorothernaturalphenomenon,nor-
malwearandtear,improperorcarelesshandling,abnormaluse,over-
loading,improperstorage,incorrectcareorreconstrucon,orchanges
andinstallaonworknotdonebytheseller.Theseleconofmaterials
fordevicespronetocorrosionisthebuyer’sresponsibility,unlessother-
wiseislegallyagreedupon.Shouldthemanufactureralterthestructure
ofthedevice, thesellerisnotobligatedto makecomparablechanges
todevicesalreadypurchased.Appealingforwarrantyrequiresthatthe
buyerhascorrectlyfullledhis/herduesarisenfromthedeliveryand
stated in the contract. The seller will give a new warranty for goods
thathavebeenreplacedorrepairedwithinthewarranty,howeveronly
totheexpiraonoftheoriginalproduct’swarrantyme.Thewarranty
includestherepairofadefecvepartordevice,orifneeded,anewpart
ordevice,butnotinstallaonorexchangecosts.Undernocircumstance
isthesellerliablefordamagescompensaonforindirectdamage.
RECYCLING/DISPOSAL
The parts le over from installaon should be
recycled according to your local instrucons.
Decommissioned devices should be taken to a
recyclingsitethatspecializesinelectronicwaste.
STEP 4: ZEROING THE DEVICE WARRANTY POLICY
Other HK Instruments Switch manuals
Popular Switch manuals by other brands
Flamingo
Flamingo SF-500S quick start guide

HP
HP 316095-B21 - StorageWorks Edge Switch 2/24 Upgrade instructions

steute
steute RF 96 ST EN868 Mounting and wiring instructions

ABLE
ABLE 6 Series Installation & maintenance instructions

WAGO
WAGO ETHERNET Accessories 852 852-0111 Mounting, Installation and Handling Manual

IOGear
IOGear MiniView GCS1772 user manual

Belkin
Belkin FIREWIRE 1394 user manual
EFOY
EFOY Pro 600 XT user manual

D-Link
D-Link DSS-100E-6P Quick installation guide
Circutor
Circutor EMK Series instruction manual
TJERNLUND
TJERNLUND WHKE MILLIVOLT INTERLOCK KIT (COMPATIBLE WITH UC1 CONTROL) 8504108 REV... installation guide
Hall Research Technologies
Hall Research Technologies UHBX-SW3-WP quick start guide
