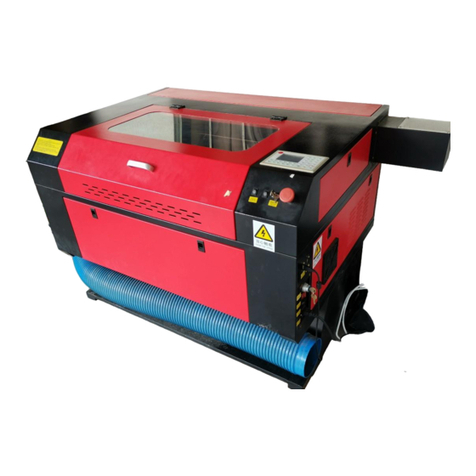
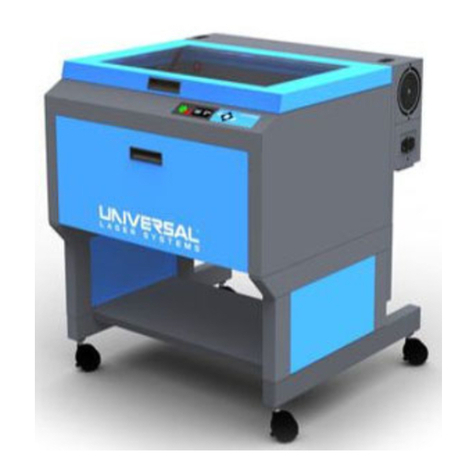
HL HL-1060L User manual

www.hl-yeah.com
1
Laser Engrave Machine HL-1060L 100W Manual


www.hl-yeah.com
5

www.hl-yeah.com
6
Section II. Uncrating HL-100W 1060L
1. Uncrating HL-100W 1060L
Crate size is on the right. That needs
to lift it from one side and pull out this
machine.
Machine size on the left
Machine front

www.hl-yeah.com
7
Machine back
Machine control unit
2. Parts & Accessories

www.hl-yeah.com
8
Section III. Installation & Assembly
1. Connect the Exhaust(Optional part, buy separately)

www.hl-yeah.com
9
2. Connect the Water Chiller& Air Compressor
CO2 Laser machines use water cooling laser tubes. Laser technology is such
that the laser tubes generate a lot of excess heat and the tubes must be
cooled for proper operation. Equipment running environment humidity:5%~
95%(free of condensed water)Keep the temperature of the water chiller
between 5℃~40℃
a. Laser Machine Water OUT to Chiller INLET
b. Laser Machine Water IN to Chiller OUTLET
c. Laser Machine into Air to Air Compressor
3. Connect Electrical Power

www.hl-yeah.com
10
4. Connecting PC via USB Cable or RJ45 Ethernet Cable
5. Remove ties on belts
For transportation safety, ties were implemented to fixed machine laser head
avoiding unexpected movement.

www.hl-yeah.com
11
Section IV. Software
1. RDWorkV8 Installment

www.hl-yeah.com
12
Choose "Laser work"
Click “Install USB driver”

www.hl-yeah.com
13
After that, the USB driver have been installed
Then install the software, click “Install”

www.hl-yeah.com
14
After Installment completed, click ”Exit”
2. RDWorks Interface Briefly

www.hl-yeah.com
15
Menu Bar:The main function of this software are available through the implementation of
the Menu Bar. Execute the menu command is the most basic mode of operation. Menu Bar
including: Document、Edit、Draw、Setting、Processing、View and Help.
System Bar: On the System Bar, placed some most commonly command buttons which
is chosen from the menu.
Graphics Bar: Graphics property bar is the basic attributes of graphics operations,
including graphic location, size, scale, number processing.
Edit Bar:The Edit Bar default on the left of the work area. In the Edit Bar placed frequently
used tools to make the operation more flexible and convenient.
Align Bar:Alignment of the selected objects。
Layer Bar:Change the layer of the selected objects。
Control Panel:Using the Control Panel to complete laser processing of multiple tasks,
Layer parameter settings, axis control, processing …etc.
File Import
The following dialog box appears.Click menu【File】->【Import】, or click icon
Select file, and click【Open】

www.hl-yeah.com
16
Section V. Operations
1. PC Connection Test
Base on plug USB cable to machine. Please check whether there is good
connection between RDC6442 and computer(see red rectangle frame)
Click on setting first then use select USB:Auto connection and Exit.
If software didn’t prompt ”communication error”, That means connection is
good.

www.hl-yeah.com
17
2. Origin setting& Z height positioning
That you would use focus gauge as below or auto-focus
Focus Gauge and how to
measure as below
63.5mm

www.hl-yeah.com
18
Auto-focus is a very useful function to align focal length automatically
Press Focus on the RDC6442 Panel to allow machine find focus point
automatically. Press Z/U and select Auto focus and Enter

www.hl-yeah.com
19
Once it’s done, move laser head to correct position and press “origin” to tell
laser where to start with.
3. Pilot Run Test
First, open file “hellokitty.plt” in RDWorksV8

www.hl-yeah.com
20
Then choose the parts you want to cutting or engraving marked by the Layer Bar. The
color of object that is the color of the object contour. You can click the color button on the
Layer Bar to change the color of the object has been selected. The color of the pressed
button is the color of current layer.
We want to engrave the ear of the hello kitty. So we marked it as green, and setting the
speed and power, out test material is 5MM acrylic, so we setting the scan mode speed as
300mm/s the power 20%.
we want to engrave the contour of the hello kitty. so i marked it as black. setting cutting
mode. speed 30mm/s power 10%.
Table of contents