manuals.online logo
Brands
  1. Home
  2. •
  3. Brands
  4. •
  5. Epilog Laser
  6. •
  7. Engraver
  8. •
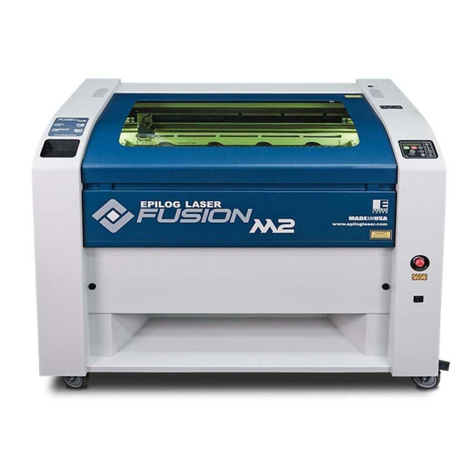
  9. Epilog Laser Edge 12 User manual

Epilog Laser Edge 12 User manual

This manual suits for next models

4

Other Epilog Laser Engraver manuals

Epilog Laser MINI User manual

Epilog Laser

Epilog Laser MINI User manual

Epilog Laser LEGEND 24EX 6000 User manual

Epilog Laser

Epilog Laser LEGEND 24EX 6000 User manual

Epilog Laser MINI 18 User manual

Epilog Laser

Epilog Laser MINI 18 User manual

Epilog Laser Helix User manual

Epilog Laser

Epilog Laser Helix User manual

Epilog Laser FiberMark User manual

Epilog Laser

Epilog Laser FiberMark User manual

Epilog Laser FiberMark User manual

Epilog Laser

Epilog Laser FiberMark User manual

Epilog Laser FiberMark User manual

Epilog Laser

Epilog Laser FiberMark User manual

Epilog Laser Fusion User manual

Epilog Laser

Epilog Laser Fusion User manual

Epilog Laser Fusion Pro 32 User manual
Epilog Laser

Epilog Laser Fusion Pro 32 User manual

Epilog Laser Edge 12 User manual

Epilog Laser

Epilog Laser Edge 12 User manual

Epilog Laser FiberMark Fusion 13000 User manual

Epilog Laser

Epilog Laser FiberMark Fusion 13000 User manual

Epilog Laser Fusion Pro 32 User manual

Epilog Laser

Epilog Laser Fusion Pro 32 User manual

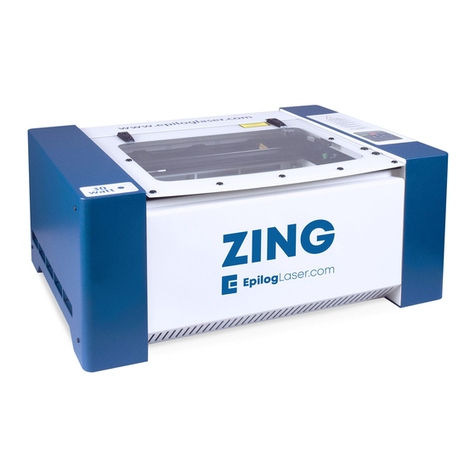
Epilog Laser Zing User manual

Epilog Laser

Epilog Laser Zing User manual

Epilog Laser FiberMark User manual

Epilog Laser

Epilog Laser FiberMark User manual

Epilog Laser Fusion Pro 32 User manual

Epilog Laser

Epilog Laser Fusion Pro 32 User manual

Epilog Laser Fusion User manual

Epilog Laser

Epilog Laser Fusion User manual
Epilog Laser Fusion User manual

Epilog Laser

Epilog Laser Fusion User manual

Epilog Laser Zing User manual

Epilog Laser

Epilog Laser Zing User manual

Epilog Laser Fusion M2 32 User manual

Epilog Laser

Epilog Laser Fusion M2 32 User manual
Epilog Laser MINI User manual

Epilog Laser

Epilog Laser MINI User manual

Epilog Laser FusionPro 16000 User manual

Epilog Laser

Epilog Laser FusionPro 16000 User manual

Epilog Laser Fusion User manual

Epilog Laser

Epilog Laser Fusion User manual
Epilog Laser Helix Installation and operation manual

Epilog Laser

Epilog Laser Helix Installation and operation manual

Epilog Laser Zing User manual

Epilog Laser

Epilog Laser Zing User manual

Popular Engraver manuals by other brands

Roland EGX-350 user manual

Roland

Roland EGX-350 user manual

BAUKER EG013 instruction manual

BAUKER

BAUKER EG013 instruction manual

COMGROW COMGO Z1 user manual

COMGROW

COMGROW COMGO Z1 user manual

iMARC VET TAG Engraver user manual

iMARC

iMARC VET TAG Engraver user manual

GRAVOGRAPH LS900 XP Operating and maintenance manual

GRAVOGRAPH

GRAVOGRAPH LS900 XP Operating and maintenance manual

Vision MAX Pro user manual

Vision

Vision MAX Pro user manual

Roland EGX-30 user manual

Roland

Roland EGX-30 user manual

Vision SP Series user manual

Vision

Vision SP Series user manual

Miyachi LMV1000 user manual

Miyachi

Miyachi LMV1000 user manual

Universal Laser Systems VersaLaser VL-200 Safety, installation, operation, and basic maintenance manual

Universal Laser Systems

Universal Laser Systems VersaLaser VL-200 Safety, installation, operation, and basic maintenance manual

Roland EGX-30A user manual

Roland

Roland EGX-30A user manual

Redsail X700 user manual

Redsail

Redsail X700 user manual

Omtech POLAR 350 owner's manual

Omtech

Omtech POLAR 350 owner's manual

Vision Engraving & Routing Systems Express user manual

Vision Engraving & Routing Systems

Vision Engraving & Routing Systems Express user manual

idp SMART-70X user manual

idp

idp SMART-70X user manual

Universal Laser Systems PLS3.60 Safety, installation, operation, and basic maintenance manual

Universal Laser Systems

Universal Laser Systems PLS3.60 Safety, installation, operation, and basic maintenance manual

Genmitsu Jinsoku LC-40 user manual

Genmitsu

Genmitsu Jinsoku LC-40 user manual

ATOMSTACK MAKER AC1 user manual

ATOMSTACK

ATOMSTACK MAKER AC1 user manual

manuals.online logo
manuals.online logoBrands
  • About & Mission
  • Contact us
  • Privacy Policy
  • Terms and Conditions

Copyright 2025 Manuals.Online. All Rights Reserved.

www.epiloglaser.com
tech@epiloglaser.com
303-215-9171
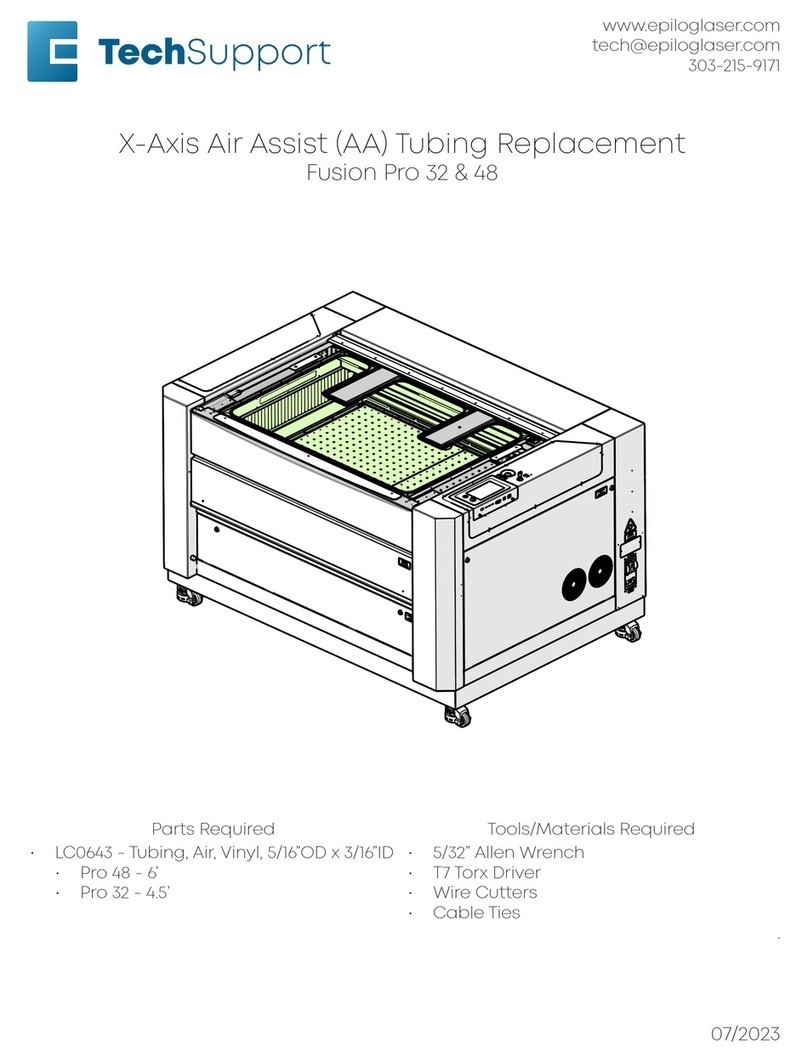
Air Assist (AA) Tubing Replacement
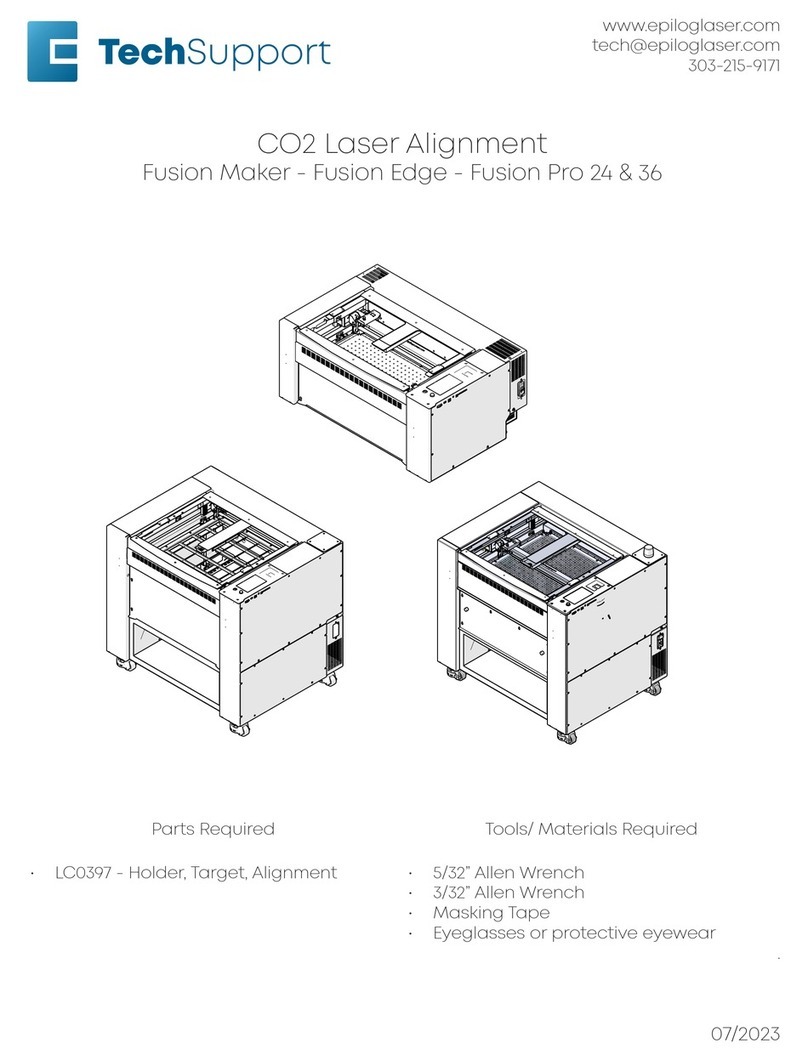
Edge 12, 24 & 36, Pro 24 & 36
Parts Required Tools Required
LC0643 - Tubing, Air, Vinyl, 5/16”OD x 3/16”ID (3.6’) • 5/32” Allen wrench
• Phillips head screwdriver
.
03/2023
17000 AA Tubing Replacement
2
Air Assist (AA) Tubing
Replacement
AA Tubing Removal
1. Turn o the engraver.
2. Disconnect the engraver from power
source.
3. Remove the right panel of the
engraver:
4. Open the top door of the engraver:
5. Manually move the x-axis assembly to
the middle of the engraver:
6. Disconnect the autofocus switch
electrical harness:
17000 AA Tubing Replacement
3
7. Disconnect the air assist tubing from
the camera bridge:
8. Disconnect the electrical harness from
the carriage camera PCB (Pro only):
9. Loosen and remove the two (2) Phillips
screws that secure the cable track to
the carriage assembly:
BACK SIDE OF X-AXIS ASSEMBLY
10. With the cable track free, pull it to the
le side of the machine to straighten
it:
11. Disconnect the air assist tubing from
the right side of the x-axis assembly:
The AA tubing is held by a tubing coupler.
To remove the tubing, press the tubing
into the fixture. Then, while holding the
retaining ring tight to the fixture, pull the
AA tubing away from it.
12. Push and pull the air assist tubing
towards the right side of the machine
to guide it back out of the cable track
while taking care not to remove the
carriage camera cable (if present)
with it, unless deemed necessary:
17000 AA Tubing Replacement
4
The AA tubing and carriage camera USB
cable may be secured with cable ties
to the x-axis assembly in certain points.
If this is the case, remove the cable ties
and replace them once the installation of
the AA tubing is complete. Take care not
to over-tighten the cable ties.
AA Tubing Installation
1. Connect the air assist tubing to the
right side of the x-axis assembly:
2. Route the replacement AA tubing
through the cable track:
3. Curl the cable track into position and
connect the air assist tubing to the
camera bridge:
4. Connect the USB cable to the carriage
camera PCB (Pro only):
5. Connect the autofocus switch
electrical harness:
BACK SIDE OF X-AXIS ASSEMBLY
17000 AA Tubing Replacement
5
6. Install and tighten the two (2) Phillips
screws that secure the cable track to
the carriage assembly:
7. Replace the right panel of the
engraver.
If further assistance is required, please
contact Epilog Tech Support by phone at
303-215-9171, or by email at
tech@epiloglaser.com.