manuals.online logo
Brands
  1. Home
  2. •
  3. Brands
  4. •
  5. Hobbytrain
  6. •
  7. Toy
  8. •
  9. Hobbytrain SB Series User manual

Hobbytrain SB Series User manual

E-Lok Re 4/4 II. 1. Serie SB
Version 2018
Bedienungsanleitung / Manual
Sehr geehrter Kunde,
Dear customer
herzlichen Glückwunsch zu Ihrem neuen HOBBYTRAIN Modell.
Nachfolgende Hinweise sollen Ihnen die Pflege und den Betrieb Ihres Modells erleichtern. Jedes
Modell wurde vor Auslieferung auf Funktion und Vollständigkeit überprüft.
Congratulations for your new HOBBYTRAIN Model.
Following advice should help you for maintenance and service of your Model. Every model was
checked before delivery
Prüfung / Einfahrhinweise
Checking / First use
Nehmen Sie das Modell vorsichtig mit der Folie aus der Verpackung. Vor dem eigentlichen
Fahrbetrieb sollten Sie Ihr Modell ca. ½ Std. mit ca. ¾ der Höchstgeschwindigkeit einfahren. Die
Getriebe sind ab Werk geschmiert. Je nach Laufleistung sollten Sie die Schmierung überprüfen und
gegebenenfalls erneuern. Das Gehäuse muss zur Wartung nicht abgenommen werden. Gehen Sie
bitte mit Schmiermittel sehr sparsam um. Verwenden Sie nur für Modellbahnen geeignetes Öl,
welches im Modellbahnfachhandel erhältlich ist. Vor einer Reinigung, Model vom Transformator
trennen !
Remove the model with the foil from box. Before regular use please run the model with 3/4 of the
max. speed. The gearings are lubricated already. If necessary please use only little lubrication. Please
switch of transformer for servicing the model.
Zerlegen des Modells / Einbau eines Digitaldecoders.
ACHTUNG !
Vor der Demontage des Gehäuses entfernen Sie bitte zunächst die von unten eingesteckten
Schienenräumer !
Spreizen Sie den Lokkasten an den markierten Punkten und ziehen Sie das Gehäuse nach oben ab.
(Abb.1). Achtung die Montage des Gehäuses ist nur in einer Position möglich. Achten Sie bitte auf die
Ausrichtung der Nuten am Gehäuse und der Haltepunkte am Chassis. Die Platine entfernen Sie indem
Sie diese mit etwas Druck aus der Halterung schieben. Dies ist nur in eine Richtung möglich. Beim
Einbau ist auf korrekten Sitz der Kontakte an Platine und Motor zu achten. Die Drehgestelle lassen
sich nach unten aus der Rahmen-Befestigung ziehen. Beim Einbau bitte auf die korrekte Ausrichtung
und sicheres Einrasten sowie Freigängigkeit prüfen. Der Getriebekasten ist mit Rasten an dem
Drehgestell-Rahmen verbunden. Lösen Sie zunächst die äußeren Rasten mit z.B. einer spitzen
Pinzette. Lösen Sie danach die inneren Rasten. Das Getriebe kann nun nach oben entfernt werden.
Der Rahmen wird durch zwei Schrauben verbunden. Diese Schrauben dürfen nicht zu fest angezogen
werden da sonst die Drehgestelle nicht frei beweglich sind.
Die Platine besitzt eine Schnittstelle für Digitaldecoder nach NEM 651. Entfernen Sie den
Brückenstecker und installieren Sie einen passenden Decoder. Pin 1 ist auf der Platine
gekennzeichnet. Das Modell wurde mit Decodern verschiedener Anbieter getestet. Es kann, ja nach
Decodertyp allerdings erforderlich sein den Hauptkondensator von der Platine zu entfernen ( Abb.2
markiert hinter der Schnittstelle ).
In der Box zwischen den Drehgestellen ist Platz für einen Lautsprecher. Konstruktive bedingt ist
jedoch auf der Platine bzw. unter dem Gehäuse nur Platz für sehr kleine Decoder.
ATTENTION !
Please remove the snowplow before removing the Body !
Straddle the body at the marked positions and lift the body. During assembling please make sure that
body and chassis are in correct position. There is only one possibility to assemble the body with the
chassis. The PCB can be removed only in one position. Please move firmly to the side and then remove
the PCB. When assembling the PCB please check the correct fitting of PCB and motor contacts.
The PCB has a NEM 651 DCC socket. Remove the original plug and insert a decoder. Pin 1 is marked
on the PCB.
In the box under the chassis is space for a speaker. But due to the design of the model the space for
(sound) decoder is limited.
Abb. 1
Licht abstellen / Switch off light
Sie können durch Umstecken der LED Platinen am Ende der Hauptplatine den Lichtwechsel einseitig
abstellen. Entfernen Sie die schwarze Blende ( gesteckt ) und ziehen Sie danach die kleine Platine mit
den Stiften aus der Buchse am Ende der Hauptplatine. Stecken Sie die LED Platine um eine Position
versetzt wieder in die Buchse. Die Position ist auf der Platine mit OFF gekennzeichnet (Abb.2). Im
Analogmodus bewirkt die Positionierung in die andere Richtung, dass das Rücklicht abgeschaltet
wird aber das Frontlicht nach wie vor leuchtet.
You can switch off the light at the end of the PCB manually. Please remove the small LED PCB and
plug in in position off. Now this end has no light function. In analogue mode you can also chose to put
the LED PCB on opposite position than OFF. Now only white LED will switch on and off.
Abb. 2
Wartung / Maintenance
Der Motor ist wartungsfrei, die Kohlen können nicht getauscht werden. Ersatzteile finden Sie im
beiliegenden Ersatzteilblatt.
The motor is maintenance free and cannot be opened. Spare parts can be ordered with the parts
order sheet.
Wir wünschen Ihnennun vielSpaß mit Ihrem neuen
HOBBYTRAIN Modell.
Enjoy your new HOBBYTRAIN model.
ACHTUNG ! Modell nie unbeaufsichtigt betreiben !
Sammlermodell für Personen ab 14 Jahren. von Kindern fernhalten wegen verschluckbarer Kleinteile. Bei
unsachgemäßem Gebrauch besteht Verletzungsgefahr durch funktionsbedingte Kanten und Spitzen ! Der
Betrieb mit nicht für Modellbahnen zugelassenen, umgebauten oder schadhaften Transformatoren ist verboten.
Es besteht die Gefahr eines elektrischen Schlages. Das Modell darf an nicht mehr als einer Energiequelle
angeschlossen werden. Nur für trockene Räume geeignet. Jede Haftung für Schäden und Folgeschäden durch
nicht bestimmungsgemäßen Gebrauch, Nichtbeachtung dieser Gebrauchsanleitung, Betrieb mit sonstigen
elektrischen Geräten, eigenmächtigen Eingriff, Umbau, Gewalteinwirkung, Überhitzung,
Feuchtigkeitseinwirkung u.ä. ist ausgeschlossen; außerdem erlischt der Gewährleistungsanspruch. Diese
Betriebsanleitung und die Verpackung für späteren Gebrauch aufbewahren ! Irrtum sowie Änderung aufgrund
des technischen Fortschrittes, der Produktpflege oder anderer Herstellungsmethoden bleiben vorbehalten. Ihr
Hobbytrain Produkt wurde entwickelt und hergestellt mit qualitativ hochwertigen Materialien und
Komponenten, die recycelt und wiederverwendet werden können. Elektrische und elektronische Geräte müssen
am Ende ihrer Nutzungsdauer von Hausmüll getrennt entsorgt werden. Bitte entsorgen Sie dieses Gerät bei
Ihrer örtlichen kommunalen Sammelstelle oder im Recycling Center.
WARNING / DISCLAIMER ! Never use model unattended !
Recommended for Collectors older than 14 years. Due to true scale and functional design the models could
contain small parts and tapered edges. Keep out of the reach of children. Use only under survey. Keep
packaging and manual. Use only with suitable electric power pack which is proper for model train power supply.
Never use with other power supply, electric shock hazard. Never use with more than one power supply. Indoor
use only. We disclaim the liability for injuries or damages caused by incorrect use, non-observance of this
instructions, use with other electrical devices, unauthorized change, acts of violence, overheating, humidity
effect etc.; in addition the warranty expires. Your Hobbytrain Product was developed and manufactured with
high quality materials and components which can be recycled and / or re-used. Electrical and electronic
equipment must be disposed of separately form normal garbage at the end of its operational lifetime. Please
dispose of this product by bringing it to your local collection point or recycling centre for such equipment.
Bitte geben Sie bei der Bestellung von Ersatzteilen bitte unbedingt die original Art. Nr. Ihres Modells an.
Ansonsten können wir Ihren Auftrag leider nicht ausführen. [When ordering spare parts please indicate
the original item # of your model. Otherwise we cannot fullfil your order.]
Electro-LokomotiveErsatzteile [Spare Part List]
Re 4/4 II. 1. Serie SBB
Explosionzeichung
Art Nr.
Art Nr.
€10 00.
€10 00.
€20 00.
€20 00.
€500.
€500.
€500.
€30 00.
€500.
€800.
€500.
€600.
€50 00.
€6 0.0
€6 0.0
€6 0.0
€6 0.0
€6 0.0
€50 00.
€50 00.
€25 00.
1
1
1
1
6
2
2
2
1
2
6
2
1
1
1
1
2
2
1
1
1
Stromabnehmer [Pantograph]
Motor m.Schnecke [Motor w.Worm]
Rahmen [Frame]
Puffer [Buffer]
Kupplungsatz [Coupler Set]
Kupplungsatz [Coupler Set] Extended
Antriebsdrehgestell [Drive Truck]
Batteriekasten [Battery Box]
Inneneinrichtung [Cabin]
Haftreifen [Traction Tires]
Kontaktfedern [Contact spring]
Gehäuse komplett / H3020
Lsolatoren / Dachleitung
Pufferbohle / Schneepflug
Gehäuse komplett / H3021
Gehäuse komplett / H3022
Platine mit LEDs u.Schnittstelle
[Bpdy Shell Complete / H3020]
[Insulators / Roof wire]
[Insulators / Roof wire]
[Insulators / Roof wire]
[Bufferbarh / Snowplow]
[Bufferbarh / Snowplow]
[Bpdy Shell Complete / H3021]
[Bpdy Shell Complete / H3022]
[PCB w. LEDs and DCC plug]
H3020
H3021 / 22
H3020-1S
H3020-1G
H3020-4
H3020-5
H3020-6
H3020-7 H3020 / 21
H3020 / 21
H3022
H3020
H3021
H3022
H3022H3020-8
H3020-9
H3020-10
H3020-11
H2700-10
H2800-11M
H3020-2A
H3020-13C
H3020-13B
H3020-13A
H3020-12B
H3020-12A
H3020-2B
H3020-2C
H3020-3
H3020-2A
H3020-2B
H3020-2C
H3020-1S
H3020-3
H2700-10 H2800-11M
H3020-4 H3020-6
H3020-9
H3020-7 H3020-8
H3020-10
H3020-12A
H3020-12B
H3020-13A H3020-13B H3020-13C
H3020-1G
H3020-5 H3020-11
FÜR/For Art #H3020
FÜR/For Art #H3022
Extended Buffer
Lange Pufferbohle
#H3021
x 2
FK1215
WITHOUT COUPLER ADAPTER
Preis
Preis
VE
VE
Beschreibung / Description
(ITEM Nr.)
(ITEM Nr.)
(Price)
(Price)
(Q ty)
'
(Q ty)
'
E-Lok Re 4/4
Hinweis zur Digitalisierung !
Advice for Decoder assembly !
ACHTUNG ! Es kann vorkommen,dass die Kontakte des Motors bei Kontakt mit dem Chassis einen
Kurzschluss verursachen. Im Digitalbetrieb kann dadurch der Decoder beschädigt werden. Bitte isolieren
Sie das Chassis an dieser Stelle bevor Sie eine Decoder einbauen !
WARNING ! The motor contact might cause short-circuit when touching the chassis. Please insulate the
Chassis at this positon before you assemble a DCC Decoder.

This manual suits for next models

7

Other Hobbytrain Toy manuals

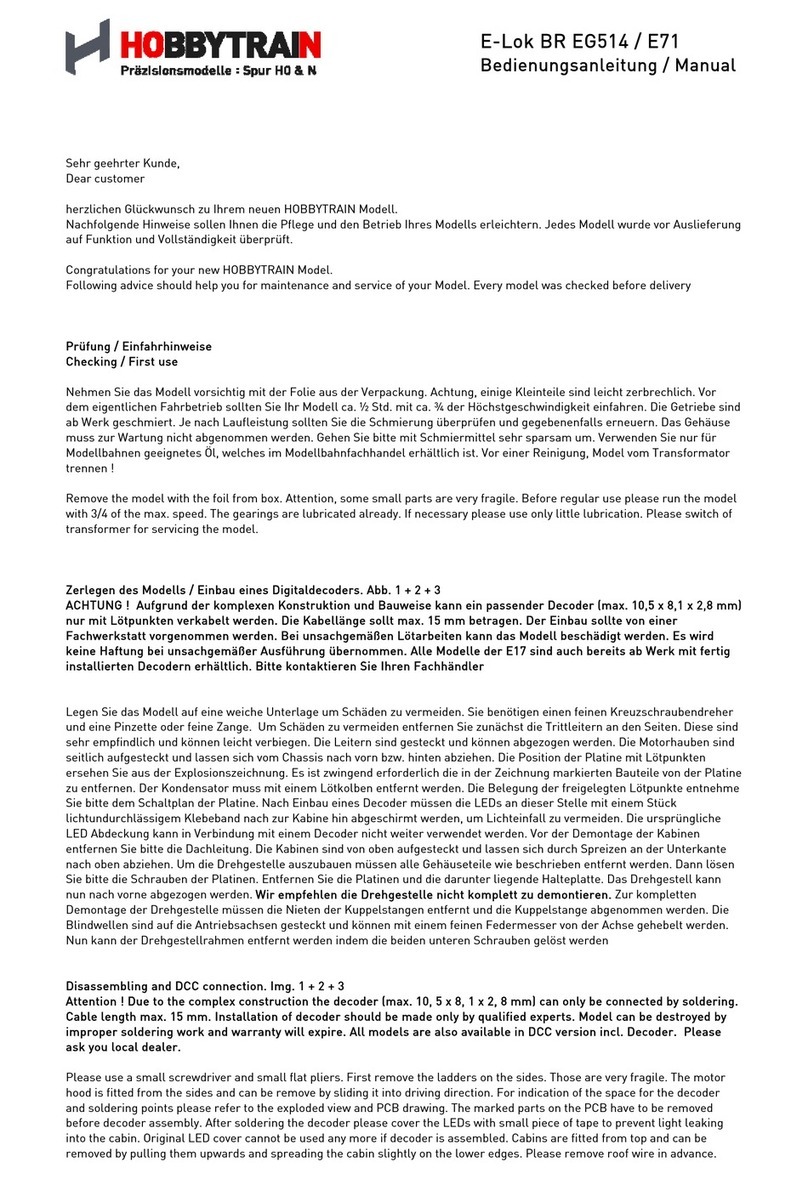
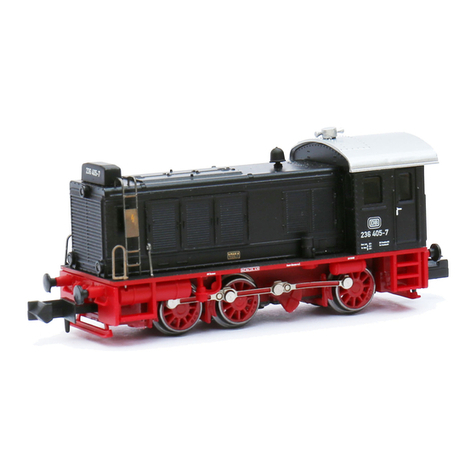
Hobbytrain V36 / BR 236 User manual

Hobbytrain

Hobbytrain V36 / BR 236 User manual

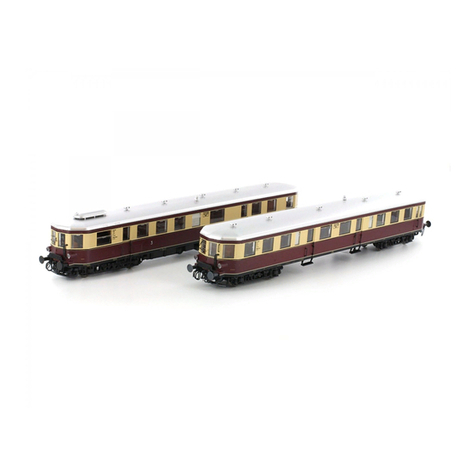
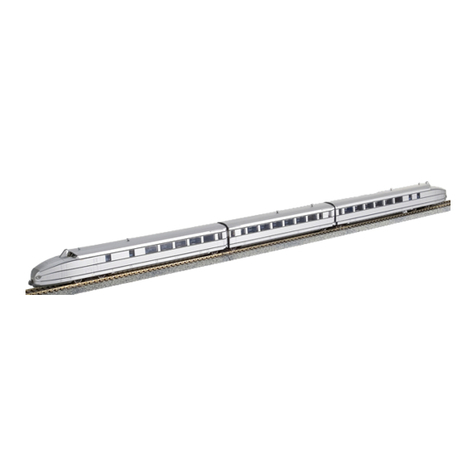
Hobbytrain SVT137 155 User manual

Hobbytrain

Hobbytrain SVT137 155 User manual

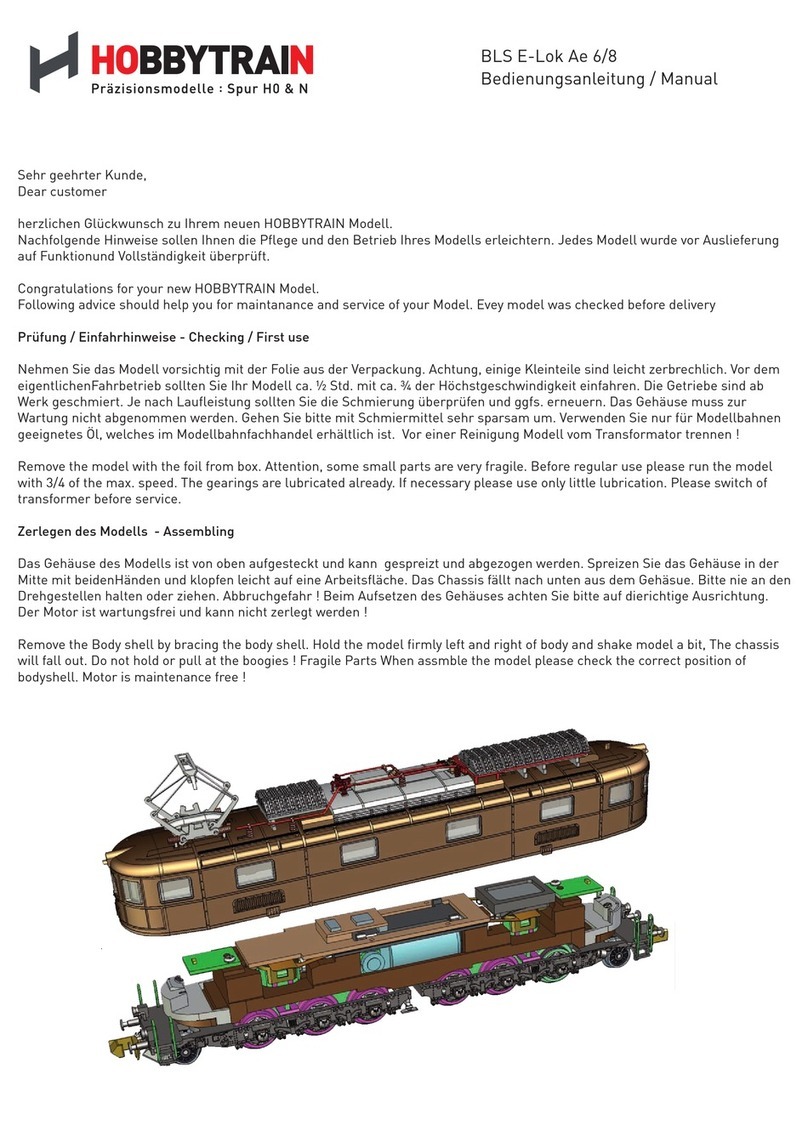
Hobbytrain BLS E-Lok Ae 6/8 User manual

Hobbytrain

Hobbytrain BLS E-Lok Ae 6/8 User manual

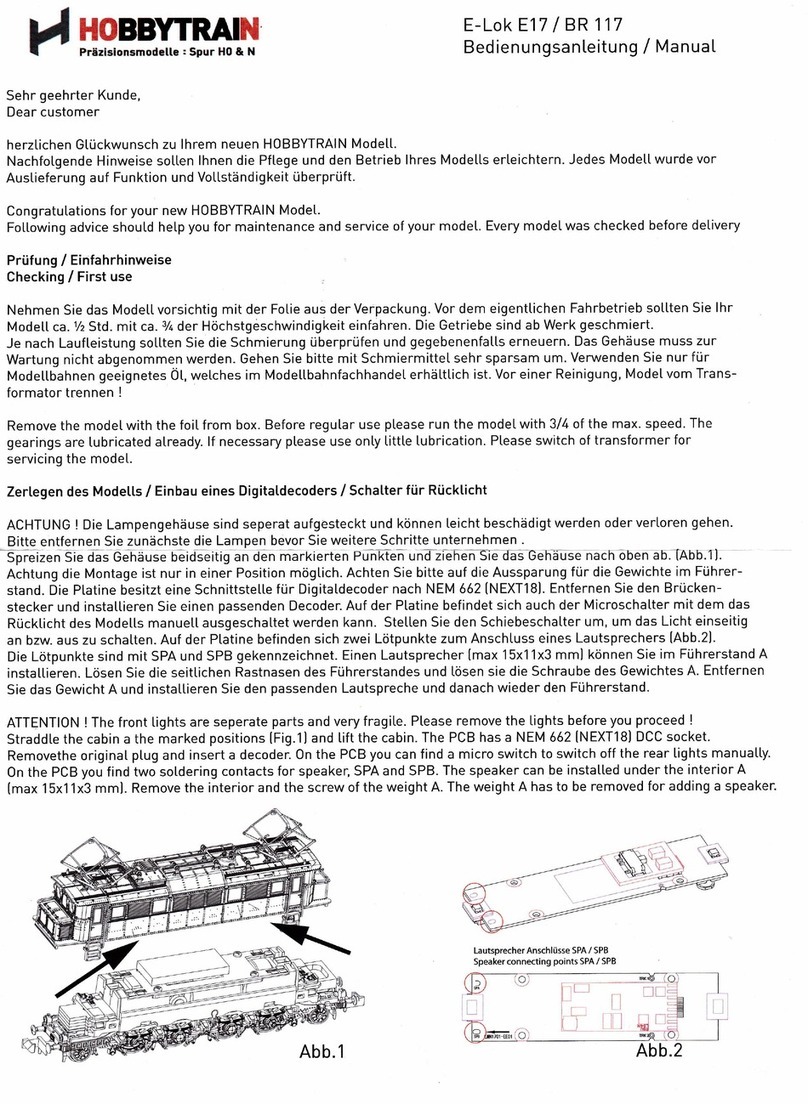
Hobbytrain E-Lok E17 User manual

Hobbytrain

Hobbytrain E-Lok E17 User manual

Hobbytrain VT 137 User manual

Hobbytrain

Hobbytrain VT 137 User manual

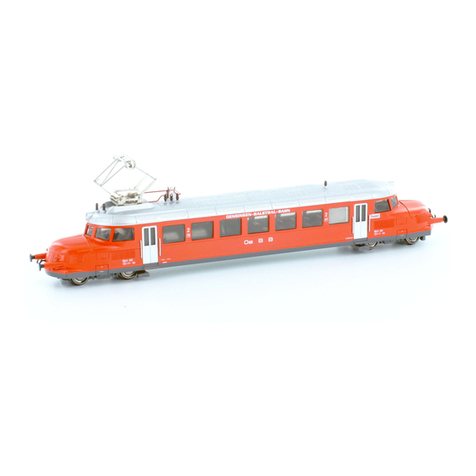
Hobbytrain Roter Pfeit User manual

Hobbytrain

Hobbytrain Roter Pfeit User manual

Hobbytrain E-Lok BR EG514 User manual

Hobbytrain

Hobbytrain E-Lok BR EG514 User manual

Popular Toy manuals by other brands

HYPE TROJAN T-28D instruction manual

HYPE

HYPE TROJAN T-28D instruction manual

Jconcepts BJ4 manual

Jconcepts

Jconcepts BJ4 manual

AerodromeRC aviatik 30.40 User instructions

AerodromeRC

AerodromeRC aviatik 30.40 User instructions

GRAUPNER HoTT-FAN operating instructions

GRAUPNER

GRAUPNER HoTT-FAN operating instructions

Multiplex FunCub NG 1-01333 manual

Multiplex

Multiplex FunCub NG 1-01333 manual

Hasbro Trans Formers 81060 Asst. manual

Hasbro

Hasbro Trans Formers 81060 Asst. manual

REVELL GMC PICKUP WITH SNOW PLOW Assembly instructions

REVELL

REVELL GMC PICKUP WITH SNOW PLOW Assembly instructions

Fisher-Price 73398 instructions

Fisher-Price

Fisher-Price 73398 instructions

Lionel Powered F7 B-Unit Diesel Locomotive owner's manual

Lionel

Lionel Powered F7 B-Unit Diesel Locomotive owner's manual

Seagull Models Extra 260 Assembly manual

Seagull Models

Seagull Models Extra 260 Assembly manual

SYMA F4 user manual

SYMA

SYMA F4 user manual

Costway HW67588 user manual

Costway

Costway HW67588 user manual

ACG 39 Roadster 2016 Quick reference guide

ACG

ACG 39 Roadster 2016 Quick reference guide

Wiltronics JGT4285 user manual

Wiltronics

Wiltronics JGT4285 user manual

Polygroup AR-P19010 User guide and assembly instructions

Polygroup

Polygroup AR-P19010 User guide and assembly instructions

Vmar J3 Piper Cub L4 1375 EP manual

Vmar

Vmar J3 Piper Cub L4 1375 EP manual

Kurio Kurio Snap user manual

Kurio

Kurio Kurio Snap user manual

Hasbro Marvel Avengers IRON MAN instruction manual

Hasbro

Hasbro Marvel Avengers IRON MAN instruction manual

manuals.online logo
manuals.online logoBrands
  • About & Mission
  • Contact us
  • Privacy Policy
  • Terms and Conditions

Copyright 2025 Manuals.Online. All Rights Reserved.