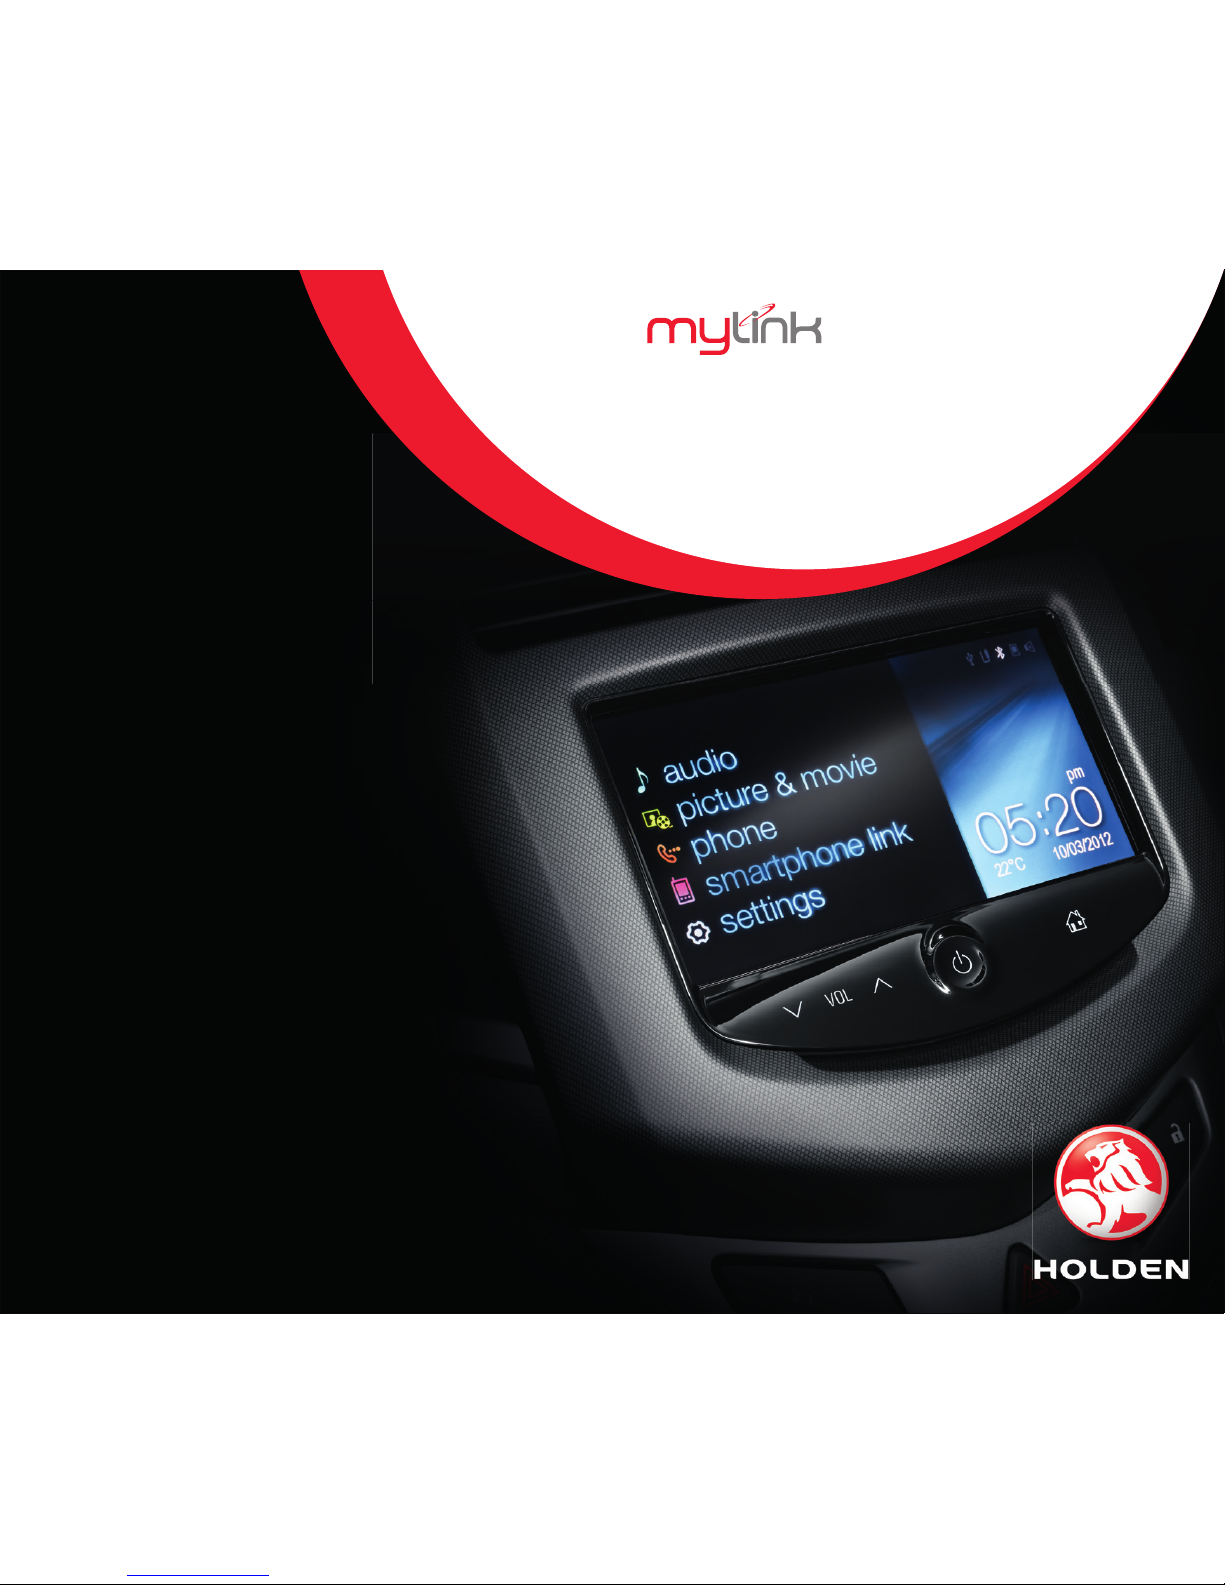
SMARTPHONE LINK SMARTPHONE LINK
16 17
Smartphone Link is a function that allows you to
access certain smartphone applications via MyLink.
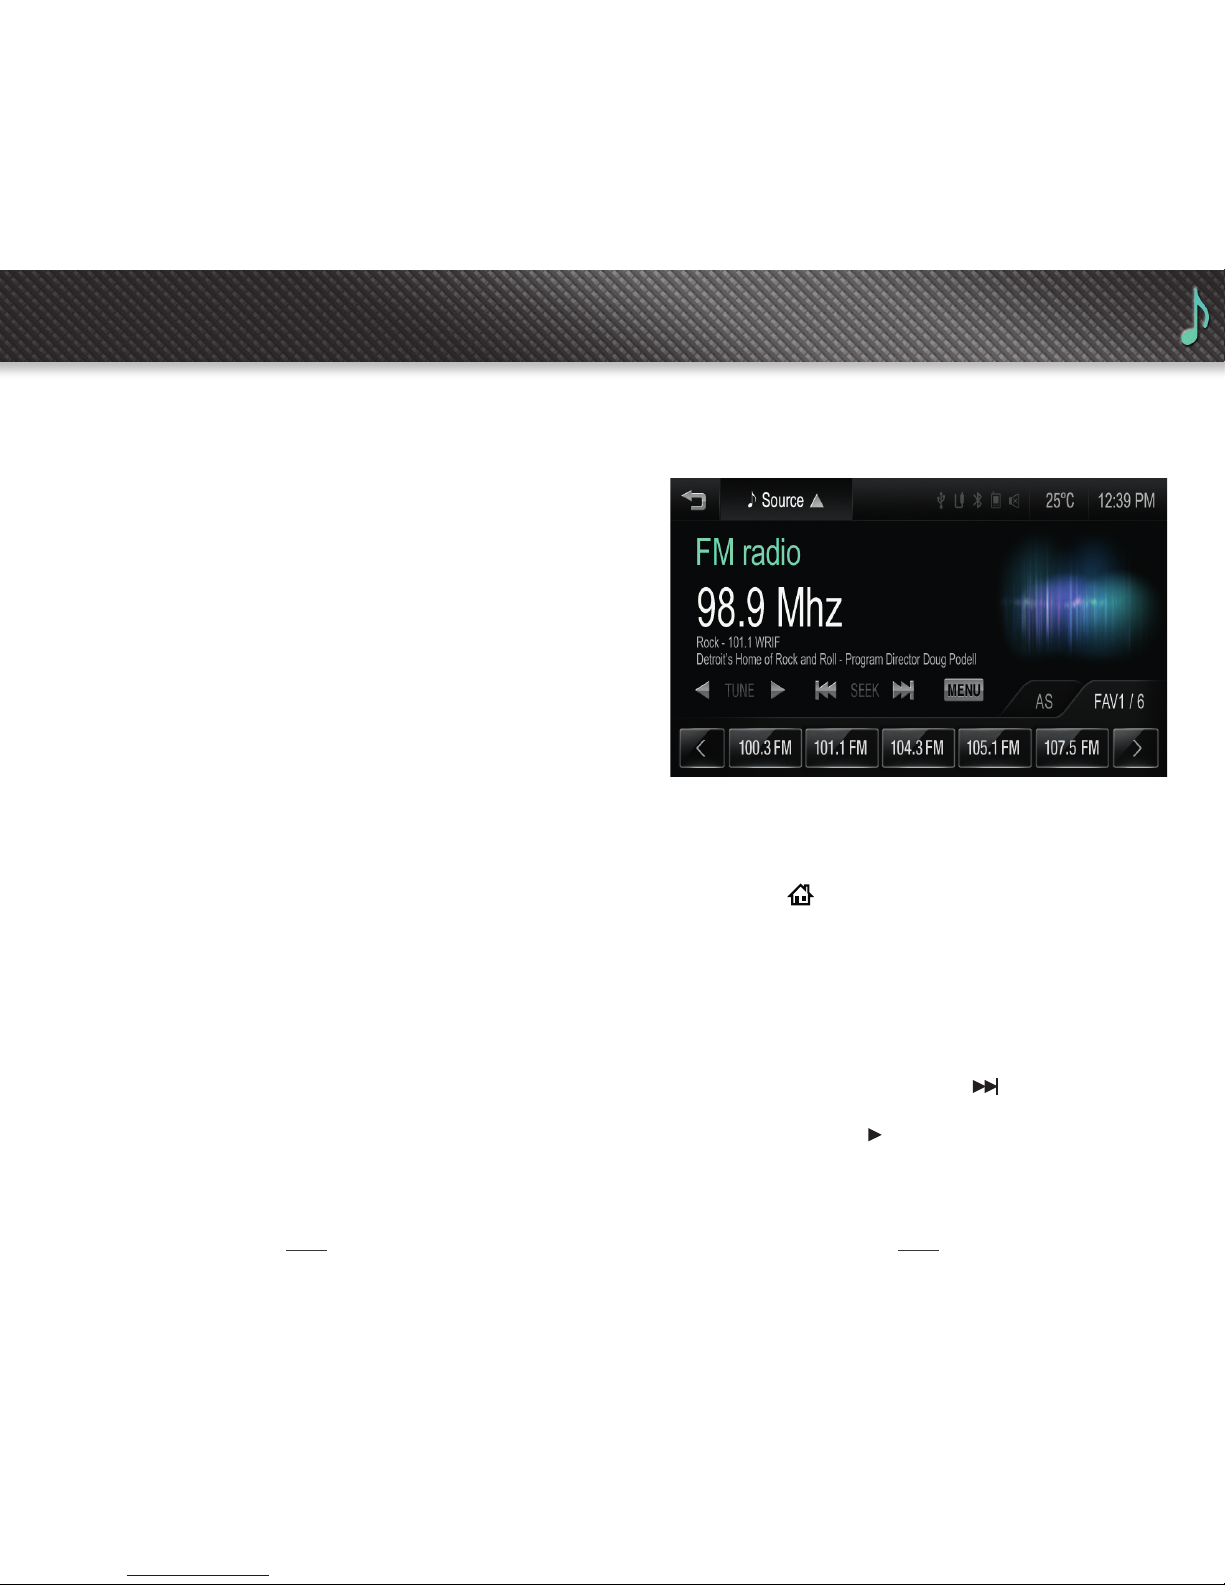
Bluetooth®audio streaming makes it possible for you to
connect to certain mobile apps such as Stitcher™Smart
Radio#
. In 2013, Holden plans to make software available
that will enable Barina CDX owners to use Pandora®
Internet Radio#
, Tune In Radio# and BringGo Navigation^
apps through their vehicle’s MyLink system.
For more information, including device compatibility,
visit the Owners Info section of holden.com.au for a
list of compatible devices.
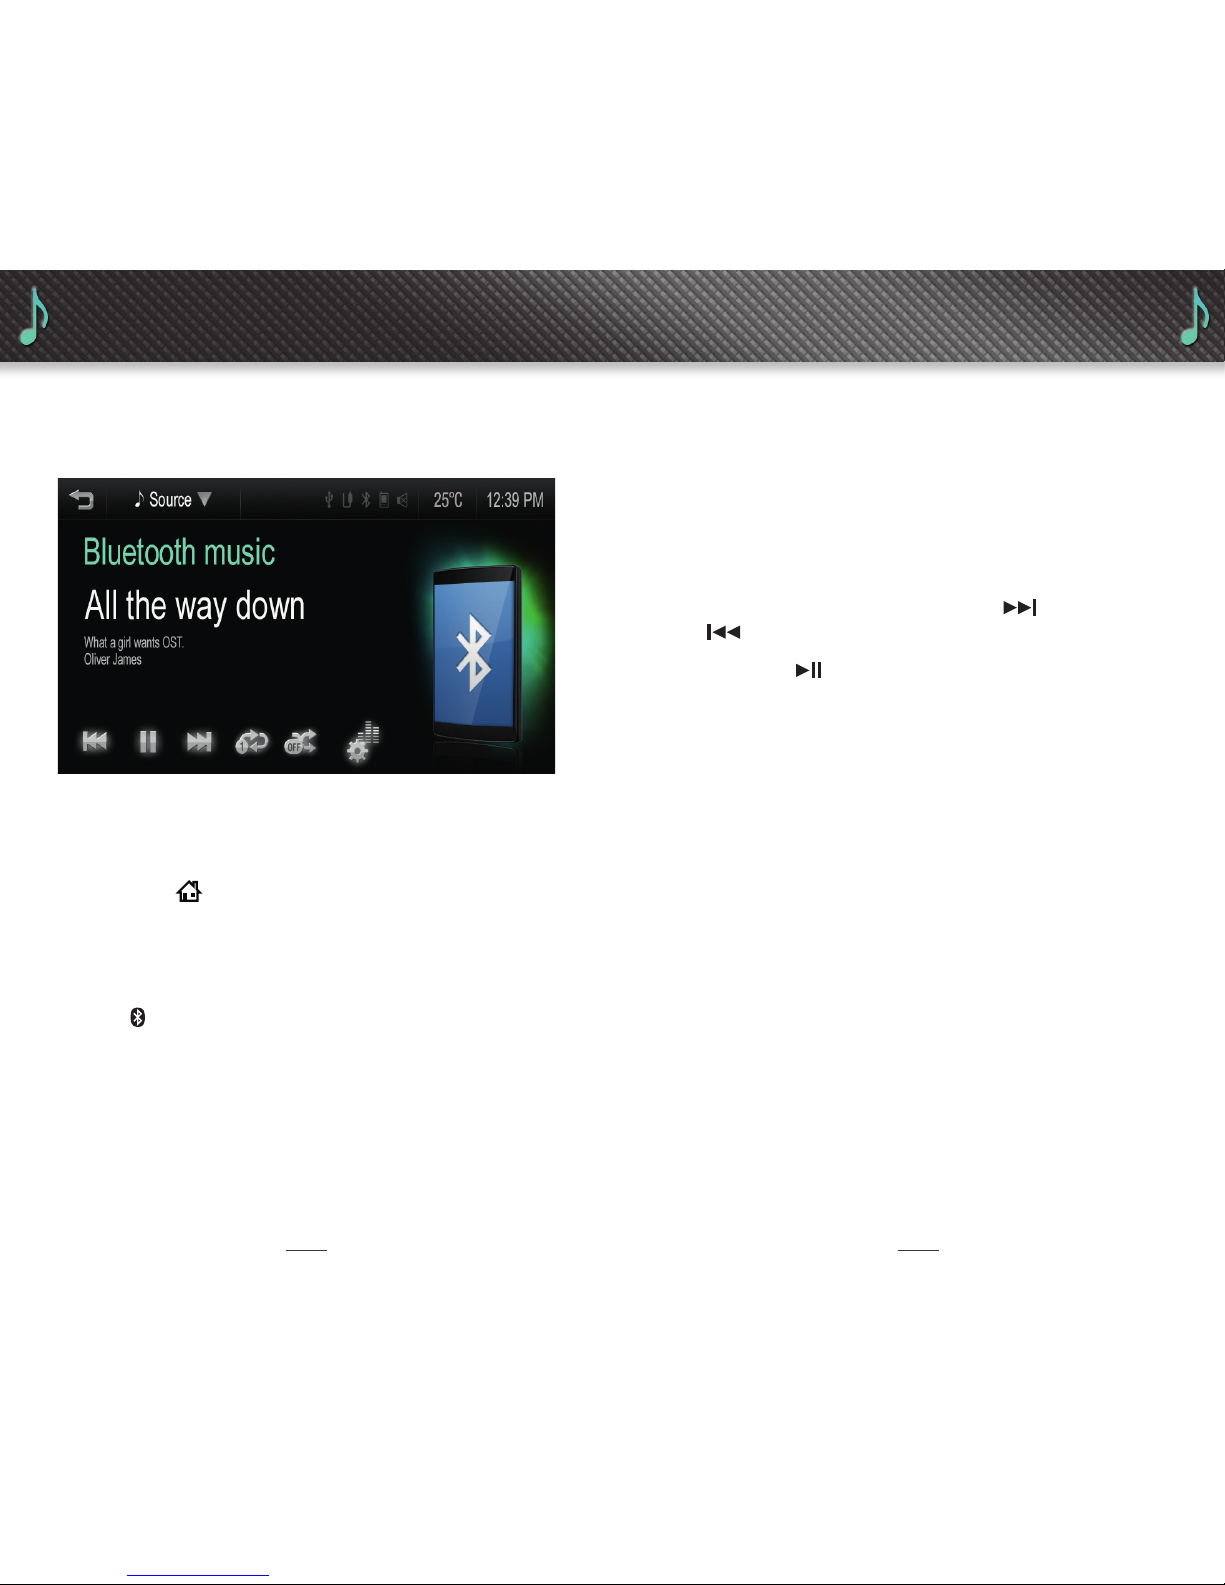
Live streaming from Stitcher™#
Note that there’s a special situation for iPhone®and iPod®
users. For functionality when listening to Stitcher™#
it is necessary to connect through the USB port. Access
to Stitcher,
™# through AUX or Bluetooth®connections is
possible, but some functions will not be available.
• Once a compatible Bluetooth®handset or other
web-enabled device is paired to the MyLink system,
press Smartphone Link from the Home menu.
• While the Stitcher,
™#icon is embedded in MyLink,
customers must download the Stitcher,
™#app to their
smartphone. If the app is not downloaded to the
smartphone, the app will appear greyed out on the
touch-screen.
#
Personal mobile phone data plans are used to access these apps.
^BringGo Navigation app must be purchased separately.
• Next, select the Stitcher,
™#icon to view playback
options and begin live streaming.
Note:
• If more than one web-enabled device is connected
to the system—for example, a smartphone via
the USB port and a tablet via Bluetooth®when the
Stitcher,
™#icon is selected, a screen appears that lets
customers pick the source they want to use.
#
Personal mobile phone data plans are used to access these apps.