2
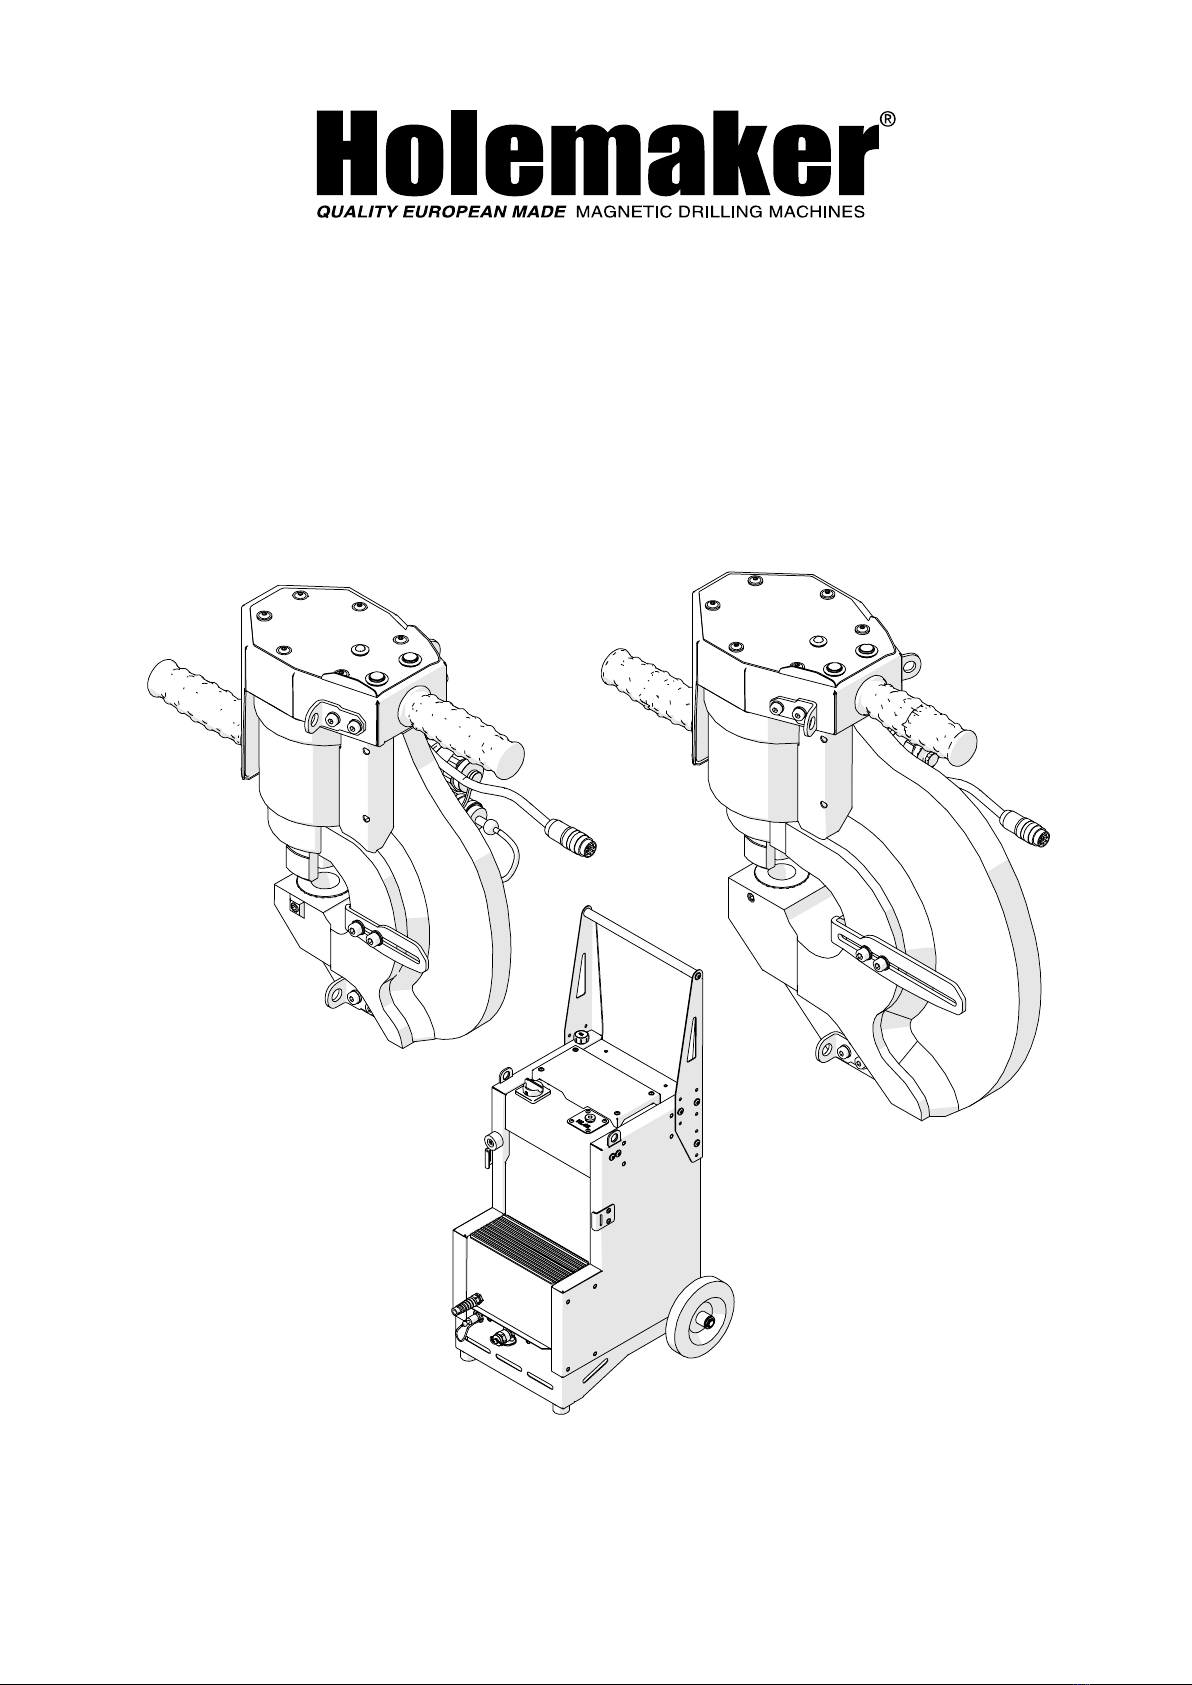
HOLEMAKER PRO 60 HP, PRO 110 HP & HPP 700/1.5
IMPORTED & DISTRIBUTED BY
INDUSTRIAL TOOL & MACHINERY SALES
18 BUSINESS ST
YATALA QLD 4207 AUSTRALIA
T
F
E
W
07 3287 1114
07 3287 1115
sales@industrialtool.com.au
www.industrialtool.com.au
WARRANTY TERMS
In addition to any warranties or conditions implied by applicable Statute or Regulations, Industrial
Tool & Machinery Sales warrants all of it’s products against defective workmanship and faulty
materials for a period of twelve (12) months from the date of purchase, unless otherwise stated.
At our option we will repair or replace, free of charge, any item on the condition that:
• The complete machine or tool is returned, freight prepaid to ITM or one of it’s authorised
service agents as directed by ITM, and is found to have a material or constructional defect.
• The machine or tool has not been subject to misuse, neglect or damage by accident.
• The fault is not a result of normal “wear and tear”.
• Written permission has been received from ITM prior to commencement of repair.
• Repairs, tampering or modification carried out by unauthorised personnel will void all warranty.
• Consumable items such as cutting tools, pilot pins, saw blades, grinding wheels etc. are NOT
covered by warranty.
Our goods come with guarantees which cannot be excluded under the Australian Consumer
Law. You are entitled to replacement or refund for a major failure and to compensation for other
reasonably foreseeable loss or damage. You are also entitled to have the goods repaired or
replaced if the goods fail to be of acceptable quality and the failure does not amount to a major
failure.