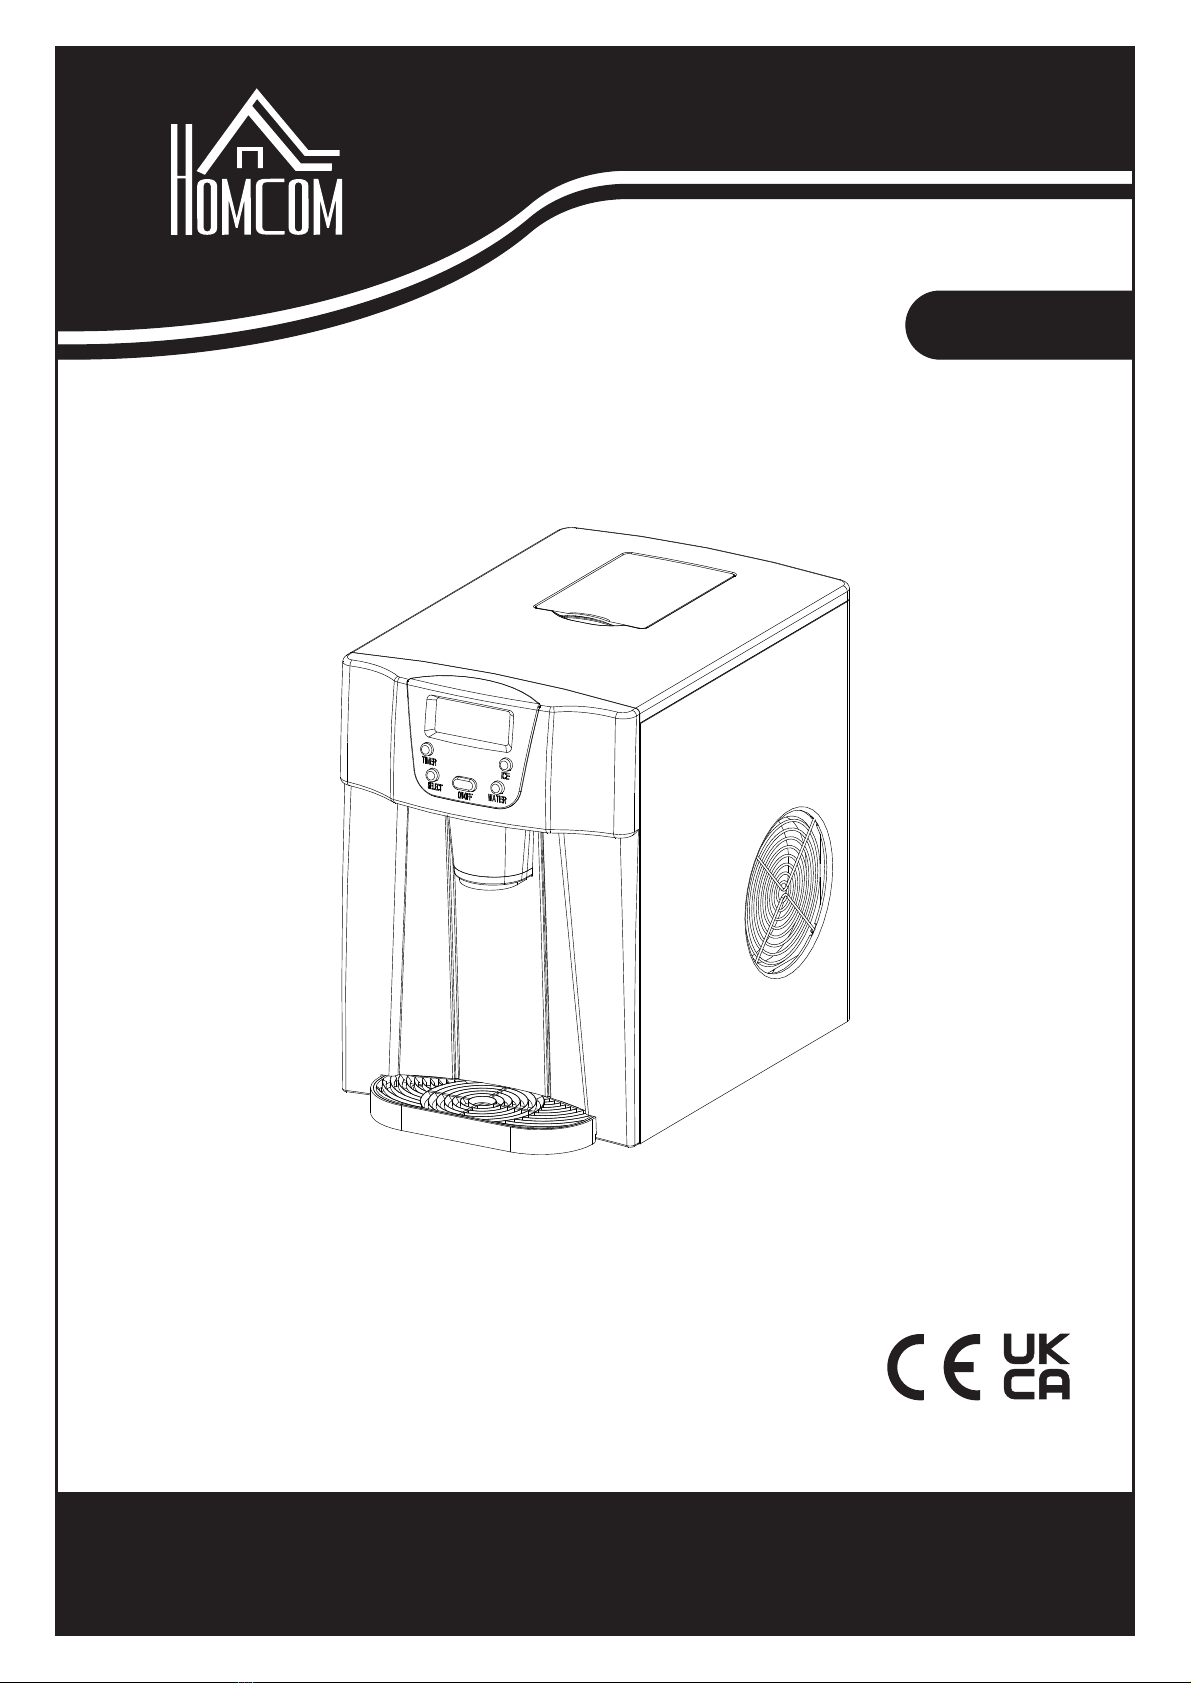
HOMCOM 800-141 Datasheet

IN220800121V01_UK
800-141
IMPORTANT, RETAIN FOR FUTURE REFERENCE: READ CAREFULLY
ICE MAKER
With automatic ice-cube dispenser and water dispenser
USING INSTRUCTION

1
Country Phone Email
0044-800-240-4004 enquiries@mhstar.co.ukUK
Dear customer,
Thank you for purchasing this product. So that your appliance serves you well, please
read all the instructions in this user's manual. If you have any questions, please contact
our customer care center.
Our contact details are below:

2
TABLE OF CONTENTS
IMPORTANT SAFETY INSTRUCTIONS…………………………………………………...2
PREPARING YOUR ICE MAKER FOR USE
IMPORTANT SAFETY TIPS……………………………………………………………....3-4
GETTING TO KNOW YOUR UNIT……………………………………………………….....5
OPERATING PROCEDURES & MAINTENANCE
UNPACKING YOUR ICE MAKER………………….…………………………………….....6
CONNECTING YOUR ICE MAKER……………….……….……………………………....6
CLEANING AND MAINTAINING YOUR ICE MAKER….………………………………...6
USING YOUR ICE MAKER……………….……..………………………………………..7-9
TROUBLESHOOTING…………………………….……………………………………......10
TECHNICAL PARAMETERS & CIRCUIT DIAGRAM……………………..….………....11
TECHNICAL PARAMETERS ………………………………………………………….......11
CIRCUIT DIAGRAM ………………………………………………………………………...11
DISPOSAL AND WARRANTY INFORMATION……………………………………….....12

3
The safety of yourself and others is very important.
The manual includes important instructions on how to operate the appliance safely.
Carefully read and follow instructions
This is the safety alert symbol:
All messages will follow the safety alert symbol and the word 'DANGER' or 'WARNING’
!
!
These words mean:
Serious harm or death may occur if instructions are not properly followed.
Safety messages will include: Details of potential hazards, reducing the chances of
injury, and the consequences if instructions are not correctly followed.
IMPORTANT SAFETY TIPS
When using electrical appliances, basic safety precautions should be followed to reduce
the risk of fire, electric shock, and injury to persons or property.
Read all instructions before using any appliance.
● Under guided supervision, this appliance can be used by children aged eight years
and above, provided they understand the potential risks and hazards. Under guided
supervision, the appliance can be used by persons with disabilities or persons without
experience, provided they understand the potential risks and hazards.
● Children are not permitted to play with the appliance.
● Children should not clean or maintain the appliance without supervision.
● Do not operate this, or any other appliance with a damaged cord.
If the supply cord is damaged, it must be replaced by the manufacturer, its service
agent or a similarly qualified person to avoid potential hazards.
The ice maker must be positioned so the plug is accessible .
● Connect to properly polarized outlets only. No other appliance should be plugged into
the same outlet. Ensure the plug is fully inserted into the receptacle.
● Do not run the power cord over carpeting or other heat insulators. Do not cover the
cord. Keep the cord away from congested areas, and do not submerge in water.
● It is not recommended to use an extension cord, as it could overheat and become a
2
fire hazard. If you must use an extension cord, use a minimum size of No.0.75mm and
rated no less than16A/250V~ with a plug.
● Unplug the ice maker before cleaning, servicing or maintenance.
● Be cautious when operating the appliance near children.
● Do not use the ice maker outdoors, and keep the appliance out of direct sunlight.
Ensure there is at least 15 centimeters of space between the back of the unit and the
wall. Keep a minimum distance of 15 centimeters on each side of your unit free.
Ensure there is enough air circulation around the unit.
● No liquids, other than water, should be used to make ice cubes.
● Do not clean the ice maker with flammable liquids. This is a potential fire or explosion
hazard.
● Do not tip the unit over.
!

4
● If the ice maker arrives from cold conditions (i.e. outside), wait a few hours for the
appliance to warm up to room temperature before plugging it in.
● Do not store explosive substances such as aerosol cans with a flammable propellant
in this appliance.
● This appliance must be earthed.
● This appliance is intended to be used in households only.
● Warning: Risk of fire/flammable materials used. Please adhere to
local regulations regarding the disposal of the appliance, due to its flammable gas.
● WARNING: Do not obstruct the ventilation points in the appliance.
● WARNING: Do not damage the refrigerant circuit.
● WARNING: Do not use mechanical devices or other means to accelerate the
defrosting or ice harvesting process, unless recommended by the manufacturer.
● WARNING: Do not use other types of electrical appliances inside the ice maker.
IMPORTANT:
The wires in the main lead are coloured in accordance with the following code:
Green and yellow:
Blue:
Brown:
Grounding
Neutral
Live
● Place the appliance on an even surface to avoid potential hazards.

5
H
S
1 3 2
TIMER ICE
SELECT ON/OFF WATER
A
F
C
B
E
D
GETTING TO KNOW YOUR UNIT
1. Water drip tray
2. Water drip tray cover: Used for supporting the ice cube container
3. Water drain plug: For draining water from the water reservoir.
4. Hot air outlet
5. Top window
6. Ice cube pushing spring
7. Control panel: Easy to use, visible functions touch display setting.
A.: LCD display window
(1). TIMER setting delay time
(2). Ice cube size display: Small.
(3). Ice cube size display: Large.
(4). Ice cube obtaining symbol: Ice cubes will be pushed out.
(5). Water dispensing symbol: Water is flowing through the tap.
(6). Error code.
(7). Lack of water in reservoir symbol: With this symbol, the unit will stop running,
need to pour water in.
(8). Ice-full symbol: when it display, means the ice storage area is full of ice-cube.
(9). ON/OFF symbol: if the unit is turned off, this symbol will flash. If the unit is turned
on, this symbol will stay lit.
B.: Ice cube obtaining button
C.: Water dispenser button
D.: ON/OFF Button: To turn on/off the unit
E.: SELECT Button: To select the size of ice cubes and the number code for the
different delay times.
F.: TIMER Button: Setting the timer on or off.
8. Evaporator.
9. Side door: For filling with water and cleaning the reservoir.
10. Water reservoir and the MAX level mark for water.
A
1234
5
6
7
8
9
H
S
1 3 2

6
1. Remove all packaging. Then check all the accessories are included. If any parts are
missing, please contact our customer service.
2. Keep the appliance away from direct sunlight and other sources of heat (i.e. stove,
furnace, radiator). Place the ice maker on an even surface. Allow at least six inches of
space between the back and sides of the ice maker and the wall.
3. Allow one hour for the refrigerant liquid to settle before plugging in the ice maker.
4. Position the appliance so the plug is accessible.
WARNING: Fill with drinking water only.
!
* Improper use of the grounded plug can result in the risk of electrical shock. If the
power cord is damaged please call our customer service.
1. This unit should be properly grounded for your safety. The power cord of this
appliance is equipped with a three-prong plug that aligns with standard three-prong
wall outlets to reduce the risk of an electric shock.
2. Plug your appliance into an exclusive, properly installed, grounded wall outlet. Under
no circumstances, do not cut or remove the third (ground) prong from the power cord.
Any questions concerning power and/or grounding should be directed towards a
certified electrician.
3. This appliance requires a standard 220-240volt, 50Hz electrical outlet with three-
prong ground.
Before using the ice maker, ensure it is cleaned thoroughly.
1. Unplug the unit before cleaning or maintenance.
2. Clean the inside with diluted detergent, warm water and a soft cloth.
3. Then use the water to rinse the inside parts, and drain out the water by unplugging the
drain cap on the side.
4. Clean the outside of the unit regularly with a mild detergent solution and warm water.
5. Dry the inside and outside with a soft cloth.
6. When the machine is off, open the water drained cap to drain water from the reservoir.
WARNING: Fill with drinking water only.
Note: Blowing gas inside the unit is flammable, disposal of these materials must be in
accordance with national regulations.
OPERATING PROCEDURES & MAINTENANCE
UNPACKING YOUR ICE MAKER
CONNTCTING YOUR ICE MAKER
CLEANING AND MAINTAINING YOUR ICE MAKER

7
USING THE ICE MAKER
How to start the unit
1. Open the left door and pour drinking water into the reservoir. Keep the water below
the 'MAX' water level mark.
FILL IN WATER
MAX WATER LEVEL
2. Plug your ice maker into the main power outlet, and the “ ”symbol will flash on the
LCD display.
3. Press the 'ON/OFF' button on the control panel to begin the ice making cycle. After
this, the symbol will remain lit on the LCD display and the symbol will begin to
flash. The default size of the ice cubes is large. To change the size, press the
'SELECT' button to switch between large and small .
If the ice cubes are not the right size, change the time of the cycle by pressing the
'SELECT' button. During the cycle, always hold 'ON/OFF' for longer than five seconds,
and '0' will appear in the 'TIMER' delay on the LCD display. This setting is the standard
time for the ice making cycle. Pressing 'SELECT' will change the settings to '1' or '2'.
Pressing 'SELECT' again will revert to '0'. After five seconds, the digit will disappear and
be remembered by the controller. Setting '1' will add one minute to the cycle. Setting '2'
will add extra time. If the unit is reset, it will revert to '0'- The standard time.
4.The ice making cycle lasts 6 to 12 minutes, depending on the selection and the
ambient temperature.
5. While the ice maker is on, check the water level regularly. If the pump cannot pump
out water, the ice maker will stop, the symbol will light up on the LCD display, and the
arrow symbol will flash.
Pour water into the water reservoir. It is recommended to turn off the unit first by
pressing 'ON/OFF', and fill the water up to the MAX level, then press 'ON/OFF' to restart
the unit. Filling the water without pressing any button will result in waiting longer for the
ice cubes. Allow the refrigerant liquid inside the compressor at least three minutes to
settle before restarting.

8
When ice full indicator is on
6. The ice maker will stop when ice cubes fill the inside. The 'ice full symbol will
appear on the LCD display.
How to obtain the ice cubes
7. Put the ice cube container on the drip tray, press the 'ICE' button one time on the
control panel (Button B in above illustration), the symbol will light up on the display.
The ice cube pushing spring will start to rotate, and the ice cubes will enter the container
from the tap.
Press 'ICE' again to stop the flow of ice cubes. The symbol will disappear and the
pushing spring will stop rotating.
How to dispense the water
Default time of water flowing:10S.
8. Put the water cup on the drip tray and press the 'WATER' button once on the control
panel (Button C in above illustration). The water will flow from the middle tap, the
symbol will light up, and the '10S' will show in the TIMER delay area on the LCD display.
After 10 seconds, the symbol will disappear and the water dispense will finish.
If the water dispense time is too short or long, hold the 'WATER' button for longer than
five seconds. '10' will appear in the TIMER delay area. Continue to press 'SELECT' to
change the time, ranging from 7-25 seconds. After five seconds, the digit will disappear
and the new setting will be remembered by the controller. The machine will remember
the new setting when using the dispense again.
How to drain the water inside the unit
9. When cleaning inside of the unit or changing the drinkable water, drain the water
from the reservoir by unplugging the drain cap located at the bottom. If the water has
a plastic soft tube, connect it to the water drain port to drain the water.
10. Change water in the reservoir every 24 hours to maintain good hygiene levels.
When the unit is off, drain the water and dry the reservoir.
Unplug the water drain cap

9
TIMER SETTING
H
S
Timer delay time
‘H’ stands for Hour,
and the duration of the timer
Timer Delay Time Range: 0.5-19.5 hours.
Default Delay Time: 1 hour.
When the unit is on, set the OFF TIMER so your unit automatically stops once the timer
is up. When the unit is on standby, set the ON TIMER so your unit will automatically
switch on once the timer is up.
How to set the timer
Press the ‘TIMER’ button- The default time is one hour which is shown on the LCD
display. Press ‘SELECT’ to choose your desired time. The button ‘SELECT’ will increase
the time by 30 minutes.
Holding ‘SELECT’ will change the time quickly. When adjusting the time, the letter ‘H’ will
flash. Five seconds after choosing your time, ‘H’ will remain lit, meaning the programme
is complete.
How to cancel the timer
When the timer has been set, press the ‘TIMER’ button. The digit and ‘H’ will disappear,
meaning the timer has been cancelled.
TROUBLESHOOTING
PROBLEM POSSIBLE CAUSE SOLUTION
The Symbol is on
and the arrow flashes. Lack of Water.
Press ‘ON/OFF’ to stop the ice
maker. Fill with water and press
‘ON/OFF’ to restart the unit.
symbol is on and
‘F’ flashes.
There is too much ice. Remove the ice cubes.
No ice cubes inside.
Remove any objects from the
ice storage, or clean the inside
walls. lf ice is still not being
made, hold 'SELECT' for longer
than five seconds to start the ice
making cycle. Do this for a
maximum10 cycles.
Fault with the ambient
temperature sensor
The unit will still work. Contact
the manufacturer, service agent
or an electrical technician to
replace the sensor.
The ice making box
cannot reset normally.
Check with the manufacturer or
a qualified technician.

10
TECHNICAL PARAMETERS & CIRCUIT DIAGRAM
TECHNICAL PARAMETERS
Model
Protection Type
Climate Type
Power
Ice Making Current
Ice Harvest Current
Refrigerant
Net Weight
Vesicant
Enclosure
800-141
I
SN/N/ST/T
220-240V~50Hz
0.8A
1.0A
R600a/32g
9.5 kg
C H
5 10
Plastic
Ambient temperature or
water temperature inside
the tank is too high.
Ensure the ice maker is below
32℃.Poor cold water into the
tank.
Refrigerant liquid
leakage.
Check with a qualified
technician.
Check with a qualified
technician.
Pipe in the cooling
system is blocked.
Ice making cycle is
normal but no ice is
being made.
Ice cubes on the
evaporator stick
together.
The ice cycle is too long. Stop the ice maker and restart
it once the ice melts. Select the
'small ice cube' cycle.
Water temperature inside
the tank is too low.
Change the water inside the
tank. Temperature of the water
is best between 7℃-32℃.
PROBLEM POSSIBLE CAUSE SOLUTION

11
CIRCUIT DIAGRAM
DISPOSAL
WARNING!!!
Releasing refrigerant into atmosphere is strictly forbidden!
According to European Directive 2012/19 / EU on waste electrical and
electronic equipment and transposition into national law, used
electrical appliances must be collected separately and recycled in an
environmentally sound manner.
Note: Blowing gas inside the unit is flammable, disposal of these material shall be in
accordance with national regulations.
IMPORTER ADDRESS:
MH STAR UK LTD
Unit 27, Perivale Park,
Horsenden lane South
Perivale, UB6 7RH
MADE IN CHINA

12
Table of contents
Other HOMCOM Ice Maker manuals