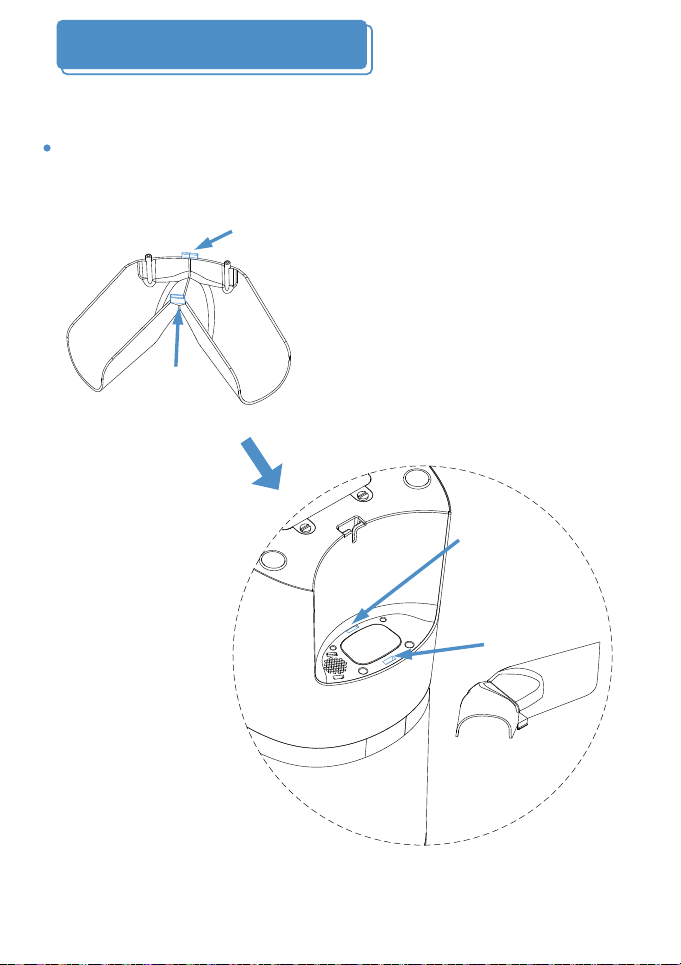
Packing List:
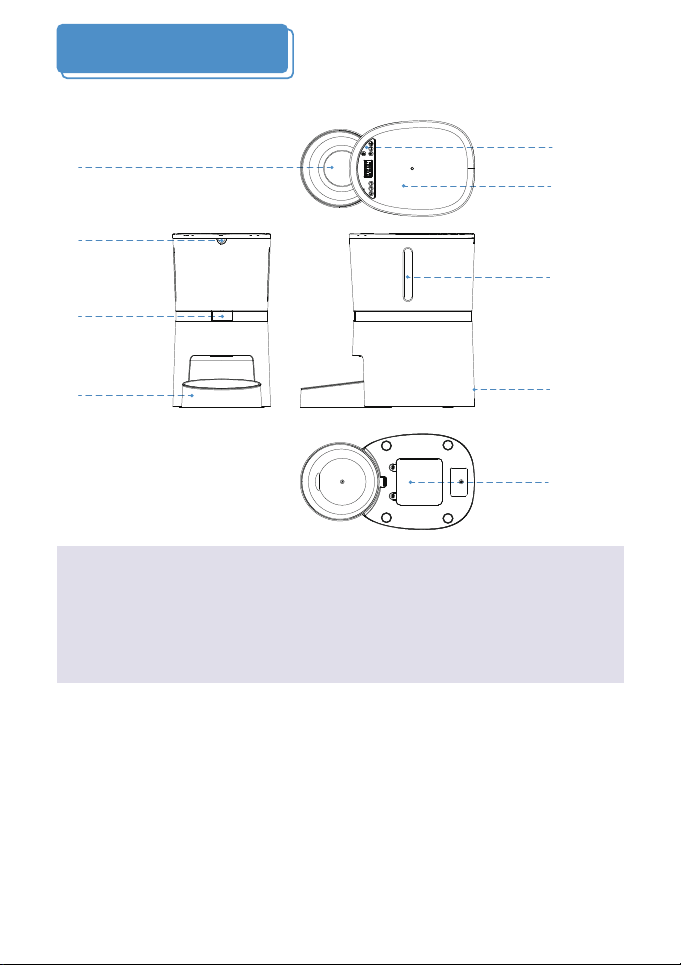
Battery
cover
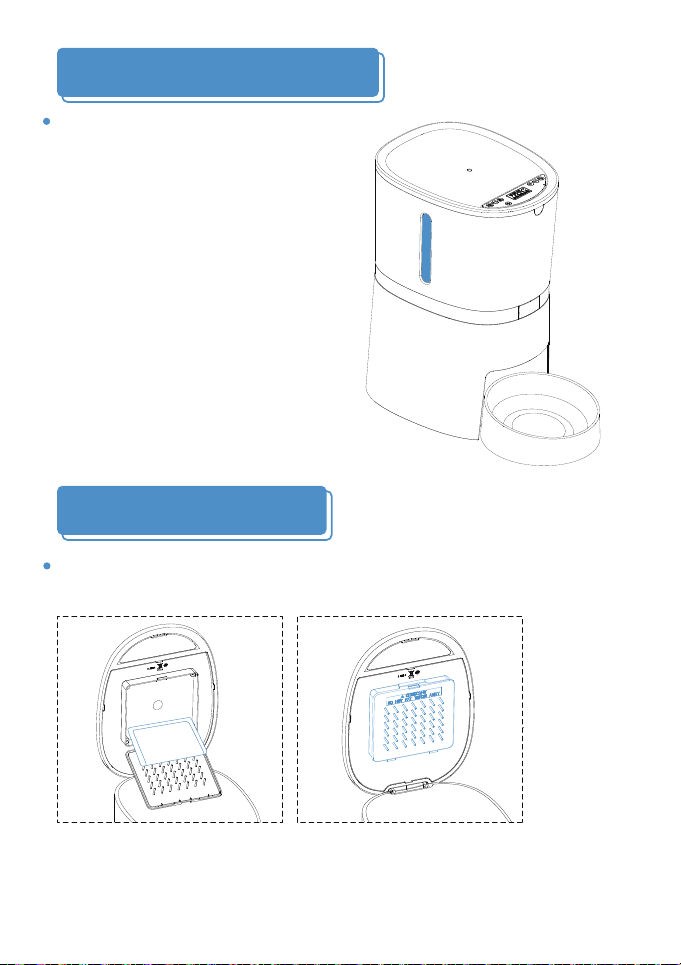
Feeder
base
WIFI Indicator
light
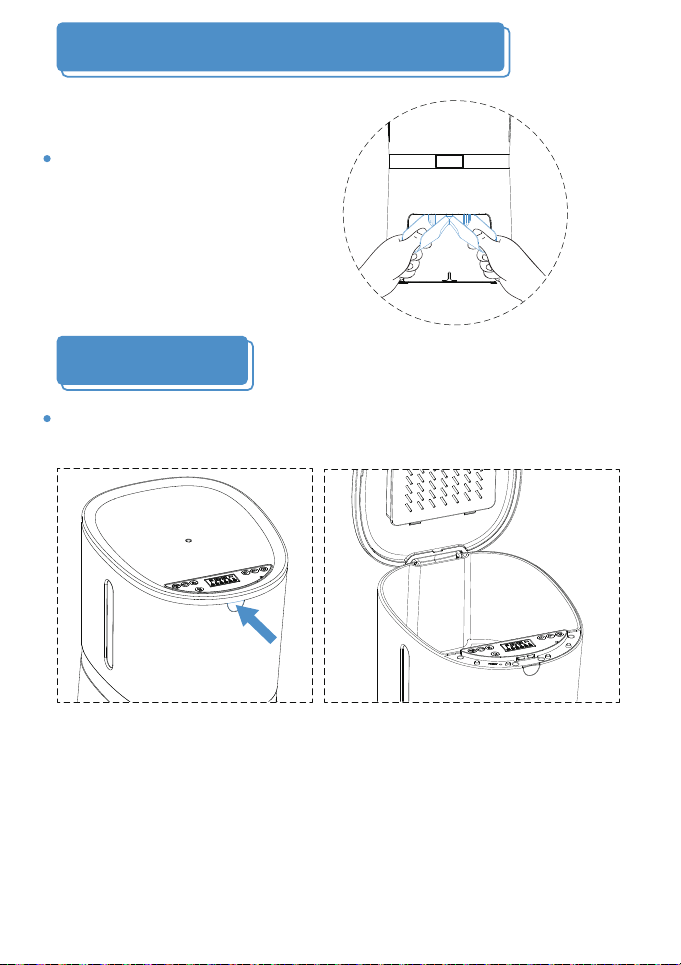
Hopper release
button
Power
interface
Food
viewport
Feeder lid
Control panel
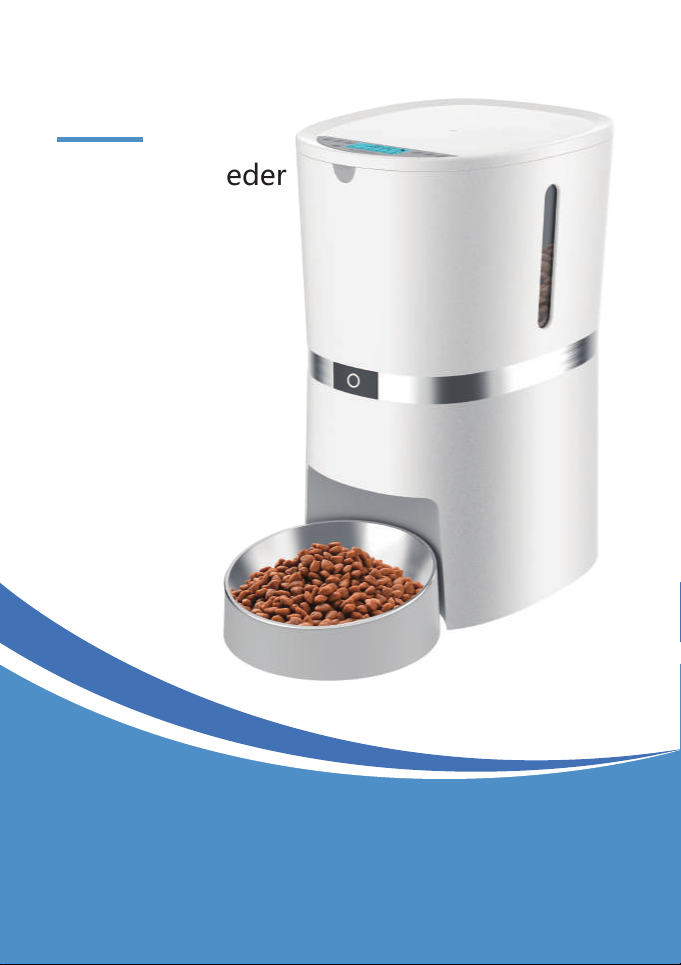
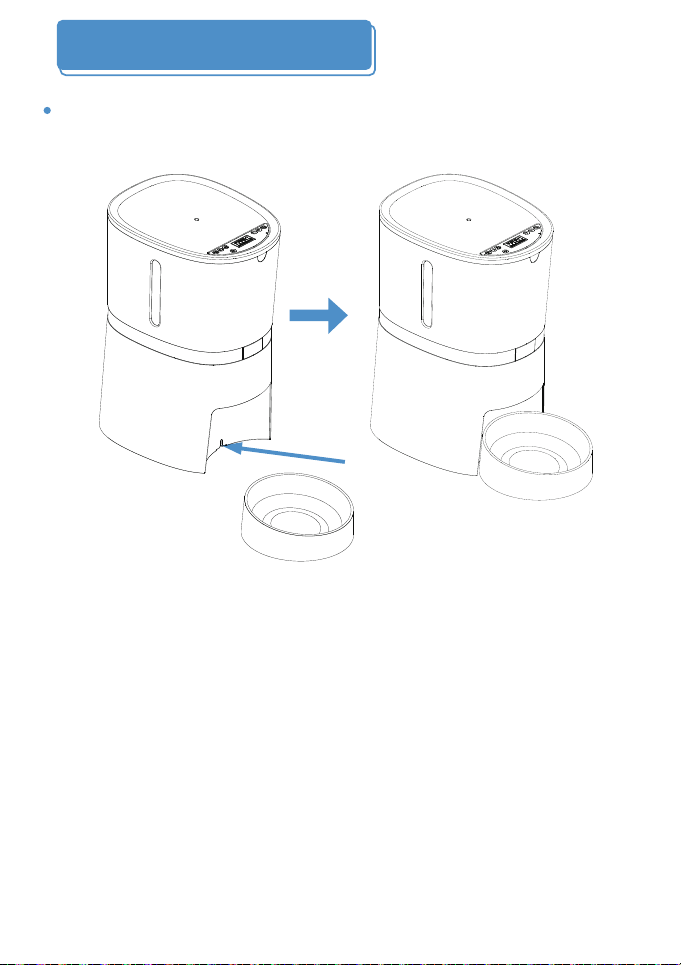
Stainless steel bowl
01
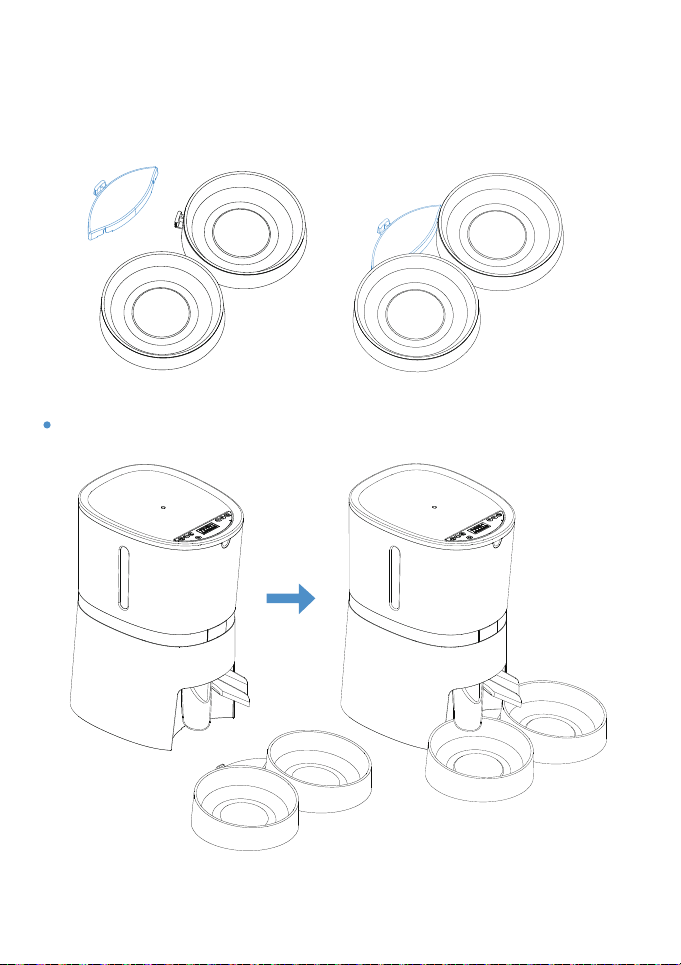
Single Bowl Version:
1 x Pet Feeder, 1 x Stainless Steel Bowl, 1 x Bowl Holder, 1 x Power
Adapter, 1 x Desiccant Bag, 1 x User Manual
1 x Pet Feeder, 2 x Stainless Steel Bowls, 2 x Bowl Holders, 1 x Power
Adapter, 1 x Desiccant Bag, 1 x 2-way Splitter, 1 x User Manual
Dual Bowls Version:
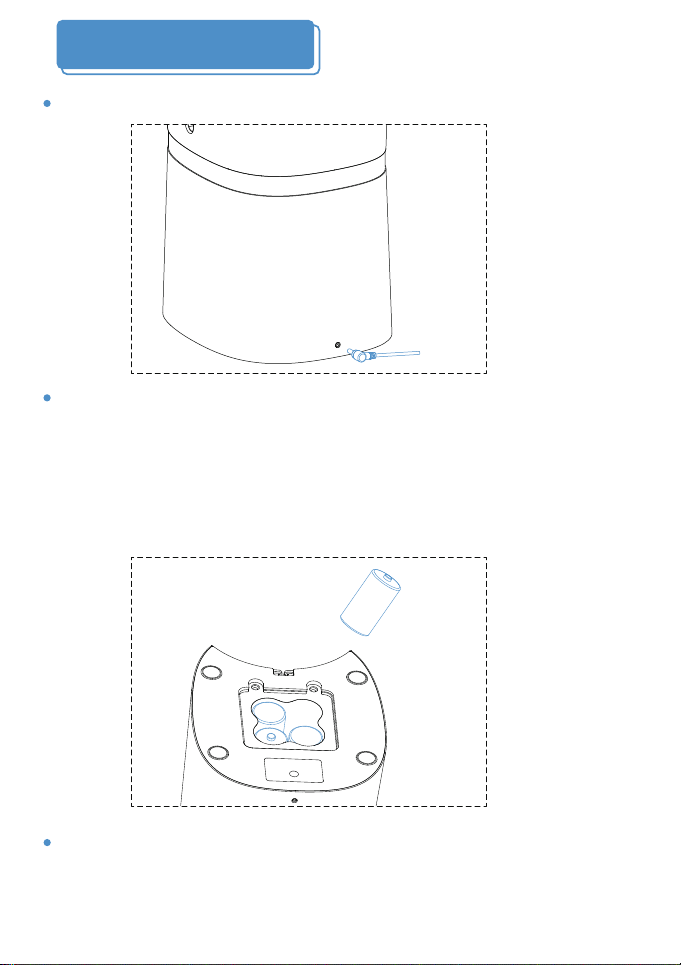
Notice
1. The feeder is for indoor household use only.
2. The host of the equipment is not washable. The food hopper, the
bowl holder and stainless steel bowl can be removed for washing.
3. Please place the feeder horizontally and close the lid to keep
the food from spilling out when pets knocked over.
Product Diagram