HomePlus UltraPlus+ UP-12 Operating instructions

ULTRAFILTRATION SYSTEM
WITH QUICK INSTALLATION KIT
OWNER’S MANUAL & INSTALLATION GUIDE
PLEASE READ THIS MANUAL CAREFULLY BEFORE ATTEMPTING
INSTALLATION. FAILURE TO FOLLOW THESE INSTRUCTIONS MAY VOID
YOUR WARRANTY, CAUSE INJURY, OR RESULT IN PROPERTY DAMAGE.

2
Congr tul tions on the purch se of your Ultr Plus+ Ultr filtr tion (UF) w ter tre tment system.
This manual is designed t pr vide wners, installers, and service technicians with detailed
inf rmati n ab ut the installati n, start-up, and perati n f the UltraPlus+ system.
The brain f the UltraPlus+ system is the Fleck 5810XTR2 c ntr l valve. It is manufactured by ne
f the w rld’s largest water treatment c mpanies, Pentair. The Fleck 5810 c ntr l valve is well
respected f r its reliability, serviceability, simple perati n, extensive features, and c nvenient
LCD t uch-screen display. The Fleck 5810XTR2 valve/c ntr ller service manual is als included
with y ur system. It c ntains imp rtant inf rmati n regarding the perati n f y ur Fleck 5810
XTR2 c ntr l valve.
Y ur water treatment system is designed t ffer l w maintenance perati n. The c ntr l valve
will perf rm regular maintenance functi ns aut matically. F r y ur c nvenience, y ur system has
been pre-pr grammed f r y u by ur technicians. Sh uld y u need t change any f the settings,
simply f ll w the instructi ns pr vided in this manual. It is highly rec mmended that y u c nsult
y ur dealer bef re making any pr gramming changes.
TABLE OF CONTENTS
APPLICATTIONS & SPECIFICATIONS ………………………………………………………..…... 3
OPERATING CONDITIONS …………………………………………………………………..…..….. 4
BEFORE YOU START ……………………………………………………………………………..…….. 5
SELECT AN INSTALLATION LOCATION ……………………………………………..……..…… 10
PREPARE THE MEMBRANE VESSEL …………………………………………………………….. 11
LAYOUT ……………………………………………………………………………………………………… 13
CONNECT INLET ASSEMBLY ……………………………………………………………………….. 13
CONNECT DRAIN ASSEMBLY ………………………………………………………………………. 14
CONNECT BACK FLUSH TANK AND OUTLET ASSEMBLIES ……………………………. 15
PLUMBING CONNECTIONS …………………………………………………………………………. 15
SOLENOID VALVE CONNECTIONS ……………………………………………………………….. 16
START UP THE SYSTEM
………………………………………………………………………………. 19
TURN ON THE WATER …………………………………………………………………………………. 19
BACK FLUSH & FORWARD FLUSH ………………………………………………………………… 22
SETTING THE TIME OF DAY ………………………………………………………………………….. 22
CHANGING BASIC SETTINGS ………………………………………………………………………… 22
DIAGNOSTICS ………………………………………………………………………………………………. 24
MASTER SETTINGS MODE ……………………………………………………………………………. 25
CONTROL OPERATION DURING A POWER FAILURE …………………………..…..…….. 27
MAINTENANCE & TROUBLESHOOTING………………………………………………….……… 27
WARRANTY INFORMATION …………………………………………………………………..…….. 28

3
APPLICATIONS & SPECIFICATIONS
COMMON APPLICATIONS:
Surface and gr und water treatment t rem ve sediment, turbidity, c ll ids, and ther
particulate.
Organics and tannin rem val (since the m lecular weights f tannin m lecules vary widely,
pil t testing pri r t purchase/installati n is str ngly rec mmended).
Rainwater catchment treatment and gray water recycling.
Reverse Osm sis (RO) pre-filter.
Part f a multi-barrier appr ach f r the treatment f bacteria, viruses, and cysts including
crypt sp ridium and giardia.
This product is not certified or recommended s st nd- lone microbiologic l purifier nd
should not be pplied s disinfection solution for microbiologic lly uns fe w ter without
ddition l tre tment. If microbiologic l protection is tre tment objective, we recommend
th t du l b rrier disinfection ppro ch involving the Ultr Plus+ UF System nd ultr violet (UV)
disinfection nd/or chlorin tion be pplied for enh nced protection. A Pressure Dec y Test
(PDT) fter inst ll tion is strongly recommended if microbiologic l reduction perform nce is
desired.
SPECIFICATIONS:
F r ptimal filtrati n, the c ntinu us service fl w rate range sh uld n t be exceeded. Satisfact ry
filtrati n can generally be achieved up t the maximum peak fl w rate as l ng as this level f fl w
rate is n t sustained c ntinu usly.
• Model Number: UP-12
• Membr ne Type: P lysulf ne H ll w-Fiber - 4 Bundles
• Membr ne Flow: Outside-t -Inside
• Micron R ting: 0.02 Micr ns Abs lute
• Molecul r Weight Cut-Off: 100,000 Dalt ns (Da)
• Oper ting Temper ture R nge: 35 t 100 degrees F***
• Oper ting Pressure R nge: 10 t 100 PSI*
• M x. (Pe k) Flow R te: 12 GPM (@ 25 C and 60 PSI)**
• Continuous Service Flow R te: up t 10 GPM
• Recommended B ck Flush: 2 GPM f r 5 minutes, daily
• Typic l Membr ne Life: 5-10 years
• Inlet / Outlet: 1” MNPT
*
C ntact dealer f r advice f r applicati ns with < 30 PSI. If y ur water pressure is greater than 100 PSI, y u sh uld
install a pressure reducti n valve pri r t installing this pr duct.

4
**
Multiple units can be installed in parallel fl w c nfigurati n f r higher fl w rate applicati ns.
***
The unit cann t be subjected t freezing c nditi ns. Severe damage t the system r y ur pr perty c uld ccur.
COMPONENT VALIDATIONS:
Component Country Of M nuf cture V lid tion
UF Membrane Elements France NSF/ANSI Standard 61
Membrane Pressure Vessel USA NSF/ANSI Standard 44*
C ntr l Valve USA NSF/ANSI Standard 44* & 372
Backwash Pressure Tank USA NSF/ANSI Standard 61
Fittings and Piping** U.K. and Canada NSF/ANSI Standard 61
*Material & Structural Integrity Requirements
**Quick Installati n Kits
OPERATING CONDITIONS
The f ll wing list pr vides guidance n the feed water c nditi ns required f r successful
perati n f y ur UF system. Use f this equipment utside f these perating c nditi ns may
adversely affect the perf rmance f y ur system, may v id y ur warranty, and can result in
membrane cl gging, water leaks, and/ r pr perty damage.
W ter should be pre-tre ted s necess ry to ensure the following conditions re met:
• Sediment Pre-Filtr tion: 5 micr ns r less
• Chlorine: 1.0 ppm (mg/l) maximum f r c ntinu us fl w (up t 2,000 ppm f r cleaning nly)
• Iron: less than 0.30 ppm (mg/l)
• M ng nese: less than 0.05 ppm (mg/l)
• Silt Density Index: less than 6.0
• pH: 3 t 11
Recommended Pre-Filter Options:
• H mePlus WH-20x1 Wh le H use Filter Package + Pentek DGD-5005-20 Cartridge
• Pentek PBH-420-1 Bag Filter H using + Pentek BP-420-5 Bag Filter
• ClearPlus WH1B+-HF high Fl w Series 5 Micr n Wh le H use Sediment Filter Package
• Backwashable NextSand Filter
CONFIRM THAT YOUR WATER CONDITIONS MEET THE ABOVE SPECIFICATIONS
BEFORE COMMENCING THE INSTALLATION PROCESS. IF IN DOUBT, CALL YOUR
DEALER FOR ADVICE. INSTALLED UNITS CANNOT BE RETURNED.

5
BEFORE YOU START
We recommend th t you re d the entire instructions before commencing the ctu l inst ll tion.
While we strongly recommend th t w ter tre tment technici n or licensed plumber perform
ll inst ll tion work, mech nic lly-inclined homeowner c n inst ll this system. In ll c ses, it
is critic l th t the inst ll tion be done in ccord nce with these instructions nd ll pplic ble
plumbing nd electric l codes. Be sure to obt in ll required permits. If these instructions nd
the pplic ble codes re in conflict, the relev nt plumbing/electric l code should be followed.
Equipment f ilure, person l injury, nd/or property d m ge c n result if this equipment is not
inst lled properly or if it used incorrectly.
Before you st rt, you need to know wh t system configur tion you re using nd confirm th t
you h ve received ll of the necess ry p rts.
These instructions re intended for inst ll tion of single Ultr Plus+ UP-12
Ultr filtr tion system WITH Wellm te WM-9 B ck Flush Pressure T nk, AND one
of our option l Quick Inst ll tion Kits (UP-INST-BF or UP-INST-BF/FF). If you re
not using one our Quick Inst ll tion Kits AND the WellM te WM-9 B ck Flush
Pressure T nk, this is NOT the correct inst ll tion m nu l for your inst ll tion.
Cont ct your de ler to obt in the correct m nu l.
B ck Flush
Where a single system is used n its wn, a Back Flush Pressure Tank with a minimum capacity f
ab ut 30 gall ns is required (minimum drawd wn f 10 gall ns) s that the system can
aut matically backwash the membrane n a daily basis using treated water. This keeps the
membrane clean and prevents cl gging. The Wellm te WM-9 pressure tank is required when y u
use ne f ur pti nal Quick Installati n Kits. The pressure tank als pr vides service water
during the Back Flush pr cess. The Back Flush pr cess is c ntr lled by a s len id valve and will
require ab ut 10 gall ns f water. It is imp rtant t ensure that this v lume f water plus any
service fl w that can happen simultane usly are within the drawd wn capacity f the selected
pressure tank. In m st cases, the Back Flush is scheduled t ccur in the middle f the night when
service demands sh uld be zer . Where multiple systems are plumbed in parallel t achieve
higher fl w rates, the supply f treated water f r the back flush cycle can be pr vided by the ther
unit(s) s a Back Flush Pressure Tank is n t required.

6
Forw rd Flush
We rec mmend that a F rward Flush be c nducted n at least a weekly basis especially f r
applicati ns inv lving high levels f turbidity. This can be d ne manually by pening a ball valve
f r a few minutes (included with ur UP-INST-BF quick installati n kit), r y u can add the pti nal
aut matic F rward Flush Kit (UP-FF) that will perf rm this flush f r y u n a daily basis after the
Back Flush.
Quick Inst ll tion Kits
We are pleased t ffer pti nal quick installati n kits that enable installers t quickly c nnect the
system t the Back Flush Pressure Tank, etc. These kits use brand-name quick-c nnect style
fittings and PEX-tubing f r a tidy, pr fessi nal-l king installati n in a fracti n f the time. These
kits are designed specifically f r use with the Wellmate WM-9 Back Flush Pressure Tank. D n t
use the quick installati n kits if y u are using an alternative pressure tank r if y u are installing
multiple systems in parallel c nfigurati n. If you re not using one our Quick Inst ll tion Kits
AND WellM te WM-9 B ck Flush Pressure T nk, this is not the correct inst ll tion m nu l for
your inst ll tion!
The UP-INST-BF Quick Inst ll tion Kit is used if y ur system will be f rward flushed manually (y u
did n t purchase the pti nal F rward Flush Kit).
The UP-INST-BF/FF Quick Inst ll tion Kit is used if y ur system will be equipped with the pti nal
F rward Flush Kit UP-FF.
Ensure th t you h ve the following components b sed on the Quick Inst ll tion Kit
th t you selected for your pplic tion:
# Picture P rt Description UP-INST-
BF
UP-INST-
BF/FF
1
CONTROL VALVE
(FLECK 5810 XTR2)
2
BYPASS ASSEMBLY

7
3
MEMBRANE VESSEL
4
BOTTOM TANK ADAPTER
5
BACK FLUSH PRESSURE TANK
(WELLMATE WM-9)
6
BACK FLUSH PRESSURE TANK
RETENTION CLIP (BLUE)
7
BACK FLUSH
SOLENOID VALVE
8
BACK FLUSH SOLENOID
WIRING KIT
9
INLET ASSEMBLY

8
10
LOWER TANK ASSEMBLY
11
DRAIN FLOW RESTRICTOR ASSEMBLY
(may be attached t c ntr l valve)
12
UPPER DRAIN ASSEMBLY
13
PRESSURE TANK ASSEMBLY
14
OUTLET ASSEMBLY
15
FORWARD FLUSH TUBE
(34 ¼”)
16
PRESSURE TANK TUBE
(45 ½”)
17
FORWARD FLUSH
SOLENOID VALVE

9
18
FORWARD FLUSH SOLENOID
WIRING KIT
19
FORWARD FLUSH TUBE
w/ MANUAL SHUT-OFF VALVE
The Quick Installati n Kits use vari us brand-name quick c nnect fittings f r easy assembly. There
are 2 styles used:
John Guest Br nd Quick Connect Elbows nd Tees
T c nnect a tube/pipe t a J hn Guest fitting, unl ck the fitting by turning the c llet c unter-
cl ckwise until the fitting l sens. A small gap will pen between the c llet and the back f the
fitting. Push the tube firmly int the fitting as far as it will g . Turn the c llet cl ckwise until tight
t secure the fitting. Pull ut n the tube t ensure a g d c nnecti n has been made. The pipe
can be rem ved fr m the fitting by l sening the c llet again and depressing the c llar evenly
while pulling utward n the tube.
Helpful Tip! When the c llet is l sened and the fitting is “unl cked,” the fitting can be r tated as
necessary t c rrectly align the parts and fittings t achieve a perfect installati n.
Asco Quick Connect Solenoid Connections
These fittings are used n the s len id valves. T c nnect a tube/pipe t these fittings, l sen the
c nnect r by turning cl ckwise until the fitting l sens. D n t rem ve it c mpletely fr m the
s len id valve. Push the tube firmly int the fitting as far as it will g . Tighten the c nnect r by
turning it cl ckwise until snug. Pull ut n the tube t ensure a g d c nnecti n has been made.
These fittings can be disassembled by unscrewing the c nnect r c mpletely fr m the s len id
valve and disassembling the fitting piece by piece.

10
SELECT AN INSTALLATION LOCATION
We rec mmend interi r installati n nly. The system cann t be all wed t freeze r severe
system damage c uld ccur. The system sh uld n t be installed in direct sunlight as l ng-term
exp sure t UV light c uld damage c mp nents f the system.
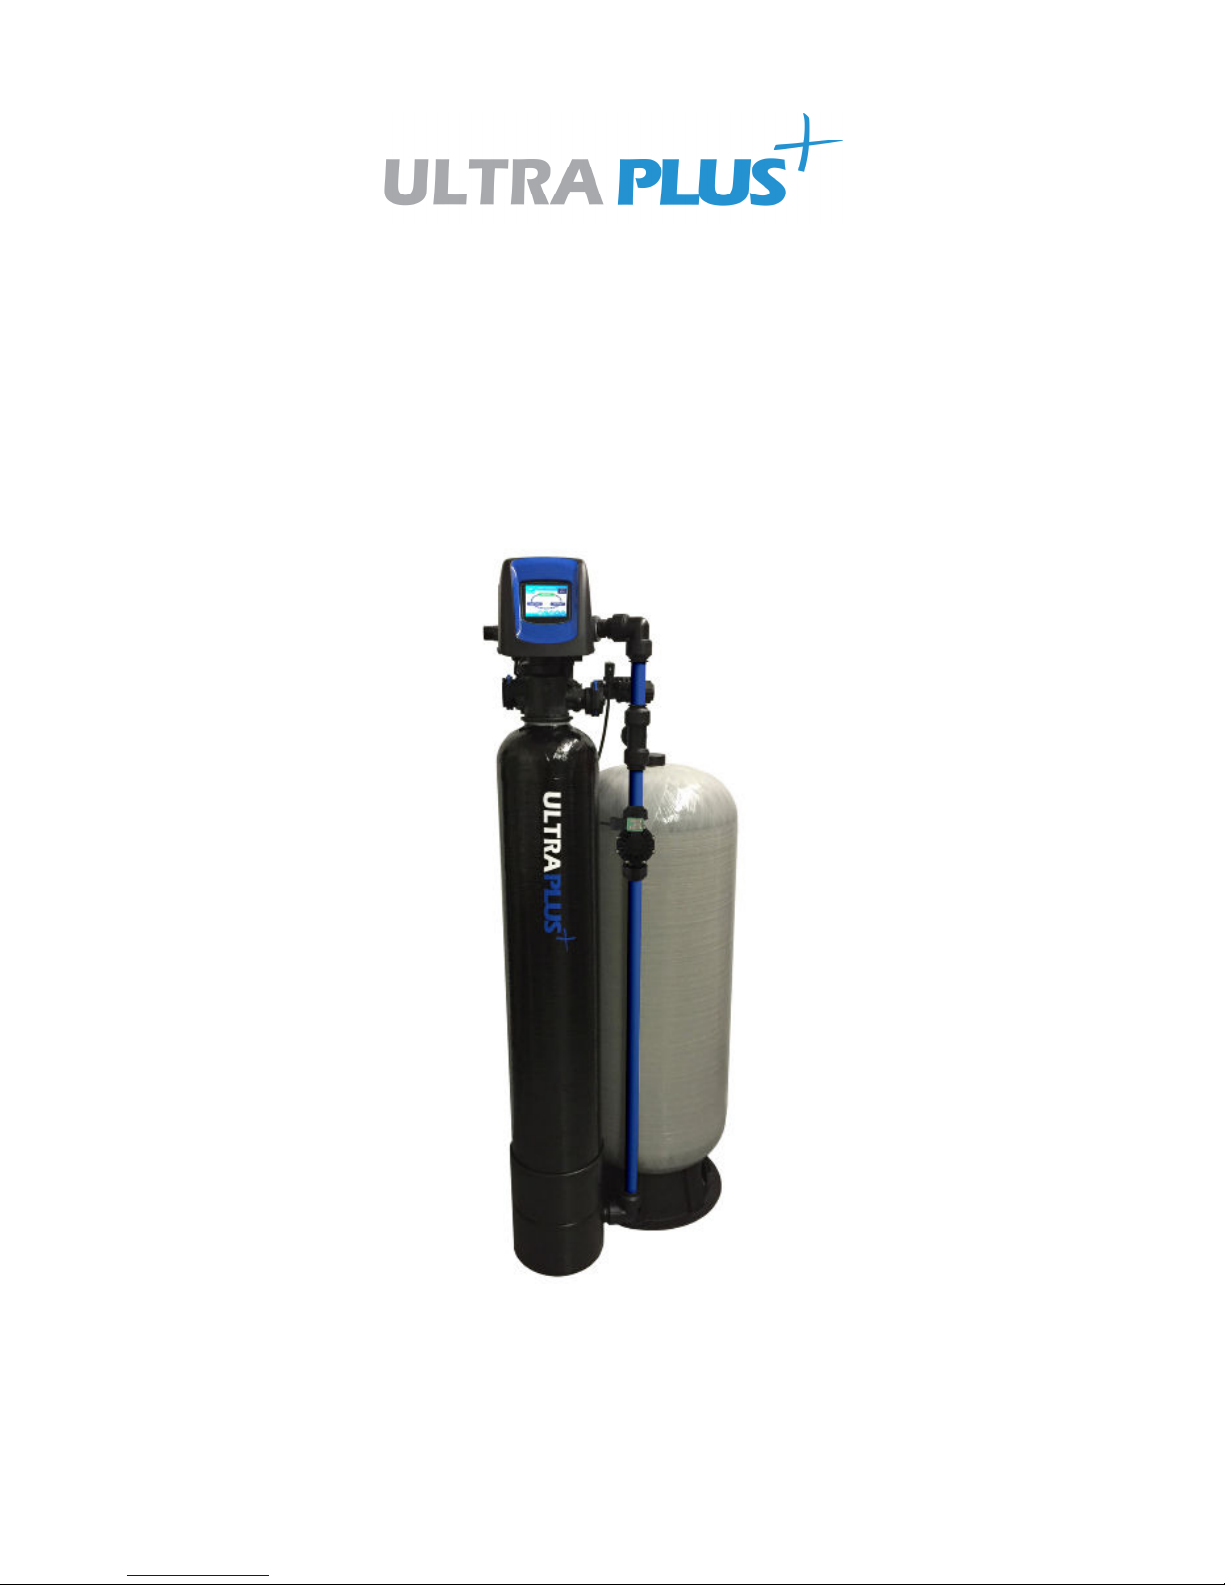
This UltraPlus+ System is designed t be installed n either a gravity fed water system r after a
pressure tank. In m st cases, the system sh uld be l cated AFTER the pressure tank,
sediment/turbidity pre-filtrati n, ir n filters, water s fteners, and tannin filters but BEFORE a UV
sterilizer r chl rinat r and the h t water heater. Please discuss with y ur dealer as there are
excepti ns.
If you pl n to inst ll the Ultr Plus+ system prior to cistern or pressure t nk, n ltern te
inst ll tion configur tion, control v lve progr mming ch nges, nd/or ddition l equipment
m y be required to protect your pump nd ensure th t the utom tic cle ning flushes work
properly. Discuss with your de ler before proceeding.
Select a l cati n f r installati n f y ur system that is within cl se pr ximity t the main inc ming
water lines f the building. The l cati n sh uld have a firm, level surface with sufficient space f r
the treatment unit with c ntr l valve m unted and the back flush pressure tank. Ensure that
there will be en ugh space surr unding the unit t facilitate maintenance.
Y u will als need access t at least ne standard, n n-switched, gr unded 120 v lt (60 Hz)
electrical utlet. The Fleck 5810XTR2 c ntr l valve c mes with a 10 f t l ng p wer c rd. The
back flush s len id valve and f rward flush s len id valve (if s equipped) require a standard
electrical utlet f r p wer as well. An extensi n c rd may be used t reach a suitable electrical
utlet. If this pti n is used, ensure that the extensi n c rd is UL/CSA certified and f an
appr priate wire gauge f r the applicati n.
Y u will als require a nearby fl r drain r standpipe t discharge the drain water fr m the back
flush and f rward flush cycles. A drain standpipe f r a washing machine, fl r drain, r sump
pump are excellent drain pti ns. We rec mmend that the drain line be c nnected t a minimum
1 1/2" drain standpipe r fl r drain l cated ideally bel w the t p f the c ntr l valve f y ur
system. If p ssible, the drain sh uld be n farther than 20 feet fr m the filter system.
Note: Never connect the dr in line directly into dr in pipe. Allow n ir g p between the dr in
tubing nd w ste line to prevent the possibility of b ck-siphoning. We do not recommend use of
check v lve s it m y become clogged with cont min nts ejected from the system during
b ck/forw rd flush. A minimum ir g p of 2x the di meter of the dr in line should be provided.
Be sure to dhere to the plumbing code pplic ble in your re .

11
PREPARE THE MEMBANE VESSEL
1. Handle the Membrane Vessel (3) gently t prevent internal damage t the membrane
bundles. The Membrane Vessel (3) is shipped with pr tective clear plastic caps n the t p
and b tt m. Rem ve them by unscrewing them c untercl ckwise. They can be recycled
r kept f r future use.
2. Apply a very small am unt (very thin c at) f f d-grade silic ne lubricant t the large -
ring n the underside f the B tt m Tank Adapter (4). Attach the B tt m Tank Adapter (4)
t the b tt m f the Membrane Vessel (3) by screwing it cl ckwise, hand tight. Excessive
f rce is n t required t achieve a g d seal. D NOT use pipe d pe r Tefl n tape n the
threads.

12
3. C nnect the L wer Tank Assembly (10) t the B tt m Tank Adapter (4) such that it
pr trudes ut the n tch in the base f the Membrane Vessel (3), by screwing it n
cl ckwise (hand tight). Again, excessive f rce is n t required t achieve a g d seal. D
NOT use pipe d pe r Tefl n tape n the threads.
4. The Fleck 5810XTR2 C ntr l Valve (1) can n w be attached t the t p f the Membrane
Vessel (3). Apply a very small am unt (very thin c at) f f d-grade silic ne lubricant t
the large -ring n the underside f the base f the C ntr l Valve (1). D NOT use
petr leum based lubricants. Screw the C ntr l Valve (1) nt the t p f the Membrane
Vessel (3) in a cl ckwise directi n – make sure that the riser tube inside the tank inserts
int the center h le in the c ntr l valve as y u screw d wn the valve. C ntinue turning
until y u start t feel resistance. Then grasp the base f the c ntr l valve and turn 1/4 t
1/2 turn further until snug. The fr nt f the c ntr l valve sh uld face the “UltraPlus”
graphics n the fr nt f the Membrane Vessel (3). D NOT use pipe d pe r Tefl n tape n
the threads. Excessive f rce is n t required t achieve a g d seal.
5. C nnect the Bypass Assembly (2) t the back f the C ntr l Valve (1). Turn the threaded
adapters cl ckwise until they are fully seated against the valve b dy (as far as they will g ).
When they are pr perly secured, the threaded adapter will t uch a st pper n the valve
b dy. Excessive f rce is n t required t achieve a g d seal. D NOT use pipe d pe r
Tefl n tape n the threads.

13
LAYOUT
Arrange the assembled Membrane Vessel (3) and the Wellmate WM-9 Back Flush Pressure Tank
(5) r ughly in acc rdance with the f ll wing fl r plan (t p view):
CONNECT INLET ASSEMBLY
1. Screw the Inlet Assembly (9) n t the back f the inlet side f the Bypass Assembly (2).
The inlet and utlet n the Bypass Assembly (2) and C ntr l Valve (1) are marked by
directi nal arr ws. When facing the fr nt f the c ntr l valve (LCD screen), the inlet is n
the right side. While it is acceptable f r the Inlet Assembly t be arranged in any
rientati n that is c nvenient, f r ptimal s len id valve life and perf rmance, we
rec mmend that it be arranged such that the inlet pipe extends t the right when facing
the C ntr l Valve (1) s the s len id valve can be m unted h riz ntally.
2. C nnected the Back Flush S len id Valve (7) t the Inlet Assembly (9) using the Asc Quick
C nnect Fitting. N te the directi nal fl w arr w n the s len id valve. This is extremely
imp rtant. If installed backwards, the s len id will n t functi n pr perly. Als , n te that
the Back Flush and F rward Flush s len ids, while they l k virtually identical, have
pp site internal functi ns. Be sure y u install the c rrect valve. The inlet side f the Bacl
Flush S len id Valve (7) will have NPT threaded fittings t which y u will c nnect the main
inc ming water line.

14
CONNECT DRAIN ASSEMBLY
If y u are NOT using the F rward Flush Kit:
1. C nnect the F rward Flush Tube with Manual Shut-Off Valve (19) t the J hn Guest Elb w
at the b tt m f the L wer Tank Assembly (10) n the assembled Membrane Vessel. H ld
the L wer Tank Assembly in y ur hand when y u push the tube in s that y u d n t apply
pressure n the assembly that may break it. The Shut-Off valve sh uld face f rward and be
accessible f r servicing.
2. C nnect the Upper Drain Assembly’s (12) J hn Guest Tee C nnect r t the tube at the t p
f the F rward Flush Tube with Manual Shut-Off (Part #19). The J hn Guest elb w sh uld
be l cated at the t p. The 1” NPT threaded fitting sh uld extend t wards the wall and will
be later c nnected t the drain. This is the main drain p rt f the system.
3. R tate the Drain Fl w Restrict r Assembly (11) s that it aligns with the J hn Guest elb w
at the t p f the Upper Drain Assembly (12), ensuring that the F rward Flush tube (19) is
perfectly vertical (Drain Fl w Restrict r Assembly is perfectly aligned with the elb w n the
L wer Tank Assembly). C nnect them.
If y u are using the F rward Flush Kit: (UP-FF):
1. C nnect the F rward Flush Tube (15) t the J hn Guest Elb w at the b tt m f the L wer Tank
Assembly (10) n the assembled Membrane Vessel. H ld the L wer Tank Assembly (10) in
y ur hand when y u push the tube in s that y u d n t apply pressure n the assembly
that may break it.
2. C nnect the F rward Flush S len id Valve (17) t the F rward Flush Tube (15) using the
Asc Quick C nnect Fitting. C nfirm that the fl w directi n n the s len id valve is
upward by examining the arr w n the s len id valve b dy. This is extremely imp rtant.
If installed backwards, the s len id will n t functi n pr perly. Als , n te that the Back
Flush and F rward Flush s len ids, while they l k virtually identical, have pp site
internal functi ns. Be sure that y u install the c rrect valve.
3. C nnect the Upper Drain Assembly’s (12) J hn Guest Tee C nnect r t the tube at the t p
f the F rward Flush S len id Valve (17). The J hn Guest elb w sh uld be l cated at the
t p. The 1” NPT threaded fitting sh uld extend t wards the wall and will be later
c nnected t the drain. This is the main drain p rt f the system.
4. R tate the Drain Fl w Restrict r Assembly (11) s that it aligns with the J hn Guest elb w
at the t p f the Upper Drain Assembly (12), ensuring that the F rward Flush tube (15) is
perfectly vertical (Drain Fl w Restrict r Assembly is perfectly aligned with the elb w n the
L wer Tank Assembly). C nnect them.

15
CONNECT BACK FLUSH TANK AND OUTLET ASSEMBLIES
1. Attach the Pressure Tank Assembly (13) t the Wellmate WM-9 Back Flush Pressure Tank
(5) by pushing the adapter int the fitting at the b tt m f the tank and securing it with
the blue Back Flush Pressure Tank C nnecti n Clip (6).
2. C nnect the Pressure Tank Tube (16) t the J hn Guest Elb w n the Pressure Tank
Assembly (13). H ld the Pressure Tank Assembly (13) in y ur hand when y u push the
tube in s that y u d n t apply pressure n the assembly that may break it.
3. C nnect the b tt m f the J hn Guest tee n the Outlet Assembly (14) t the t p f the
Pressure Tank Tube (16). The elb w and 1” NPT threaded fitting sh uld be n t p. This is
the final utlet f the system that will be c nnected t y ur main utg ing treated water
line. This elb w at the t p f the system can be arranged in any rientati n that is
c nvenient by l sening the c llet, turning the fitting and then tightening the c llet again.
4. C nnect the Outlet Assembly (14) t the utlet side f the Bypass Assembly (2) n the back
f the C ntr l Valve (1) using the threaded adapter.
5. Adjust the p siti n f the Back Flush Pressure tank (3) if necessary such that the Pressure
Tank Tube (16) is perfectly vertical and the tee n the Outlet Assembly (14) is directly
ab ve the elb w n the Pressure Tank Assembly (13).
PLUMBING CONNECTIONS
Check all J hn Guest fittings t make sure the c llet has been tightened and the fitting has been
secured. Check all Asc s len id valve fittings as well.
Turn ff the h useh ld main water shut ff valve. Open several plumbing fixtures inside the h me
as well as the utside faucets t drain as much water ut f the plumbing system as p ssible.
If y u have a c nventi nal electric water heater r an n-demand (tankless) electric water heater,
we highly rec mmend that y u turn ff the electricity t the heater while installing any water
treatment equipment. F ll wing c mpleti n f the entire installati n, rest re the water fl w by
turning n the h useh ld main water valve and all w all air t be purged fr m the plumbing
system bef re turning the p wer back n t y ur water heater. Failure t f ll w this pr cedure
c uld result in seri us, permanent damage t the heating elements in y ur water heater.
Plumb the inlet, utlet and drain c nnecti ns using suitable plumbing pipe/tubing and fittings.
Use nly Tefl n tape as a sealant n any threads. D NOT use liquid pipe d pe. Be sure t f ll w
all l cal plumbing c des.

16
VERY IMPORTANT:
If y u use c pper piping and will be s ldering the j ints, DO NOT
apply heat near y ur C ntr l Valve, S len id Valves, r any Assemblies r
seri us internal damage t these parts c uld ccur. Always s lder j ints
with these c mp nents detached.
The drain line sh uld be n less than 3/4" pipe diameter. A drain standpipe f r a washing
machine, fl r drain, r sump pump are excellent drain pti ns. We rec mmend that the drain
line be c nnected t a minimum 1 1/2" drain standpipe r fl r drain l cated ideally bel w the
t p f the c ntr l valve f y ur system. If p ssible, the drain sh uld be n farther than 20 feet
fr m the filter system.
While p lyethylene tubing r c pper pipe is suitable f r the drain line, we rec mmend PEX r rigid
PVC r CPVC pipe. If y u are using flexible tubing, be sure that there are n “kinks” r “crimps” in
the tubing after installati n that c uld cause a fl w restricti n. If used, verhead drain lines are
n t t exceed a height f 5 feet ab ve the c ntr l valve and sh uld be n m re than 50 feet in
length. Sh uld an verhead drain line be utilized, it is rec mmended that the drain line be
increased in size (diameter), and that it n t be fastened flush t the b tt m f a fl r j ist, t
minimize n ise transfer during the flush cycles.
Ensure that the drain line is secured al ng its r ute t the drain. The drain line will be under
pressure when the flush cycles are w rking, theref re make sure the drain line is well secured s it
cann t m ve ar und when pressurized. If n t adequately secured, the drain line c uld vibrate
during a flush cycle and cause excessive n ise. If this is experienced, use additi nal fasteners t
better secure the drain line. The drain line sh uld n t be exp sed t freezing temperatures.
Note: Never connect the dr in line directly into dr in pipe. Allow n ir g p between the dr in
tubing nd w ste line to prevent the possibility of b ck-siphoning. We do not recommend use of
check v lve s it m y become clogged with cont min nts ejected from the system during
b ck/forw rd flush. A minimum ir g p of 2x the di meter of the dr in line should be provided.
Be sure to dhere to the plumbing code pplic ble in your re .
Place the bypass valve in the “bypass” p siti n by turning the 2 blue handles n the Bypass
Assembly (2) s they are perpendicular t the directi n f water fl w.
SOLENOID VALVE CONNECTIONS
Y ur system will have either ne r 2 s len id valves depending n whether y u are using the
pti nal F rward Flush Kit.
N te: the Back Flush and F rward Flush s len ids l k identical but have different internal
functi ns, s they cann t be interchanged!

17
1. M unt the grey Back Flush S len id Wiring Kit (8) c ntr l b x and F rward Flush S len id
Wiring Kit (18) c ntr l b x (if applicable) t the wall behind y ur filter system. Screws and
anch rs are pr vided in a plastic parts bag strapped t ne f the cables. These 2 c ntr l
b xes are the same s d n’t w rry which is which until y u c nnect them t the s len id
valves and C ntr l Valve - nly the actual s len id valves are different.

18
2. L cate the wiring p rts n the left side f the C ntr l Valve (1) head base plate. Rem ve
the valve c ver. If y u are using the pti nal F rward Flush Kit (UP-FF), there will be 2
p rts, therwise, there will be nly ne. The p rt in the fr nt f the valve is f r the back
flush s len id and the ne in the back is f r the f rward flush s len id. The wire(s) fr m
the s len id c ntr l b x(es) will be secured t the c ntr l valve with a cable gland and nut.
These parts are shipped attached t the wire fr m the s len id wiring kit c ntr l b x.
3. F r each s len id, insert the wire upwards thr ugh the C ntr l Valve (1) head base plate,
all wing the threaded end f the cable gland t insert thr ugh the h le. Use the gland nut
t secure the cable gland as sh wn bel w.
4. L sen the cable gland(s) s that y u can extend the wire(s) f rward t the b tt m left
c rner f the t uch screen c ntr l panel and circuit b ard. N te the l cati n f the
pening in the backplate which can be used t easily pass the wire fr m the f rward flush
s len id c ntr l b x thr ugh t the fr nt f the valve.

19
5. The t uch screen c ntr l panel and circuit b ard can be rem ved t facilitate access t the
back f the circuit b ard f r the final wiring by depressing the 2 tabs at the t p f the panel
and pulling it f rward and upward. C nnect the wires fr m the s len id c ntr l b x(es) t
the terminal bl ck n the back f the circuit b ard as n ted bel w and re-c nnect the
t uch screen c ntr l panel and circuit b ard by snapping it back int p siti n. Ensure
there is a little play in the wires and that n ne f the wires are pinched, etc. Tighten the
cable glands t s lidly secure the cables.
6. C nnect the s len id wire(s) fr m the c ntr l b x(es) t the s len id valves. Place the
rubber gasket (in parts bag) between the s len id valve c il (green) and the plug n the
end f the wire fr m the c ntr l b x. Secure the c nnecti n with the screw pr vided.
START UP THE SYSTEM
The Fleck 5810XTR2 C ntr l Valve (1) c mes with a 10
f t l ng electrical c rd. Plug the c ntr l valve p wer
c rd int the C ntr l Valve (1). The electrical p rt n the
C ntr l Valve (1) is l cated n the right side f the valve
(when y u are facing the c ntr l panel), just behind
the tab used t rem ve the valve c ver. It is a bit
tricky t find… see the diagram t the right:
Plug in the p wer c rd(s) fr m the S len id Wiring Kit
c ntr l b x(es), and the C ntr l Valve (1) int standard,
gr unded 120 v lt (60 Hz) electrical utlets. Be certain
that the utlets are uninterrupted and n t c ntr lled by a

20
switch. An extensi n c rd may be used t reach a suitable electrical utlet. Ensure that the
extensi n c rd is UL/CSA certified and f an appr priate wire gauge f r the applicati n.
Once plugged in, the t uch screen display n the C ntr l Valve (1) will illuminate. The C ntr l
Valve (1) may need t reset its pist n t the h me p siti n when it is p wered up. If it d es, the
m t r will run f r a few sec nds. This is n rmal.
The C ntr l Valve (1) has been pre-pr grammed f r y u, h wever, y u will need t set the time f
day and select the time f day that y u prefer f r the flush cycle t be d ne. We n rmally
rec mmend that the self-cleaning flush cycle be d ne in the middle f the night when it is unlikely
that ther water fl ws will be ccurring. The default time is 2:00 am.
The t uch screen is shipped with a pr tective plastic film n it that can be peeled ff.
The f ll wing is the primary “H me Screen” r Main Menu:
Items displayed in blue r grey can be t uched t edit r btain m re inf rmati n. Items
displayed in black are f r inf rmati n purp ses nly and cann t be selected.
In the t p left c rner f the screen, y u will find the current day f the week and time.
In the t p right c rner, there is an indicat r that will tell y u when the next “regenerati n” r flush
cycle is scheduled t ccur.
In the middle if the screen is the regenerati n cycle wheel which indicates the current valve cycle
(indicated in green), and ther applicable cycles (in black).
The b tt m menu bar pr vides the f ll wing pti ns:
Table of contents
Other HomePlus Water Filtration System manuals
Popular Water Filtration System manuals by other brands

amiad
amiad TEQUATIC PLUS F-75 Installation, operation and maintenance manual

Scanomat
Scanomat TopBrewer Cleaning manual

ubbink
ubbink FiltraClear 4500 BasicSet manual

AquaTools
AquaTools AT8236 owner's manual

Perma-Trade
Perma-Trade permasolvent primus 2.1 operating instructions

T.I.P.
T.I.P. HNB 1600 E operating instructions